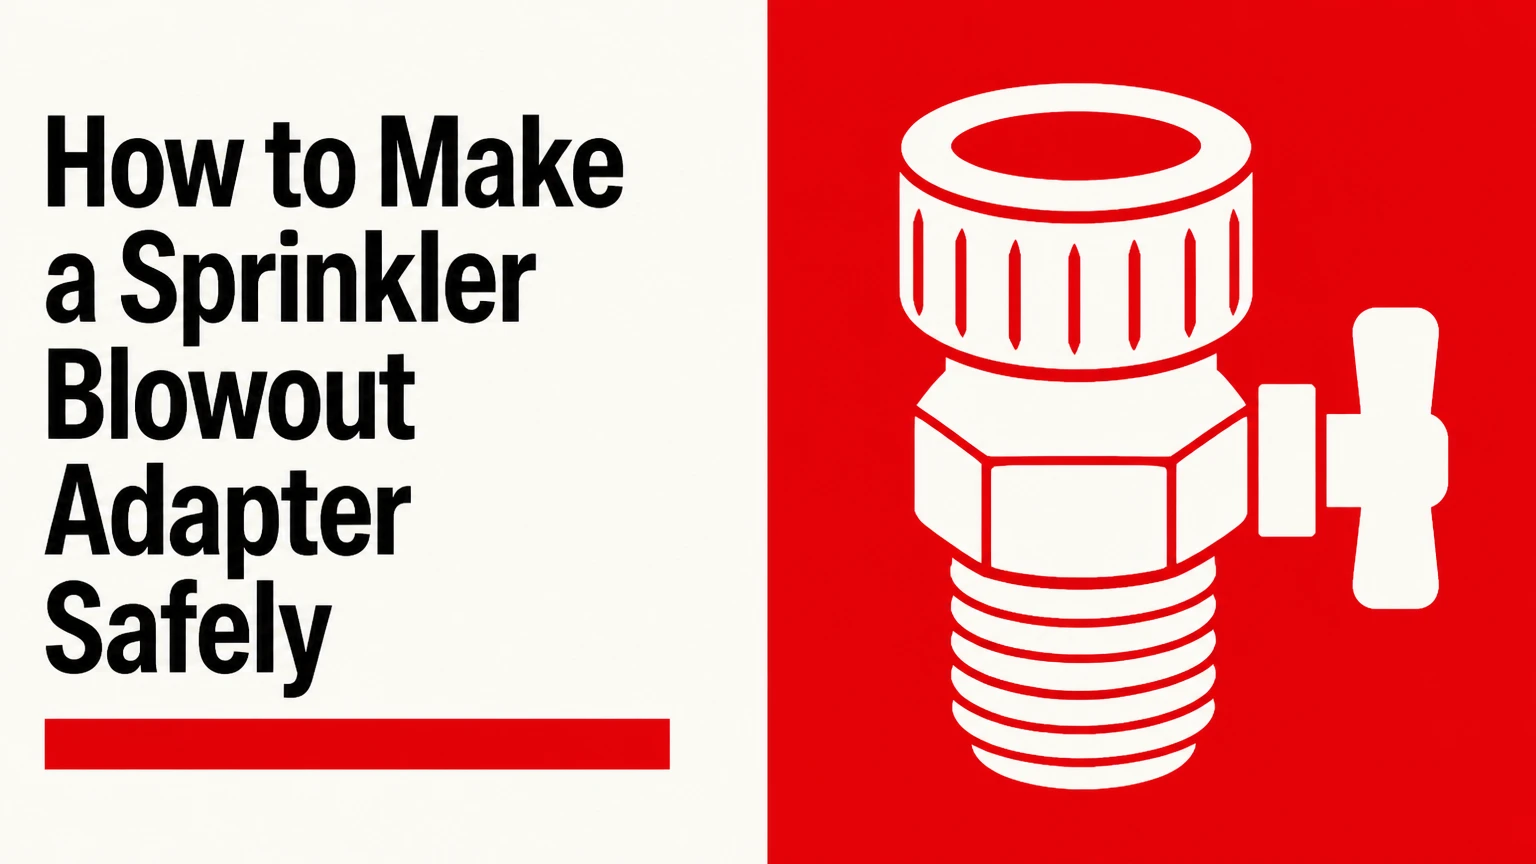
A sprinkler blowout adapter is a short fitting assembly that connects an air compressor hose to an irrigation-system drain, hose bib, or approved downstream blowout port. To make one, join a 1/4-inch NPT air quick-connect fitting to the correct 3/4-inch garden-hose-thread or NPT irrigation fitting, then control airflow with a ball valve while staying within the pipe and equipment manufacturer’s pressure limits.
Key Facts at a Glance
- A sprinkler blowout adapter connects an air compressor to an irrigation system’s approved downstream access point.
- Garden hose thread, abbreviated GHT, requires a rubber washer; NPT pipe threads require thread sealant.
- A fitting does not increase compressor volume, and pressure alone cannot compensate for inadequate delivered CFM.
- A ball valve makes connection and airflow control safer, but it does not replace a pressure regulator.
- Residential zones should be opened one at a time, with short cycles rather than continuous dry spinning.
- Brass is durable, while a flexible whip reduces bending force on backflow assemblies and exposed pipe.
What Does a Sprinkler Blowout Adapter Do?
A sprinkler blowout adapter creates an airtight path from a compressor hose to the irrigation mainline, allowing compressed air to push water through open sprinkler zones. The adapter is a connector, not a pressure converter: the compressor still determines the available pressure, delivered CFM, tank recovery, and duty cycle.
Many residential systems use one of two access points. A hose-bib connection commonly uses 3/4-inch GHT, while an irrigation service port may use 1/4-inch, 1/2-inch, or 3/4-inch NPT. Those standards are not interchangeable, even when their diameters look similar.
The adapter should connect downstream of the backflow prevention assembly whenever the system design provides a downstream drain or blowout port. Forcing air through a pressure vacuum breaker or reduced-pressure backflow preventer can damage check components, relief assemblies, or diaphragms. Colorado State University Extension’s sprinkler winterization guidance also treats backflow devices and trapped water as separate components requiring their own protection.
How Does Compressed Air Remove Water?
Compressed air travels through an open irrigation zone, expands into the pipe, and carries water toward sprinkler nozzles or other outlets. Sprinkler heads may rise as pressure reaches them, but head movement is only a visual indicator, not proof that every low point is dry.
A proper cycle normally changes from a strong water stream to a diminishing stream, then to mist. Rain Bird’s homeowner guidance recommends opening zones individually and avoiding prolonged compressor operation because dry air can overheat moving sprinkler components. The practical objective is repeated evacuation, not forcing maximum pressure through a closed or restricted zone.
Which Fittings and Tools Do You Need?
Use one air-side fitting, one irrigation-side fitting, optional airflow control, and the correct sealing hardware. A typical brass assembly costs $10-$30 and takes 10-20 minutes to build after the connection point has been identified.
Materials and Tools
| Component | Typical specification | Quantity | Typical cost |
|---|---|---|---|
| Air quick-connect plug | 1/4-inch NPT male, industrial profile | 1 | $3-$8 |
| Ball valve | 1/4-inch brass, female NPT ends | 1 | $5-$12 |
| Hose-thread adapter | 3/4-inch FHT or MHT to 1/4-inch FPT | 1 | $4-$10 |
| Thread sealant | PTFE tape or pipe-sealant paste | 1 roll | $2-$6 |
| Wrenches | Adjustable, 8-inch or 10-inch | 2 | Existing tools |
| Rubber hose washer | 3/4-inch GHT replacement washer | 1-2 | $1-$4 |
The air fitting must match the compressor coupler. “1/4-inch quick-connect” describes a nominal coupling size, not a universal plug profile. Industrial, automotive, ARO, and other profiles can fail to mate even when each is labeled 1/4-inch.
How Do You Identify the Irrigation Connection?
Turn off the irrigation supply and photograph the access point before buying parts. A hose thread normally has a relatively coarse, straight thread and seals against a flat rubber washer; NPT is tapered and seals within the thread using PTFE tape or compatible pipe sealant.
Do not rely on nominal size alone. A 3/4-inch GHT adapter and a 3/4-inch NPT adapter have different thread pitch, outside diameter, and sealing method. If the port is a backflow test cock, consult the backflow preventer’s installation manual rather than assuming the port accepts a compressor fitting.
How to Make a Sprinkler Blowout Adapter
The basic build has six steps: identify the port, match the air plug, add a valve, seal NPT joints, protect hose threads with a washer, and leak-test at low pressure. Construction is easy; selecting the correct downstream connection and operating pressure determines whether the finished adapter is safe.
Step 1: Confirm the System Access Point
Locate the irrigation drain, hose bib, boiler drain, or designated downstream blowout port. Confirm that the port communicates with the irrigation lateral lines and is not an upstream connection that would send compressed air through a potable-water backflow assembly.
Close the irrigation supply valve before attaching anything. If the system has manual drain valves, open them briefly to relieve trapped pressure.
Success checkpoint: The access point is identified, isolated from normal water pressure, and confirmed as downstream of backflow protection.
Common mistake: Connecting to the first nearby faucet without confirming that it feeds the irrigation zones.
Step 2: Match the Adapter to the Port
Choose a 3/4-inch GHT fitting for a hose-thread outlet, or choose the measured NPT size for a pipe-thread outlet. For most compact assemblies, the irrigation-side adapter has a 1/4-inch female NPT opening for the ball valve.
A typical hose-thread layout is:
Compressor hose → quick-connect plug → ball valve → 1/4-inch NPT-to-3/4-inch GHT adapter → irrigation port
For a larger NPT access point, substitute the correct reducer or nipple. Do not use a reducer to force incompatible threads together.
Success checkpoint: Every connection has a matching gender, thread standard, and nominal size before sealant is applied.
Common mistake: Treating GHT and NPT as interchangeable because both are described as 3/4-inch.
Step 3: Install the Air Quick-Connect Plug
Wrap PTFE tape clockwise around the male NPT threads of the quick-connect plug, viewed from the threaded end. Use three or four snug wraps, leaving the first thread mostly clear so loose tape cannot enter the valve or compressor line.
Thread the plug into the ball valve by hand. Tighten the plug with one wrench while holding the valve body with a second wrench. This prevents torque from passing through the valve handle or damaging a thin brass casting.
Success checkpoint: The plug seats firmly, the coupling remains accessible, and no tape protrudes into the air passage.
Common mistake: Turning the quick-connect body with pliers, which can deform the coupling or interfere with its locking sleeve.
Step 4: Add the Ball Valve
Install the ball valve between the compressor plug and the irrigation fitting. A valve lets you attach the compressor with airflow closed, isolate a leak, and release a short burst instead of immediately loading the irrigation line.
Apply sealant to the valve’s second male NPT connection if the valve uses one. Many compact valves have female NPT openings on both sides, so the adapter may require a short brass nipple or a male-to-male fitting.
Success checkpoint: The valve handle closes fully, opens fully, and does not contact the adjacent fitting.
Common mistake: Assuming the valve controls pressure. The compressor regulator controls pressure; the ball valve controls flow.
Step 5: Attach the Irrigation-Side Fitting
Thread the hose-thread or NPT adapter into the ball valve. Use PTFE tape only on male NPT threads. Place a fresh rubber washer inside a female GHT swivel before connecting it to a hose-thread outlet.
Hand-tighten the hose-thread connection, then tighten it slightly with a wrench if necessary. Hose-thread seals should not be forced hard because excessive torque can crush the washer or split a plastic female fitting.
Success checkpoint: The hose washer sits flat, the adapter aligns without side loading, and the assembly does not lever against the irrigation pipe.
Common mistake: Applying PTFE tape to GHT threads. GHT seals at the washer, not along the threads.
Step 6: Leak-Test the Finished Adapter
Set the compressor regulator to a low initial pressure, such as 20-30 PSI, and close the adapter ball valve. Pressurize only the adapter, then brush diluted dish soap over every joint.
Bubbles indicate leakage. Depressurize the assembly before tightening or rebuilding a joint. A leak at an NPT connection usually requires removal and fresh tape, while a GHT leak usually requires a correctly seated or replaced washer.
Success checkpoint: No growing bubbles appear during a 30-second low-pressure test.
Common mistake: Testing at the compressor’s unregulated tank pressure, which can expose a new assembly to 120 PSI or more.
Which Adapter Design Fits Your System?
A rigid brass hose-thread adapter is the simplest choice for a nearby, well-supported outlet. A flexible whip is safer where a stiff compressor hose could bend copper, PVC, or a backflow assembly.
| Design | Connection pattern | Typical price | Best operating situation |
|---|---|---|---|
| Rigid brass hose adapter | 1/4-inch NPT air side to 3/4-inch GHT | $10-$25 | Hose bib within 2 feet of supported pipe |
| NPT service-port adapter | 1/4-inch NPT air side to 1/2-inch or 3/4-inch NPT | $10-$30 | Dedicated downstream irrigation port |
| Flexible whip adapter | Air fitting plus 12-24-inch reinforced hose | $15-$35 | Fragile copper or exposed backflow piping |
| Plastic adapter | Molded polymer GHT or NPT body | $4-$10 | Infrequent, low-stress seasonal use |
A flexible whip should use reinforced hose, suitable clamps or threaded ends, and an independent support for the compressor hose. A washing-machine hose can work mechanically when its fittings and pressure rating are appropriate, but ordinary garden hose is a poor substitute because its air-service rating may be unclear.
Brass, Plastic, or Flexible Whip?
Brass is the most durable choice for repeated seasonal use, plastic minimizes cost, and a flexible whip best controls mechanical stress. None of these materials corrects an undersized compressor or makes an unsafe pressure setting acceptable.
| Decision factor | Brass adapter | Plastic adapter | Flexible whip |
|---|---|---|---|
| Typical service life | 5-15 seasons | 1-5 seasons | 3-10 seasons |
| Typical assembly weight | 0.3-0.8 lb | 0.1-0.3 lb | 0.5-1.5 lb |
| Cold-impact resistance | High | Low to medium | Medium to high |
| Pipe leverage | Medium | Low | Low |
| Typical replacement cost | $10-$30 | $4-$10 | $15-$35 |
The expert trade-off is mechanical, not merely material-based. A heavy brass adapter hanging directly from a small backflow test cock can impose more damaging bending force than a lighter plastic fitting connected through a supported flexible hose.
What Compressor Settings Are Safe?
Use the lowest pressure that clears the zone, and follow the irrigation-pipe, valve, sprinkler-head, and compressor manufacturers’ limits. Common residential starting settings are 40-50 PSI for polyethylene and 50-60 PSI for PVC, but those are conservative practitioner starting points, not universal ratings.
The AI Overview’s fixed limits of 50 PSI for polyethylene and 80 PSI for PVC should not be treated as a guarantee. Maximum working pressure varies with pipe class, temperature, fittings, valve condition, burial depth, and sprinkler components. Some manufacturers publish lower blowout limits.
Air volume is equally important. A typical residential zone may clear with roughly 10-25 CFM of delivered air, but a large zone, long lateral, or dense collection of heads may need more. Compressor horsepower and tank size do not equal delivered CFM; use the compressor’s CFM rating at the relevant PSI.
| System characteristic | Conservative starting point | Typical cycle | Practical implication |
|---|---|---|---|
| Polyethylene laterals | 40-50 PSI | 30-60 seconds | Reduce pressure first |
| PVC laterals | 50-60 PSI | 30-90 seconds | Verify pipe and head limits |
| Small residential zone | 10-15 delivered CFM | 2-4 bursts | Tank recovery may suffice |
| Large residential zone | 15-25 delivered CFM | 2-5 bursts | Isolate zones or use a larger compressor |
| Portable homeowner compressor | 4-10 delivered CFM | Short bursts only | Expect slow tank recovery |
How Do You Use the Adapter for Winterization?
Close the irrigation supply, open one zone, connect the regulated compressor, and use short air cycles until the discharge changes to a light mist. Repeat the sequence for every zone, then drain or protect the backflow device separately.
- Shut off irrigation water. Close the main irrigation isolation valve and disable automatic scheduling at the controller.
- Open the selected zone. Use the controller’s manual-start function or open the zone valve manually.
- Connect with the ball valve closed. Attach the compressor quick-connect to the adapter before introducing air.
- Start at low pressure. Begin around 30-40 PSI, then increase only within the verified system limit.
- Open the ball valve gradually. Watch sprinkler heads and the discharge pattern rather than opening instantly.
- Cycle the air. Use bursts lasting roughly 15-30 seconds, allowing the compressor to recover between bursts.
- Stop at mist. End the cycle when water becomes a fine mist and flow drops sharply.
- Move to the next zone. Close the first zone and open the next one before repeating.
- Drain the backflow assembly. Follow the device manufacturer’s instructions for test cocks, isolation valves, and drain positions.
A sprinkler head that rises does not prove that the entire lateral is empty. Low points, swing joints, valve boxes, and check-valve bodies can retain water after the visible spray stops.
What Should You Avoid During a Blowout?
Never use an unregulated 120-150 PSI compressor setting, connect through a backflow device without authorization, or run a zone continuously until the compressor overheats. Excess pressure can damage fittings, while excessive dry-air time can overheat gear-driven sprinkler mechanisms.
Expert rule of thumb: pressure establishes risk, but CFM establishes whether the zone clears. Increasing pressure to compensate for inadequate volume often adds stress without removing water efficiently.
A second practitioner rule is to disconnect the compressor before changing a fitting. A ball valve closed at the adapter is useful, but it is not a substitute for isolating and depressurizing the compressor hose.
Rain Bird and Colorado State University Extension both recommend treating backflow protection as a separate winterization task. The adapter should reach the irrigation piping only through an approved point, not through a potable-water connection that could compromise the assembly.
How Can You Troubleshoot a Failed Blowout?
Most failed blowouts result from an incorrect thread seal, inadequate delivered CFM, a closed or partially closed zone valve, or water trapped below the available outlet. Diagnose the airflow path before increasing pressure.
| Symptom | Likely cause | Corrective action | Safe next check |
|---|---|---|---|
| Air leaks at hose joint | Missing or crushed washer | Replace 3/4-inch GHT washer | Repeat 20-30 PSI leak test |
| Air leaks at NPT joint | Insufficient or damaged sealant | Remove, clean, and reseal | Check for bubbles at 30 PSI |
| Heads barely rise | Low delivered CFM | Use shorter bursts or isolate zone | Confirm compressor CFM at working PSI |
| Strong water remains | Closed valve or blocked lateral | Verify zone operation and valve position | Test one smaller zone |
| Adapter becomes hot | Continuous compressor duty | Stop for 5 minutes and cool | Use shorter cycles |
| Backflow device leaks | Air entered sensitive assembly | Isolate, drain, and inspect device | Follow manufacturer service procedure |
If no sprinkler heads rise, stop and verify that the selected port actually connects to the irrigation mainline. A compressor can sound active while pressurizing only a dead branch, closed valve, or disconnected drain.
Can You Winterize Without a Compressor?
Yes. Manual drains, automatic drains, gravity drainage, and professional blowout service are alternatives when the system has suitable drain points or the compressor lacks sufficient CFM. Drainage alone may not remove water from every lateral, valve cavity, or elevated pipe.
| Alternative | Typical cost | Typical time | Main limitation |
|---|---|---|---|
| Manual drain valves | $0-$20 in supplies | 30-90 minutes | Requires accessible low points |
| Automatic drain system | $50-$200 installed | 20-60 minutes | Does not remove all trapped water |
| Shop or rental compressor | $30-$100 per day | 1-3 hours | User must select safe settings |
| Irrigation contractor | $75-$250 typical residential visit | 30-90 minutes | Seasonal scheduling and local pricing |
In regions with severe freezes, shallow pipe burial, complex drip irrigation, or expensive landscaping, professional winterization may be cheaper than repairing a cracked valve manifold or backflow device. A compressor adapter is not suitable for testing whether an irrigation system is code-compliant or for servicing a damaged backflow preventer.
How Much Does a DIY Adapter Cost?
A basic brass sprinkler blowout adapter typically costs $10-$25, while a flexible reinforced version usually costs $15-$35. Reusing a compatible compressor plug, ball valve, and wrenches can reduce new material cost to approximately $8-$15.
The total winterization cost also includes compressor access. A homeowner who already owns a compressor pays mainly for fittings; renting a suitable machine can cost more than hiring a local irrigation technician, especially when the system has many zones.
Before buying parts, compare the cost of a correct adapter with a universal kit that includes multiple NPT reducers and a flexible hose. A slightly more expensive kit can prevent a second hardware-store trip caused by confusing GHT with NPT.
FAQ
Does a sprinkler blowout adapter need a pressure regulator?
The adapter itself does not need to contain a regulator, but the compressor must have a working regulator and pressure gauge. Set pressure at the compressor, then use the adapter’s ball valve only to control airflow. Verify the irrigation system’s allowable pressure before beginning.
Can I use a 1/4-inch quick-connect directly on a 3/4-inch hose bib?
No. A 1/4-inch air quick-connect and a 3/4-inch hose bib use different connection standards. The adapter needs a 1/4-inch NPT air fitting on one side and a 3/4-inch GHT fitting with a rubber washer on the hose-bib side.
What size compressor is best for sprinkler winterization?
A compressor delivering approximately 10-25 CFM at the selected working pressure is typically more useful than a small compressor with a large tank but low recovery rate. Small portable units can clear short zones through repeated bursts, while large zones may require rental equipment or professional service.
Should I remove sprinkler heads during a blowout?
Usually no. Sprinkler heads provide the outlets that carry water from each lateral. Remove a head only when the manufacturer or irrigation technician identifies a blocked nozzle, damaged body, or special drainage requirement, and never use head removal as a substitute for opening the zone.
How long can compressed air run through one sprinkler zone?
Use short bursts and avoid continuous operation. A practical residential cycle is 15-30 seconds of airflow followed by compressor recovery, with total active air time commonly limited to about 1-2 minutes per zone. Stop sooner when only mist remains or when components become hot.
Does the adapter remove every drop of water?
No. Compressed air removes most free water from accessible laterals, but low points, check valves, drip emitters, valve bodies, and backflow assemblies can retain water. Drain dedicated components separately and follow the irrigation manufacturer’s winterization instructions.
Conclusion
To make a sprinkler blowout adapter, connect a 1/4-inch NPT compressor quick-connect plug through an optional brass ball valve to the correctly sized 3/4-inch GHT or NPT irrigation fitting. Use a rubber washer for hose threads, PTFE tape for NPT threads, test the assembly at low pressure, and purge zones individually with regulated air. The safest sprinkler blowout adapter is the one that matches the port, limits mechanical stress, and operates within verified system limits.