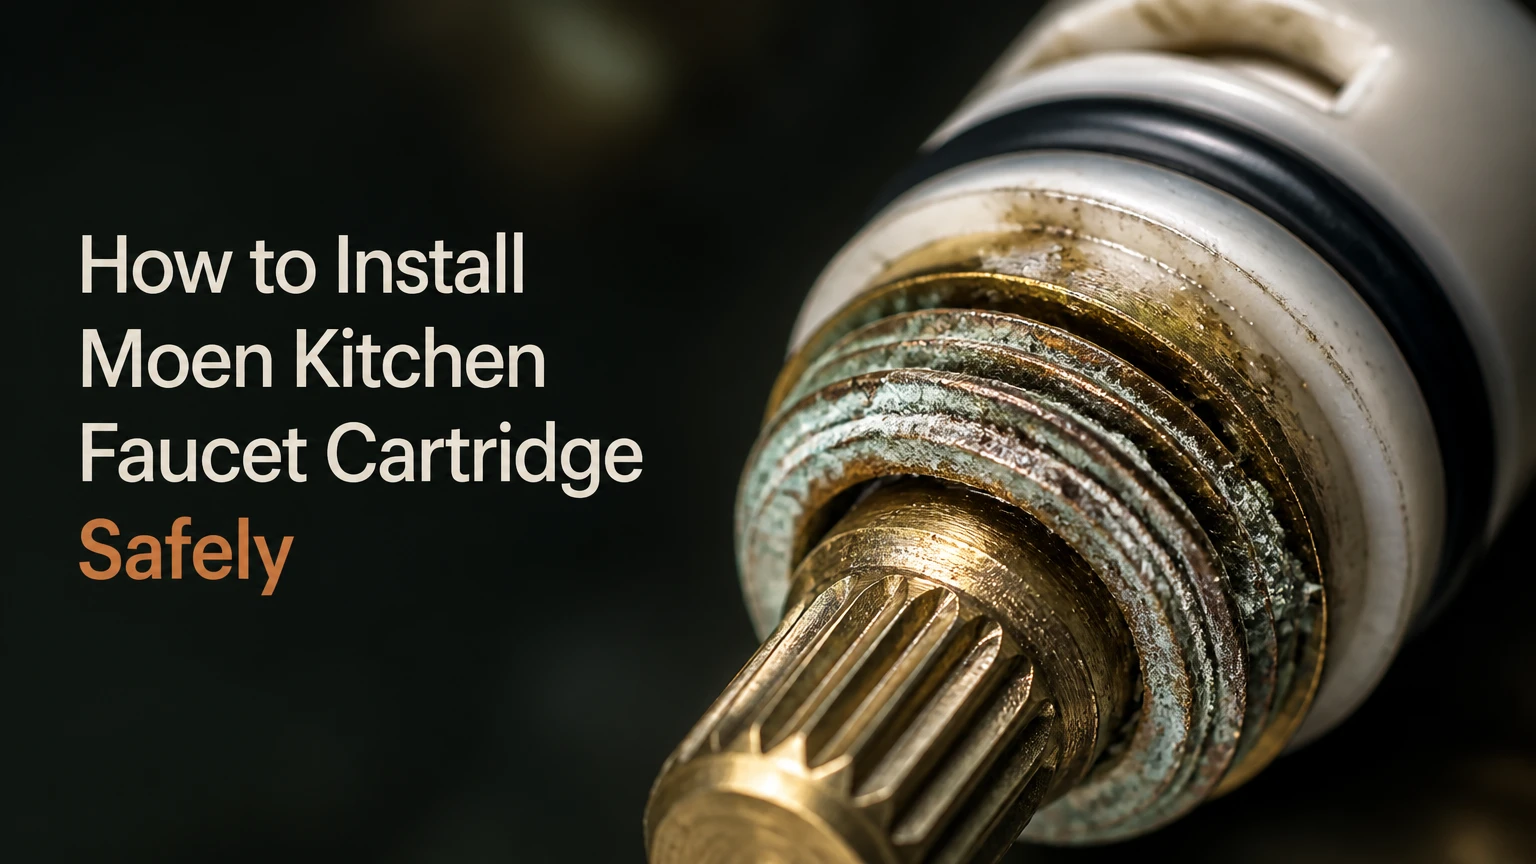
To install a Moen kitchen faucet cartridge, shut off both supplies, remove the handle and retaining clip, extract the old cartridge, clean the valve body, lubricate and orient the replacement, then reassemble and flush the faucet. A standard replacement takes about 15-30 minutes; a seized cartridge can take 45-90 minutes.
Key facts at a glance
A Moen 1225 cartridge fits many older single-handle kitchen faucets, while the brass 1200 is its traditional counterpart.
Moen 1255 Duralast cartridges are used in many newer single-handle, pull-out, and pull-down designs.
Moen 1224 cartridges are generally used in two-handle faucets and are installed separately for hot and cold sides.
The retaining clip must come out before pulling the cartridge, or the valve body may be damaged.
Use plumber’s silicone grease on cartridge O-rings; petroleum jelly and petroleum-based sprays can damage rubber seals.
A Moen cartridge puller is the safest practical tool for a cartridge that will not move with controlled hand pressure.
Before You Start: Time, Cost, and Tools
A cartridge replacement requires basic hand tools, a correctly identified replacement, and enough working space under the sink. The replacement part typically costs $20-$45 for genuine Moen hardware, while a cartridge puller commonly adds $12-$20 if the old cartridge is stuck.
| Requirement | Typical value | Why it matters |
|---|---|---|
| Standard working time | 15-30 minutes | Applies to a clean, accessible valve |
| Stuck-cartridge time | 45-90 minutes | Covers scale, seized O-rings, or broken stems |
| Genuine replacement | $20-$45 | Usually provides the most predictable fit |
| Aftermarket replacement | $12-$22 | Lower price, but dimensions and seals vary |
| Cartridge puller | $12-$20 | Reduces twisting force on the faucet body |
| Silicone plumber’s grease | 0.25-0.5 ounce | Lubricates O-rings without attacking rubber |
| Allen wrench | Usually 3/32 or 7/64 inch | Removes many Moen handle set screws |
| Cleaning brush | One nylon brush | Removes scale without gouging brass |
Gather the replacement cartridge, a flashlight, adjustable wrench, flathead screwdriver, needle-nose pliers, Phillips screwdriver, a towel, and a small container for screws. Keep the old cartridge until the new part is installed because its length, stem, and locating features can expose a mistaken identification.
Turn on the faucet briefly before beginning. Confirm that both hot and cold water flow, because a supply-valve problem can imitate a cartridge failure.
What Is a Moen Cartridge?
A Moen faucet cartridge is the internal valve assembly that meters water volume and blends hot and cold water. The cartridge sits inside a valve body, and its stem moves when the handle rotates, lifts, pulls, or tilts.
Rubber O-rings around the cartridge seal against the inside of the valve body. Internal ports align with the faucet’s hot and cold inlets, so incorrect orientation can reverse temperature control or prevent normal flow.
A leaking handle, dripping spout, difficult operation, or unstable temperature can indicate cartridge wear. Those symptoms can also come from mineral deposits, damaged valve-body surfaces, loose supply connections, or a worn handle adapter, so cartridge replacement is not automatically the correct repair.
How does the cartridge control temperature?
A single-handle cartridge changes the relative opening of hot and cold ports as the stem moves. A two-handle cartridge usually controls one supply at a time, with separate hot and cold cartridges.
The cartridge does not repair a cracked faucet body or a failed pull-down hose. It only controls the valve mechanism inside the faucet.
Which Moen Cartridge Do You Need?
Identify the faucet model before ordering because Moen cartridges are not universally interchangeable. Faucet operation provides a useful first clue, but the model number, original manual, or Moen’s product-support identification process is more reliable than appearance alone.
| Cartridge | Typical faucet type | Operating motion | Identification or fit note |
|---|---|---|---|
| 1200 | Older single-handle faucet | Pull out, then rotate | Brass construction; may be difficult to extract |
| 1225 | Older single-handle faucet | Pull out, then rotate | Plastic cartridge; common replacement for 1200 designs |
| 1255 Duralast | Newer single-handle faucet | Lift or tilt lever | Compact ceramic-disc design in many modern models |
| 1224 | Two-handle faucet | Rotate one handle | One cartridge usually controls each side |
| 1248 | Selected two-handle kitchen models | Rotate handle | Must be matched to the specific faucet design |
Is the Moen 1200 interchangeable with the 1225?
The Moen 1200 and 1225 are commonly treated as interchangeable replacements in compatible older single-handle valve bodies, but the substitution should still be checked against the faucet model. The 1200 uses brass, while the 1225 uses a plastic cartridge body.
A 1200 can remain in the valve sleeve or separate during removal because corrosion and scale may grip the brass body. A 1225 is often easier to extract, but easier removal does not prove that every faucet accepting a 1200 accepts every 1225 configuration.
Does a pull-down faucet use a 1255 cartridge?
Many modern Moen pull-down and pull-out kitchen faucets use the 1255 Duralast cartridge, but the handle design alone does not establish compatibility. MotionSense and other electronic faucets can include additional sensors, control modules, or specialized valve assemblies.
Record the faucet model from the installation paperwork, the underside of the spout, the supply-line label, or the base plate. Do not use a shower cartridge such as a 1222 simply because it resembles a kitchen cartridge.
Step 1: Shut Off Both Water Supplies
Close the hot and cold shutoff valves under the sink by turning each handle clockwise until it stops without excessive force. Open the faucet handle fully and wait until the water stops, which relieves pressure before the retaining hardware is removed.
Place a folded towel in the cabinet. The towel catches residual water and prevents small screws from disappearing into the plumbing space.
Success checkpoint: No water flows from the spout when the handle is opened, and the flexible supply lines do not remain pressurized.
Common mistake: Closing only one valve leaves the other inlet pressurized. Test both temperature directions before disassembly.
Step 2: Remove the Handle and Decorative Cover
Find the handle set screw, which may sit behind a plastic index button or beneath the lever. Pry the button gently with a thin flathead screwdriver, then loosen the set screw with the correct Allen wrench, commonly 3/32 or 7/64 inch.
Pull the handle straight from the cartridge stem. If the handle will not release, work it side to side while lifting instead of levering against the faucet finish. Remove the dome, sleeve, or collar according to its design. Some covers unscrew by hand; others use a retaining nut.
Success checkpoint: The cartridge stem and retaining hardware are fully visible, and no finish has been scratched.
Common mistake: Forcing a decorative sleeve with pliers can crush or mark it. Wrap the part in a cloth and use an adjustable wrench only when the model requires it.
Step 3: Remove the Retaining Clip
Locate the U-shaped retaining clip in the slots at the top of the valve body. Grip the clip’s upper loop with needle-nose pliers and pull it vertically, or lift one edge carefully with a flathead screwdriver.
Set the clip in the container immediately. The clip prevents the cartridge from rising under water pressure and must be completely removed before extraction.
Success checkpoint: The clip is out, both legs are intact, and the cartridge can be seen without metal blocking its upper shoulders.
Common mistake: Pulling the cartridge while the clip remains installed can bend the clip, break the cartridge, or damage the valve body. Never use increasing force as a substitute for checking this step.
Step 4: Extract the Old Cartridge
Grip the cartridge stem with pliers and rotate it gently left and right while pulling upward in line with the valve. Short movements are safer than one large twist because the faucet body can be damaged by side loading.
For a cartridge that does not move after controlled effort, use a Moen-compatible cartridge puller. The tool typically fits over the stem, engages the stem hole or stem adapter, and pulls against the faucet body as its nut is tightened.
| Cartridge condition | Recommended method | Force and time guidance | Stop condition |
|---|---|---|---|
| Recently replaced | Hand pull with light rotation | 2-5 minutes | Stem flexes or slips |
| Moderate mineral scale | Pliers plus penetrating-free cleaning | 5-15 minutes | Body begins twisting |
| Seized 1200 or 1225 | Cartridge puller | 15-45 minutes | Tool pulls unevenly |
| Broken stem | Dedicated extractor or plumber | 30-90 minutes | Sleeve remains embedded |
| Corroded valve body | Faucet replacement assessment | Variable | Brass cracks or deforms |
Do not hammer the cartridge, pry against the spout, or clamp the faucet body with channel-lock pliers. Moen’s cartridge-removal documentation emphasizes controlled extraction; the practical rule is simple: increase mechanical advantage with the correct puller, not with uncontrolled twisting.
Success checkpoint: The entire cartridge or its complete outer sleeve comes out, leaving the valve bore unobstructed.
Common mistake: Removing only the cartridge core and leaving the sleeve behind creates a false impression that the valve is empty. Inspect the bore with a flashlight.
Step 5: Clean and Inspect the Valve Body
Remove loose debris with a cloth wrapped around a screwdriver or with a nylon bottle brush. A small amount of white vinegar can loosen mineral scale, but keep liquid out of electronic components and wipe the valve body dry before installing the new cartridge.
Inspect the bore for scratches, brass fragments, hard scale, and a damaged retaining-clip slot. The new O-rings need a reasonably smooth sealing surface; a deep groove can cause leakage even when the replacement cartridge is correctly installed.
Success checkpoint: The valve bore is clean, the clip slots are open, and no loose grit remains where it can cut the new seals.
Common mistake: Using steel wool or a metal pick can score the brass valve body. Nylon tools remove deposits with less risk.
Step 6: Lubricate and Orient the New Cartridge
Apply a thin, continuous coating of plumber’s silicone grease to every external O-ring. Do not pack the valve cavity with grease. Petroleum jelly, mineral oil, and petroleum-based sprays can swell or degrade faucet seals; Moen instructions commonly state, “Do not use petroleum-based lubricants.”
Orient the replacement using the model-specific notch, HC marking, locating tab, or bottom pins. On compatible 1200 and 1225 installations, the orientation determines which direction produces hot water. On a 1255, the bottom locating features must enter the matching guide holes.
Press the cartridge straight down until it bottoms out. A cartridge that sits high will prevent the retaining clip from entering its slots and can produce a handle that feels unusually stiff.
Success checkpoint: The cartridge shoulder is level with the valve body, the locating features are engaged, and the clip can approach its slots without force.
Common mistake: Installing a cartridge 180 degrees out of position can reverse hot and cold. If the faucet later operates backward, correct the stem or handle orientation according to the model instructions rather than immediately buying another cartridge.
Step 7: Reinstall the Clip, Cover, and Handle
Slide the U-shaped retaining clip into the valve-body slots until it is fully seated. The clip should enter with light, even pressure. If it stops high, remove it and reseat the cartridge instead of driving the clip with a screwdriver.
Replace the collar or dome, then slide the handle onto the stem in its neutral position. Tighten the set screw firmly, but do not strip the Allen head or deform the handle adapter. Reinstall the index button if the model has one.
Success checkpoint: The clip is flush, the handle moves through its full range, and the set screw holds the handle without wobble.
Common mistake: Testing handle movement before securing the retaining clip can lift the cartridge and compromise the seal.
Step 8: Flush and Test the Faucet
Remove the aerator from the spout if the design permits. The aerator can trap scale released during the repair. Open the hot and cold shutoff valves slowly, then operate the faucet at low flow before increasing the volume.
Run hot and cold water for about one minute, or until air and visible debris clear. Inspect the handle base, spout base, supply connections, and cabinet floor for leaks before reinstalling the aerator.
Success checkpoint: The faucet delivers steady flow, temperature direction is correct, the handle feels controlled, and no water appears after several minutes of observation.
Common mistake: Reopening the valves rapidly can create a pressure surge and make a loose connection appear worse than it is. Gradual reopening gives the seals time to seat.
OEM Versus Aftermarket Cartridges
Genuine Moen cartridges generally offer the most predictable dimensions, O-ring fit, and warranty support, while aftermarket cartridges cost less and can be practical for a short-term repair. The correct model and a clean valve body matter more than brand alone.
| Decision factor | Genuine Moen | Aftermarket generic | Practical consequence |
|---|---|---|---|
| Typical price | $20-$45 | $12-$22 | Aftermarket saves about $8-$23 |
| Fit consistency | Factory-specific | Varies by manufacturer | Generic parts may bind or leak |
| Seal material | Specified by Moen | Variable rubber compounds | Seal life is less predictable |
| Warranty path | Moen limited warranty | Store warranty, often 30-90 days | OEM support is easier to document |
| Best use | Long-term repair | Budget or urgent repair | Match the part before purchase |
A replacement cartridge is not good for correcting a cracked valve body, severely scored bore, or corroded retaining-clip channel. In those cases, an inexpensive cartridge can become a diagnostic expense rather than a repair.
Common Problems After Installation
| Symptom | Most likely cause | Corrective action | Typical difficulty |
|---|---|---|---|
| Hot and cold reversed | Cartridge or handle rotated 180 degrees | Recheck model orientation and rotate stem or handle | Low |
| Faucet drips from spout | Debris, damaged seal, or unseated cartridge | Remove, clean, inspect O-rings, reinstall | Moderate |
| Water leaks around handle | Cut O-ring or incomplete seating | Replace damaged cartridge and verify clip | Moderate |
| Handle is stiff | Dry seals, scale, or high cartridge position | Clean bore, grease O-rings, reseat cartridge | Moderate |
| Low flow after repair | Aerator or cartridge debris | Remove aerator and flush supply path | Low |
| Clip will not enter | Cartridge is not fully down | Stop, remove clip, and reseat cartridge | Low |
Why does a Moen faucet still drip after cartridge replacement?
A Moen faucet can continue dripping when the valve bore contains grit, the cartridge is not fully seated, an O-ring was cut during insertion, or the valve body itself is damaged. Turn off the supplies, remove the cartridge, inspect every seal, clean the bore again, and reinstall with silicone grease.
Do not assume a new cartridge is defective before checking installation depth. A retaining clip that sits unusually high is strong evidence that the cartridge has not reached the bottom of the valve.
Why is the handle stiff after replacement?
A stiff Moen handle usually results from dry O-rings, mineral deposits, an incorrectly oriented cartridge, or a cartridge that is not fully seated. Remove the handle and clip, then verify that the cartridge shoulder contacts the valve body and that the seals are lubricated.
A thicker layer of grease is not always the answer. Excess grease can collect grit, while a scratched valve bore can make every replacement feel tight.
What should you do if the cartridge breaks during removal?
Stop pulling when the stem or plastic head separates from the cartridge body. Remove loose fragments with needle-nose pliers, then use a cartridge extractor designed for the remaining sleeve; do not drive a screwdriver into the brass valve body.
Call a plumber when the sleeve cannot be extracted without body distortion, when the retaining slots are broken, or when water cannot be shut off reliably. A damaged valve body may require faucet replacement.
Situational Variations
For an old, seized faucet
Use a cartridge puller before applying substantial force. Older 1200 brass cartridges often bind because mineral scale occupies the clearance between the cartridge and valve sleeve.
Protect the counter and faucet finish, keep the puller aligned vertically, and tighten it in small increments. If the faucet body begins to rotate, stop and support or replace the faucet rather than transferring torque into the supply connections.
For a two-handle Moen faucet
Identify whether the faucet uses 1224, 1248, or another model before removing either side. Shut off both supplies, replace the failed cartridge, and consider replacing the matching hot and cold cartridge if both have similar age and stiffness.
Do not assume the left and right cartridges are interchangeable. Some two-handle designs use cartridges with different orientations or side-specific components.
For a rental property
A tenant should obtain written owner or property-manager approval before disassembly. If permission is granted and the faucet has accessible shutoffs, a same-day genuine or reputable aftermarket cartridge can solve a routine leak, but damage from forced extraction may become the tenant’s responsibility.
Photograph the faucet, cartridge, clip, and valve body before removal. Record the model number and retain the old part until the repair passes its leak test.
For a MotionSense or electronic faucet
Disconnect power or remove batteries when the faucet’s instructions require it, and keep water away from control modules. The cartridge may be conventional, but sensor wiring and control boxes add failure points that a mechanical cartridge replacement will not fix.
If the faucet turns on without handle movement, ignores the handle, or has a sensor fault, diagnose the electronic controls separately.
When Should You Replace the Whole Faucet?
Replace the faucet instead of the cartridge when the valve body is cracked, the cartridge bore is deeply scored, the retaining-clip slots are destroyed, or the repair requires more labor than the faucet’s remaining service value. A cartridge cannot restore damaged brass or correct a failed electronic control system.
A cartridge replacement remains the better repair when the faucet body is sound, the leak is isolated to the spout or handle, and the model is identifiable. Check the faucet warranty first. Moen’s support process may provide replacement parts under its limited lifetime warranty, subject to product and ownership conditions, so have the model, purchase information, and original-owner status available.
How Much Time and Money Should You Budget?
A straightforward Moen cartridge repair normally costs $20-$45 for an OEM cartridge and takes 15-30 minutes for a prepared DIYer. A seized cartridge, missing shutoff valve, damaged handle, or inaccessible cabinet can raise the practical project range to $50-$150 for tools, replacement hardware, or a service call.
| Repair scenario | Parts and tools | Typical time | Sensible approach |
|---|---|---|---|
| Clean 1225 replacement | $20-$45 | 15-30 minutes | DIY with basic tools |
| 1200 replacement with puller | $32-$65 | 30-60 minutes | Use controlled extraction |
| Two-handle cartridge repair | $40-$90 | 30-75 minutes | Confirm each side’s model |
| Broken or seized cartridge | $45-$150 | 45-120 minutes | Consider a plumber |
| Damaged valve body | Faucet-specific | 1-3 hours | Compare faucet replacement |
These are typical planning ranges, not guaranteed retail or labor prices. Regional service rates, faucet accessibility, corrosion, and warranty coverage can change the total substantially.
FAQ
Can I replace a Moen cartridge without turning off the water?
No. Shutoff valves must be closed before removing the handle, clip, or cartridge. Opening a pressurized valve body can release water into the cabinet, and a failed or missing shutoff valve requires building-level water isolation before repair.
Which way should the Moen cartridge face?
The correct direction depends on the cartridge and faucet model. Use the notch, HC marking, locating tab, or bottom pins specified by the installation instructions. On many compatible single-handle designs, reversing the cartridge changes hot-water direction, but the handle adapter may also affect orientation.
Do Moen kitchen faucet cartridges come with silicone grease?
Some replacement kits include lubricant, but many do not. Keep a small tube of faucet-grade silicone plumber’s grease available because dry O-rings can tear during insertion and create leaks immediately after installation.
How often should a Moen kitchen faucet cartridge be replaced?
There is no universal replacement interval. Cartridge life depends on water hardness, usage, filtration, and valve-body condition; many faucets operate for years before replacement, while heavily used or mineral-rich water systems may require earlier service.
Can vinegar damage a Moen faucet valve?
Small amounts of white vinegar used briefly on mineral deposits generally help clean an exposed valve body, but vinegar should not remain inside the faucet or contact electronic controls. Rinse or wipe the area, remove residue, and dry the bore before lubricating the new cartridge.
Is a Moen cartridge puller worth buying?
A cartridge puller is worth buying when a 1200 or 1225 cartridge resists light hand extraction, particularly in an older faucet. The tool costs less than many damage-related repairs and applies upward force more safely than twisting the faucet body with large pliers.
The Bottom Line
The safest way to install a Moen kitchen faucet cartridge is to identify the exact model, shut off both supplies, remove the retaining clip completely, clean the valve bore, lubricate the O-rings with silicone grease, and verify orientation before testing. For a sound valve body, the repair usually takes 15-30 minutes. If the cartridge is seized or the valve is damaged, use a puller or stop before force causes a larger failure.