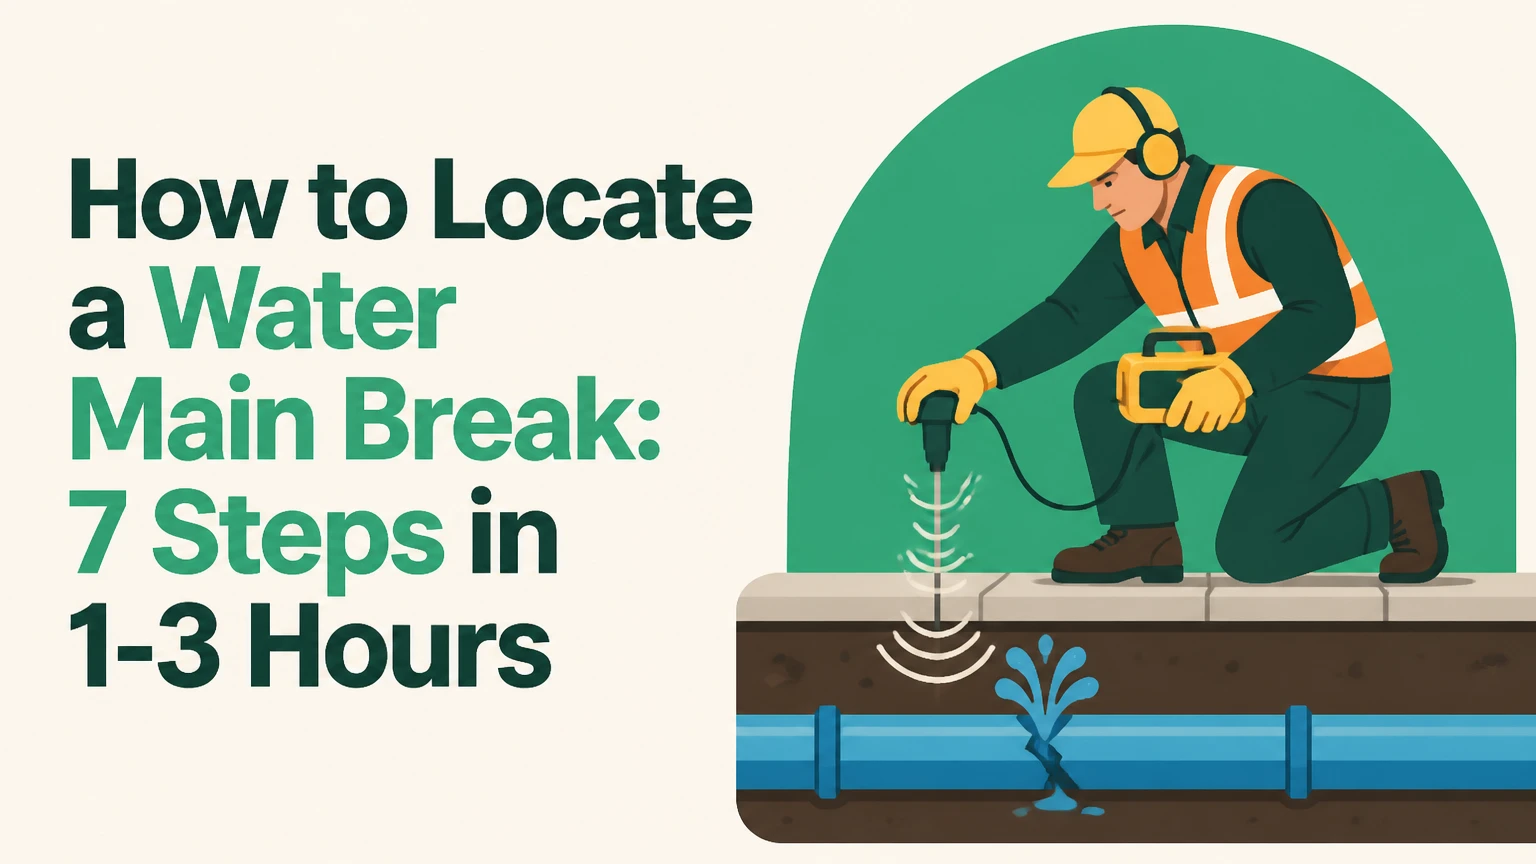
To locate a water main break, first identify whether the leaking pipe belongs to the water utility or your property, then shut off threatened fixtures, check the water meter, trace the pipe route, and inspect the strongest surface clues. Active flooding, pressure loss, roadway damage, or water near electricity requires immediate utility or emergency assistance rather than excavation.
Key Facts / At a Glance
A public water main usually runs beneath a street or public easement; the service line connects that main to a building.
Water appearing at the surface may be several feet or more from the actual break because soil, utility trenches, and pavement redirect flow.
A stationary water meter with all fixtures and irrigation off generally rules out flow through the measured property line, but meter design and leaks between the meter and building can affect the result.
Acoustic listening works best when the pipe carries pressurized water and has accessible valves, hydrants, or meters.
PVC and HDPE often transmit leak noise less effectively than metallic pipe, so professional locators may combine acoustics with ground microphones, correlators, tracer methods, or ground-penetrating radar.
Never excavate until applicable utility-marking requirements are satisfied. In the United States, call 811 before digging, and ask whether private utility locating is also required.
What Counts as a Water Main Break?
A water main break is a structural failure in a pressurized distribution pipe that releases treated water into soil, pavement, a building, or a drainage system. In ordinary property conversations, however, “water main” may also mean a private service line, house main, or buried irrigation pipe, and responsibility depends on the pipe segment and local utility rules.
A distribution main normally serves multiple properties and is maintained by a municipality, water district, or private utility. A water service line runs from the main to a meter or building. The exact ownership point varies: some utilities own the line to the meter, while others own it to the curb stop or property boundary.
A break can be obvious, such as water geysering through asphalt, or hidden, such as a continuously spinning meter, falling pressure, a wet foundation wall, or an unexplained increase in the water bill. A main break also may discharge into a storm drain rather than create a puddle.
Which signs indicate a break?
Strong indicators include water that bubbles through pavement, a new wet strip following a pipe route, rapidly worsening soil settlement, a sudden pressure drop, or water that continues appearing during dry weather. A single damp patch is weaker evidence because irrigation overspray, condensation, groundwater, and roof drainage can create similar conditions.
Treat these signs as urgent when water is undermining a sidewalk, entering a basement, exposing a road edge, or approaching electrical equipment. Do not walk through moving water if the depth, current, or surface beneath it is uncertain.
How Do You Locate a Water Main Break Safely?
Locate a water main break by moving from non-invasive evidence to controlled testing, then professional pinpointing. The seven-step sequence usually takes 30 minutes to 3 hours for a simple property-side investigation, but a municipal break or buried plastic line can require several hours of correlation, excavation planning, and traffic control.
Before You Start
| Requirement | Typical value | Why it matters |
|---|---|---|
| Initial inspection time | 15-30 minutes | Confirms whether the event is active and property-related |
| Homeowner difficulty | Low for observation, high for excavation | Observation is safe; digging introduces utility and collapse hazards |
| Homeowner cost | $0-$50 | Covers photographs, flashlight, paper, and meter readings |
| Professional locating | Typically $300-$1,200 residential | Varies with access, pipe material, travel, and urgency |
| Basic tools | Flashlight, phone camera, gloves, notebook | Records evidence without disturbing the site |
| Required prerequisite | Utility contact and 811 before digging | Protects against buried gas, electric, telecommunications, and other lines |
Step 1: Check for Immediate Hazards
Move people, vehicles, and pets away from flowing water, soft pavement, sinkholes, and exposed pipe. Shut off the building’s main valve if water is entering the property and you can reach the valve without crossing unsafe water; do not enter a flooded electrical area.
Call the water utility’s emergency number when water is surfacing in a street, near a hydrant, or outside the property shutoff. Call emergency services for a road collapse, suspected gas-line damage, electrical danger, or a person trapped in a flooded area.
You’ll know this step worked when: people are clear, the affected area is isolated, and the responsible emergency contact has been notified.
Common mistake: Treating clear water as harmless. Potable water can conceal deep voids, unstable pavement, sewage intrusion, or energized electrical equipment.
Step 2: Test the Water Meter
Turn off every water-consuming device, including faucets, toilets, washing machines, water softeners, ice makers, automatic irrigation, and pool-fill equipment. Wait at least 10 minutes, then observe the meter’s low-flow indicator or register; photograph the reading and repeat the check after 30-60 minutes.
A moving meter means water is flowing somewhere downstream of that meter, not necessarily at the suspected main break. Check toilets and irrigation first because they commonly create continuous flow without visible indoor damage. A stationary meter makes a leak on the measured side less likely, while a public-main break upstream of the meter can still be severe.
Smart meters may report flow remotely, but the display interval and alert threshold differ by utility. A meter test cannot locate a leak on a shared service, a line upstream of the meter, or a public main that does not pass through the property meter.
You’ll know this step worked when: you have two time-stamped readings with all known consumption isolated.
Common mistake: Assuming a quiet-looking meter proves there is no break. A utility main, curb-stop assembly, or unmetered branch can leak outside the meter’s measurement boundary.
Step 3: Compare Pressure and Flow Conditions
Record pressure at an existing gauge or hose-bib pressure tester only if the connection is accessible and dry. Compare the reading with a normal household reading taken under the same demand conditions, because opening a faucet, flushing a toilet, or starting irrigation changes pressure immediately.
A sudden pressure reduction across several properties points more strongly toward a utility-main problem than a single building-side leak. A pressure drop only at one building can indicate a service-line break, failed pressure-reducing valve, clogged filter, or internal plumbing fault.
Do not repeatedly cycle utility valves to “see what happens.” Valve operation can interrupt water service, worsen a damaged fitting, or create pressure transients that damage older plumbing. The utility should isolate sections of a public network.
You’ll know this step worked when: pressure observations are tied to time, location, and water demand rather than remembered impressions.
Common mistake: Comparing a static pressure reading with a flowing reading. Those values answer different questions and cannot establish break location by themselves.
Step 4: Trace the Pipe Route Without Digging
Find the likely route from the street main, curb stop, or meter to the building. Use visible meter boxes, valve covers, hydrants, recorded site plans, foundation penetrations, and straight-line utility geometry, then mark the route with temporary surface indicators rather than stakes driven into the ground.
Call 811 in the United States before any excavation, and confirm whether the proposed work also requires a private utility locator. Public marking services often do not identify privately owned lines beyond the utility’s responsibility point, including private water, sewer, propane, landscape lighting, and communications cables.
A pipe route is not always straight. Older subdivisions may contain undocumented offsets, shared services, abandoned lines, and easements that cross neighboring parcels. The water utility or a qualified locator can verify the route using records, valve tracing, electromagnetic methods, or controlled exposure after clearance.
You’ll know this step worked when: you have a probable route and an identified ownership boundary without breaking pavement or soil.
Common mistake: Using a metal detector as a universal pipe locator. A plastic water line may have no detectable metallic signal, while a detectable tracer wire, curb stop, or nearby cable may create a false route.
Step 5: Rank Surface and Ground Clues
Inspect the route for bubbling, unusually green vegetation, muddy soil, frost-free patches in winter, sinkage, pavement discoloration, and water entering a storm drain. Compare the suspected wet area with nearby irrigation heads, downspouts, septic systems, natural low points, and recent rainfall.
Water often travels along bedding material or a utility trench before reaching the surface. The visible discharge may therefore be downstream, downhill, or offset from the pipe fracture. The highest wet spot is not automatically the break location, particularly where coarse gravel beneath a road provides an easy flow path.
Use a listening stick or ground microphone only as a screening method unless you are trained to interpret it. A constant hiss, rumble, or whistle can indicate pressurized leakage, but pumps, traffic, electrical transformers, hydrant turbulence, and normal customer demand can produce similar signals.
You’ll know this step worked when: clues are ranked by persistence, alignment with the pipe route, and relationship to pressure or meter evidence.
Common mistake: Marking the loudest valve as the break. Sound can travel efficiently through metal fittings, making a distant pipe leak appear loudest at a valve or hydrant.
Step 6: Arrange Professional Acoustic Location
Hire a water-leak detection contractor or utility crew when the break is hidden, the surface area is large, the pipe is beneath pavement, or the line’s ownership is unclear. Provide photographs, meter readings, pressure observations, access points, pipe records, and the time the symptom began.
A technician may attach contact sensors to hydrants, valves, meters, or exposed fittings and compare the sound at multiple points. An acoustic correlator calculates a leak position from the time difference between sensors, but the result depends on accurate pipe length, diameter, material, sensor contact, and pressure data.
| Detection method | Best application | Typical limitation | Typical professional context |
|---|---|---|---|
| Listening stick or contact microphone | Accessible valves, hydrants, metallic fittings | Traffic, pumps, and low pressure mask signals | Screening in 30-90 minutes |
| Acoustic correlation | Long, pressurized segments with two access points | Requires reliable pipe data and sensor access | Residential or municipal pinpointing |
| Ground microphone | Surface confirmation along a known pipe route | Cannot reliably find an unknown route alone | Final pinpointing before excavation |
| Ground-penetrating radar | Voids, buried features, some nonmetallic pipe routes | Clay, wet soil, reinforcement, and depth reduce clarity | Specialist investigation |
| Thermal imaging | Shallow leaks with a useful temperature contrast | Rain, sun, insulation, and deep pipes distort results | Supporting evidence, not universal proof |
| Tracer gas or other specialist method | Quiet, hidden, or poorly transmitting lines | Requires trained handling and site suitability | Difficult nonmetallic or inaccessible leaks |
Acoustic detection does not have one universal frequency range. Pipe material, diameter, wall thickness, pressure, soil, sensor coupling, and instrument filtering change the signal, so fixed claims such as “all metal leaks are 500-1,500 Hz” are poor operating rules. Plastic pipes frequently transmit weaker ground noise, but a professional may still locate them acoustically under favorable pressure and access conditions.
You’ll know this step worked when: the locator gives a marked position, confidence level, pipe-route assumption, and verification plan rather than only a decibel reading.
Common mistake: Buying specialized equipment for a single event. A $1,500-$5,000 acoustic kit still requires correct sensor placement and interpretation, and a wrong pipe-material input can shift a correlator’s calculated position.
Step 7: Verify the Marked Point Before Excavation
A qualified contractor should verify the suspected point with utility markings, records, safe exposure, vacuum excavation, or another method appropriate to the site. Probe drilling is not a casual homeowner test because the drill can strike utilities, damage the water line, release contaminated soil, or open a path for water migration.
Vacuum excavation can expose a utility with less lateral soil disturbance than mechanical digging, but it still requires clearance, trained operators, traffic protection, and a plan for spoil and water disposal. A camera inserted through a service access point may help in some systems, but it cannot inspect every pressurized main without specialized equipment.
The verification target is a repairable defect on the identified pipe, not merely wet soil. Document the pipe depth, diameter, material, bedding condition, and nearby utilities before repair planning.
You’ll know this step worked when: the pipe and defect area are confirmed, or the contractor explains why the evidence supports staged excavation.
Common mistake: Excavating the wettest point immediately. The wettest point may be a low point, drain inlet, or failed trench backfill rather than the source.
Which Detection Method Fits the Situation?
The best locating method depends on access, pipe material, pressure, surface conditions, and whether the suspected line is public or private. Acoustic methods usually provide the fastest non-invasive result for a pressurized line with accessible fittings, while GPR and specialist methods become more useful when the pipe is plastic, deep, poorly documented, or surrounded by complex utilities.
| Situation | First choice | Second choice | Why |
|---|---|---|---|
| Water geyser in a street | Water utility isolation and visual inspection | Ground microphone after flow control | Public-main response takes priority over private testing |
| Hidden service-line leak | Meter test and route tracing | Acoustic listening or correlation | Confirms whether flow is on the property side |
| PVC or HDPE line beneath pavement | Professional acoustic survey with low-frequency capability | GPR, tracer method, or controlled exposure | Plastic can weaken transmitted leak noise |
| Suspected void or pavement settlement | Utility response and structural exclusion | GPR or vacuum exposure | The immediate danger may be collapse, not locating precision |
| Leak near a building foundation | Building shutoff and water-removal protection | Acoustic locating and safe exposure | Limits structural and interior damage |
| Nighttime intermittent symptom | Time-stamped meter and pressure logging | Repeat acoustic testing during the event | A dry daytime inspection can miss demand-related clues |
Thermal imaging should be treated as supporting evidence rather than a guaranteed underground locator. Temperature differences can reveal shallow moisture under suitable weather conditions, but sun-heated pavement, rain, insulation, and deep burial can overwhelm the signal.
How Much Does Water-Main Break Location Cost?
Typical residential locating costs range from about $300-$1,200, while municipal or commercial surveys commonly range from $2,500 to more than $10,000. Hourly rates often fall near $150-$400, but contractors may apply minimum charges, emergency premiums, travel fees, pavement exposure costs, or separate repair charges.
| Work type | Typical price range | Typical duration | Main price drivers |
|---|---|---|---|
| Homeowner visual and meter screening | $0-$50 | 30-60 minutes | Existing access and meter visibility |
| Residential acoustic locating | $300-$1,200 | 1-3 hours | Access, depth, material, urgency |
| Difficult private-line investigation | $800-$2,500+ | 3-8 hours | Nonmetallic pipe, pavement, multiple utilities |
| Municipal main survey | $2,500-$10,000+ | 4-12 hours | Pipe mileage, access points, traffic control |
| Emergency response and isolation | Utility-specific | 1-4 hours for priority dispatch | Location, crew availability, public risk |
These are typical planning ranges, not regulated prices. Ask whether the quote includes utility marking, acoustic correlation, pavement scanning, safe exposure, written findings, and repair. Locating and repairing are usually separate scopes.
Who Should You Call?
Call the water utility first when water is surfacing in a street, the leak appears upstream of the meter, several properties lose pressure, or a hydrant, curb stop, or public easement is involved. The utility can isolate a distribution zone, check pressure and flow records, and determine ownership.
Call a licensed plumber or private leak-detection contractor when the meter continues recording flow with fixtures off, the suspected break lies between the meter and building, or the private service line crosses a yard, driveway, or foundation. Ask for experience with the specific pipe material.
Municipal crews may use district-metered-area data, supervisory control and data acquisition systems, pressure loggers, acoustic loggers, correlators, and step testing. A sudden night-flow increase across a district can narrow the search before a field crew inspects individual valves.
Common Mistakes and How to Fix Them
Mistake 1: Confusing a main break with an indoor leak
Correction: Test the meter with every fixture and irrigation device off, then identify the ownership boundary. A toilet leak can create continuous flow without any outdoor symptom.
Mistake 2: Digging before utility clearance
Correction: Stop excavation, restore the surface if safe, and contact 811 plus a private locator where required. Marking requirements do not eliminate the need for careful hand or vacuum exposure near known lines.
Mistake 3: Relying on a single wet patch
Correction: Compare the patch with rainfall, irrigation, drainage, grade, and the likely pipe route. Photograph it at different times and note whether flow continues during dry conditions.
Mistake 4: Forcing a curb stop or gate valve
Correction: Leave seized or damaged valves for the utility or plumber. Excessive force can break the stem, bonnet, or downstream connection and increase the service interruption.
Mistake 5: Assuming plastic pipe cannot be located acoustically
Correction: Tell the contractor the pipe material and pressure conditions. Request a method combination, such as low-frequency acoustic testing, ground microphones, GPR, tracer methods, or staged exposure.
Mistake 6: Testing during noisy daytime conditions
Correction: Repeat acoustic work during a low-demand period, often late night, after the utility confirms that valve changes and reduced demand will not create a public-service problem. Silence improves conditions but does not fix incorrect pipe data.
What Should You Do in Special Situations?
If water is near a foundation
Close the building-side shutoff if accessible, remove valuables from the affected area, and arrange professional pumping or drying. Do not excavate beside a foundation without evaluating soil stability, because removing saturated soil can increase lateral movement or undermine footings.
If water is near a road
Keep vehicles away and notify the road authority or utility. Roadway water can erode the subbase, create a concealed cavity, and produce a delayed collapse after the visible flow decreases.
If the water is discolored
Do not assume the water is safe to drink because it came from a potable main. Main breaks and valve operations can disturb sediment or allow contamination through pressure loss; follow the local utility’s boil-water, flushing, and sampling instructions.
If the leak is intermittent
Use time-stamped meter readings, pressure logs, and photographs during the symptom. An intermittent irrigation valve, pressure-dependent crack, pump cycle, or temperature-related pipe movement may not produce a detectable signal during a short inspection.
If the property has a shared service
Confirm which meter serves which building and whether the line crosses another parcel. Shared lines make meter interpretation and repair responsibility more complicated, and the water utility or property records may be needed before any work begins.
FAQ
Can a water main break happen without visible water?
Yes. A broken pressurized main can discharge into permeable soil, a storm drain, a basement, or an underground utility trench without forming a surface puddle. Pressure loss across nearby properties, persistent meter flow, soil settlement, and unusual drainage can reveal a hidden failure.
How far can water travel from an underground break?
Water can travel several feet or much farther through gravel bedding, fractured pavement, drainage paths, or utility trenches. The visible distance depends on soil permeability, pipe pressure, slope, groundwater level, and the length of time before discovery, so surface water alone cannot pinpoint the fracture.
Can I locate a water main break with a metal detector?
A metal detector may find a metallic valve, curb stop, tracer wire, or metallic pipe, but it cannot reliably locate PVC or HDPE and may respond to unrelated buried metal. Use records, utility markings, and a professional pipe locator rather than treating a detector signal as proof.
Will shutting off the house valve stop a street-main break?
No. A house shutoff controls the building or private service side, while a street-main break remains pressurized until the water utility isolates it. Shut the house valve to limit interior damage, then report the public leak through the utility’s emergency channel.
How long does water-main break locating take?
A simple residential investigation commonly takes 1-3 hours once the contractor arrives. A difficult nonmetallic line, a municipal segment without accessible fittings, or a break beneath traffic-controlled pavement can require 4-12 hours for correlation, verification, and safe exposure.
Does homeowners insurance cover a broken water main?
Coverage depends on the failed segment, policy language, exclusions, maintenance history, and whether the line is a service line or public main. Contact the insurer before non-emergency demolition, but prevent further damage immediately and keep photographs, invoices, meter readings, and utility reports.
The Bottom Line
The safest way to locate a water main break is to identify hazards, determine whether the pipe is public or private, test the meter, trace the route, and call the responsible utility or a qualified leak-detection contractor before excavation. Use acoustic correlation, ground microphones, GPR, or specialist methods according to pipe material and access. For an active public leak, how to locate a water main break begins with reporting and isolation, not digging.