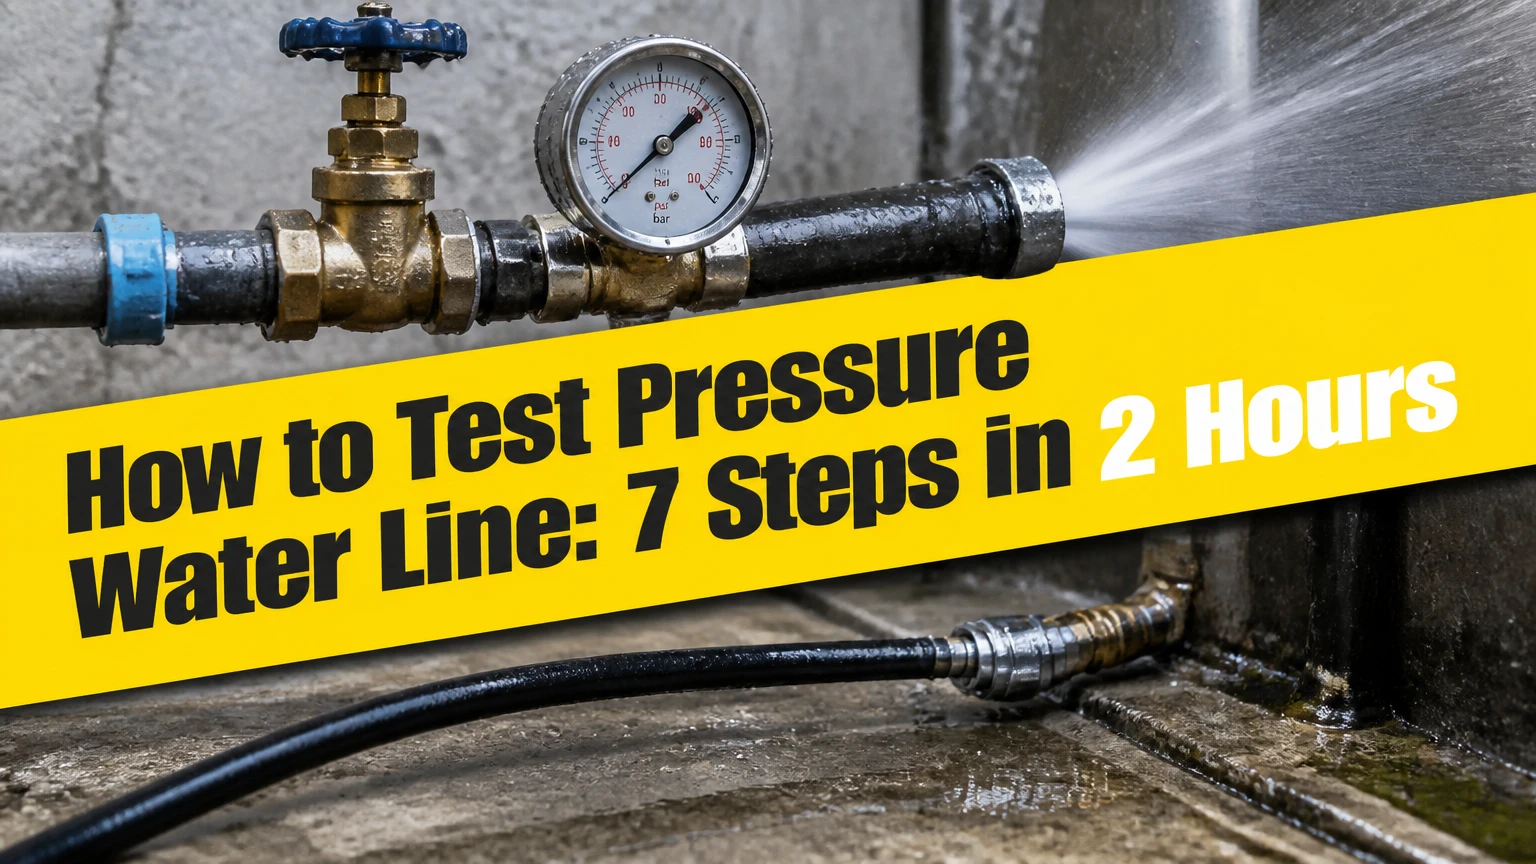
To test a pressure water line, isolate the plumbing, connect a calibrated pressure gauge and hand pump, fill the line completely with water, remove trapped air, pressurize it to the applicable test pressure, and monitor the gauge for the required period. A stable reading and dry exposed joints indicate an acceptable preliminary test, subject to local code.
Key Facts at a Glance
Hydrostatic testing uses water and is the preferred method for most residential PEX, copper, CPVC, and PVC supply lines.
A common residential target is 1.5 times the intended working pressure, often 100-150 PSI, but the local plumbing code and pipe manufacturer control.
Trapped air can make pressure readings misleading and increases stored energy, so fill the line slowly and vent high points.
Air testing plastic plumbing is substantially more hazardous than water testing and may be restricted or prohibited by code.
A falling gauge does not automatically prove a buried pipe leak because test hoses, plugs, valves, temperature, and trapped air can also cause pressure loss.
Pressure testing should occur before pipes are buried, insulated, enclosed behind drywall, or covered with finished surfaces.
What Does a Pressure Test Prove?
A plumbing pressure test verifies that a closed water-supply system can hold a specified pressure without leaking. The test examines pipe, fittings, joints, valves, caps, transitions, and connections as one isolated assembly, so it is an integrity test rather than a measurement of normal household water pressure.
A successful result means the test section held the required pressure for the required time under the conditions stated by the authority having jurisdiction. It does not prove that a pipe has adequate flow, correct fixture sizing, safe hot-water temperature, proper backflow protection, or acceptable water quality.
Pressure testing is most valuable at rough-in. Exposed joints can be inspected, failed fittings can be replaced, and the test can be repeated before access disappears. For an existing finished home, a pressure test can help locate a concealed leak, but the procedure must protect water heaters, appliances, expansion tanks, filters, and pressure-reducing equipment.
Pressure, leakage, and normal operating pressure
Static household pressure commonly falls around 40-80 PSI, while many jurisdictions or project specifications require a rough-in test above normal operating pressure. The higher test pressure creates a stronger screening condition, but the test pressure must never exceed the lowest-rated component in the isolated section.
A pressure gauge shows system pressure, not leak volume. A tiny leak may cause a slow decline, while a missing cap can produce an immediate failure. Temperature changes also alter water pressure because water expands when warmed and contracts when cooled.
Before You Start: Tools, Safety, and Isolation
Prepare a pressure gauge rated above the intended test pressure, a manual hydrostatic test pump, compatible adapters, test caps or plugs, thread sealant approved for the connection, a bucket, towels, a marker, and an inspection light. Typical DIY equipment costs $40-$150, with a gauge assembly often costing $15-$30 and a hand pump commonly costing $25-$120.
| Item | Typical specification | Quantity or use |
|---|---|---|
| Pressure gauge | 0-200 PSI, 1-2 PSI graduations | 1, installed at test point |
| Hydrostatic hand pump | 0-300 PSI capability | 1, water supply testing |
| Test caps or plugs | Pipe-size and material compatible | 1 per open outlet |
| Test hose and adapters | 3/4-inch hose bibb or machine-thread connection | 1 assembly |
| Inspection materials | Towels, bucket, marker, flashlight | 1 set |
| Documentation | Start and finish photos, written log | 1 record per test section |
Shut off the building supply and isolate the section under test. Remove or isolate components that the manufacturer does not permit at the test pressure, including water heaters, boilers, filters, softeners, reverse-osmosis equipment, washing machines, refrigerator valves, and pressure regulators.
Do not rely on a closed fixture valve as a test cap unless the valve is specifically rated and accepted for that purpose. A capped pipe is more dependable than a faucet cartridge, flush valve, or appliance solenoid.
What must be isolated?
Isolate the municipal or well supply from the test section so pressure cannot escape backward through a leaking main shutoff. Close branch valves that divide the system, and test one manageable section when the whole building contains many fixtures.
Cap shower arms, tub supplies, lavatory supplies, toilet branches, hose connections, laundry valves, and temporary manifold outlets. Leave a controlled high-point outlet available during filling, then cap it after water flows without air.
How to Test Pressure Water Line in 7 Steps
A typical residential hydrostatic test takes 30-60 minutes to set up and fill, followed by 15-30 minutes or up to two hours of observation, depending on local code and project specifications. The factor that most affects accuracy is complete air removal, not the speed of pumping.
Step 1: Isolate and cap the test section
Close the main shutoff, confirm that downstream fixtures stop receiving water, and cap every open outlet in the test section. Disconnect or isolate appliances and equipment that are not part of the pipe test.
Open a low fixture briefly to relieve residual pressure, then close it before connecting the pump. Divide a large installation into separate cold, hot, and branch sections when a single gauge would make fault location difficult.
Success checkpoint: No water enters from the supply, and every open pipe end has a secure, pressure-rated cap or plug.
Common mistake: Leaving one toilet stop, hose bibb, or temporary PEX stub uncapped causes an immediate pressure loss that resembles a failed pipe.
Step 2: Connect the gauge and hydrostatic pump
Connect the pressure gauge and hand pump at a convenient threaded test point, such as a hose bibb, washing-machine valve, manifold port, or temporary adapter. Use a gauge with a readable range, because a 0-2,000 PSI gauge makes a 5 PSI change difficult to see.
Check that the pump’s hose, valve, gauge connection, and adapter are tight before pressurizing. The test rig is part of the measured system, so a leaking pump connection can produce a false failure.
Success checkpoint: The gauge reads zero before filling, and the pump assembly has no visible seepage at hand-tightened or wrench-tightened connections.
Common mistake: Installing the gauge downstream of a closed valve leaves the gauge disconnected from part of the test section.
Step 3: Fill the pipes slowly and bleed trapped air
Open the water source gradually and fill from the lowest practical point. At the highest accessible outlet, loosen a cap or open a temporary vent until a continuous stream of water exits without spurting.
Repeat the process at high points, manifolds, risers, and fixture branches. Water compresses very little, while trapped air compresses substantially; compressed air can absorb pump movement and make the gauge appear stable before the system is properly evaluated.
Success checkpoint: Each vent produces a steady, bubble-free stream, and the gauge rises smoothly when the pump adds water.
Common mistake: Closing every outlet immediately after water first appears traps air pockets in vertical branches and behind fittings.
Step 4: Raise pressure to the approved target
Close the vents and operate the manual pump in controlled strokes until the gauge reaches the pressure required by the project, manufacturer, or local authority. Common residential supply-line targets are 100-150 PSI or 1.5 times the intended working pressure, but those figures are not universal code requirements.
Never exceed the lowest pressure rating among the pipe, fittings, valves, manifold, gauge, and connected components. For example, a 150 PSI target is inappropriate when one installed component is rated at 100 PSI at the test temperature.
| System or situation | Typical test target | Typical observation period | Governing limitation |
|---|---|---|---|
| Residential PEX rough-in | 100-150 PSI | 15-30 minutes | PEX and fitting manufacturer |
| Copper supply rough-in | 100-150 PSI | 15-30 minutes | Local plumbing code |
| CPVC or PVC supply | 100-150 PSI | 15-30 minutes | Pipe temperature rating |
| Commercial water supply | 1.5 times working pressure | 2 hours | Project specification or code |
| Existing occupied system | 1.25-1.5 times working pressure | 15-30 minutes | Appliance and fixture ratings |
| DWV air test, where permitted | 5-15 PSI | At least 15 minutes | Local code and manufacturer |
Success checkpoint: The gauge reaches the approved target without sudden movement, and no exposed joint becomes wet during pressurization.
Common mistake: Treating 150 PSI as a universal requirement can damage a lower-rated valve or violate the manufacturer’s installation instructions.
Step 5: Stabilize and check the test assembly
Stop pumping and close the pump isolation valve. Wait briefly for the system to stabilize, then inspect the gauge connection, hose, pump body, plugs, caps, and adapters with dry tissue or a soapy-water solution suitable for the materials.
A new plastic installation can show a small initial pressure change as pipe walls and seals settle. That stabilization period should be handled according to the pipe manufacturer’s procedure, rather than immediately labeling a minor change as a leak.
Success checkpoint: The test-rig connections remain dry and the gauge settles near the intended starting pressure.
Common mistake: Recording the first peak pressure before stabilization exaggerates the apparent pressure loss.
Step 6: Record pressure and inspect the entire line
Record the start time, water temperature if known, test pressure, gauge identification, test section, pipe material, and installer. Mark the gauge needle or photograph the dial, then inspect every accessible joint, crimp, soldered fitting, solvent-welded fitting, threaded connection, and capped outlet.
Follow the required observation period, commonly 15-30 minutes for residential work and two hours for some commercial specifications. A stable gauge is necessary, but exposed joints must also remain dry.
Success checkpoint: The gauge stays within the allowed tolerance, and no visible moisture appears during the full observation period.
Common mistake: Watching the gauge while ignoring concealed transitions or the temporary test equipment misses the actual leak source.
Step 7: Depressurize, document, and retest after repairs
Release pressure slowly through a controlled drain point before removing caps or loosening fittings. Photograph the final gauge, write down the finish time and reading, and preserve the record for the inspector or future repair history.
If the test fails, repair one suspected fault at a time and repeat the complete test. Do not simply pump the gauge back to the target and declare success, because the system may still contain a slow leak.
Success checkpoint: The final record identifies the tested section, pressure, duration, start and finish readings, temperature conditions, and result.
Common mistake: Removing a cap while the line remains pressurized can release a high-velocity stream and cause injury or property damage.
Which Test Method Should You Use?
Hydrostatic testing is the default choice for water-supply piping because water stores far less energy than compressed air and makes many leaks visible. Pneumatic testing can be useful for rough-in drain-waste-vent systems or freezing conditions, but plastic pipe manufacturers and plumbing codes restrict it because a ruptured air-pressurized fitting can eject fragments.
Charlotte Pipe’s published warning is direct: “Never use compressed air or gas to test PVC, CPVC, ABS, or other plastic piping systems.” The exact requirements still depend on the product instructions and local authority, but the safety principle applies broadly to residential DIY work.
| Criterion | Hydrostatic water test | Pneumatic air test |
|---|---|---|
| Common pressure range | 100-150 PSI for supply rough-in | 5-15 PSI where permitted |
| Stored energy | Low relative to compressed air | High, even at low pressure |
| Typical application | PEX, copper, CPVC, PVC supply | DWV rough-in or freezing conditions |
| Leak indication | Drips, wet joints, gauge decline | Bubbles with leak-detection solution |
| DIY suitability | Appropriate with rated equipment | Generally unsuitable for plastic supply lines |
| Main limitation | Water can freeze or create cleanup | Rupture can be violent and code-restricted |
Never substitute air for water merely because air is faster to install. If freezing weather prevents hydrostatic testing, consult the pipe manufacturer, inspector, and licensed plumber before selecting a pneumatic procedure.
What Pressure and Duration Apply to Each Pipe Material?
PEX, copper, CPVC, and PVC can all be tested hydraulically when the test pressure, temperature, fittings, and procedure comply with their product instructions. The correct target is not determined by material alone, because a system includes valves, manifolds, adapters, and fixtures with different ratings.
| Pipe material | Typical hydraulic target | Important condition | Inspection focus |
|---|---|---|---|
| PEX | 100-150 PSI | Follow tube and fitting instructions | Crimp, clamp, expansion, and manifold joints |
| Copper | 100-150 PSI | Protect soldered joints from movement | Solder, compression, and threaded transitions |
| CPVC | 100-150 PSI | Pressure rating changes with temperature | Solvent-welded joints and support spacing |
| PVC pressure pipe | 100-150 PSI | Use only pressure-rated PVC, not DWV pipe | Solvent welds, threaded adapters, and tees |
| Polyethylene service line | 1.5 times working pressure | Follow service-line standard and utility rules | Mechanical couplings and buried transitions |
Pipe manufacturers may require a minimum test period, a stabilization procedure, or a maximum pressure below the commonly cited 150 PSI. Local inspectors may also require a witnessed test, a signed form, or a specific test gauge.
Does buried pipe require a different approach?
Buried water lines should be tested before final backfill when possible, with joints exposed enough for inspection. A line that passes after burial but fails later is harder to diagnose because the test cannot distinguish a fitting leak from pipe damage caused by rocks, settling, or excavation equipment.
Flush the trench carefully after repairs, protect the pipe from sharp materials, and retest the repaired section. A pressure test does not replace proper bedding, cover depth, tracer wire, disinfection, or service-line inspection.
How Do You Diagnose a Falling Gauge?
A falling pressure reading must be separated into four possibilities: an open outlet, a leaking test rig, a temperature change, or a leaking plumbing component. Test the gauge, pump, plugs, and isolation valve first, because a defective test assembly can waste time and lead to unnecessary demolition.
| Gauge behavior | Likely cause | First diagnostic action | Expected finding |
|---|---|---|---|
| Drops immediately | Open outlet or disconnected branch | Recheck every cap and valve | One outlet remains open |
| Drops in seconds | Large leak or leaking test rig | Inspect pump, hose, and plugs | Visible water or wet tissue |
| Drifts slowly | Small joint leak, trapped air, temperature change | Stabilize and retest at same temperature | Rate of loss changes or persists |
| Holds at pump but not isolated | Pump valve or gauge fault | Install a known-good gauge and cap | Test rig loses pressure |
| Holds cold, falls when warm | Temperature or water expansion effect | Repeat under stable conditions | Reading becomes consistent |
| Falls only in one branch | Local fitting or appliance connection | Isolate branches sequentially | Fault follows one branch |
A slow decline after filling can result from residual air dissolving into water or from plastic pipe expanding under pressure. That behavior does not excuse a failed code test, but it explains why many procedures specify stabilization before the timed observation begins.
What if the pressure drops immediately?
Check uncapped outlets, open fixture valves, leaking temporary plugs, loose adapters, and a main shutoff that does not isolate the supply. If the pump valve is closed and the gauge falls instantly, spray or wipe the test assembly first.
If the test rig holds pressure when capped independently but the plumbing section does not, reconnect the system and isolate branches until the failing section is identified. Never increase pressure to force a leak to reveal itself.
What if the pressure falls slowly?
Inspect every exposed joint for a bead of water, then use dry tissue because small PEX or threaded leaks may not form a visible droplet. Recheck the gauge against a second calibrated gauge, and record water temperature at the beginning and end.
If the line passes after temperature stabilization but fails under a controlled retest, treat the result as a leak until proven otherwise. A concealed leak may wet insulation, framing, or soil without producing water at the nearest visible fitting.
Can You Pressure Test an Existing Water Line?
An existing water line can be pressure tested, but the test should be isolated from fixtures and appliances and performed at a pressure those components can safely tolerate. For an occupied home, testing a smaller branch at a time reduces water damage risk and makes the pressure loss easier to localize.
Close appliance stops, bypass filtration equipment, isolate the water heater, and remove or protect sensitive devices according to their instructions. A municipal pressure test on a service line may also require utility coordination, a backflow preventer, or a licensed professional.
Pressure testing is not always the best first test for an active leak. If the water meter moves with every fixture closed, the homeowner may first need a visual, acoustic, thermal, or isolation-valve diagnosis before pressurizing concealed piping.
What Changes in Freezing Weather?
Hydrostatic testing in freezing weather requires a plan to drain the test section completely after testing. Water trapped in PEX, copper, CPVC, PVC, valves, or gauges can freeze, expand, and split components even when the pipe itself appears undamaged.
Use manufacturer-approved temporary measures, keep the water above freezing, or postpone the test. Do not use compressed air in plastic water lines as an improvised shortcut. If a pneumatic test is permitted for a specific DWV installation, use the exact low pressure and exclusion zone required by the code and product documentation.
How Much Time and Money Does Testing Take?
A small residential test usually requires 30-60 minutes of active setup and filling, plus 15-30 minutes of observation; commercial or inspection-driven work may require two hours or more. Typical DIY equipment costs $40-$150, while a professional visit commonly costs $150-$400 before extensive leak repairs.
| Testing scenario | Active labor | Waiting period | Typical cost |
|---|---|---|---|
| One exposed residential branch | 30-45 minutes | 15-30 minutes | $40-$100 DIY |
| Whole-house rough-in | 45-90 minutes | 30-120 minutes | $75-$150 DIY |
| Commercial rough-in section | 1-3 hours | 2 hours or specification | $150-$400 service visit |
| Existing concealed-line diagnosis | 1-3 hours | 30-120 minutes | $150-$500 professional |
| Buried service line | 1-4 hours | 30-120 minutes | $200-$600 with access work |
Costs rise when access is poor, test sections must be isolated repeatedly, documentation is required, or repairs involve excavation and drywall removal. A pressure test itself is usually inexpensive compared with repairing a concealed leak after finishes are installed.
Common Mistakes and How to Fix Them
- Using the wrong gauge range: Replace a 0-2,000 PSI gauge with a 0-200 PSI gauge for residential work so small changes are readable.
- Testing through a water heater: Close the heater isolation valves or disconnect the heater according to the installation manual before pressurizing.
- Leaving trapped air: Open high-point vents until the discharge becomes a steady stream, then stabilize the line before timing.
- Trusting a leaking isolation valve: Cap the supply side or use a second isolation point when the main valve allows pressure to escape.
- Over-pressurizing plastic components: Stop at the lowest rated pressure among pipe, fittings, valves, and test equipment.
- Failing to retest repaired joints: Depressurize, repair, refill, remove air, and repeat the full timed procedure.
One practitioner rule matters more than many homeowners expect: test the test rig separately. A capped pump assembly that loses pressure proves the gauge, hose, valve, or plug is faulty, not the house plumbing.
The Bottom Line
To test pressure water line safely, use a hydrostatic water test for most residential supply piping, isolate every outlet and appliance, remove trapped air, and pressurize only to the approved limit. Record the gauge reading for the code-required period, inspect exposed joints, and retest after every repair.
The 100-150 PSI range and 15-minute to two-hour duration are common reference points, not universal instructions. The applicable plumbing code, pipe manufacturer, component ratings, temperature, and inspector requirements determine the final procedure.
Frequently Asked Questions
Can I use the home water pressure instead of a test pump?
Normal household pressure is usually 40-80 PSI and may not meet a rough-in test requirement. Municipal pressure can also fluctuate and may escape through the supply connection. A manual hydrostatic pump provides controlled pressure, a readable starting point, and a repeatable test record without relying on changing street or well pressure.
Should water lines be tested before or after drywall?
Test water lines after installation and before insulation, drywall, burial, or other coverings conceal the joints. Early testing allows direct inspection and inexpensive repairs. A final test after repairs is still appropriate, but it does not replace the initial rough-in test because concealed damage may occur during later construction.
Can a pressure test find a pinhole leak?
A pressure test can identify a pinhole leak when the isolated section loses pressure, but it may not reveal the exact location. Inspect exposed joints, use branch isolation, and compare test-rig performance first. Buried or concealed pinholes may require acoustic, thermal, tracer-gas, or targeted access diagnostics.
How accurate should the pressure gauge be?
Use a gauge whose range makes the expected pressure change easy to read, commonly 0-200 PSI for a 100-150 PSI residential test. Verify that the gauge is undamaged and recently calibrated when documentation matters. A large industrial gauge can technically measure pressure while still hiding a small but meaningful decline.
Is a pressure test the same as a leak test?
A pressure test is one type of leak test that evaluates whether an isolated system holds pressure. It does not measure flow capacity, fixture performance, water quality, or the cause of every active leak. A complete plumbing inspection may require separate flow, drainage, backflow, temperature, and visual tests.