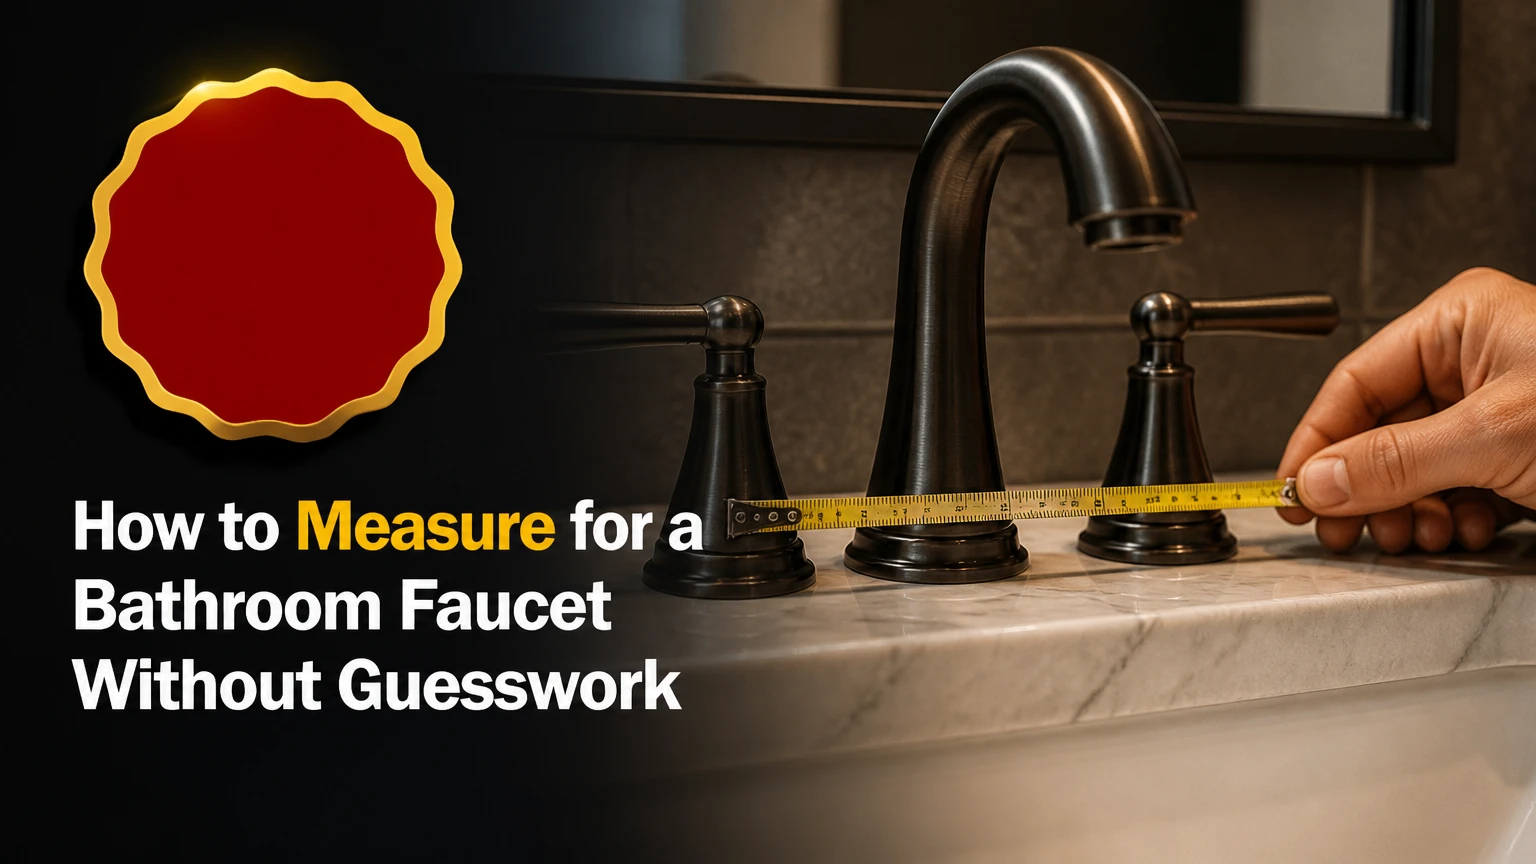
To measure for a bathroom faucet, count the sink’s mounting holes, record center-to-center spacing, measure the available deck and wall clearance, and check spout reach and height against the basin. The most important measurement is the distance between hole centers, but basin geometry determines whether the water stream lands correctly.
Key Facts at a Glance
Bathroom faucet hole spacing is measured center-to-center, not edge-to-edge.
A 4-inch centerset faucet usually fits holes spaced 4 inches apart.
Widespread bathroom faucets commonly require 8-16 inches between the outside hole centers.
Most bathroom faucet mounting holes are approximately 1.25-1.5 inches in diameter, but the faucet specification controls compatibility.
Spout reach should place the aerator over the basin rather than against the backsplash or beyond the front rim.
Measuring an existing faucet normally takes 5-10 minutes and requires a tape measure, ruler, flashlight, and paper.
What Measurements Does a Bathroom Faucet Require?
A bathroom faucet replacement requires six measurements: hole count, hole spacing, hole diameter, spout reach, spout height, and available clearance. Record each value in inches, then compare those values with the manufacturer’s specification sheet rather than relying on the faucet’s product name alone.
A faucet measurement describes both compatibility and performance. Hole spacing determines whether the mounting hardware can pass through the sink or countertop. Spout reach determines where water falls. Spout height affects hand clearance, splash, and obstruction risk.
Measure the sink and countertop separately when the faucet is mounted on a vanity top. An integrated sink may have factory-drilled holes, while a countertop with an undermount basin may have holes cut several inches behind the bowl. The same faucet can fit both installations mechanically but perform differently because the basin position changes.
What You Need Before Measuring
The measurement process takes about 5-10 minutes for an exposed faucet and 15-20 minutes when cabinet access is restricted. Use a metal or flexible tape measure, a small ruler, a flashlight, masking tape, a pencil, and a phone camera.
Turn off the water only if you plan to remove the existing faucet. You can measure most replacement projects without disconnecting supply lines. Photograph the underside of the vanity, the top deck, and any manufacturer label before purchasing, because those images often reveal mounting brackets, integrated supply hoses, or unusual hole arrangements.
Step 1: How Many Faucet Holes Does the Sink Have?
Count the actual mounting holes in the sink deck or countertop, excluding the drain opening, overflow opening, soap-dispenser hole, and any unused accessory opening. A bathroom sink may have one, two, or three faucet holes, while wall-mounted faucets use no deck-mounted faucet holes.
Remove or lift the decorative escutcheon if it hides the old faucet body. A three-hole faucet may appear to be a single-hole design because a wide deck plate covers the two outer handles. Look underneath the deck when the top view is uncertain.
| Existing hole pattern | Typical mounting arrangement | Common replacement |
|---|---|---|
| 1 hole | Faucet body and handle share one opening | Single-hole faucet |
| 2 holes | Separate spout and one handle, uncommon in modern US lavatories | Matching two-hole faucet |
| 3 holes, 4-inch spacing | Spout and handles on a compact spread | 4-inch centerset faucet |
| 3 holes, 8-16-inch spacing | Separate widespread spout and handles | Widespread faucet |
| 0 deck holes | Faucet is installed through the wall | Wall-mounted faucet |
A soap-dispenser opening does not count as a faucet hole, even when it sits beside the spout. Accessory holes are often wider or positioned farther forward than the faucet pattern, so using them in a spacing calculation produces the wrong replacement size.
Step 2: Measure Faucet Hole Spacing Center-to-Center
Measure faucet hole spacing from the center of the left mounting hole to the center of the right mounting hole in a straight line. Do not measure the outside edges, the inside edges, or the visible ends of the faucet handles.
For a three-hole faucet, measure between the centers of the two outside holes. The center hole usually contains the spout, and the outside-to-outside center distance defines the faucet configuration. Write down the result as a nominal size, such as 4 inches or 8 inches, while retaining the actual measurement.
A ruler can locate each center through an open hole. If the faucet remains installed, measure from the centerline of one handle to the centerline of the other. When decorative caps make the centerline difficult to identify, use the underside mounting studs or remove the handle escutcheons.
Common Faucet Spacing Dimensions
| Faucet configuration | Typical center spacing | Hole requirement | Deck-plate compatibility |
|---|---|---|---|
| Single-hole | 0 inches between holes | 1 hole, typically 1.25-1.5 inches | May cover a 3-hole, 4-inch pattern |
| Centerset | 4 inches | 3 holes or specified single-hole adapter | Often includes an integrated base |
| Mini-widespread | 4-8 inches | 3 separate holes | Usually requires separate components |
| Widespread | 8-16 inches | 3 separate holes | Rarely covers 4-inch patterns |
| Wall-mount | Not applicable | Wall valve and trim openings | Cannot use a deck plate |
Nominal dimensions are not permission to guess. A faucet marketed as 8-inch widespread may allow a range around that figure, but the exact minimum and maximum spread appear in the installation instructions. Kohler, Moen, Delta, and American Standard each publish model-specific rough-in or installation dimensions, and those documents take priority over category labels.
Step 3: Measure Hole Diameter and Deck Thickness
Measure the diameter of each faucet opening and the thickness of the mounting deck at the hole. Hole diameter confirms whether the faucet shank fits, while deck thickness determines whether the supplied mounting nut can engage enough threads.
Most standard bathroom faucet holes measure approximately 1.25-1.5 inches in diameter. Vessel-sink decks, custom stone tops, cast-iron sinks, and older fixtures can differ. A hole can have the correct diameter and still reject a faucet because the shank is too short or the underside is inaccessible.
Use calipers for precision when available. Otherwise, place a ruler across the widest part of the opening and read the distance to the nearest 1/16 inch. Measure the deck thickness with the faucet removed or by checking the vanity-top specification.
Check whether the replacement faucet includes a rubber gasket and metal washer. A gasket designed for a thin porcelain sink may not seal against a thick stone countertop, and a long threaded shank may be necessary for a vessel-sink installation.
Step 4: How Do You Measure Spout Reach Correctly?
Measure spout reach from the faucet’s mounting centerline to the aerator outlet, then compare that line with the basin’s drain center and rear wall. The ideal spout reach positions the water stream near the drain or usable center of the bowl without touching the backsplash or front rim.
Do not measure only the decorative spout’s outer curve. Product specification sheets usually define reach as the horizontal distance from the faucet centerline to the center of the aerator outlet. That published dimension is the value to compare with your sink.
Measure these distances:
- From the faucet hole centerline to the drain center.
- From the faucet hole centerline to the inside back wall of the basin.
- From the drain center to the inside front wall.
- From the faucet centerline to any backsplash or raised rim.
The drain center is a useful target, not an absolute requirement. A shallow rectangular basin may require the stream to fall slightly forward of the drain for comfortable handwashing, while a deep round basin can tolerate more variation. A swivel aerator can correct a small alignment error, but it cannot compensate for a spout that is several inches too short.
Reach and Basin Examples
| Basin situation | Typical faucet reach | Main risk | Preferred check |
|---|---|---|---|
| Small 18-inch powder-room sink | 4-5 inches | Stream hits rear wall | Target drain center |
| Standard 20-22-inch lavatory | 4.5-6 inches | Water lands too far forward | Compare aerator to basin center |
| Deep rectangular vessel sink | 6-8 inches | Short spout misses bowl | Measure above-counter projection |
| Wide undermount basin | 5-7 inches | Stream favors one side | Measure hole-to-drain offset |
| Wall-mounted faucet | 7-9 inches typical | Finished-wall depth changes reach | Measure valve center to basin |
The one-inch tolerance sometimes used in buying advice is only a rough screening rule. Basin depth, faucet angle, aerator direction, and hole position matter more than a universal tolerance. Use a cardboard template at the proposed faucet centerline when the reach is close.
Step 5: Measure Spout Height and Vertical Obstructions
Measure spout height from the faucet deck to the highest point of the spout, then measure the outlet height separately if the manufacturer provides it. Spout height must clear hands and the basin rim while remaining below medicine cabinets, mirrors, shelves, and windows.
A high-arc faucet is not automatically better for a bathroom sink. On a shallow basin, a tall outlet increases the distance water falls, which can increase splash. Vessel sinks often need a taller faucet, but the required height depends on the vessel rim and whether the faucet sits beside or behind the bowl.
Record four vertical values:
- Deck surface to the basin rim.
- Deck surface to the basin bottom.
- Deck surface to the faucet’s highest point.
- Deck surface to the lowest obstruction above the faucet.
Leave operating space for handles. A lever that rotates backward can strike a backsplash even when the faucet body itself fits beneath a mirror. A forward-rotating cartridge or side clearance can solve that problem without changing the spout.
Step 6: Check Rear-Deck, Wall, and Under-Sink Clearance
Measure from the faucet-hole centerline to the finished backsplash or wall, and inspect the cabinet space below the deck for mounting nuts, supply hoses, and lift-rod movement. A nominal 2-inch rear clearance is a useful planning minimum, but the faucet’s handle arc and base diameter determine the actual requirement.
The top and underside need different checks. On top, verify that the faucet base does not overlap a backsplash, raised sink rim, or narrow rear ledge. Below, verify that the mounting hardware can be tightened and that supply lines do not kink against the vanity wall.
For a faucet with a pop-up drain, inspect the lift rod and clevis strap. A drawer, shelf, or rear cross brace can block the rod even when the faucet mounting nut fits. Touchless faucets may need battery-pack or control-box clearance that a standard lever faucet does not require.
| Clearance point | Typical planning value | What to measure | Failure if ignored |
|---|---|---|---|
| Faucet centerline to backsplash | 2 inches or more | Deck to finished wall | Handle interference |
| Mounting area below deck | 3-5 inches vertical | Deck to shelf or brace | Nut cannot tighten |
| Supply-line bend radius | 2-4 inches | Valve to faucet inlet path | Kinked or stressed hose |
| Pop-up lift-rod path | 4-6 inches vertical | Rod to shelf or drawer | Drain stopper cannot operate |
| Mirror or cabinet above faucet | Model-specific | Deck to obstruction | Spout or handle collision |
What Does the Underside Reveal?
The underside reveals the information that top-down measuring often misses: deck thickness, mounting-stud length, supply-line routing, shutoff-valve position, and obstructions inside the vanity. Take a centered photograph with the cabinet doors open and include a ruler for scale.
Do not assume a new faucet’s flexible hoses will reach old shutoff valves. Typical bathroom faucet connectors are 3/8-inch compression fittings at the valve end, but faucet inlets and included adapters vary by model and market. Replace corroded shutoff valves before installation if they cannot close completely.
Which Bathroom Faucet Type Matches Each Measurement?
A single-hole faucet matches one deck opening, a centerset faucet matches a compact 4-inch three-hole pattern, and a widespread faucet matches separate holes commonly spaced 8-16 inches apart. A wall-mounted faucet requires compatible in-wall valves and finished-wall dimensions instead of deck-hole measurements.
| Faucet type | Typical spacing | Typical price range | Installation time | Best fit |
|---|---|---|---|---|
| Single-hole | 1 hole, 1.25-1.5-inch opening | $40-$180 | 45-90 minutes DIY | Narrow vanity or clean replacement |
| Centerset | 4-inch center-to-center | $40-$200 | 60-120 minutes DIY | Common three-hole lavatory |
| Mini-widespread | 4-8-inch adjustable range | $100-$300 | 90-150 minutes DIY | Compact custom countertop |
| Widespread | 8-16-inch center-to-center | $120-$600+ | 90-180 minutes DIY | Separate luxury-style components |
| Wall-mounted | Valve-specific | $250-$900+ installed | 3-8 hours with wall access | New construction or major remodel |
A deck plate can make a single-hole faucet fit a three-hole sink only when the plate is designed for the existing hole pattern and fully covers the unused openings. A single-hole faucet cannot independently connect to two outer holes without a compatible adapter or plate.
Centerset faucets are efficient for standard vanities, but their fixed body limits handle placement. Widespread faucets provide more spacing flexibility and easier cleaning around individual components, yet they introduce more connections and require accurate hole placement.
Wall-mounted faucets are poor choices for a simple fixture swap when the existing plumbing is deck-mounted. The rough-in valve must sit at the correct height and depth inside the wall, and finished-wall thickness changes the trim position. That work often requires opening tile or drywall.
What Are the Most Common Measurement Mistakes?
The most common faucet measurement errors are using edge-to-edge spacing, ignoring the basin’s drain offset, forgetting the handle arc, and trusting a category label instead of the installation sheet. Each error can create a faucet that fits the holes but performs badly.
| Mistake | Typical consequence | Correction before purchase |
|---|---|---|
| Measuring hole edges | Faucet spread is wrong by hole diameter | Measure center to center |
| Counting an accessory hole | Incorrect replacement configuration | Identify water-connected mounting holes |
| Matching reach to basin width | Water stream misses the drain | Measure hole center to drain center |
| Ignoring deck thickness | Mounting nut cannot engage | Compare deck thickness with shank length |
| Forgetting backsplash depth | Handle hits wall | Check handle rotation and rear clearance |
| Assuming every deck plate fits | Unused holes remain visible | Confirm plate length and hole layout |
One practitioner rule is to dry-fit the geometry with tape before ordering. Mark the faucet centerline, aerator target, handle sweep, and backsplash line on cardboard or painter’s tape. This takes two minutes and exposes many reach and clearance errors that a dimension list hides.
Another rule is to measure the replacement faucet’s functional outlet, not its visual silhouette. A curved spout can look long while its aerator remains close to the mounting centerline. The water outlet controls performance.
Can You Measure a Bathroom Faucet Without Removing It?
You can measure hole spacing, approximate reach, spout height, and rear clearance without removing an existing bathroom faucet. Remove the faucet only when you need exact hole diameter, deck thickness, underside access, or confirmation that a deck plate is hiding separate holes.
Use the current faucet as a reference for centerlines. Measure handle-center to handle-center, then verify the result from below if possible. Measure spout reach from the center of the faucet body to the aerator outlet, not from the front edge of the base.
If the faucet has a removable aerator, do not remove it solely for measuring. The outlet center remains the relevant point. Removal becomes useful when a clogged or damaged aerator is causing a stream problem that might otherwise be mistaken for incorrect faucet reach.
How Much Time and Money Should You Plan?
Measuring a bathroom faucet usually costs nothing and takes 5-10 minutes, while a standard DIY replacement commonly takes 1-2 hours. Typical fixture prices range from $40-$200 for single-hole or centerset models and from $120-$600 or more for widespread designs.
These are planning ranges, not fixed retail or labor prices. Local plumbing rates, access conditions, shutoff-valve replacement, countertop drilling, and wall repair can change the total substantially.
| Project condition | Typical materials | Typical labor or DIY time | Typical total cost |
|---|---|---|---|
| Measure only | Tape, ruler, paper | 5-10 minutes | $0-$10 |
| Simple single-hole replacement | Faucet, plumber’s putty or sealant | 1-2 hours DIY | $50-$250 |
| Centerset replacement with new supply lines | Faucet, hoses, drain parts | 1-2.5 hours DIY | $70-$300 |
| Widespread replacement | Faucet set, hoses, drain assembly | 1.5-3 hours DIY | $150-$700 |
| Plumber-installed standard faucet | Faucet and standard connections | 45-90 minutes labor | $150-$450 |
| New countertop hole drilling | Diamond bit, template, professional setup | 1-3 hours | $100-$400 additional |
| Wall-mount conversion | Valve, trim, wall access, finish repair | 3-8 hours | $500-$1,500+ |
A plumber may finish a straightforward faucet replacement in 45-90 minutes, but seized nuts, inaccessible shutoff valves, brittle supply lines, and corroded sink hardware create delays. Budget for replacement angle stops when the existing valves are more than approximately 15-20 years old or show corrosion.
What If the Measurements Do Not Match?
A measurement mismatch requires identifying whether the problem is spacing, hole diameter, deck thickness, reach, or plumbing position. Do not force a faucet into an incompatible hole pattern, because stress on the shank or supply connection can damage porcelain, stone, or the water line.
Single-Hole Faucet on a Three-Hole Sink
Use a manufacturer-approved 4-inch deck plate when the sink has three holes with the correct compact spacing and the plate covers both outer openings. Confirm the plate’s length, gasket shape, and faucet-body opening before purchase.
A deck plate is unsuitable when the outer holes are widely spaced, the countertop is too narrow for the plate, or the old openings are irregular and visible beyond the cover. In those cases, select a matching centerset or widespread faucet, or replace the countertop.
Spout Reach Misses the Basin
First confirm that the faucet is centered over the intended bowl. If the stream is only slightly off target, an adjustable aerator may help. If the spout ends behind the basin centerline or beyond the front rim, replace the faucet with the correct reach rather than relying on an aerator.
A stream that hits the rear wall can stain the backsplash and create noise. A stream that lands beyond the front rim can spill onto the vanity. Both symptoms indicate a geometry mismatch, not merely low water pressure.
Handles Hit the Backsplash
Choose a faucet with forward handle rotation, shorter rear travel, or separate widespread handles that can be installed farther from the wall. The published faucet footprint does not always show the full operating arc, so inspect the installation diagram or ask the manufacturer for the handle-clearance dimension.
Mounting Hardware Will Not Fit
Check the deck thickness, access opening, mounting-stud length, and nearby braces. A basin cabinet may require a basin wrench or a special long-reach tool, but no tool can compensate for a threaded shank that is too short.
How Do You Measure Special Bathroom Faucet Installations?
Special installations require measuring the finished surfaces and plumbing centerlines, not only the visible faucet. Vessel sinks, wall-mounted faucets, custom countertops, and accessible bathrooms each add dimensions that ordinary centerset replacements do not require.
Vessel Sink
Measure from the countertop to the vessel rim and from the faucet hole to the basin center. The faucet outlet should clear the rim while remaining close enough to direct water into the bowl. A typical vessel-faucet body may be 8-12 inches tall, but the required dimension depends on the sink height and spout geometry.
Wall-Mounted Faucet
Measure the basin rim height, desired spout outlet height, distance from the finished wall to the basin drain, and valve centerline. Then verify the valve’s required rough-in depth against the final wall thickness.
Wall-mounted trim dimensions vary by valve brand. A Delta trim kit cannot automatically use a Moen valve, and a replacement trim from the same brand may still require a specific valve family. Record the valve model before ordering.
New Countertop
Use the faucet manufacturer’s template to mark hole centers, minimum rear clearance, and minimum distance between holes. Have the fabricator confirm that the proposed pattern avoids cabinet rails, sink cutouts, backsplash returns, and structural supports.
Do not drill a new hole in tempered glass, ceramic, or stone without confirming the material and bit requirements. A professional fabricator is the safer option for quartz, granite, porcelain, and finished ceramic sinks.
Accessible Bathroom
Measure handle reach, clearance around the basin, and whether the user can operate the control without contacting the backsplash or vanity. ADA requirements can apply to public or commercial facilities and may not map directly onto a private residential remodel, so consult the applicable local code or building official.
FAQ
Are bathroom faucets a standard size?
Bathroom faucets do not have one universal size. Single-hole faucets use one opening, centerset faucets commonly use 4-inch center-to-center spacing, and widespread faucets often use 8-16 inches. Hole diameter, deck thickness, reach, and valve connections also vary by manufacturer and model.
Is a 4-inch faucet the same as a centerset faucet?
A 4-inch faucet is commonly a centerset faucet, but the terms describe different features. Four inches refers to the spacing between outside hole centers, while centerset describes a compact faucet arrangement in which the spout and handles share one base or closely grouped body.
Can I drill another hole in my bathroom sink?
You can drill a new faucet hole only when the sink or countertop material supports drilling and the manufacturer permits modification. Porcelain, ceramic, stone, quartz, and glass require specialized tools and procedures. Never drill tempered glass, and use a qualified fabricator when material failure would be costly.
Should the bathroom faucet line up with the drain?
The faucet outlet should generally direct water toward the basin’s usable center, often near the drain, but exact alignment is not mandatory. Basin depth, drain offset, spout angle, and aerator design affect the target. Test the outlet position against the bowl rather than matching drain and faucet centers blindly.
How long does a bathroom faucet replacement take?
A straightforward replacement usually takes 1-2 hours for a prepared DIY installer and 45-90 minutes for a plumber. Corroded mounting nuts, inaccessible shutoff valves, new supply lines, countertop drilling, or wall access can extend the project to several hours.
Do I need to replace the drain with the faucet?
You do not always need a new drain, but many bathroom faucet packages include a matching pop-up drain. Replace the drain when the finish does not match, the stopper mechanism is damaged, the flange leaks, or the new faucet’s lift rod cannot connect to the existing assembly.
The Bottom Line
To measure for a bathroom faucet, count the mounting holes, measure outside-hole centers, verify hole diameter and deck thickness, and map spout reach, height, and operating clearance. Match those measurements to the manufacturer’s installation sheet, then confirm the water outlet lands inside the basin. Five to ten careful minutes can prevent the wrong faucet, a leaking connection, or an expensive countertop change.