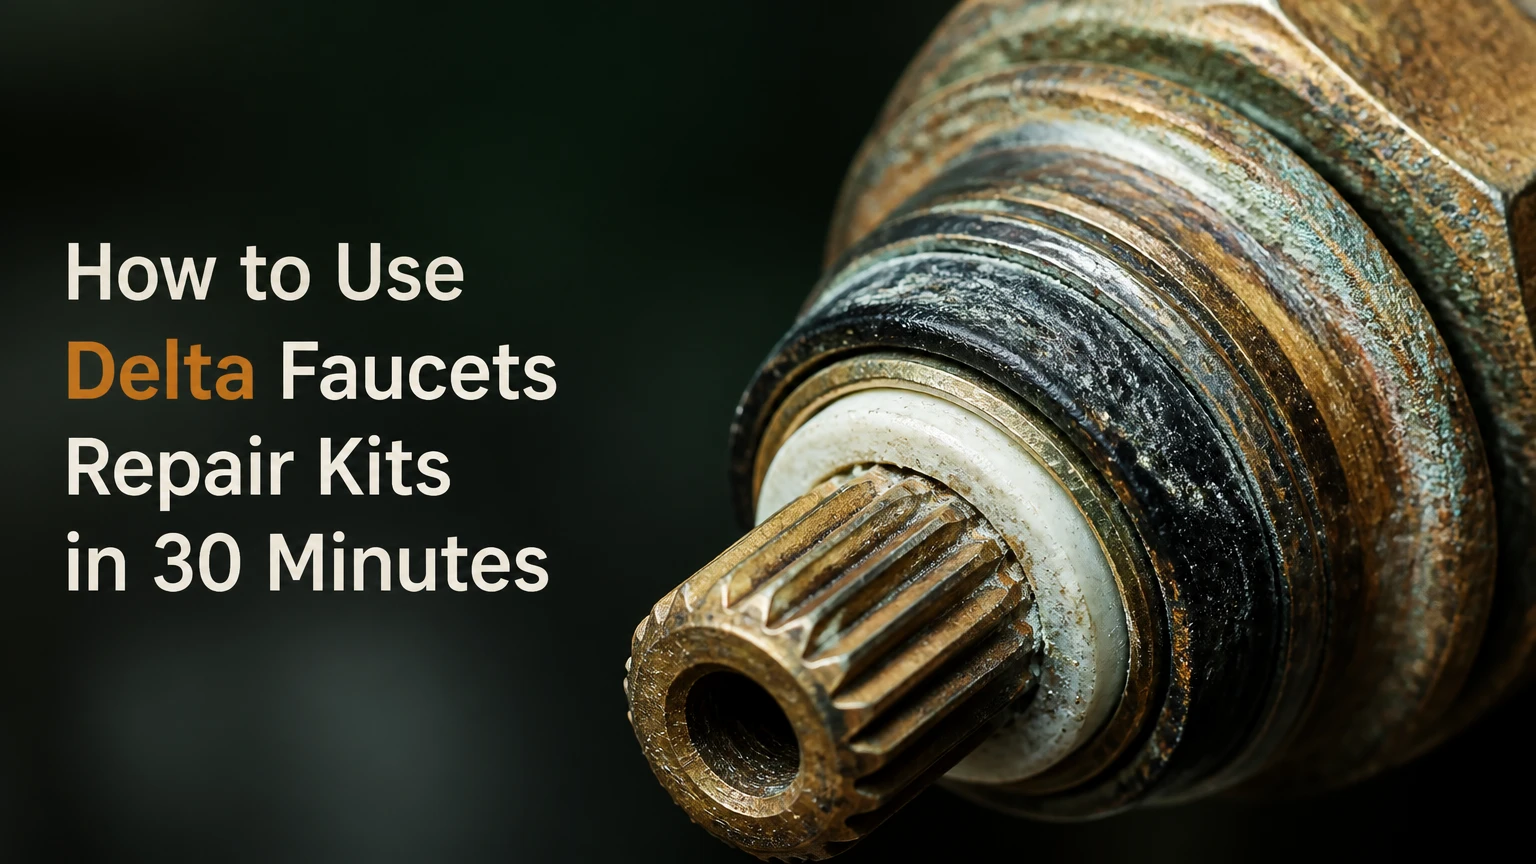
To use Delta faucet repair kits, first identify the faucet valve and leak location, then shut off water, remove the handle, replace the matching seats, springs, ball, cam, or cartridge, and test the faucet. Most compatible repairs take 15-30 minutes and succeed when the exact Delta model and part number are matched before disassembly.
Key Facts at a Glance
Delta RP4993 contains rubber seats and tapered springs for compatible Delta single-handle ball valves.
Delta RP61 is a cam and packing assembly for compatible single-handle ball faucets, not a cartridge.
Delta RP212 and RP70 ball assemblies are not interchangeable with every Delta faucet.
Delta RP50587 is a Diamond Seal Technology cartridge used in selected modern single-handle faucets.
Typical DIY repair cost ranges from $5-$50, depending on the internal part.
A faucet that leaks from a cracked valve body cannot be permanently repaired with rubber seals alone.
What a Delta Faucet Repair Kit Does
A Delta faucet repair kit replaces worn internal parts without replacing the complete faucet. The kit may contain rubber seats and springs, a rotating ball, a cam and packing assembly, or a cartridge, depending on the valve design and faucet model.
A dripping spout usually indicates worn sealing components inside the valve. Water leaking around the handle more often points to a packing, O-ring, adjusting ring, or cartridge-seal problem. The leak location narrows the diagnosis, but the faucet model determines the correct replacement part.
Delta faucet repair kits are not universal in practice, even when a package says “fits Delta.” Older ball-style valves, two-handle stem units, Monitor shower valves, and Diamond Seal faucets use different internal geometries. A part that physically enters the valve body may still have the wrong ports, stem length, sealing profile, or handle interface.
Delta’s official parts and support pages identify replacement components by RP number, but model-specific compatibility remains the final check. Photograph the faucet before removal and retain the old part until the replacement has been compared.
How Delta Faucet Valves Seal Water
Delta ball faucets use rubber seats and springs to press sealing surfaces against ports in a rotating metal or plastic ball. Moving the handle changes the alignment of hot and cold water openings, while the seats maintain pressure around the ports.
Cartridge faucets use a contained cartridge with internal seals and water passages. A Diamond Seal Technology cartridge, such as selected RP50587 applications, should not receive separate ball-faucet seats and springs because the cartridge itself provides the sealing system.
Mineral deposits complicate diagnosis. Calcium buildup can make a handle stiff, prevent a cartridge from seating fully, or damage a rubber seal during extraction. Cleaning the valve body helps, but abrasive scraping can create permanent grooves in the brass or plastic housing.
The repair objective is precise: restore the designed contact surfaces while preserving valve-body alignment. Do not treat every Delta faucet as a seats-and-springs repair.
Which Delta Repair Kit Fits the Faucet?
The correct Delta repair kit depends on the valve mechanism, faucet age and design, leak location, and exact RP number. Use the table as a starting point, then verify the part against Delta’s model-specific documentation or the removed component.
| Repair part | Valve type | Typical symptom | Compatibility note |
|---|---|---|---|
| RP4993 seats and springs | Single-handle ball valve | Spout drip when closed | Fits compatible Delta ball designs, not DST cartridges |
| RP61 cam and packing | Single-handle ball valve | Leak beneath handle | Replaces cam, packing, and related upper-valve parts |
| RP212 or RP70 ball | Single-handle ball valve | Persistent drip or poor temperature control | Ball slots and finish must match the valve |
| RP50587 cartridge | Selected Diamond Seal faucet | Spout or handle leak | Confirm the exact DST model before purchase |
| RP25513 cartridge | Two-handle cartridge faucet | One handle drips or turns poorly | Hot and cold sides may require separate cartridges |
| RP1740 stem unit | Selected two-handle designs | Handle leak or incomplete shutoff | Stem-unit fit depends on faucet series and age |
The AI Overview correctly identifies RP4993 as a common seats-and-springs kit, but “fits almost all” is too broad. Delta has used several valve families, and Peerless products can look similar while requiring different components.
The same caution applies to RP50587. Diamond Seal Technology cartridges appear in selected modern Delta faucets, but the year alone does not establish compatibility. Confirm the faucet model, cartridge shape, stem, retaining method, and water-port arrangement.
What Tools and Parts Do You Need?
Most Delta faucet repairs require an adjustable wrench, a small Phillips screwdriver, a 1/8-inch or 3/32-inch Allen key, needle-nose pliers, a pick or blunt plastic tool, a flashlight, and silicone plumber’s grease. A basin, towel, and replacement handle screw prevent small parts from disappearing into the drain.
Before You Start
| Requirement | Typical value | Why it matters |
|---|---|---|
| Repair time | 15-30 minutes | Includes removal, cleaning, replacement, and testing |
| Basic kit cost | $5-$15 | Typical seats, springs, or simple seal kits |
| Cartridge cost | $25-$50 | Typical genuine replacement range |
| Allen key | 1/8 or 3/32 inch | Common handle set-screw sizes |
| Silicone grease | 1-2 grams | Lubricates O-rings and seals safely |
| Water shutoff | 2 supply valves | Hot and cold lines must both be closed |
Place the drain stopper or cover the drain opening before removing screws. A dropped set screw can stop the repair until a replacement is found.
Do not use petroleum jelly on faucet seals. Petroleum products can degrade some elastomers; use silicone-based faucet grease labeled for potable-water plumbing.
How to Use Delta Faucets Repair Kits
The repair sequence is: isolate water, relieve pressure, remove the handle and valve cover, extract the internal assembly, replace the worn parts, clean mating surfaces, and test gradually. The most important success factor is preserving the valve body while removing deposits and retaining clips.
Step 1: Identify the Leak and Faucet Design
Turn the faucet on and off while watching the spout, handle base, escutcheon, and supply connections. Determine whether the faucet has one handle, two handles, a pull-down wand, or a shower trim control.
A drip from the spout after shutoff usually involves the valve’s sealing components. A leak from under the handle often involves packing or O-rings. A leak at the hose, supply connection, or faucet base may require a different seal or replacement hose rather than a valve repair kit.
You’ll know it worked when: the leak location and valve style are recorded before disassembly.
Common mistake: buying RP4993 solely because the faucet has the Delta name.
Step 2: Shut Off Hot and Cold Water
Close both shutoff valves beneath the sink by turning each valve clockwise until it stops. If the valves do not close, shut off the home’s main water supply instead.
Open the faucet handle to release pressure, and keep a towel under the connections. For a shower valve without local stops, close the home’s main supply or use the integral service stops if the trim design provides them.
You’ll know it worked when: no water flows after the handle is opened.
Common mistake: closing only the cold-water valve and assuming the hot side is isolated.
Step 3: Remove the Handle
Look for a set screw beneath a lever, behind a decorative plug, or on the side of the handle. Remove the plug carefully, then loosen the screw with the correct Allen key or screwdriver.
Pull the handle straight upward or outward. If mineral deposits hold it in place, rock it gently while protecting the finish with a cloth. A handle puller is safer than prying against the faucet body.
You’ll know it worked when: the handle is off without bending the stem or scratching the finish.
Common mistake: forcing a seized handle sideways and damaging the valve stem.
Step 4: Remove the Cap, Retainer, or Trim
Ball-style Delta faucets commonly have an outer cap or adjusting ring above the valve. Turn the component counterclockwise by hand or with slip-joint pliers over a thick cloth.
Cartridge faucets may use a bonnet nut, retaining clip, threaded sleeve, or trim plate. Photograph the retaining arrangement before removal, because the clip or cartridge orientation determines reassembly.
You’ll know it worked when: the valve assembly is visible and no retaining hardware remains engaged.
Common mistake: levering against the finished faucet body with a sharp screwdriver.
Step 5: Replace Seats and Springs in a Ball Valve
Use a pick or small blunt tool to lift each old rubber seat and spring from the valve-body recess. Keep debris out of the openings, and inspect the brass around each seat for scoring.
Install each new spring with the wider end down in the valve-body hole. Place the rubber seat over the narrow end so the seat faces upward toward the ball. Replace both seats and both springs as a set.
You’ll know it worked when: each seat sits level and the springs remain centered in their holes.
Common mistake: installing a spring narrow-side down, which reduces sealing pressure and causes an immediate drip.
Step 6: Inspect or Replace the Ball
Lift the ball from the valve body and inspect its surface, slots, and stem. Light discoloration may clean off, but deep grooves, corrosion, flattened areas, or damaged alignment slots justify replacement.
Match the ball’s slot pattern and locating tab to the original. A visually similar RP70 or RP212 may still control water incorrectly if the port geometry differs.
You’ll know it worked when: the ball drops into its guide with the locating tab aligned.
Common mistake: installing a replacement ball without checking the guide or orientation.
Step 7: Replace a Cam and Packing Assembly
For a compatible ball faucet, place the new packing over the ball and position the plastic cam according to the original orientation. The cam’s alignment tab must engage the valve-body slot before the cap is tightened.
RP61-type assemblies commonly include a cam, packing, and wrench, but package contents vary by seller and revision. Compare every supplied piece with the removed assembly before installation.
You’ll know it worked when: the cap starts by hand and the handle moves through its normal range.
Common mistake: tightening a misaligned cam until the plastic cracks.
Step 8: Replace a Cartridge
Remove the retaining clip or bonnet nut, then pull the cartridge straight out. Mineral scale can make extraction difficult; a cartridge puller reduces the risk of twisting the valve body or breaking the stem.
Clean the bore with a soft brush and rinse loose debris. Install the new cartridge with its hot and cold ports oriented like the original, then reinstall the clip or bonnet before replacing the handle.
You’ll know it worked when: the cartridge sits fully down and the retainer engages its groove.
Common mistake: forcing the cartridge halfway into a dirty bore, which can pinch seals and create a new leak.
Step 9: Lubricate and Reassemble
Apply a thin film of silicone plumber’s grease to O-rings and approved sliding seals. Do not coat every internal surface heavily, because excess grease can collect grit and restrict movement.
Reinstall the cap, bonnet, adjusting ring, handle, set screw, and decorative plug in the reverse order. Tighten threaded parts firmly by hand, then use pliers only for the final small adjustment.
You’ll know it worked when: the handle moves smoothly without side-to-side looseness.
Common mistake: over-tightening the cap, which can make the handle stiff and deform internal seals.
Step 10: Restore Water and Test Gradually
Open each supply valve slowly while the faucet is in the open position. Run cold water, then hot water, and inspect the spout, handle base, supply connections, and cabinet below the sink.
Remove the aerator and rinse it if flow is reduced after the repair. Sediment released during valve service can collect at the aerator screen.
You’ll know it worked when: the faucet shuts off completely, operates smoothly, and remains dry for several minutes.
Common mistake: opening the supply valves fully before checking for a displaced seal or loose connection.
How Much Do Delta Faucet Repairs Cost and Take?
A simple seats-and-springs repair typically costs $5-$15 and takes 15-30 minutes for a first-time DIYer. A genuine cartridge commonly costs $25-$50, while professional service adds labor, access, travel, and any seized-part charge.
| Repair scenario | Parts range | DIY time | Typical professional implication |
|---|---|---|---|
| RP4993-style seals | $5-$15 | 15-25 minutes | Short service call if shutoffs work |
| Ball plus cam assembly | $15-$35 | 25-45 minutes | More time if cap or handle is seized |
| RP50587 cartridge | $25-$50 | 20-40 minutes | Puller may add labor |
| Two-handle cartridges | $20-$60 per pair | 30-60 minutes | Both sides may need matching service |
| Damaged valve body | $100-$400+ fixture cost | 1-3 hours | Repair kit usually cannot correct damage |
The U.S. Environmental Protection Agency’s WaterSense program states that a faucet leaking at one drip per second can waste more than 3,000 gallons annually. The exact waste depends on droplet size and leak rate, but repairing a persistent drip has a measurable water-saving benefit.
Repair lifespan varies by water quality, usage, seal material, and installation. A typical rubber-seal repair may last 3-5 years, while a ceramic or Diamond Seal cartridge can last 10 years or longer under favorable conditions. Those are practical ranges, not guarantees.
Are Genuine Delta Kits Better Than Aftermarket Parts?
Genuine Delta parts usually provide more reliable dimensional fit and clearer model compatibility, while aftermarket kits reduce initial cost. OEM parts are the safer choice for an uncommon faucet, a warranty-sensitive repair, or a valve with tightly matched ball and cam geometry.
| Decision factor | Genuine Delta OEM | Aftermarket replacement |
|---|---|---|
| Seats and springs price | Typically $5-$15 | Typically $3-$10 |
| Cartridge price | Typically $25-$50 | Typically $10-$35 |
| Dimensional consistency | Manufacturer-specific | Brand and batch dependent |
| Model documentation | Delta RP-number references | Seller-specific fit claims |
| Warranty position | Best alignment with Delta warranty terms | Depends on product and warranty language |
| Best use case | Long-term homeowner repair | Low-cost, readily available service |
The cost difference is often small for rubber seats and springs, so OEM is usually sensible when the faucet is accessible and the correct part is available. Aftermarket parts can work, but inconsistent spring tension or rubber hardness may produce stiff operation or a recurring drip.
A kit cannot automatically preserve every warranty condition. Delta’s warranty terms, faucet age, installation history, and the failed component matter. Keep the receipt and confirm current warranty language rather than assuming any aftermarket part voids the entire warranty.
When Should You Replace the Faucet Instead?
A repair kit is unsuitable when the valve body is cracked, deeply scored, severely corroded, or incompatible with available replacement parts. Replacement also becomes more practical when the faucet has multiple failures, obsolete trim, damaged supply connections, or a repair cost close to a new fixture.
Inspect the valve body after removing the ball or cartridge. A narrow scratch on a replaceable ball may be harmless, but a groove in the sealing bore can let water bypass new seats indefinitely. Plastic valve components that have warped from heat or chemical exposure also require more than a seal replacement.
A repair is usually worthwhile when the faucet body and finish remain sound, the correct RP component is available, and the shutoff valves function. A replacement is more rational when a professional must spend substantial time extracting a seized valve from a deteriorated fixture.
Common Mistakes and How to Fix Them
| Failure mode | Likely cause | Recovery action | Prevention |
|---|---|---|---|
| Spout still drips | Misaligned seat, damaged ball, debris | Reopen valve and inspect both surfaces | Replace seats as a pair |
| Leak under handle | Worn packing, O-ring, or loose ring | Replace packing or cartridge seals | Identify leak location first |
| Handle becomes stiff | Cap too tight or dry seals | Loosen slightly and apply silicone grease | Tighten only to remove play |
| Low water flow | Aerator or cartridge debris | Remove and rinse aerator; flush valve | Open supply gradually |
| Water sprays after repair | Missing retainer or displaced seal | Shut water off and reinstall hardware | Photograph assembly |
| Handle will not align | Wrong ball or cartridge orientation | Remove and match original position | Compare port and tab geometry |
The most counterintuitive failure is a faucet that leaks after new seats and springs are installed. New seals can expose a damaged ball or valve bore that old, compressed rubber had temporarily masked.
Another practitioner rule is to replace both seats and springs even when only one appears worn. Unequal spring tension can tilt the ball and create a leak on the apparently good side.
Do not use metal picks aggressively inside the sealing bore. A brass valve body is softer than steel, so one careless scrape can create a leak path that no replacement rubber seat can close.
What If the Faucet Has Two Handles or Is a Shower Faucet?
Two-handle Delta faucets generally use separate hot and cold cartridges or stem units, while Delta shower valves may use a cartridge and trim-specific retaining hardware. The repair method is similar, but the part number, shutoff method, and orientation requirements differ.
For a two-handle faucet, identify which side leaks by closing one supply or testing one handle at a time. Replace the defective cartridge or stem unit, but inspect the opposite side if both handles have similar age and stiffness. RP25513 and RP1740 are examples of parts associated with different Delta two-handle applications, not interchangeable universal choices.
For a shower faucet, shut off the home supply if integral stops are absent. Protect the finished trim, remove the handle and escutcheon, release the cartridge retainer, and note the cartridge orientation before extraction.
A shower trim kit is not the same as an internal repair kit. Trim changes the visible handle, escutcheon, and finish; a cartridge repair addresses water control inside the valve.
How Do You Choose Between Repair Parts?
Choose the part by combining three observations: leak location, valve mechanism, and the original component’s shape. The part number printed on the package is useful only after those observations agree.
Use this decision sequence:
- One handle with a ball under the cap: inspect seats, springs, ball, cam, and packing.
- One handle with a contained cartridge: identify the cartridge family and retaining method.
- Two separate handles: identify the hot or cold stem unit or cartridge.
- Leak from the supply hose or base: investigate connections and O-rings before buying a valve kit.
- Cracked or scored valve body: price a complete faucet replacement instead.
- Unknown model: use Delta’s support resources, faucet photographs, and the removed part for confirmation.
The strongest buying rule is simple: do not purchase by appearance alone. Two Delta handles can share a finish while using different internal valves.
FAQ
Can I Use RP4993 in Every Delta Faucet?
No. RP4993 is intended for compatible Delta ball-style valves that use separate rubber seats and springs. It is not the correct repair for every Delta faucet, especially faucets using Diamond Seal cartridges, two-handle stem units, or unrelated shower cartridges. Confirm the valve design and model before installation.
Why Does a Delta Faucet Leak After the Cartridge Is Replaced?
A Delta faucet can still leak after cartridge replacement if the valve bore contains scale, the cartridge is misoriented, the retaining clip is not fully seated, or the valve body is damaged. A displaced O-ring can also leak immediately. Shut off water, remove the cartridge, clean the bore, and compare the new part with the old one.
Should I Replace Both Delta Faucet Cartridges?
Replace both cartridges when both handles leak, both handles have similar stiffness, or the faucet uses matched hot and cold components of the same age. If only one side fails and the opposite cartridge operates normally, replacing one may be reasonable. Test each side independently before ordering two parts.
Can Silicone Grease Stop a Delta Faucet Drip?
Silicone grease can help seals slide into position and can reduce handle friction, but silicone grease cannot repair a torn seat, scratched ball, damaged cartridge, or scored valve body. Apply a thin film only to compatible O-rings and sliding seals. Grease is an installation aid, not a leak repair by itself.
How Long Should a Delta Faucet Repair Last?
A typical rubber-seat or spring repair lasts about 3-5 years, while a ceramic or Diamond Seal cartridge may last 10 years or longer. Actual service life depends on water hardness, sediment, frequency of use, seal quality, and whether the valve body remains smooth and undamaged.
Is Repairing a Delta Faucet Better Than Replacing It?
Repairing a Delta faucet is usually better when the fixture has a sound body and finish, the correct internal part costs $5-$50, and the shutoff valves work. Replacement is better when the body is cracked or scored, parts are unavailable, several components have failed, or labor approaches the cost of a new faucet.
The Bottom Line
To use Delta faucets repair kits successfully, diagnose the leak first, identify the valve mechanism, match the correct RP part, and replace seals without scratching the valve body. RP4993, RP61, RP212, RP70, RP50587, RP25513, and RP1740 serve different Delta applications. The repair normally takes 15-30 minutes, but exact model verification determines whether the result lasts.