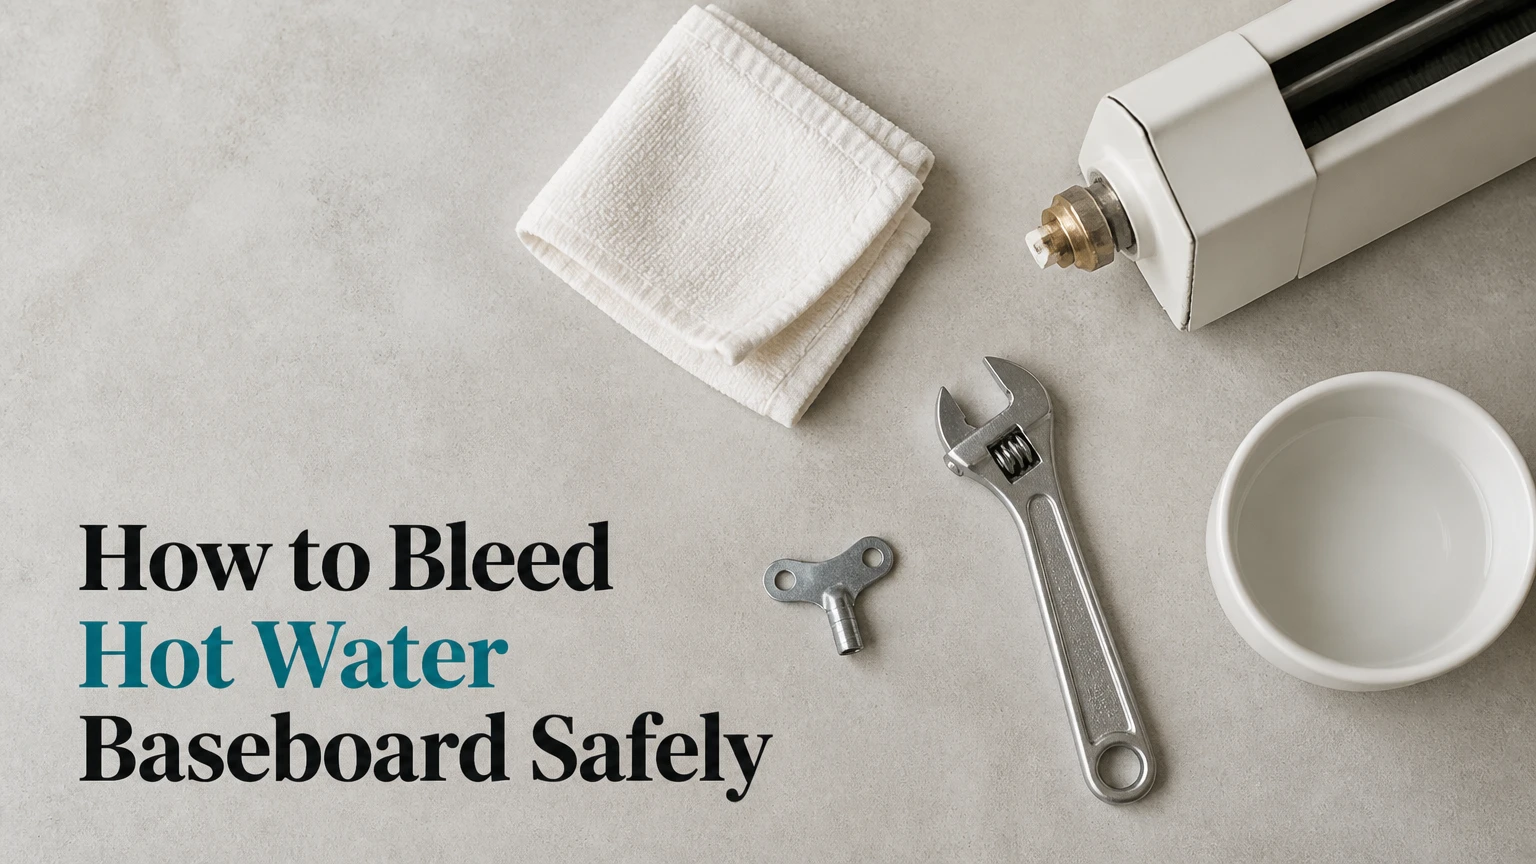
To bleed a hot water baseboard heater, switch off the boiler, let the hydronic water cool, open the unit’s manual air vent about one-quarter turn, and close it when air stops and water flows steadily. The process usually takes 2-5 minutes per vent, but baseboards without individual vents require boiler-loop purging, which is usually a professional task.
Key Facts at a Glance
A cold hydronic baseboard, gurgling pipe, or uneven heat can indicate trapped air, but a closed zone valve or failed circulator can produce the same symptoms.
Bleed only through a purpose-built manual air vent. Do not loosen compression fittings, unions, relief valves, or random pipe plugs.
Turn the boiler and circulator off, then allow 30-60 minutes for hot water and metal components to cool.
A typical cold residential boiler pressure is 12-15 PSI, while the pressure-relief valve commonly opens at 30 PSI.
A baseboard loop with no local bleeder cannot be safely “bled” from the heater. It must be purged through the boiler’s isolation valves and drain port.
Repeated air every few weeks usually indicates a leak, incorrect fill pressure, a failed expansion tank, or an air-separation problem.
What Does Bleeding a Hot Water Baseboard Mean?
Bleeding a hot water baseboard means releasing trapped air from a closed hydronic heating circuit through a manual or automatic air vent. The boiler heats water, a circulator moves that water through finned-tube baseboard, and the water returns to the boiler for reheating.
Air occupies space that should contain water. The result can be a cold section of baseboard, bubbling or rushing sounds, reduced circulation, and heat that varies from room to room. Air usually collects at high points because air is less dense than water, although an air pocket can also remain near a restrictive fitting or poorly purged loop.
A manual vent releases a small amount of air and system water at one location. A purge station uses incoming water pressure to push a large volume through an entire zone and out of a drain hose. Those procedures are related, but they are not interchangeable.
Which Symptoms Point to Trapped Air?
Trapped air is more likely when a baseboard is cold while the boiler is firing, the pipe makes a gurgling sound, and another section of the same zone heats normally. If the entire zone stays cold, investigate the thermostat, electrical power, zone valve, circulator, and boiler operation before opening a vent.
| Symptom | More likely cause | First check | DIY response |
|---|---|---|---|
| Gurgling behind one baseboard | Trapped air | Manual vent and pipe temperature | Cool system, then bleed |
| Entire zone remains cold | Closed valve or failed circulator | Thermostat, zone valve, pump | Do not assume bleeding will help |
| Baseboard heats at one end only | Air pocket or low flow | Supply and return temperatures | Bleed if a proper vent exists |
| Water drips from vent after closing | Damaged seat or packing | Valve stem and discharge port | Stop if leaking continues |
| Boiler pressure rises above 25 PSI hot | Expansion-tank or fill-valve fault | Pressure gauge | Shut down and call a technician |
| Heat returns briefly, then disappears | Leak or recurring air entry | Pressure over several days | Arrange system diagnosis |
How Do You Identify the Bleeder Valve?
The bleeder valve is normally a small brass fitting with a screwdriver slot, square recess, or knurled cap near the end of a baseboard enclosure. It may sit behind a hinged damper flap or behind the removable front cover, often toward the end opposite the supply connection.
Do not confuse a manual air vent with a hydronic shutoff valve. The shutoff valve controls water flow and may have a lever or round handle; the air vent has a tiny discharge opening and a screw, key stem, or small cap.
Many fin-tube baseboard heaters have no individual bleeder at all. A continuous copper loop may contain only supply and return fittings, with air removal provided at the boiler room, manifold, or an automatic air separator.
| Valve type | Visual feature | Tool | Typical location | Homeowner suitability |
|---|---|---|---|---|
| Slotted manual vent | Flat screwdriver slot and tiny outlet | Flathead screwdriver | Baseboard end or radiator | Suitable when cool |
| Square-key vent | Square internal stem | Radiator key | Older radiator or enclosure | Suitable when accessible |
| Thumb vent | Knurled cap or small hand screw | Fingers, sometimes pliers | Compact radiator fitting | Suitable without force |
| Automatic air vent | Brass body with cap on top | No routine tool | Boiler room or high point | Inspection only |
| Purge station | Drain valve beside isolation valve | Hose and valve tools | Boiler manifold | Usually professional |
What Should You Prepare Before Bleeding?
Prepare a flathead screwdriver or correctly sized radiator key, a small cup, absorbent towels, gloves, and a flashlight. The job typically takes 10-20 minutes for several accessible vents, costs $0-$15 if the tools are already available, and requires a working pressure gauge.
Before You Start
| Item | Typical requirement | Why it matters |
|---|---|---|
| Cool-down time | 30-60 minutes | Reduces scalding risk |
| Bleeding time | 2-5 minutes per vent | Allows air and water to separate |
| Manual tool cost | $2-$10 | Covers keys or a screwdriver |
| Catch container | 250-500 mL | Contains discharge water |
| Cold pressure target | 12-15 PSI | Typical two-story residential range |
| Minimum practical pressure | About 10 PSI | Helps maintain upper-floor water column |
| Relief-valve threshold | Commonly 30 PSI | Excess pressure can discharge hot water |
A boiler gauge may show a normal pressure different from these typical values because system height, manufacturer instructions, and installation design vary. Use the boiler manual and the installer’s marked operating range when those instructions conflict with a generic target.
How to Bleed Hot Water Baseboard Heaters Locally
Local bleeding takes seven actions: stop the heat, expose the vent, protect the area, open the vent slowly, wait for a steady stream, close it gently, and check pressure. The most important success factor is confirming that the valve is a true air vent and that the water has cooled.
Step 1: Turn Off the Boiler and Circulator
Set the thermostat below room temperature, switch off the boiler service switch, and confirm that the circulator has stopped. Allow the system to cool for 30-60 minutes, because a hydronic loop can contain water hot enough to cause a serious burn even when the baseboard cover feels only warm.
Success checkpoint: The boiler is not firing, the pump is quiet, and the nearby pipe is warm rather than scalding.
Common mistake: Turning down the thermostat without interrupting a boiler call in another zone. Use the service switch when the installation instructions permit it.
Step 2: Expose the Manual Air Vent
Open the baseboard damper flap or remove the front cover according to the heater manufacturer’s design. Look at both ends, because the vent may be installed at the end opposite the supply pipe or at a slightly elevated fitting.
Do not remove the entire enclosure if doing so could disturb electrical wiring, a fan assembly, or a pipe connection.
Success checkpoint: You can clearly see the vent outlet and have room to turn the stem without contacting hot metal.
Common mistake: Opening a pipe union because no small vent is visible. Stop and use the boiler-room purge method instead.
Step 3: Place a Container and Rag
Hold a cup beneath the discharge opening and wrap a towel around the valve. Water may sputter sideways rather than fall vertically, especially when air pressure releases from a partially blocked outlet.
Success checkpoint: Water cannot reach drywall, flooring, electrical components, or the inside of the boiler control compartment.
Common mistake: Using a shallow saucer that overflows when the valve releases several ounces of water.
Step 4: Open the Vent Slowly
Insert the correct tool and turn the vent counterclockwise about one-eighth to one-quarter turn. A hiss indicates escaping air. Do not remove the screw or unscrew the valve body, because the small threaded stem is not designed to be taken out under system pressure.
Success checkpoint: Air escapes without a forceful spray, and the valve remains mechanically stable.
Common mistake: Overtightening or using pliers on a square stem. Soft brass can deform, leaving a leak that requires valve replacement.
Step 5: Wait for a Steady Water Stream
Allow sputtering air and water to discharge until the flow becomes a continuous stream without bubbles. This may take 10 seconds or several minutes, depending on the amount of air and the valve position.
Success checkpoint: The discharge no longer spits, and the baseboard circuit can refill with water.
Common mistake: Closing the vent at the first splash. A brief splash does not prove the air pocket has cleared.
Step 6: Close the Vent Gently
Turn the stem clockwise until the water stops, then apply only light additional pressure. Wipe the fitting and watch it for at least 60 seconds.
Success checkpoint: No water bead forms around the stem or outlet after the valve is closed.
Common mistake: Tightening aggressively to compensate for a worn valve seat. A replacement vent is safer than forcing a damaged stem.
Step 7: Check Boiler Pressure and Restore Heat
Read the pressure gauge with the system still cool. A typical cold reading is 12-15 PSI, but consult the boiler documentation before adding water. If pressure is abnormally low, the filling procedure depends on the installed pressure-reducing valve, fast-fill lever, and backflow-prevention arrangement.
Restore power, raise the thermostat, and check the previously cold baseboard after 15-30 minutes.
Success checkpoint: The boiler pressure remains within the documented cold range, the baseboard warms progressively, and no vent leaks.
Common mistake: Repeatedly opening the manual fill lever without watching the gauge. Never leave automatic filling unattended.
In What Order Should Multiple Baseboards Be Bled?
Bleed the highest or most air-prone accessible point first when the system design identifies it, then follow the manufacturer or installer’s zone sequence. The common lowest-floor-to-upper-floor sequence is not universal, because separate zones, manifold layouts, and automatic vents determine how water and air move.
For a single continuous loop, begin near the boiler return or the point identified by the installation layout, then move through the loop. For separate zones, treat each zone as an independent circuit and do not assume bleeding one room clears another.
Record the pressure before and after each group of vents. A substantial pressure drop means the system may need controlled refill before the upper portions can remain full.
How Do You Purge a Baseboard Zone Without a Bleeder?
A baseboard zone without a local bleeder must be purged at the boiler or manifold by isolating that zone, connecting a hose to the purge drain, opening the zone valve, and using controlled fill pressure to force water through the circuit. This procedure can discharge hot water, overpressure components, or introduce leaks if performed incorrectly.
A typical purge arrangement uses:
- Boiler power turned off.
- The selected zone opened.
- Other zone isolation valves closed.
- A hose secured to the purge drain and routed to a suitable drain.
- The fill valve opened only as instructed.
- The purge drain opened until air stops and flow becomes smooth.
- The drain closed before the fill valve is released.
- The zone and system returned to their normal positions.
The exact valve order varies by boiler piping. Photograph the manifold before touching anything, and do not operate a fast-fill lever if you cannot identify the pressure gauge and relief path. A heating technician should perform the purge when the piping labels are missing, the hose connection leaks, or the pressure rises rapidly.
Why Should the Circulator Be Off During Purging?
The circulator should remain off while a zone is being purged because pumping can mix air through the circuit instead of directing a concentrated flow toward the drain. Stationary, controlled flow gives the purge valve a better chance to expel a coherent air pocket.
The circulator also adds a moving mechanical hazard and can create confusing pressure readings. Restart it only after the purge valves, isolation valves, and fill controls are back in their normal positions.
Should You Bleed a Baseboard While the System Is Hot?
You should not bleed a hot baseboard unless the equipment manufacturer and a qualified professional specifically direct the procedure. Hot hydronic water can spray from a vent, and the pressure can increase as the boiler operates.
If heat is urgently needed, turn off the boiler and let the system cool as much as practical. Never place an unprotected hand near the outlet to test temperature, and never use a towel as a substitute for cooling the system.
Which Air-Removal Method Fits Your System?
Local manual bleeding is best for a heater with a clearly marked vent and a small, localized air pocket. Boiler-room purging is appropriate for a ventless loop, while an automatic air vent or microbubble separator addresses recurring air at the system level.
| Method | Removes air from | Typical time | Typical cost | Main limitation |
|---|---|---|---|---|
| Manual baseboard vent | One heater or nearby section | 2-5 minutes | $0-$10 DIY | Requires an installed vent |
| Zone purge station | One complete loop | 30-60 minutes | $150-$350 professional | Valve order can damage system |
| Automatic air vent | High-point air accumulation | Continuous | $15-$40 part | Can leak if cap or seat fails |
| Microbubble separator | Dissolved and entrained air in flow | Continuous | $100-$300 installed component | Requires correct boiler piping |
| Circulator replacement | Does not remove air | 1-3 hours | $250-$800 typical repair | Treats circulation failure, not air |
Automatic vents are useful at appropriate high points, but they are not a cure for a leaking system. A vent that constantly admits or releases air may conceal low pressure, a faulty expansion tank, or a failed fill valve.
What Problems Can Happen During Bleeding?
Most bleeding problems involve a blocked outlet, damaged valve seat, falling pressure, or a fault that was mistaken for trapped air. Recovery should prioritize stopping water flow and protecting the boiler rather than forcing a stuck component.
| Problem | Likely cause | Safe immediate action | When to escalate |
|---|---|---|---|
| No air or water exits | Blocked outlet or no system pressure | Close vent and inspect visually | Technician if blockage persists |
| Valve keeps dripping | Damaged seat or packing | Close gently and place a container | Same day if leak continues |
| Pressure falls below normal | Water discharged during bleeding | Follow documented refill procedure | Technician if pressure will not hold |
| Pressure climbs above 25 PSI hot | Failed expansion tank or fill valve | Stop firing and monitor safely | Prompt professional service |
| Room remains cold | Closed valve, pump, or thermostat fault | Check thermostat and zone call | Technician after basic checks |
| Air returns repeatedly | Leak or poor air separation | Track pressure and visible leaks | Professional diagnosis |
Never push a needle, wire, or pin into a pressurized vent. That can enlarge the outlet, damage the seat, or turn a minor blockage into an uncontrolled leak. A technician can remove and replace a clogged vent after isolating or draining the relevant section.
How Often Should Hydronic Baseboards Be Bled?
A healthy closed hydronic system should not require frequent manual bleeding. Check accessible vents before the heating season, but bleed only when symptoms or the system design indicate trapped air; annual bleeding is a maintenance suggestion, not proof that every system needs yearly water release.
Fresh makeup water contains dissolved oxygen, and repeated refilling can accelerate corrosion in steel components. Caleffi’s hydronic design literature summarizes the practical principle as, “Air is the enemy of any hydronic system,” because air contributes to noise, poor heat transfer, corrosion, and pump problems.
If the same room becomes noisy or cold every few weeks, look for a leaking relief valve, weeping automatic vent, loose fitting, failed expansion tank, or pressure-reducing valve that does not maintain the cold fill pressure.
What Does Professional Baseboard Purging Cost?
Professional hydronic purging typically costs $150-$350 for a straightforward residential service call, while complex repairs involving a circulator, expansion tank, air separator, or concealed leak cost more. DIY cost is usually limited to $2-$10 for a radiator key or screwdriver when a local vent already exists.
| Service or part | Typical price range | Typical duration | Best use |
|---|---|---|---|
| Radiator key or screwdriver | $2-$10 | Immediate purchase | Local manual vent |
| Replacement manual vent | $5-$15 | 15-45 minutes | Leaking or blocked vent |
| Automatic air vent | $15-$40 part | 30-90 minutes installed | High-point air removal |
| Zone purge service | $150-$350 | 30-90 minutes | Ventless heating loop |
| Expansion tank replacement | $200-$600 | 1-3 hours | Pressure fluctuation |
| Circulator replacement | $250-$800 | 1-3 hours | No flow despite heat call |
Prices vary by region, access, boiler brand, emergency timing, and whether the technician must drain and refill several zones. A quote should state whether pressure testing, leak inspection, and air-separator inspection are included.
When Should You Stop and Call a Technician?
Stop the procedure and call a qualified heating professional when water will not stop, boiler pressure approaches 30 PSI, the relief valve discharges, electrical components get wet, or the boiler leaks fuel, combustion products, or large amounts of water.
Professional service is also appropriate when:
- The baseboard has no local vent and the purge valves are unlabeled.
- The boiler pressure repeatedly drops below its normal cold range.
- The same air pocket returns after one or two controlled bleeds.
- A circulator runs but the supply and return pipes remain nearly the same temperature.
- The boiler locks out, overheats, or produces unusual combustion sounds.
- The system contains antifreeze, multiple temperatures, or commercial controls.
- You live in a rental property where boiler controls are not tenant-maintainable.
Bleeding cannot repair a failed circulator, blocked strainer, closed isolation valve, defective zone valve, undersized pipe, frozen line, or boiler control fault. It is an air-removal procedure, not a complete heating-system diagnosis.
How Can You Prevent Air From Returning?
Prevent recurring air by keeping the hydronic loop closed, repairing leaks, maintaining correct cold pressure, checking the expansion tank, and confirming that automatic air vents and the air separator work correctly. Avoid unnecessary drain-and-refill cycles, because every refill adds oxygenated water.
A technician can verify the air separator’s location, check the expansion tank’s air charge with the water side depressurized, inspect the pressure-reducing valve, and confirm that the relief valve is not weeping. These checks address the cause rather than repeatedly treating the symptom.
An inline microbubble separator can remove small entrained bubbles from circulating water, but installation location matters. The separator must be placed where system conditions promote air release, and it cannot compensate for a persistent leak or incorrect system pressure.
Frequently Asked Questions
Can I Bleed Baseboard Heat Without Turning Off the Boiler?
You should turn off the boiler and circulator before opening a manual baseboard vent. Operating heat raises water temperature and pressure, increasing the chance of scalding discharge; the running circulator can also redistribute air and make the fault harder to isolate.
Why Is My Baseboard Heater Still Cold After Bleeding?
A cold baseboard after bleeding may indicate a closed zone valve, failed circulator, thermostat problem, low boiler pressure, blocked pipe, or an air pocket elsewhere in the loop. If the boiler fires but the entire zone remains cold, test zone operation before bleeding more vents.
Can Bleeding a Baseboard Lower Boiler Pressure?
Yes. Manual bleeding releases water along with air, and a full zone purge can lower pressure substantially. Check the boiler gauge after the system cools, then restore pressure only through the documented filling procedure and never beyond the manufacturer’s specified range.
Is a Gurgling Baseboard Always Full of Air?
No. Gurgling usually suggests air, but loose pipe supports, water velocity, a partially closed valve, cavitation from low pressure, or a failing circulator can create similar sounds. Compare the noise with pressure readings and supply-return temperatures before assuming a vent will solve it.
Do Electric Baseboards Need Bleeding?
No. Electric baseboard heaters do not circulate boiler water and therefore have no hydronic air pockets to bleed. If an electric baseboard is cold, check its thermostat, breaker, high-limit control, wiring, and heating element, while keeping power isolated before electrical inspection.
Can I Add an Automatic Vent to Every Baseboard?
You should not add automatic vents indiscriminately. Automatic vents belong at suitable high points or engineered air-separation locations, and an incorrectly installed vent can leak, admit air during low-pressure conditions, or require access behind finished walls. Have a heating professional evaluate the loop layout first.
The Bottom Line
The safest way to bleed a hot water baseboard is to cool the hydronic system, identify a dedicated manual air vent, open it slowly until air is replaced by a steady water stream, close it without force, and verify boiler pressure afterward. If the baseboard has no vent, use the boiler’s zone-purge arrangement only when every valve and pressure control is clearly identified. Persistent air, leaking vents, abnormal pressure, or a cold entire zone requires professional diagnosis rather than repeated bleeding.