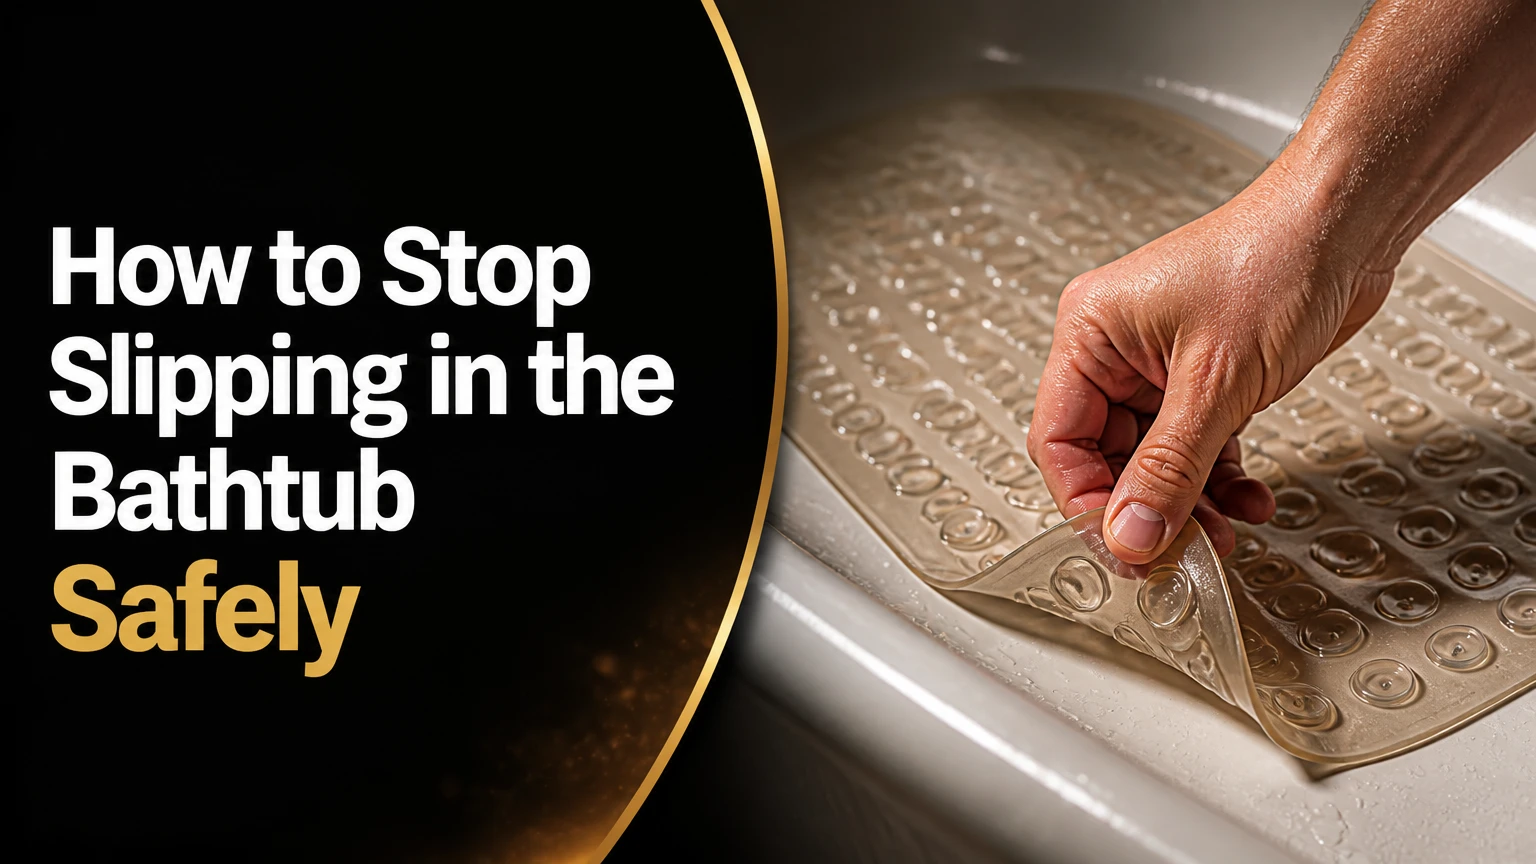
To stop slipping in the bathtub, remove soap and body-oil residue, add a properly bonded or secured nonslip surface, and improve hand support at the entry and exit points. For most households, adhesive traction treads plus a correctly installed grab bar provide a safer long-term setup than relying on a loose bath mat alone.
Key Facts at a Glance
- A clean bathtub floor is safer than a soap-coated floor, but cleaning alone does not make a smooth tub permanently slip-resistant.
- Adhesive treads usually install in about 15-30 minutes and need approximately 24 hours without water.
- Suction-cup mats work best on smooth, clean surfaces and should be removed, washed, and dried regularly.
- A grab bar must attach to structural framing or an approved reinforced mounting system, not merely to drywall or a tub surround.
- Acid-based anti-slip treatments can damage acrylic, fiberglass, finishes, or plumbing components when the product is incompatible.
- A bathtub surface treatment cannot compensate for poor balance, unsafe transfers, inadequate lighting, or a missing handhold.
Why Do Bathtubs Become Slippery?
Bathtubs become slippery when water forms a film between the foot and a smooth surface, while soap, shampoo, conditioner, and body oils further reduce traction. Acrylic, fiberglass, porcelain enamel, and glazed ceramic are especially slick when their surfaces are polished and contaminated with residue.
The underlying issue is friction. The coefficient of friction describes how readily two contacting surfaces resist sliding, but a single coefficient-of-friction number does not predict safety under every wet-bathroom condition. Footwear material, water depth, soap chemistry, surface texture, body weight, and the direction of movement all affect the result.
The National Institute on Aging identifies bathrooms as common locations for older-adult falls, and the CDC states that falls are the leading cause of injury for adults aged 65 and older. A bathtub risk assessment therefore needs more than a product purchase. It needs a clean floor, controlled entry, stable support, and a plan for getting up or calling for help.
Reduce Risk Before Installing Anything
Use these immediate changes today:
- Clean the tub floor with a residue-removing bathroom cleaner, then rinse thoroughly.
- Keep shampoo, conditioner, and body oil away from the standing area.
- Place a rubber-backed bath mat outside the tub, never a loose fabric mat inside it.
- Sit on the tub edge before turning, stepping, or lowering yourself.
- Face the faucet or wall while entering and exiting, using a secure handhold.
- Keep a phone, medical alert device, or reachable call system outside the splash zone.
- Improve lighting so the floor, drain, and tub edge are clearly visible.
These measures reduce exposure while you choose a permanent fix. They do not replace a traction surface when the tub remains smooth after cleaning.
Which Bathtub Safety Fix Is Best?
Adhesive treads are the best general-purpose floor fix for a smooth, frequently used bathtub because they cost less than professional refinishing, install quickly, and provide traction exactly where feet land. A properly mounted grab bar should accompany them when a user needs help balancing, entering, exiting, or lowering into the tub.
| Option | Typical cost | Installation or cure time | Best surface or user |
|---|---|---|---|
| Adhesive traction treads | $10-$25 | 15-30 minutes, then 12-24 hours dry | Smooth acrylic, fiberglass, or porcelain |
| Suction-cup bath mat | $12-$35 | Immediate, no cure time | Smooth tub used by children or renters |
| Professional anti-slip treatment | $100-$300 typical service range | 1-3 hours, follow provider instructions | Compatible porcelain or ceramic |
| DIY chemical treatment | $30-$75 typical kit range | 30-60 minutes, then full rinsing | Only surfaces approved by manufacturer |
| Textured refinishing coating | $150-$500 typical professional range | 24-48 hours before water | Owners seeking a permanent finish |
| Structural grab bar | $20-$70 per bar, installation extra | 1-2 hours typical | Users needing hand support during transfers |
Costs vary by country, product size, labor, and tub access. The prices above are typical US retail or service ranges, not guaranteed quotes.
Adhesive Treads: Best General Floor Upgrade
Adhesive treads create mechanical grip through a textured exposed surface that interrupts the continuous water film beneath the foot. Choose a product labeled for wet floors and bathing areas, with a surface texture that remains comfortable for bare feet.
Installation determines whether adhesive treads last months or several years. Soap film, silicone residue, wax, bath oil, and moisture prevent the adhesive from bonding to acrylic, fiberglass, or porcelain.
Use this method:
- Clean the tub floor. Remove soap scum with a manufacturer-approved degreasing cleaner. Rinse until no cleaner remains.
- Degrease carefully. Use isopropyl alcohol only if the tread and tub manufacturers permit it. Avoid acetone on acrylic and many plastics because it can soften or cloud the finish.
- Dry completely. Allow the surface to air-dry, then wipe with a lint-free cloth. A hairdryer on a low, warm setting can remove moisture from seams.
- Plan the layout. Position strips across the main standing area, generally with 25-50 millimeters between pieces unless the product instructions specify another spacing.
- Apply gradually. Peel one backing section at a time and press from the center outward to remove air pockets.
- Roll the surface. Use a clean rubber roller or firm plastic card to press every edge.
- Respect the cure period. Keep the tub dry for at least 12-24 hours, or for the full period on the label.
You will know the application worked when every edge lies flat, no corner lifts under a fingernail, and the strips remain fixed after a damp-cloth test. A common mistake is placing treads over visible soap residue because the floor looks clean while still feeling oily.
Adhesive treads are removable, but removal can leave glue or pull a weak refinishing layer. Warm air from a hairdryer can soften some adhesives; use a plastic scraper and a compatible adhesive remover, never a metal blade on acrylic.
Suction-Cup Mats: Best Temporary and Child-Friendly Choice
A suction-cup bath mat is suitable when the tub has a smooth floor, the user needs full-area coverage, and the caregiver can remove and dry the mat regularly. Suction cups do not bond to textured, heavily worn, uneven, or deeply curved surfaces, so a loose mat can become a second slipping hazard.
| Mat characteristic | Selection target | Why it matters |
|---|---|---|
| Tub coverage | 60%-80% of standing floor | Leaves drainage space while covering foot-placement zones |
| Suction cups | Multiple rows across the underside | More attachment points reduce local movement |
| Drain holes | Open channels or perforations | Prevents a water film from collecting above the mat |
| Top texture | Raised rubber or PVC pattern | Adds mechanical traction for bare feet |
| Maintenance | Wash weekly or every two weeks | Limits soap film, mildew, and biofilm |
| Storage | Hang fully outside the tub | Allows both sides to dry |
Press the mat onto a clean, wet floor before use, but do not assume suction means permanent attachment. Lift the mat after bathing, wash both sides with mild dish soap, rinse it, and hang it vertically. Replace it if cups harden, edges curl, the top becomes slimy, or the mat moves under normal foot pressure.
A suction mat is a poor choice for a textured bathtub because the cups cannot form consistent seals. It also creates a maintenance burden for a person who cannot safely bend, lift, or clean it.
Chemical Anti-Slip Treatments: Invisible but Surface-Specific
A chemical anti-slip treatment changes the microscopic texture of some mineral surfaces, usually porcelain, ceramic, or stone. The treatment is not universally compatible with acrylic, fiberglass, plastic, painted finishes, reglazed surfaces, or metal drains, and the product label must identify the intended substrate.
Some products use acidic chemistry to react with a mineral surface and create microscopic irregularities. The mechanism is not literally a guarantee of “micro-suction cups,” and a claimed coefficient of friction such as 0.6 cannot be treated as a universal bathtub safety threshold because test methods and wet contaminants differ.
Before use, confirm four points:
- The tub material and finish appear on the manufacturer’s compatibility list.
- The drain, overflow, faucet, and surrounding finish are protected as directed.
- Ventilation, gloves, eye protection, and neutralization requirements are specified.
- The product does not require professional handling or prohibit residential DIY use.
Follow the label’s dwell time exactly, commonly 5-15 minutes for some products, because longer exposure can create uneven etching or visible dullness. Rinse and neutralize as directed, then keep the tub unused for the stated period. Never combine an acid treatment with bleach, ammonia, or another bathroom chemical.
Chemical treatment is useful for an owner who wants little visual change, but it is not a suitable shortcut for an unknown tub finish. Ask the manufacturer or a refinishing professional before treating a rented, repaired, antique, or reglazed bathtub.
Permanent Textured Coatings: Best for Durable Renovation
A textured polyurethane, acrylic, or epoxy coating embeds fine aggregate into a cured layer, producing a consistent rougher surface across the bathtub floor. Professional application usually lasts longer than temporary treads, but the finish can feel abrasive, discolor, wear unevenly, or become difficult to remove.
Surface preparation controls the result. The contractor may need to abrade, repair, prime, and mask the tub before applying a coating, and the tub may remain unavailable for 24-48 hours. A coating applied over contamination can peel in sheets, especially near the drain where water remains.
Choose a coating only when:
- The bathtub owner accepts a visible finish change.
- The product is rated for standing water and repeated cleaning.
- The applicator explains repair and recoating procedures.
- The texture is comfortable for bare feet and does not create sharp edges.
- The coating will not interfere with a future bath lift or transfer bench.
Textured coatings are not ideal for renters, delicate acrylic tubs, or users who sit directly on the floor. Professional refinishing is safer than an unverified spray can because the applicator can identify incompatible layers and control curing conditions.
How Do You Install the Safest Setup?
The safest bathtub setup combines a clean, fixed traction surface with a correctly positioned handhold and a dry, unobstructed area outside the tub. Complete the floor work first, then install or inspect support equipment before the user resumes bathing.
Before You Start
| Requirement | Typical specification |
|---|---|
| Work time | 30-60 minutes for cleaning and treads |
| Dry time | 12-24 hours for adhesive products |
| Difficulty | Low for treads, moderate to high for grab bars |
| Materials | Wet-area treads, approved cleaner, lint-free cloth, roller |
| Optional support | Structural grab bar or transfer aid |
| Prerequisite | Identify tub material and inspect existing finish |
Step 1: Identify the Tub Material
Look for the installation paperwork, manufacturer label, or visible finish characteristics before selecting a treatment. Acrylic and fiberglass are lightweight plastics or composites; porcelain enamel usually has a hard glass-like surface over metal; a reglazed tub has a separately applied finish that may not tolerate abrasion or acid.
You will know this step is complete when the product label and tub substrate agree. The common mistake is treating every white bathtub as porcelain.
Step 2: Remove the Slippery Film
Apply a residue-removing cleaner according to its label, scrub the floor with a non-scratch pad, and rinse until the water sheets evenly rather than forming oily beads. Keep bleach and acids separate, and never mix household cleaners.
You will know the floor is ready when it feels clean under a wet hand without a greasy film. The common mistake is using furniture polish, oil-based “conditioning” products, or excessive soap.
Step 3: Test the Surface While Wet
Place a small amount of clean water on the floor and test traction with a bare hand, not by deliberately stepping into a dangerous tub. Inspect for crazing, chips, peeling glaze, worn texture, or areas that remain slick after cleaning.
You will know the inspection is complete when you have identified the main standing zone and the entry and exit foot positions. The common mistake is testing only the center while ignoring the sloped end near the drain.
Step 4: Apply Treads or Install the Mat
Use adhesive treads for a smooth surface that will remain mostly maintenance-free, or use a suction mat when removal and washing are practical. Keep treads away from the drain opening and avoid placing a mat over a surface that prevents suction.
You will know the floor treatment is secure when it stays flat during firm hand pressure and does not shift sideways. The common mistake is leaving large unprotected gaps where the user naturally steps.
Step 5: Add Weight-Bearing Hand Support
Mount a grab bar into wall studs, blocking, or an approved structural reinforcement system. A tub rail that clamps to the bathtub may help some users, but it must match the tub design and remain stable under the user’s actual loading pattern.
The 2010 ADA Standards for Accessible Design specify a 250-pound force requirement for many grab-bar installations in covered accessible facilities, but a residential product marked “supports 250 pounds” is not automatically safe without correct structural installation. A towel bar, shower-door frame, suction handle, or soap dish is not a weight-bearing grab bar.
You will know the support is ready when it has no movement under a controlled pull in multiple directions. The common mistake is mounting a bar only into drywall anchors when the user may place full body weight on it.
Step 6: Control Entry and Exit
Keep one hand on the installed support, face the tub, and move one foot at a time. A transfer bench or bath seat can reduce the need to step over a high tub wall, while a handheld shower lets the user bathe seated.
You will know the technique is appropriate when the user can enter, wash, and exit without twisting on one wet foot. The common mistake is stepping over the wall while carrying shampoo, a towel, or a child.
Step 7: Inspect the Setup Weekly
Check tread edges, mat movement, mildew, cracks, loose fasteners, and the outside bath mat at least weekly. Increase inspection frequency for households with children, pets, frequent bathing, or a user with reduced balance.
You will know the system remains safe when the floor treatment stays fixed, the mat underside is clean, and the grab bar does not flex. The common mistake is waiting for a fall before replacing a deteriorated accessory.
Which Option Fits Your Tub and Household?
The right remedy depends first on substrate, then on the user’s movement pattern and maintenance capacity. A smooth acrylic tub used for daily showers needs a different solution from a porcelain tub used for seated bathing.
| Situation | Preferred option | Avoid or reconsider | Reason |
|---|---|---|---|
| Smooth acrylic or fiberglass | Wet-area adhesive treads | Acid etching without written compatibility | Plastic finishes can cloud or damage |
| Smooth porcelain enamel | Treads or approved treatment | Unverified abrasive coating | Both traction and finish preservation matter |
| Textured tub floor | Fixed treads designed for texture or professional assessment | Suction-cup mat | Cups may not seal |
| Renter | Removable suction mat or approved removable treads | Drilling and permanent coating | Restoration and deposit risk |
| Older adult with instability | Grab bar plus fixed traction and seated option | Floor treatment alone | Balance support requires a handhold |
| Young child | Supervision, stable mat, temperature control | Unattended bath with any mat | Traction does not prevent all child falls |
| User with limited bending | Fixed treads and caregiver-cleaned mat, if used | Mat requiring daily lifting | Maintenance must be physically realistic |
| Design-sensitive owner | Compatible professional treatment | Random DIY acid product | Invisible results require substrate control |
A bath mat outside the tub is still useful, but it solves the wet-floor problem outside the tub rather than the traction problem inside it. Non-slip socks or shower shoes can help some users, yet loose footwear can catch on the tub edge or reduce tactile feedback, so test them cautiously.
Common Mistakes and How to Fix Them
Using a Loose Mat on an Unsuitable Floor
A suction mat that slides is more dangerous than an untreated but carefully cleaned floor. Remove it immediately, clean both surfaces, inspect the cups, and replace it if the tub texture prevents a reliable seal.
Applying Adhesive Over Moisture or Residue
Lifting corners usually indicate poor preparation, contamination, or incomplete curing. Remove the failed strip, clean according to both product and tub instructions, allow complete drying, and apply a replacement only when the surrounding surface is sound.
Leaving a Rubber Mat Down Permanently
A continuously wet mat traps soap, hair, and organic residue underneath. Remove it after each use when possible, wash it weekly or every two weeks, and replace it when odor, slime, cracking, or discoloration persists after cleaning.
Using Acetone on Acrylic
Acetone and similar solvents can damage some acrylic and plastic surfaces. Stop immediately if the finish becomes cloudy or tacky, rinse according to the tub manufacturer’s instructions, and contact the manufacturer before attempting polishing or refinishing.
Treating a Reglazed Tub Without Approval
A chemical treatment or abrasive coating can remove or weaken a reglazed finish. Ask the refinishing company for the product type and maintenance instructions; if the information is unavailable, use a compatible removable solution instead.
Installing a Grab Bar Into Drywall Alone
A loose grab bar cannot arrest a fall reliably. Stop using it for support, expose or locate structural framing, and have a qualified installer add blocking or an approved reinforcement system.
When Is a Surface Fix Not Enough?
A surface fix is not enough when the user has fallen, cannot step over the tub wall safely, becomes dizzy while standing, or needs to pull heavily on a support to transfer. Those conditions call for an occupational-therapy assessment, a transfer bench, a bath lift, a walk-in conversion, or another accessibility modification.
After a fall, do not immediately lift a person who may have a head, neck, hip, or back injury. Call emergency services for severe pain, deformity, bleeding, loss of consciousness, breathing difficulty, confusion, or inability to bear weight. A clinician should assess unexplained dizziness, repeated falls, or a new loss of balance.
A bathtub is also a poor bathing environment when the user cannot maintain a stable seated posture, reach the controls, or summon assistance. Anti-slip products reduce one hazard; they do not manage water temperature, fainting, medication effects, or transfer strength.
How Do You Maintain Bathtub Traction?
Clean the bathtub floor weekly, rinse away product residue after each shower, and inspect the traction system every seven days. Maintenance prevents soap film from filling surface texture and reveals failure before an edge, cup, or fastener becomes hazardous.
Use a non-abrasive cleaner compatible with the tub finish and the traction product. Avoid steel wool, harsh scouring powder, and unauthorized solvent because damaged finishes can become rough in one area and slick in another. Do not wax a bathtub floor.
Replace adhesive treads when edges lift, the texture becomes smooth, or the adhesive discolors. Replace suction mats when cups lose elasticity, the mat curls, or washing no longer removes slime. Recoat or professionally inspect permanent treatments according to the product warranty and observed wear rather than assuming a stated lifespan applies to every household.
FAQ
Can I use a regular bath mat inside a bathtub?
Use only a bath mat designed for inside-tub use, with a textured upper surface and an underside that suits the tub floor. A fabric bathroom rug or a mat with a deteriorated backing can slide unpredictably. Remove and dry an interior mat regularly because trapped moisture promotes mildew and soap buildup.
Is a suction-cup mat safer than adhesive strips?
Neither option is automatically safer. Adhesive strips usually provide a fixed surface on a smooth tub, while a suction mat offers broader coverage when the user or caregiver can clean and dry it. On a textured floor, adhesive products rated for that surface may be safer because suction cups may not seal.
How can I make a fiberglass bathtub less slippery?
Clean the fiberglass floor with a compatible non-abrasive product, then use wet-area adhesive treads or a manufacturer-approved nonslip mat. Do not use acetone, aggressive acid etching, or abrasive sanding unless the fiberglass manufacturer specifically permits it. Add a structural grab bar when entering or exiting requires hand support.
Are bathtub grab bars safe without drilling?
A properly designed tub rail can be safe for some users when it clamps securely to a compatible tub and receives regular inspection, but suction handles and towel bars are not dependable weight-bearing supports. Users at high fall risk should receive professional advice and a structurally verified handhold.
What is the safest bathtub solution for an elderly person?
The safest arrangement commonly combines a fixed traction surface, a structurally installed grab bar, adequate lighting, and a seated transfer method such as a bath seat or transfer bench. An occupational therapist can match the equipment to balance, leg strength, cognition, and the tub’s wall height.
Should I use shower shoes in a slippery bathtub?
Shower shoes can improve traction when they fit securely and have a non-marking, slip-resistant sole, but they can also catch on the tub edge or feel unstable in standing water. Test them in a controlled setting and do not use footwear as a substitute for a fixed traction surface and safe hand support.
The Bottom Line
To stop slipping in the bathtub, start by removing soap and oil residue, then choose a traction method compatible with the tub material. Adhesive treads are the practical default for many smooth tubs, suction mats suit removable setups when maintained correctly, and chemical or textured treatments require careful compatibility checks. Add a structurally installed grab bar whenever balance or transfers are difficult.