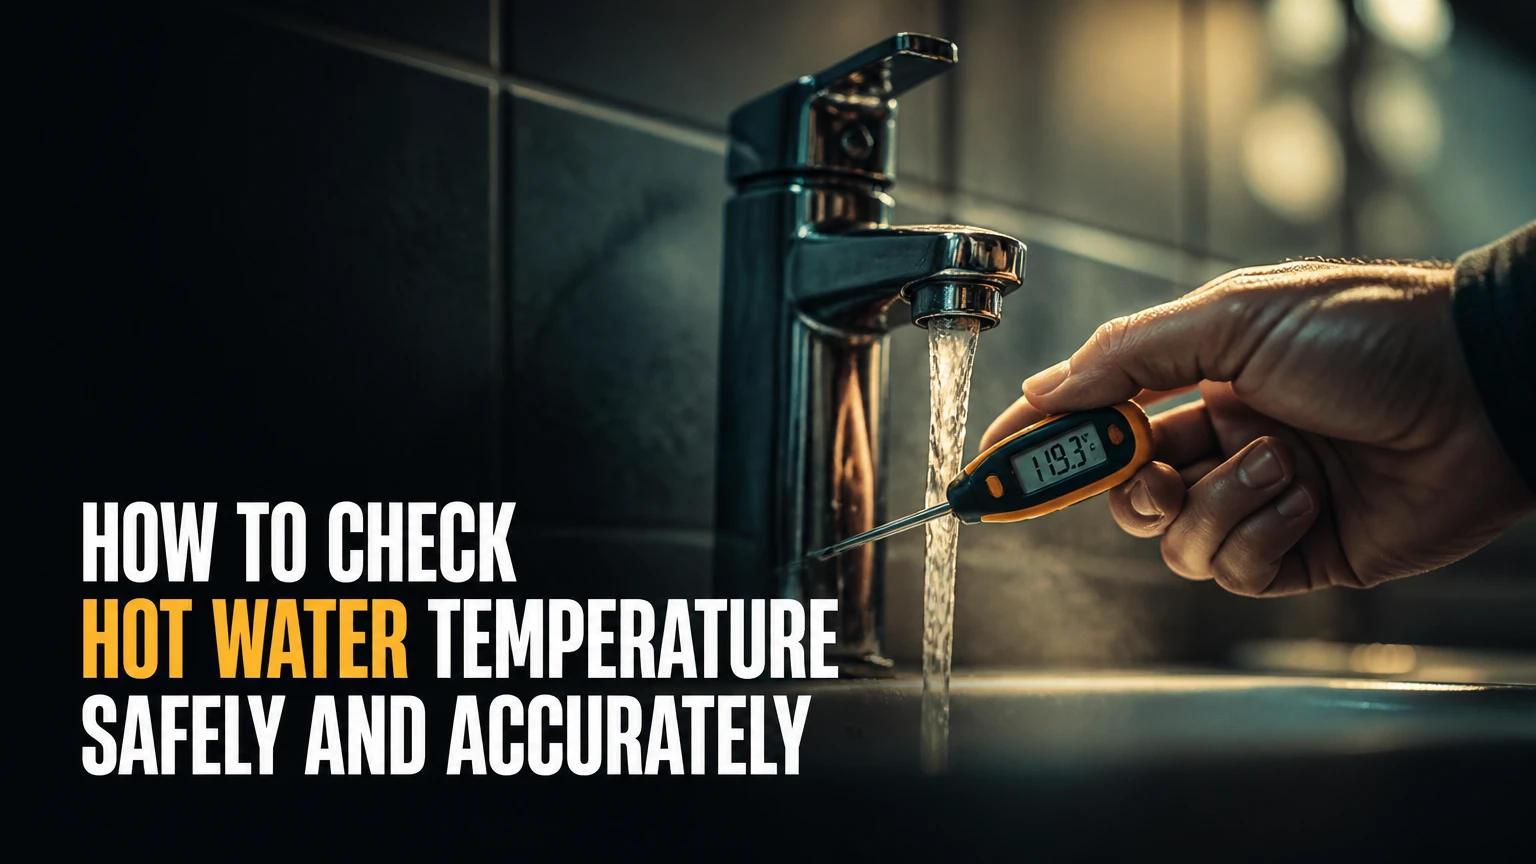
To check hot water temperature, run the hot tap until the temperature stabilizes, collect a sample without touching the container, and measure it with a digital probe thermometer. Test near the heater for system output and at the point of use for scald safety. The process usually takes 5 minutes.
Key Facts at a Glance
A digital probe thermometer is the most practical household tool for measuring water in a cup.
A typical domestic hot-water outlet target is about 120°F (49°C), but local plumbing rules and household needs may differ.
Stored tank water and delivered tap water are separate measurements; a tank may be hotter than the water at the faucet.
Water at 140°F (60°C) can cause a severe scald in seconds, so never test it with skin.
An infrared thermometer measures the surface it sees and can be less reliable on moving or reflective water.
A thermostatic mixing valve can store hotter water while limiting the temperature delivered to fixtures.
What temperature should hot water reach?
A domestic hot-water outlet commonly measures approximately 120°F (49°C), while storage tanks are often maintained near 140°F (60°C) where Legionella control requires a higher stored-water temperature. The correct setting depends on local code, heater design, the presence of a mixing valve, and whether children or vulnerable adults use the fixture.
The 120°F figure is a practical scald-reduction target, not a universal legal rule. Some jurisdictions specify 120°F, 122°F (50°C), or another maximum at particular fixtures, while commercial and healthcare systems may require different storage, return, and outlet controls.
The U.S. Department of Energy identifies 120°F as a common household water-heater setting for balancing hot-water use and scald risk. The U.S. Consumer Product Safety Commission warns that “Scald burns can happen quickly in children.” That warning matters because a comfortable adult test is not a reliable safety test for an infant.
Storage temperature versus delivery temperature
A tank temperature is measured inside or near the heater. A delivery temperature is measured from a faucet or shower. Heat loss through pipes, recirculation behavior, fixture cartridges, and a mixing valve can make those readings different by several degrees.
A tankless heater has no large storage reservoir. Its relevant measurements are inlet temperature, outlet temperature, flow rate, and the temperature at the fixture after pipe losses.
What do you need before testing?
A digital food thermometer with a liquid-temperature range of at least 32-212°F (0-100°C), a heat-resistant cup, and a timer are sufficient for most homes. Avoid glass that is not rated for hot liquids, and keep hands away from the water stream while the sample is hot.
| Item | Typical specification | Typical cost | Purpose |
|---|---|---|---|
| Digital probe thermometer | 32-212°F, 0-100°C range | $8-$25 | Measures the liquid directly |
| Heat-resistant cup | 8-16 fl oz capacity | $2-$10 | Holds the sample safely |
| Kitchen timer | 1-second display | $0-$15 | Times the purge and stabilization |
| Infrared thermometer | -50 to 500°C surface range | $20-$60 | Quick surface screening |
| K-type thermocouple | -50 to 500°C probe range | $30-$100 | Technical or continuous measurement |
A food thermometer is suitable because hot tap water falls within its normal operating range. A medical fever thermometer is unsuitable: many models are designed for a narrow body-temperature range, may not tolerate hot water, and can give an error rather than a valid reading.
Before you start
- Time: 5-10 minutes for one fixture.
- Difficulty: Easy, provided the sample is handled without skin contact.
- Cost: $0 if a suitable probe thermometer is available, otherwise typically $8-$25.
- Tools: Probe thermometer, cup, timer, towel, and notebook or phone.
- Prerequisite: Identify whether the fixture has a thermostatic mixing valve or anti-scald limiter.
How do you check hot water temperature?
Use the following six-step method. The most important factor is measuring water that has reached a stable temperature, rather than measuring cooled water left in the pipe or a shallow sample exposed to room air.
Step 1: Choose the fixture
Select a faucet that answers the question you are investigating. Use the nearest practical fixture to the water heater when checking heater output; use the shower or bathroom faucet when checking scald exposure at that location.
Remove aerators only if they restrict flow or contain visible debris. Do not test through a faucet that is mixing hot and cold water, because the result will describe the mixed fixture rather than the hot-water supply.
You will know the choice is appropriate when the tap is set to hot only and its location is recorded.
Common mistake: Testing a kitchen faucet and assuming the result applies exactly to a distant shower.
Step 2: Purge the faucet
Turn on hot water only at a steady, safe flow and let it run until the temperature stops rising. Three minutes is a conservative procedure for a long or unfamiliar plumbing run, but many homes reach stable temperature sooner.
PNNL Building America guidance recommends checking water temperature after allowing hot water to run so cooled water in the branch line does not distort the result. A short pipe run may stabilize in 30-60 seconds; a long run, dead leg, or poorly insulated line may require several minutes.
You will know the purge is complete when two readings taken about 15 seconds apart are within approximately 2°F (1°C).
Common mistake: Turning the tap on briefly and measuring the first warm water.
Step 3: Collect a representative sample
Place a heat-resistant cup under the hot stream without splashing. Fill it deeply enough to submerge the sensing portion of the probe, then move the cup away from the faucet.
Do not hold the cup under the running stream while inserting the thermometer if the water could splash onto skin. A deep sample reduces the influence of room-temperature air and gives the probe more water around its sensor.
You will know the sample is suitable when the probe can sit in the middle of the water without touching the cup.
Common mistake: Measuring a thin layer of water, which changes temperature rapidly and produces unstable readings.
Step 4: Position the probe correctly
Insert the thermometer into the center of the sample, keeping the metal sensor at least 1 inch from the cup wall and bottom. Stir gently if the thermometer instructions permit it, because a cup can contain small temperature gradients.
Keep the display and your hand away from steam and splashing water. Never use your finger, wrist, or elbow to estimate the temperature.
You will know the probe is positioned correctly when the reading changes gradually and does not jump as the sensor contacts the container.
Common mistake: Letting the probe touch the cup, which allows the thermometer to read the container as well as the water.
Step 5: Wait for stabilization
Wait until the display stops changing, usually 10-60 seconds depending on the thermometer. Record the temperature in both Fahrenheit and Celsius if other household members or service technicians may use the result.
A useful conversion is °C = (°F – 32) × 5/9. For example, 120°F equals approximately 49°C, while 140°F equals 60°C.
You will know the measurement is stable when the display changes by no more than 1°F over about 10 seconds.
Common mistake: Recording the first displayed number from an instant-read probe.
Step 6: Repeat and record the location
Repeat the test once at the same fixture. Then test a second fixture if you need to distinguish a heater problem from a plumbing or mixing-valve problem.
Record the date, fixture, flow condition, purge time, temperature, heater setting, and whether a mixing valve is installed. A single number identifies a condition; a short log identifies a pattern.
You will know the result is useful when repeated readings agree within approximately 2°F and the fixture location is documented.
Common mistake: Changing flow rate between tests and treating the readings as directly comparable.
Which thermometer should you use?
A digital probe thermometer is the best everyday choice because it measures the water itself, costs little, and works for both faucets and showers. An infrared thermometer is faster, while a thermocouple or pipe sensor is better for monitoring equipment, but each alternative has a narrower practical use.
| Method | Measurement principle | Typical time | Best use | Main limitation |
|---|---|---|---|---|
| Digital probe | Direct liquid contact | 10-60 seconds | Household tap testing | Requires safe sample handling |
| Infrared thermometer | Surface infrared radiation | Under 2 seconds | Screening cups, pipes, fixtures | Water surface and emissivity affect accuracy |
| K-type thermocouple | Electrical temperature response | 10-30 seconds | Technical diagnosis | Requires suitable probe and handling |
| Pipe clamp sensor | Surface contact on pipe | Continuous | Trend monitoring | Reads pipe surface, not delivered water |
When is infrared measurement useful?
Infrared measurement is useful for a quick comparison of exposed pipe, a broad water surface, or a fixture body, but it should not be the only reading used to set a scald-sensitive outlet. Infrared devices do not measure the water volume beneath the visible surface, and shiny metal can distort the result.
For a cup of water, cover the surface with a matte, nonreflective target only if the instrument manufacturer allows that method, or verify the result with a probe. Steam, splashing, changing distance, and a bright reflective faucet can all create inconsistent readings.
What is the safest way to test a shower?
Test a shower by running hot only into a heat-resistant container, then measure the collected sample with a probe thermometer. Do not place a hand under the showerhead, because a short exposure to very hot water can injure skin before the temperature is understood.
A shower valve may include an anti-scald stop that limits maximum temperature independently of the water heater. Test the shower after the valve has reached stable output, and compare it with a nearby hot-only basin faucet. A large difference points toward the shower cartridge, limiter, or thermostatic valve rather than the heater.
For households with young children, set the valve limiter according to the manufacturer’s instructions and verify the maximum delivered temperature at the actual showerhead. Local codes may specify a maximum of 120°F or 122°F (49-50°C).
How long does hot water take to stabilize?
Hot water typically stabilizes in 30 seconds to 3 minutes at a household fixture, depending on pipe length, pipe insulation, recirculation, flow rate, and the heater’s recovery cycle. The correct stopping point is a stable reading, not an arbitrary time alone.
| System condition | Typical purge time | Expected observation | Recommended action |
|---|---|---|---|
| Short branch, nearby heater | 30-60 seconds | Temperature rises quickly | Check two readings 15 seconds apart |
| Long branch, distant bathroom | 1-3 minutes | Initial water is cool or warm | Continue until stable |
| Recirculating hot water | 15-60 seconds | Warm water may arrive quickly | Test after the pump schedule is active |
| Low-flow faucet | 2-5 minutes | Slow, uneven temperature change | Increase flow if safe and permitted |
| Tankless heater | 30-120 seconds | Output follows flow and inlet temperature | Record flow and operating conditions |
A low flow rate can create a misleadingly low reading because some tankless heaters need a minimum flow to activate fully, while a storage heater may deliver hot water normally at the same fixture.
Why is the tap temperature lower than the heater setting?
Tap temperature can be lower than the heater setting because of pipe heat loss, a thermostatic mixing valve, a shower anti-scald limiter, low flow, or a heater that has not completed recovery. Sediment is one possible cause, but a ten-degree difference does not prove sediment buildup.
Test the nearest hot-only fixture first, then a distant fixture. If the nearest outlet is hot and the distant outlet is cool, investigate pipe routing, insulation, recirculation, and the local mixing device. If every fixture is cool after a complete purge, inspect the heater setting and call a qualified technician when the cause is not obvious.
Tankless systems add inlet-water temperature and flow to the diagnosis. Winter groundwater can be much colder than summer groundwater, increasing the required heating capacity and reducing outlet temperature at high flow.
What should you do if the water is too hot?
If a tap exceeds the household safety target, stop using that fixture until the temperature is controlled, especially where children, older adults, or people with reduced sensation are present. Do not immediately increase cold-water flow as the permanent solution, because someone may later select hot only.
A reading near 140°F (60°C) at a frequently used outlet presents an immediate scald hazard. The CPSC’s scald guidance shows that burn severity depends on both temperature and exposure time, and children can be injured faster than adults.
Check whether a thermostatic mixing valve, tempering valve, or fixture limiter is installed. Do not remove a valve or adjust a gas control, electrical element, or high-limit safety device without following the manufacturer’s instructions and applicable local requirements.
When should a professional inspect the heater?
Arrange professional service when water is suddenly much hotter than usual, the temperature fluctuates sharply, the pressure-relief valve discharges, a gas smell occurs, electrical components are exposed, or a control will not regulate temperature.
Gas water heaters contain combustion and flue hazards. Electric heaters contain energized circuits that can remain dangerous even after a control is turned off. A plumber or heating technician can test thermostats, elements, sensors, mixing valves, and safety cutoffs with the correct equipment.
How do storage and delivery temperatures work together?
A storage tank may operate around 140°F (60°C) for bacterial-control reasons, while a thermostatic mixing valve adds cold water before the supply reaches fixtures. The valve must be installed, adjusted, and maintained correctly, because a failed valve can deliver storage-temperature water directly to a tap.
Legionella control is a system-design issue rather than a reason for every homeowner to raise the heater blindly. The CDC and public-health guidance distinguish stored water, circulating return water, and point-of-use temperatures, particularly in larger buildings where pipe conditions and vulnerable occupants increase risk.
For a typical single-family home, measure the outlet temperature first. If the tank must be hotter than the outlet target, verify that a properly rated tempering device protects the fixtures.
How do tankless and recirculating systems differ?
Tankless heaters should be tested at a steady flow after activation, while recirculating systems should be tested during normal pump operation. A tankless outlet temperature can change when another fixture opens, whereas a storage heater usually changes more gradually.
For tankless testing, record inlet temperature, outlet temperature, flow rate, and whether another appliance is using hot water. For recirculation, test both a nearby and distant fixture, because a pump can reduce waiting time without guaranteeing an even temperature throughout the loop.
A recirculation return that is too cool can indicate poor insulation, an incorrectly balanced loop, a failed check valve, or an inactive pump schedule. Those conditions require system diagnosis rather than repeated faucet adjustments.
How much does hot-water temperature testing cost?
A homeowner can usually test one fixture for $0-$25, depending on whether a suitable digital probe thermometer is already available. Professional diagnosis commonly costs more because the technician may test controls, flow, pressure, combustion, electrical continuity, or multiple fixtures.
| Testing approach | Typical equipment cost | Typical time | Accuracy context | Appropriate user |
|---|---|---|---|---|
| Existing kitchen probe | $0 additional | 5-10 minutes | Direct liquid reading | Homeowner |
| New digital probe | $8-$25 | 5-10 minutes | Direct liquid reading | Renter or homeowner |
| Infrared screening | $20-$60 | 2-5 minutes | Surface-dependent | Quick comparison |
| Clamp or pipe sensor | $15-$75 | 30-90 minutes setup | Pipe-surface trend | Property manager |
| Professional service call | $100-$300 typical service range | 30-120 minutes | System-level diagnosis | Fault, safety, or code concern |
Prices vary by country, access, travel charges, and equipment. A probe thermometer is usually better value than an infrared unit when the goal is one reliable tap measurement.
What local standards should you follow?
Local plumbing and public-health requirements control when they differ from general household guidance. The USA, United Kingdom, Australia, and other countries use different terms and may distinguish maximum outlet temperature, minimum storage temperature, recirculation temperature, and healthcare requirements.
A domestic recommendation of approximately 120°F (49°C) should not be presented as a universal legal limit. Landlords, care facilities, hotels, and commercial buildings may face inspection, recordkeeping, or Legionella-management duties that do not apply to a private home.
Check the local plumbing authority, building department, public-health agency, or water-heater manufacturer. Record the rule’s location and application, because a regulation for a care home does not automatically define the correct setting for a single-family residence.
Common mistakes and how do you fix them?
| Mistake | Why the result is wrong | Recovery |
|---|---|---|
| Measuring first water from the tap | Water cooled in the branch pipe | Purge until readings stabilize |
| Touching the cup with the probe | Probe reads container temperature too | Reposition in the center |
| Using a fever thermometer | Device range may be too narrow | Use a liquid-rated probe |
| Testing mixed water as hot supply | Cold water changes the measurement | Use hot only, then test point of use |
| Using infrared on shiny metal | Emissivity creates surface error | Confirm with a contact probe |
| Comparing different flow rates | Heater and valve behavior changes | Repeat at the same flow |
| Raising the heater setting blindly | Increases scald and energy risk | Diagnose controls and mixing protection |
Two practitioner rules prevent most bad measurements. First, test the nearest fixture and the problem fixture before opening a heater cabinet. Second, treat a sudden temperature change as a control or valve problem until a technician rules out a heater fault.
A measured temperature is also not a burn-risk guarantee. Exposure duration, skin condition, water pressure, and the user’s ability to move away all affect injury risk.
FAQ
Can I check hot water temperature without a thermometer?
You can identify obvious overheating or inadequate heating by observing the tap, but you cannot reliably determine a safe temperature by touch. Use a liquid-rated digital probe thermometer, because skin adapts quickly and cannot distinguish a precise 120°F reading from a more dangerous temperature.
Should hot water be 120°F or 140°F?
The answer depends on the measurement point. Approximately 120°F (49°C) is a common household delivery target, while approximately 140°F (60°C) may be used for stored water in systems designed for Legionella control. A mixing valve should protect fixtures when storage temperature is higher.
Why does hot water cool quickly in the cup?
A shallow sample, cold container, room-temperature air, steam loss, and a long delay before measurement can cool the sample. Use a heat-resistant cup with enough depth for the probe, measure immediately, and keep the sensor away from the walls and bottom.
How often should household hot water be tested?
Test after a water-heater replacement, thermostat adjustment, mixing-valve service, or complaint about scalding or insufficient heat. A twice-yearly check is a reasonable maintenance habit for many homes, while rental, healthcare, and commercial properties should follow their documented inspection schedule.
Can a hot-water temperature test diagnose sediment buildup?
A temperature reading alone cannot diagnose sediment. Sediment may contribute to slow recovery, popping noises, reduced capacity, or poor heating, but low tap temperature can also result from a mixing valve, low flow, pipe loss, or a failed control.
Is 130°F hot water dangerous?
Yes. Water at 130°F (54°C) can cause a serious scald after brief exposure, particularly for children, older adults, and people with reduced sensation or mobility. Treat any outlet above the household safety target as a control problem requiring adjustment or professional evaluation.
The Bottom Line
To check hot water temperature, purge a hot-only faucet until stable, collect a safe sample, and measure the center of the water with a digital probe. Test both the nearest fixture and the fixture people actually use, then compare the results with local requirements and the heater’s storage strategy.
A typical household outlet target is about 120°F (49°C), but stored water may be hotter when a thermostatic mixing valve provides protection. Never correct an abnormal reading by blindly changing the heater control. Record the temperature, fixture, flow, and system type, then involve a qualified technician when water is dangerously hot, consistently cold, or associated with gas, electrical, pressure, or safety-control symptoms. Knowing how to check hot water temperature is valuable because the measurement separates a user-safety issue from a heater, valve, or plumbing problem.