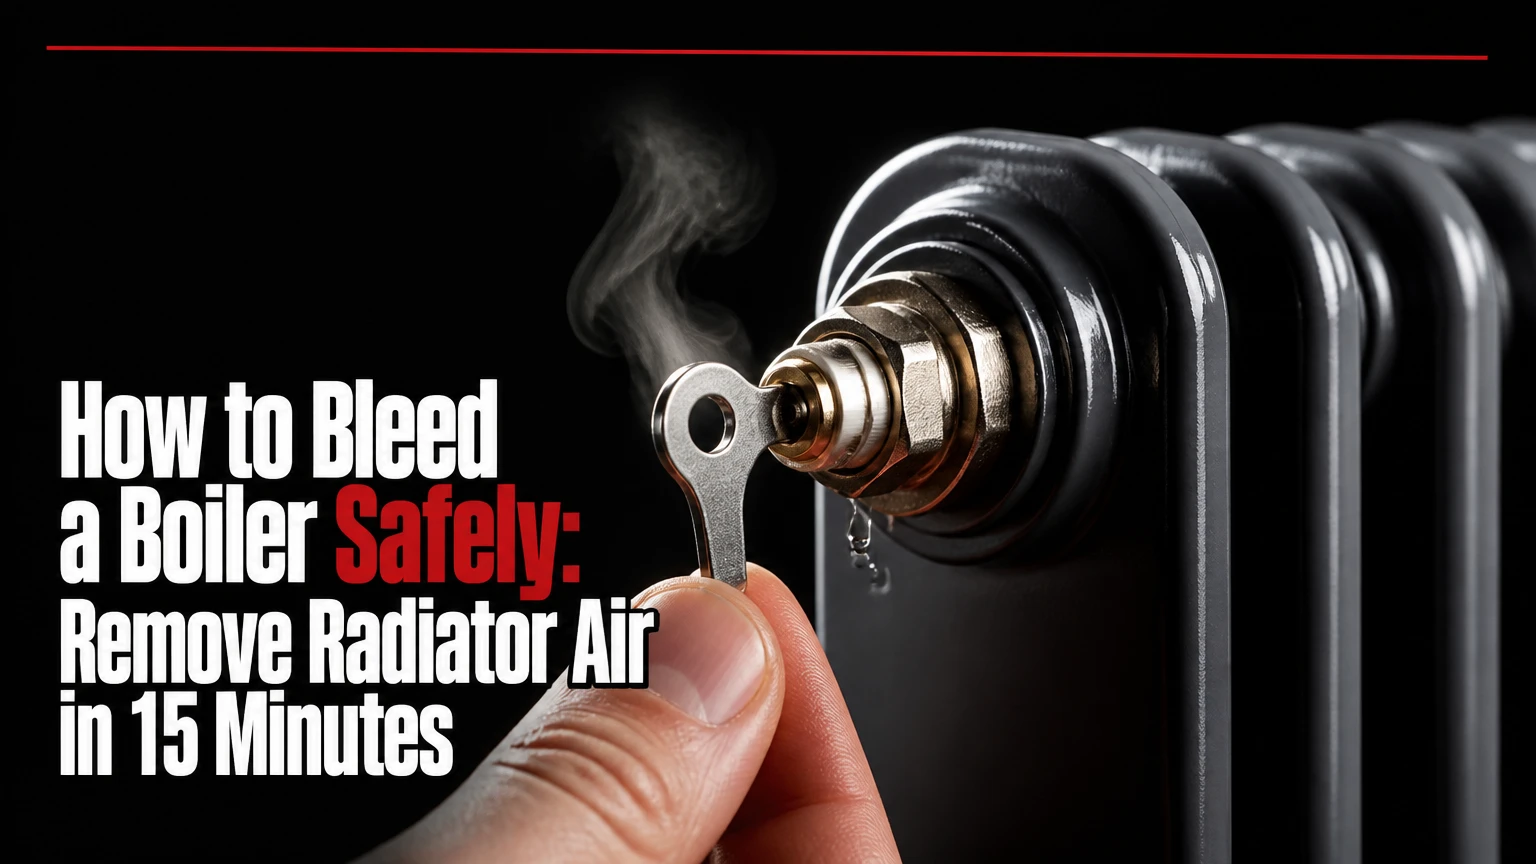
Bleeding a boiler usually means bleeding the radiators connected to the central-heating system, not opening the boiler itself. Switch the heating off, allow the radiators to cool, open each bleed valve until trapped air stops hissing and water appears, then close the valve and check system pressure. The process usually takes 5-15 minutes for a typical home.
Key facts at a glance
A radiator that is cold at the top and warmer at the bottom commonly contains trapped air.
Never remove the boiler casing or work on gas, oil, electrical, or internal boiler components to bleed a radiator.
Use a radiator key or the correctly sized screwdriver, opening the bleed valve only about one-quarter to one-half turn.
Sealed systems commonly read about 1.0-1.5 bar when cold, but the boiler manufacturer’s manual takes priority.
Bleeding can lower pressure, so check the gauge afterward and repressurise only if the system instructions allow it.
A radiator that remains cold after bleeding may have a balancing, circulation, thermostatic-valve, sludge, or pump fault.
What Does Bleeding a Boiler Mean?
Bleeding a boiler is household shorthand for venting air from one or more radiators. The radiator bleed valve is a small fitting at the upper corner of the panel; the boiler heats and circulates water, but the boiler casing itself is not part of this routine maintenance task.
Central-heating water should fill the radiator’s internal channels. Air occupies space that hot water cannot, so the upper section stays cool while the lower section may heat normally. The fault is often easy to identify because the radiator feels cooler at the top than at the bottom.
Bleeding is appropriate for a closed-water heating circuit with conventional manual radiator valves. It is not a cure for every heating problem. A cold radiator can also result from a closed thermostatic radiator valve, poor system balancing, sludge, a failed pump, a stuck diverter valve, or inadequate boiler output.
Why does trapped air make a radiator cold?
Trapped air rises to the top of the radiator because its density is far lower than water’s. The air pocket reduces the area available for hot water, interrupts heat transfer across the panel, and can create bubbling or gurgling as the pump moves water through the system.
The energy-saving claim needs precision. Bleeding a genuinely air-bound radiator can restore its heat output and reduce unnecessary heating time, but bleeding does not automatically reduce every household’s bill. A well-filled radiator with a different fault will not become more efficient after venting.
Before You Start: Tools, Time, and Safety
You need a radiator key, a towel, and a shallow container. A replacement key typically costs £1-£5 in the UK, while a replacement bleed screw or plug commonly costs £2-£15, depending on the radiator valve type.
| Requirement | Typical specification | Why it matters |
|---|---|---|
| Radiator key | Standard square key, often 5 mm | Opens common manual bleed valves |
| Towel | 1 medium household towel per 2-3 radiators | Protects paintwork and flooring |
| Container | 100-250 ml shallow cup | Catches residual heating water |
| Time | 1-3 minutes per radiator | Includes venting and cleanup |
| Cooling period | 30-60 minutes typical | Reduces scalding risk |
| DIY cost | £1-£5 if the key is already available | Excludes replacement parts |
Turn the heating and hot-water controls off before opening a bleed valve. Wait until radiators are cool enough to touch comfortably, because hot heating water can burn skin and damage flooring.
Do not remove the boiler casing. Do not loosen a pressure-relief valve, expansion vessel, gas connection, oil burner, electrical component, or internal automatic air vent. In the UK, gas work must be completed by a Gas Safe registered engineer; oil-boiler work should be handled by an appropriately qualified oil-heating technician.
How to Bleed a Boiler Safely
The safest sequence has seven steps: identify the affected radiator, switch the system off, allow it to cool, open the bleed valve gradually, close it when water appears, check pressure, and test the heating. Success depends most on distinguishing trapped air from a separate circulation or valve fault.
Step 1: Identify radiators with trapped air
Run the heating for about 10 minutes, then carefully compare the upper and lower sections of each radiator. A cold top with a warmer bottom is the strongest common sign of air; a radiator cold across its entire surface points to a different fault.
Record which radiators need attention. Check towel rails as well as panel radiators, because towel rails can trap air at their upper tubes. Do not rely on touch alone if the radiator has a decorative cover or very low surface temperature.
You’ll know this step worked when: you can identify a radiator with a distinct temperature difference from top to bottom.
Common mistake: treating a cold radiator on every surface as proof that it needs bleeding. First check that the thermostatic and lockshield valves are open and that other radiators heat normally.
Step 2: Turn off the heating and circulation pump
Set the central-heating control to off and, where practical, turn the boiler off using its normal control. Do not bleed while the circulation pump is running, because moving water can disturb the air pocket and make the pressure reading unreliable.
The exact control sequence varies between combi, system, and conventional boilers. The aim is simple: stop active circulation before opening the radiator valve. Keep electrical switches dry and use the boiler’s user controls rather than opening the appliance.
You’ll know this step worked when: the boiler has stopped firing and radiators are no longer warming.
Common mistake: switching off only a room thermostat while the programmer continues to demand heat.
Step 3: Let the radiators cool
Wait approximately 30-60 minutes, or longer if the radiator remains hot. The bleed valve releases air first, but water can follow immediately, and the water temperature may still be high enough to scald.
Place the towel and container under the upper valve before touching the key. Move furniture, rugs, and electronics away from the radiator. Painted walls and laminate flooring can be damaged by even a small amount of dirty heating water.
You’ll know this step worked when: the radiator and bleed plug are cool enough to handle without discomfort.
Common mistake: bleeding immediately after the heating switches off because the valve itself appears small.
Step 4: Locate the correct bleed valve
Find the small valve at the top edge of the radiator, usually opposite the thermostatic control. The central pin is commonly square and accepts a radiator key, although some valves use a flat screwdriver or a manufacturer-specific fitting.
Do not confuse the bleed valve with the radiator’s inlet, outlet, thermostatic valve, or lockshield valve. Opening the wrong fitting can release substantial water or alter system balancing.
| Radiator fitting | Usual location | DIY action |
|---|---|---|
| Bleed valve | Upper corner or upper side | Open slightly with the correct key |
| Thermostatic valve | Lower side, numbered dial | Leave unchanged during bleeding |
| Lockshield valve | Lower opposite side, capped | Do not adjust for bleeding |
| Drain valve | Lower pipework or radiator end | Do not open for bleeding |
You’ll know this step worked when: the key fits the square pin without wobbling or slipping.
Common mistake: using adjustable pliers on a small brass bleed pin. Pliers can round the pin and turn a two-minute task into a valve replacement.
Step 5: Open the bleed valve gradually
Fit the radiator key fully onto the square pin. Turn it anticlockwise about one-quarter to one-half turn, stopping as soon as you hear air escaping.
The initial hiss is trapped air leaving the radiator. Keep the container under the outlet and do not remove the screw completely. Opening the valve farther does not vent the radiator faster in a useful or safer way.
You’ll know this step worked when: you hear a steady hiss and see little or no water leaving the valve.
Common mistake: turning the key several full rotations. The pin may detach, and water can escape faster than the towel or container can catch it.
Step 6: Close the valve when water flows
Close the valve clockwise as soon as the hissing stops and a steady dribble or stream of water appears. Tighten it firmly by hand with the key, but do not force it, because overtightening can damage the soft metal seat or the valve threads.
A few droplets after closing are normal. Wipe the valve dry and inspect it for several minutes. If water continues to seep from the spindle or threads, the valve may need a new washer or replacement bleed plug.
You’ll know this step worked when: the hiss has stopped, the valve is dry, and no continuous leak appears.
Common mistake: waiting for a large stream. The required checkpoint is the transition from air to water, not a prolonged discharge.
Step 7: Check pressure and test the system
Restart the heating after all selected radiators are closed. On a sealed system, check the pressure gauge once the system is cool and compare the reading with the boiler manual.
A typical cold reading is around 1.0-1.5 bar, but some appliances specify a different range. If pressure is low, use the installed filling loop only according to the manufacturer’s instructions, then close both valves securely and recheck for leaks.
| System type | Common pressure arrangement | After bleeding |
|---|---|---|
| Combi boiler | Sealed circuit, gauge often present | Check gauge and refill if manufacturer permits |
| System boiler | Sealed circuit, external or integrated filling connection | Restore specified cold pressure |
| Conventional heat-only boiler | Often open-vented with loft feed-and-expansion tank | Usually no filling loop; inspect tank if level is low |
| District or communal heating | Building-controlled circuit | Contact landlord or managing agent |
Do not blindly fill to 1.5 bar if the manual specifies another value. Pressure normally rises when water heats, so filling an already hot system can produce a misleadingly high reading.
You’ll know this step worked when: radiators heat more evenly, gurgling has stopped, the boiler operates normally, and pressure remains within the stated cold range.
Common mistake: leaving a filling-loop valve open. That can overpressurise the system and cause the pressure-relief valve to discharge water.
Which Radiator Should You Bleed First?
There is no universal rule requiring every home to bleed radiators from the ground floor upward. The safest practical rule is to follow the manufacturer or installer’s instructions, switch circulation off, and work methodically through the system; the order itself rarely determines whether a normal radiator vents successfully.
For a multi-storey home, many installers begin with the lowest radiators and finish upstairs, while others start with the radiator showing the clearest cold-top symptom. Air rises, but opening one radiator does not reliably “push” all hidden air to the highest floor, so the claim that a specific order is always necessary is overstated.
Bleed one radiator at a time. After the final radiator, restore pressure if required and inspect every opened valve for leaks. The method matters more than a rigid floor-by-floor sequence.
Do Combi, System, and Conventional Boilers Differ?
Combi and system boilers usually have sealed heating circuits, so radiator bleeding may reduce pressure and require controlled refilling. Conventional heat-only systems commonly use a feed-and-expansion tank in the loft, although older installations vary and should be identified before any adjustment.
Automatic air vents inside boilers can discharge small quantities of air without user action. They are not a substitute for radiator bleeding, and accessing one requires removing the boiler casing, which is not a homeowner task.
| Boiler or system component | Typical homeowner access | Bleeding implication | Safe next action |
|---|---|---|---|
| Manual radiator valve | External, no casing removal | Air vents through radiator | Use key after cooling |
| Boiler automatic air vent | Inside appliance casing | May remove internal air automatically | Call qualified engineer |
| External filling loop | Beneath or near boiler | Adds water to sealed circuit | Follow manual exactly |
| Loft feed-and-expansion tank | Loft, open-vented system | Provides replacement water | Check only for obvious level or leak issues |
| Automatic radiator vent | External specialist fitting | Vents air with a hygroscopic insert | Inspect for seepage, do not dismantle |
An automatic radiator vent may reduce routine manual bleeding, but it does not diagnose corrosion, leaks, poor balancing, or pump faults. Automatic devices also require correct installation and can eventually seep when their internal element becomes contaminated.
What If the Radiator Still Does Not Heat?
A radiator that remains cold after bleeding needs diagnosis rather than repeated venting. Check the thermostatic valve, confirm the boiler is heating other radiators, and compare the radiator’s temperature pattern before paying for a flush or replacing parts.
| Temperature pattern | More likely cause | Homeowner check | Typical remedy |
|---|---|---|---|
| Cold top, warm bottom | Trapped air | Bleed after cooling | Vent radiator and check pressure |
| Cold all over | Closed valve or no circulation | Turn thermostatic control up; compare other rooms | Free or replace valve if qualified |
| Hot top, cold bottom | Sludge or poor flow | Compare several radiators | System clean, balancing, or engineer diagnosis |
| One side hot, other side cool | Balancing or valve setting | Check whether other radiators overheat | Hydraulic balancing |
| Boiler fires, all radiators weak | Pump, controls, pressure, or system fault | Check error display and gauge | Qualified heating engineer |
Do not insert a needle, paperclip, or drill into a blocked bleed opening. A blocked valve can retain pressure, and forcing debris inward may damage the valve or create a leak. Replace the bleed plug or have a heating professional remove it.
A stripped square pin is another stop condition. Use the correct extractor only if you understand the valve type and can isolate the risk of water release; otherwise, arrange replacement by a heating engineer.
Why Do Radiators Need Bleeding Repeatedly?
Radiators that require bleeding every few weeks usually indicate an underlying problem, not a normal maintenance cycle. Common causes include a leaking joint that admits air, corrosion producing hydrogen gas, an incorrectly configured automatic vent, or repeated system draining and refilling.
Inspect visible joints, radiator valves, and pressure-relief discharge pipework for dampness. A pressure drop combined with repeated venting is especially significant because the system may be losing water somewhere that is not immediately visible.
Hydrogen gas can form when corrosion occurs inside a heating system. A lit match must never be used to test it. If a radiator repeatedly collects gas, arrange professional testing of inhibitor concentration, system corrosion, leaks, expansion-vessel condition, and automatic air vents.
Should You Bleed, Balance, or Flush the System?
Bleeding removes air; balancing regulates water distribution; chemical cleaning or power flushing addresses contamination and restricted flow. These procedures solve different fault patterns, so repeated bleeding cannot substitute for balancing or sludge treatment.
| Procedure | Removes or changes | Typical DIY suitability | Typical UK cost |
|---|---|---|---|
| Radiator bleeding | Trapped air | Suitable with caution | £1-£5 for a key |
| Radiator balancing | Flow distribution | Possible, but time-consuming | £80-£200 typical engineer visit |
| Chemical clean | Inhibitor and suspended deposits | Product-dependent | £100-£250 typical |
| Power flush | Severe sludge and restricted flow | Professional equipment required | £400-£900 typical |
| Boiler repair | Internal component fault | Not suitable for DIY | £100-£500+, fault-dependent |
A radiator cold at the top generally supports bleeding. A radiator cold at the bottom, especially with dark water or poor flow, points more toward sludge or circulation. A full system that heats slowly may need balancing or controls diagnosis rather than venting.
These prices are typical UK consumer ranges, not fixed tariffs. Location, access, boiler brand, system size, and the engineer’s diagnostic findings can change the final invoice.
Common Mistakes and How to Fix Them
The most damaging bleeding mistakes are opening the wrong valve, working on a hot radiator, over-tightening the bleed screw, and refilling without checking the manufacturer’s pressure range. Each mistake has a different recovery.
- Bleeding with the pump running: stop the heating, close the valve, allow the system to settle, and repeat only after cooling.
- Using pliers or an oversized key: stop before rounding the pin; obtain the correct key rather than increasing force.
- Removing the bleed screw completely: close the valve immediately, contain water, and arrange valve inspection if it will not reseal.
- Ignoring a pressure drop: check the cold gauge and follow the filling-loop instructions; repeated loss requires diagnosis.
- Opening the boiler casing: stop work and contact a qualified engineer, because internal components are outside routine radiator maintenance.
- Assuming black water means an immediate emergency: wipe the spill, check for continuing leakage, and arrange system investigation if sludge is substantial or circulation is poor.
Heating-system water can stain fabrics and paint. Treat it as dirty chemical-treated water, keep it away from skin and eyes, and wash contaminated surfaces promptly.
When Should You Call a Heating Professional?
Call a qualified heating professional if the boiler pressure repeatedly falls, the pressure rises sharply when heating operates, a valve will not close, water leaks from the boiler, the boiler displays a fault code, or all radiators remain cold after basic checks.
A professional is also appropriate when the system needs balancing, chemical cleaning, power flushing, expansion-vessel work, pump replacement, or investigation of repeated air. Boiler casing removal, gas work, oil-burner servicing, and internal electrical repairs are not radiator-bleeding tasks.
| Symptom | Stop DIY and arrange service when | Likely investigation |
|---|---|---|
| Pressure repeatedly below 1.0 bar cold | It falls again after controlled refill | Leak, expansion vessel, PRV |
| Pressure approaches red zone | It rises rapidly during heating | Expansion vessel or overfilling |
| Bleed valve leaks | It remains wet after firm closure | Washer, plug, or radiator thread |
| All radiators cold | Boiler shows fault or pump is silent | Controls, pump, pressure, boiler |
| Air returns frequently | Bleeding is needed monthly | Corrosion, leak, inhibitor, AAV |
| No water or air exits | Valve opening appears blocked | Replace or professionally remove valve |
The boiler manual and local safety rules take priority over generic pressure figures. A manufacturer-specific instruction is more reliable than a universal online number.
How Often Should You Bleed Radiators?
Bleed radiators when symptoms appear or as a seasonal check before sustained winter use, rather than forcing a fixed monthly schedule. A healthy sealed system should not require frequent venting, and annual bleeding is a practical maintenance interval for many homes, not an absolute engineering requirement.
Check radiators at the start of the heating season and after work that drained or refilled the system. Bleeding after painting, radiator removal, plumbing changes, or a new boiler installation may be appropriate once the system is operational and cool.
Do not bleed every radiator automatically if only one has a cold top. Unnecessary venting releases water, lowers pressure in sealed systems, and may mask an underlying leak.
Frequently Asked Questions
Can I bleed radiators while the boiler is on?
No. Switch off the heating and circulation pump, then allow the radiators to cool before opening a bleed valve. The pump can disturb air and water movement, while hot heating water can cause burns. Use the boiler’s normal controls only, and never open the appliance casing.
Can bleeding a radiator damage a combi boiler?
Normal radiator bleeding does not damage a combi boiler when the valve is opened slightly and closed correctly. The main risk is allowing sealed-system pressure to fall too low or leaving the filling loop open. Check the cold pressure afterward and follow the combi boiler manufacturer’s refill instructions.
Why is my radiator cold at the top but hot at the bottom?
A radiator cold at the top and warm at the bottom commonly contains trapped air, because air rises and prevents hot water from filling the upper channels. Bleeding may restore heat. If the pattern remains, check the radiator valve and investigate restricted flow or balancing.
Can I bleed a radiator without a radiator key?
Some bleed valves accept a flat screwdriver, but many use a square radiator key. Use only a tool that fits the valve correctly. Do not substitute pliers, improvised metal objects, or an oversized key, because a rounded pin can require valve extraction or replacement.
Does bleeding lower boiler pressure?
Bleeding can lower the pressure of a sealed central-heating system because a small amount of water may leave after the trapped air escapes. Check the gauge once the system is cool. Refill only through the correct filling connection and only to the range specified by the boiler manufacturer.
Is gurgling always caused by air in the radiators?
Gurgling often indicates air, but it can also result from low pressure, poor circulation, incorrect pump settings, or pipework configuration. Bleed the affected radiator safely once, then check pressure. If noise returns or occurs throughout the system, arrange professional diagnosis.
The Bottom Line
To understand how to bleed a boiler, remember that the task normally involves bleeding radiators, not opening the boiler. Cool the system, vent each affected radiator until water appears, close the valve without force, check sealed-system pressure, and test for even heat.
Bleeding is a suitable DIY remedy for cold radiator tops and gurgling caused by trapped air. It is not a solution for repeated pressure loss, cold radiator bottoms, boiler faults, leaks, pump problems, or internal appliance work. Stop when those symptoms appear and use a qualified heating professional.