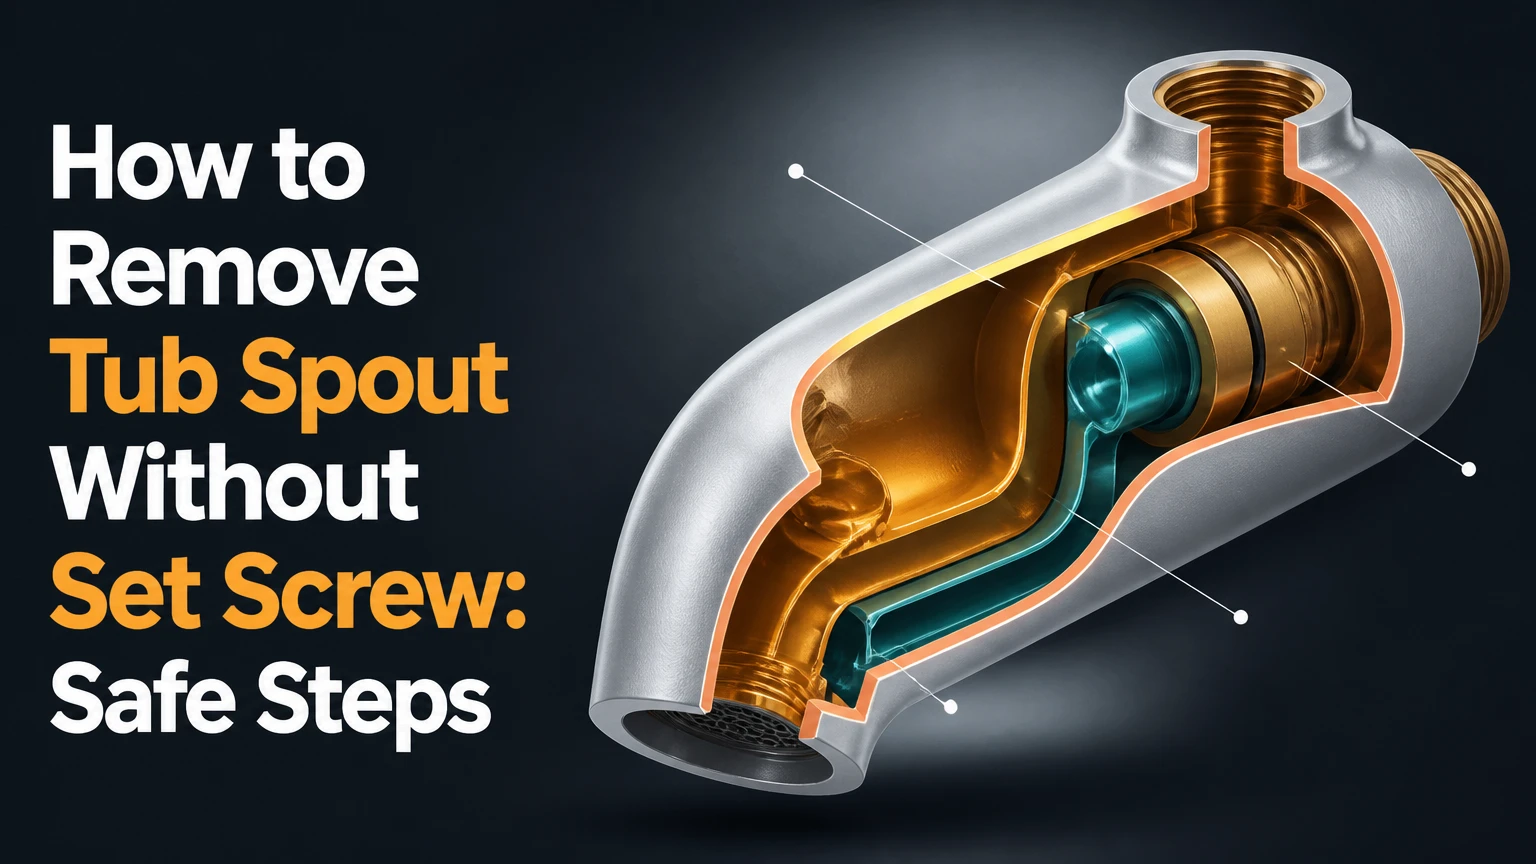
To remove a tub spout without a set screw, first confirm that the fixture is threaded rather than slip-on, cut through its caulk seal, and turn the spout counterclockwise. Use a strap wrench for a reusable finish, or a padded pipe wrench for a disposable corroded spout. Stop if the wall pipe moves.
Key Facts at a Glance
- A tub spout with no visible set screw is commonly a threaded spout, but some slip-on models hide a screw under caulk or a decorative cap.
- Most threaded tub spouts connect to a 1/2-inch NPT or IPS male nipple, although manufacturer-specific adapters also exist.
- Counterclockwise rotation removes a normally threaded tub spout when viewed from the front.
- A strap wrench protects chrome and painted finishes better than a pipe wrench, but it produces less torque.
- A pipe that rotates, flexes, or pulls away from the wall can indicate a loose drop-ear elbow inside the wall.
- Typical removal takes 10-30 minutes; cutting a seized spout can take 30-60 minutes and may require wall access.
How Can You Tell Which Tub Spout Connection You Have?
A tub spout with no set screw is usually threaded, but visual inspection must come before applying torque. Look underneath the spout, inside the front opening, and beneath any trim cap for a small hex-head or Phillips screw; hardened caulk can completely conceal a slip-on fastener.
A threaded tub spout normally has no narrow seam that indicates a sliding sleeve. The entire body usually rotates, and the fixture may have a short female-threaded section at the rear or a long internal thread near the nose. Some models screw onto a long pipe nipple that extends deep inside the spout.
| Connection type | Visible clue | Typical pipe or adapter | Removal action |
|---|---|---|---|
| Threaded, rear entry | Spout rotates from its base | 1/2-inch male nipple | Turn counterclockwise |
| Threaded, nose entry | Long nipple reaches inside body | 1/2-inch IPS or NPT nipple | Turn body counterclockwise |
| Slip-on with set screw | Small hole underneath | Smooth copper or brass tube | Loosen screw, then pull |
| Adapter-based | Brand-specific collar or sleeve | Manufacturer adapter | Follow product instructions |
The terms IPS and NPT are often used together in residential faucet descriptions, but they are not identical technical labels. IPS describes pipe sizing, while NPT describes tapered National Pipe Thread geometry. Confirm the replacement spout’s required connection before buying it.
What Should You Do Before Turning the Spout?
Before removing the tub spout, shut off the water if the fixture is connected to an accessible supply valve, protect the tub surface, and score the wall seal completely. Preparation prevents tile damage and gives you a way to detect movement in the plumbing before a fitting breaks.
Tools and materials
Gather the following:
- Utility knife with a fresh blade
- Flashlight
- Large flat-head screwdriver, only for a sturdy metal spout
- Rubber strap wrench
- Adjustable wrench or 12-inch pipe wrench
- Thick cloth or several layers of painter’s tape
- Penetrating oil for exposed metal threads
- White vinegar and a small rag for mineral scale
- Replacement tub spout and compatible sealant
- Tub drain cover or folded towel
A penetrating oil is more useful against oxidation than household vinegar, but neither product can reliably dissolve a badly corroded threaded joint. Keep solvents away from acrylic surrounds, natural stone, rubber seals, and finished surfaces unless the product label approves that material.
Inspect the wall and pipe
Check whether the spout meets tile, fiberglass, acrylic, or painted drywall. Note the direction of the diverter, the distance from the wall to the outlet, and whether the spout body already flexes when touched.
Take a photograph before removal. The photograph records the original orientation and helps match the replacement.
How to Remove Tub Spout Without Set Screw
Remove a threaded tub spout by isolating the wall plumbing, breaking the caulk seal, and increasing torque gradually. Start with hand pressure, then use a strap wrench, and reserve a pipe wrench or cutting tool for a spout that will not be salvaged.
Step 1: Protect the tub and surrounding wall
Cover the drain with a stopper or cloth and place a folded towel over the tub beneath the work area. The towel catches metal fragments and prevents a dropped wrench from chipping porcelain or scratching acrylic.
Place masking tape on adjacent tile if the fixture has a delicate finish. Do not tape directly over loose caulk that you still need to cut.
You’ll know it worked when: the drain is covered and the tool cannot easily strike the tub surface.
Common mistake: leaving the drain open, which allows a small screw, blade fragment, or pipe shaving to disappear into the plumbing.
Step 2: Cut the caulk seal
Run a sharp utility knife around the entire joint where the tub spout meets the wall. Make separate passes rather than forcing the blade deeply against the tile or surround.
Cut the top, bottom, and both sides. If the spout has a large rear flange, work the blade parallel to the wall and stop when the sealant separates.
You’ll know it worked when: a thin gap appears around the flange and the spout no longer pulls at the wall finish when gently rotated.
Common mistake: twisting before cutting the seal, which can lift grout, tear an acrylic surround, or crack brittle caulk along the tile edge.
Step 3: Check again for a hidden set screw
Use a flashlight to inspect the underside of the rear third of the spout. Clear only loose caulk with an awl or small screwdriver; do not force a tool into a recessed hole that might contain a concealed fastener.
A set screw commonly uses a hex key, although some older models use a Phillips or slotted screw. If you find one, loosen it several turns and pull the spout straight outward instead of rotating it.
You’ll know it worked when: the spout either slides off smoothly or presents a clearly threaded connection with no fastener.
Common mistake: assuming every screwless-looking spout is threaded. A hidden set screw can strip when the entire fixture is twisted.
Step 4: Soften scale and apply lubricant carefully
Wrap a rag dampened with a 1:1 mixture of white vinegar and warm water around visible white mineral deposits for 20-30 minutes. Rinse and dry the area afterward. This treatment can soften calcium carbonate scale, but it will not restore threads fused by rust or galvanic corrosion.
Apply a small amount of penetrating oil only to the exposed seam or threads. Wait 10-15 minutes, then wipe away residue before gripping the fixture.
You’ll know it worked when: chalky buildup flakes away and the wrench no longer slips on a gritty surface.
Common mistake: soaking the entire wall connection or leaving acidic liquid on chrome, brass, stone, or colored finishes. Use the product manufacturer’s compatibility instructions.
Step 5: Try to turn the spout by hand
Grip the body with both hands and rotate counterclockwise when facing the spout. Keep the fixture close to the wall so the force stays aligned with the threaded nipple.
A threaded spout may need a short, firm initial movement. Do not jerk the fixture, and do not use the diverter gate, pull rod, or thin outlet lip as a handle.
You’ll know it worked when: the spout backs away from the wall with each rotation instead of simply swiveling in place.
Common mistake: turning clockwise after changing hand position. Mark the top of the spout with tape so you can see the direction of rotation.
Step 6: Use a strap wrench for a finish you want to save
Wrap a rubber strap wrench around the rear or middle of the spout, keeping the strap square to the body. Pull counterclockwise with steady pressure while supporting the fixture near its base with your other hand.
A strap wrench protects chrome, brushed nickel, matte black, and painted finishes better than toothed jaws. Its limitation is torque: a heavily corroded metal joint may exceed its grip.
You’ll know it worked when: the body turns without visible crushing, tooth marks, or movement at the wall penetration.
Common mistake: placing the strap over wet soap residue. Clean and dry the spout first because rubber slips on a contaminated finish.
Step 7: Use a padded pipe wrench only when the spout is expendable
Wrap the spout with thick cloth or several layers of tape, then place a 12-inch pipe wrench on the strongest cylindrical section. Pull counterclockwise with controlled pressure and keep your body positioned so the wrench cannot strike the wall.
A pipe wrench will usually damage a decorative finish, so use it only when replacing the spout or when the fixture has already been badly damaged. Do not treat the spout as a structural brace for the pipe inside the wall.
You’ll know it worked when: the spout turns while the wall connection remains fixed and the flange does not pull away from the surround.
Common mistake: using a 24-inch wrench immediately. Excess leverage can twist copper tubing or break the threaded connection at the drop-ear elbow.
Which Tub Spout Removal Tool Is Safest?
The strap wrench is the safest general choice for a tub spout you want to reuse, while a padded pipe wrench provides the most torque for a fixture headed for disposal. A screwdriver inserted into the outlet can damage thin metal or plastic and should be limited to robust spouts with a strong internal opening.
| Tool | Typical cost | Finish risk | Torque level | Best application |
|---|---|---|---|---|
| Bare hands | $0 | 0/5 | Low | Loose threaded spout |
| Rubber strap wrench | $15-$35 | 1/5 | Medium | Salvageable decorative spout |
| Adjustable wrench with padding | $15-$30 | 3/5 | Medium-high | Thick hex or robust body |
| 12-inch pipe wrench | $20-$45 | 5/5 | High | Corroded disposable spout |
| Oscillating tool | $60-$180 | 4/5 | Cutting only | Controlled shell removal |
The screwdriver-lever method is not automatically safer for the wall pipe. It applies force through the spout’s front opening and can deform a thin casting, crack a plastic diverter, or bend an internal sleeve. Use it only after confirming that the spout is structurally strong.
Practitioner rule: if the wall pipe moves before the spout moves, more torque is the wrong solution.
What Should You Do if the Spout Will Not Turn?
A tub spout that will not turn usually has seized threads, an uncut caulk bond, or a concealed fastener. Recheck the underside and rear seam first, then increase force in small stages while watching the pipe for rotation.
Diagnose the resistance
A completely rigid spout with no pipe movement may have corrosion between the female spout threads and the male nipple. A spout that flexes at the wall may be pulling on a loose elbow or unsupported adapter.
A gritty quarter-turn followed by a stop can indicate damaged threads. A smooth full rotation without the spout moving outward points to stripped threads, a broken adapter, or an internal sleeve.
| Symptom | Likely cause | Safe response | Stop condition |
|---|---|---|---|
| No movement at all | Corrosion or intact caulk | Cut seal, lubricate, use strap wrench | Wall pipe begins turning |
| Spout rotates and backs out | Normal threaded removal | Continue by hand | Threads bind sharply |
| Spout spins endlessly | Stripped or disconnected threads | Pull outward lightly while turning | Pipe or elbow moves |
| Body bends under wrench | Thin corroded casting | Cut the spout away | Metal begins contacting pipe |
| Flange pulls tile | Uncut seal or adhesive | Re-score perimeter | Surround cracks or lifts |
If the spout spins endlessly
Pull the spout gently toward you while turning counterclockwise. This can help damaged threads engage the exit path, but it will not repair a broken adapter.
If the body rotates with the pipe inside the wall, stop. A drop-ear elbow may have detached from its blocking, or a threaded nipple may be turning in the wall fitting. Access from the opposite side of the wall may be necessary.
If the wall pipe turns
Stop immediately when a rigid pipe rotates, flexes, or disappears into the wall. The in-wall connection needs counter-holding from an access panel or the opposite side, and forcing the spout can create a concealed leak.
This is the point at which a plumber is usually more economical than continued DIY work. A broken copper stub-out can require opening the wall, replacing the elbow or adapter, and repairing the surround.
How Do You Cut Off a Seized Tub Spout?
Cut a seized tub spout lengthwise with an oscillating tool or reciprocating saw, stopping before the wall nipple. Make one shallow cut along the top or bottom of the body, add a second cut if needed, then split the shell with a flat screwdriver.
Cutting is appropriate when the old fixture is damaged, the threads are fused, and preserving the wall pipe matters more than saving the spout. An oscillating tool offers better depth control than a large angle grinder in a finished bathroom.
- Remove or shield nearby plastic trim.
- Fit a fine metal-cutting blade.
- Set the blade depth only slightly deeper than the spout wall.
- Cut parallel to the pipe, not toward the wall.
- Stop several millimeters before the nipple.
- Twist a flat screwdriver into the cut to open the shell.
- Peel the two halves away with pliers.
- Chase damaged nipple threads with a wire brush.
Never cut blindly into the wall. The nipple may be copper, brass, galvanized steel, or a proprietary adapter, and a blade that reaches the pipe can create a leak path or destroy the threads needed for the replacement.
How Much Time and Money Does Removal Require?
Typical tub spout removal costs $0-$45 for a DIY tool purchase and takes 10-30 minutes when the connection is intact. A seized fixture can take 30-60 minutes, while a rotated in-wall elbow or broken pipe can turn the job into a $150-$600 plumbing repair, depending on access and local labor rates.
| Situation | Typical time | DIY materials | Likely outcome |
|---|---|---|---|
| Loose threaded spout | 10-15 minutes | $0-$10 | Hand or strap-wrench removal |
| Moderate scale | 20-40 minutes | $10-$35 | Lubrication and controlled torque |
| Corroded disposable spout | 30-60 minutes | $25-$80 | Cutting and thread cleanup |
| Hidden set screw | 10-20 minutes | $0-$15 | Loosen screw and pull off |
| Damaged wall connection | 2-6 hours | $50-$250 | Access, pipe repair, and replacement |
Replacement spouts commonly cost $20-$80 for standard models and $80-$200 or more for branded, specialty, or solid-brass designs. Diverter spouts, long-reach models, and proprietary adapters can cost more than basic non-diverter spouts.
How Do You Prepare the Pipe for a Replacement Spout?
Prepare the exposed pipe by removing old sealant, cleaning the threads, measuring projection, and confirming the replacement connection. A replacement spout must match the thread type, nipple length, wall clearance, and diverter orientation, not merely the visible finish.
Measure before purchasing
Record the following:
- Male thread diameter, commonly 1/2 inch
- Usable threaded length outside the wall
- Distance from wall surface to pipe end
- Spout length from wall to outlet
- Diverter location and direction
- Required adapter or manufacturer model
A nose-threaded spout may require a longer nipple than a rear-threaded model. Installing the wrong style can leave the spout loose, hold it away from the wall, or prevent the flange from sealing.
Clean and seal the threads
Brush loose corrosion from exposed metal threads and remove old tape. Replace a nipple with badly flattened, cross-threaded, or deeply rusted threads rather than forcing a new fixture over them.
Use PTFE tape or pipe joint compound only where the spout manufacturer permits it. Wrap PTFE tape in the tightening direction so it does not unwind as the spout is installed. Keep sealant away from the first thread to reduce the chance of material entering the waterway.
Thread the replacement by hand first. If the spout does not engage smoothly for several turns, remove it and inspect alignment rather than using a wrench to force it.
Test the finished installation
Orient the spout, tighten it until the flange sits firmly against the wall, and apply a thin bead of bathroom-rated silicone around the upper and side perimeter. Leave the bottom edge open where practical so a developing leak can drain visibly instead of becoming trapped.
Run the tub for two minutes, then divert water to the shower if applicable. Inspect the flange, nipple area, diverter, and wall behind the fixture for moisture.
What Mistakes Cause the Most Damage?
The most expensive mistakes are applying uncontrolled torque, failing to identify a hidden set screw, cutting too deeply, and sealing a leaking spout before testing it. Each mistake transfers force or water into a location that is difficult to inspect.
- Using a long wrench first: high leverage can rotate the drop-ear elbow inside the wall. Start with hand pressure and a strap wrench.
- Bracing against the wall with force: pushing hard near the flange can crack tile or deform an acrylic surround. Support the spout, not the wall finish.
- Using heat near the surround: a torch can damage waterproofing, plastic pipe, caulk, and finished surfaces. Avoid open flame.
- Soaking chrome in acid: vinegar and stronger descalers can stain certain finishes and damage natural stone. Use a short, localized treatment.
- Cutting toward the nipple: a deep longitudinal cut can destroy the replacement threads. Set a shallow blade depth and expose the shell gradually.
- Caulking all around a leaking fixture: silicone conceals water migration. Find and repair the leak before resealing.
When Should You Stop and Call a Plumber?
Call a plumber when the in-wall pipe rotates, the wall connection leaks, the surround begins to crack, or the spout cannot be cut away without risking the nipple. A professional is also appropriate when the plumbing is behind inaccessible tile, when the pipe material is unknown, or when a proprietary cartridge or adapter has failed.
A renter should photograph the fixture, avoid pipe wrenches that damage the finish, and notify the landlord before cutting or opening the wall. A rental lease may assign fixture replacement and water-damage responsibility differently from ordinary maintenance.
An experienced DIYer can remove a disposable corroded spout, but the repair stops being a simple fixture change once the pipe connection moves. The cost of a controlled service call is generally lower than repairing a hidden leak and replacing damaged wall materials.
FAQ
Can WD-40 loosen a threaded tub spout?
WD-40 may reduce surface friction, but it is not the best penetrating oil for severely corroded plumbing threads. Apply a plumbing-compatible penetrating product to the exposed seam, keep it away from the tub and wall materials, wait 10-15 minutes, and wipe the residue before using a strap wrench.
Can you remove a tub spout by turning it clockwise?
A standard threaded tub spout loosens counterclockwise when viewed from the front. Clockwise rotation tightens the connection, although a damaged or reversed specialty thread can behave differently. Mark the top of the fixture with tape and confirm that the spout backs away from the wall as it turns.
What if the tub spout has no screw and does not rotate?
A screwless tub spout that does not rotate may be a slip-on model with a hidden set screw, a threaded model bonded by corrosion, or a fixture attached to a proprietary adapter. Inspect the underside and decorative caps, cut the caulk, then use measured strap-wrench pressure while monitoring the wall pipe.
How far should a tub spout extend from the wall?
The correct projection depends on the replacement manufacturer and connection style, so there is no universal nipple length. Rear-threaded spouts often use a short projection, while nose-threaded models can require a longer nipple inside the body. Measure the removed fixture and follow the new spout’s installation specification.
Can vinegar remove corrosion from tub spout threads?
Vinegar can soften calcium and lime scale, but it does not reliably dissolve rust or galvanic corrosion that has fused threaded metal. Use a localized 20-30 minute rag wrap for mineral deposits, rinse the finish, and switch to controlled mechanical removal if the joint remains seized.
How do you remove a Moen or brand-specific tub spout?
Moen and other manufacturers use several connection systems, including threaded spouts, slip-on designs, and proprietary adapters. Brand identification alone is insufficient. Find the model instructions, inspect for an underside fastener, and verify the replacement adapter before applying torque to the fixture.
The Bottom Line
To remove a tub spout without set screw, verify the connection, cut the caulk, protect the finish, and turn the threaded body counterclockwise. Use a strap wrench when the spout must survive, and cut a seized disposable fixture rather than applying enough force to rotate the wall plumbing. Stop immediately if the pipe moves, then repair the in-wall connection before installing the replacement.