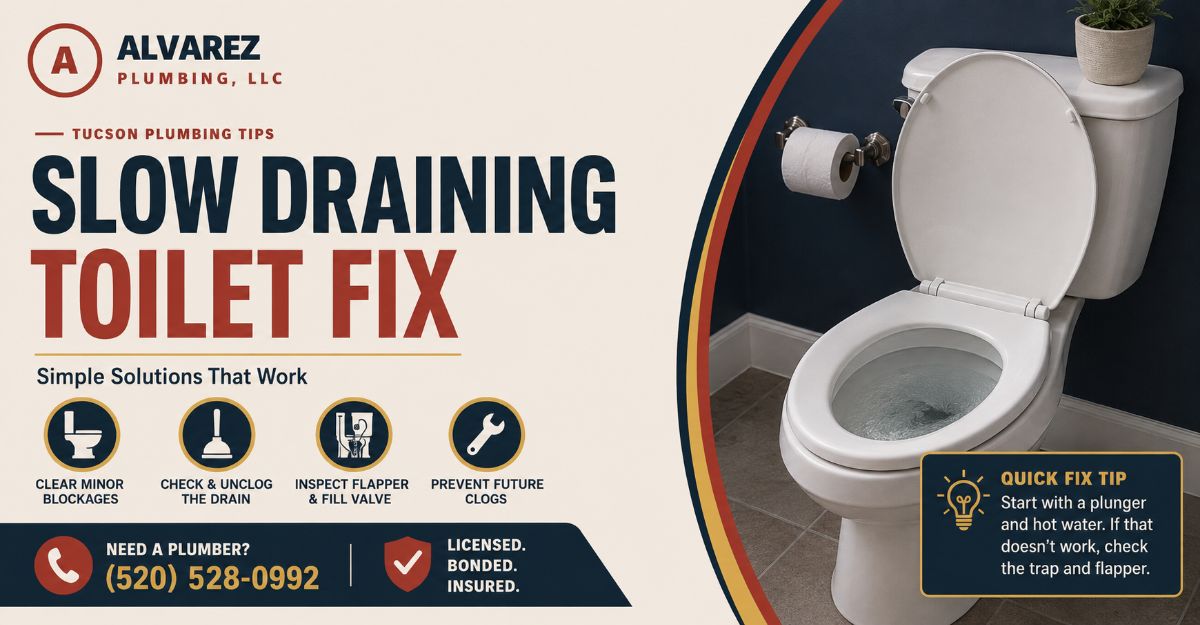
You diagnose a slow draining toilet by isolating the system and testing the flush velocity independently of the tank mechanics. Never guess the cause of a slow drain. Applying a plunger to a mineral scale problem wastes time and damages the wax ring seal.
The System Isolation Test
Run the bathroom sink and shower simultaneously, then flush the toilet. If the toilet drains slowly but the other fixtures run perfectly, the blockage is localized to the toilet trapway or the immediate branch line. If the toilet flush causes water to back up into the shower pan, or if the sink drain gurgles loudly, you have a main sewer line blockage or a clogged roof vent.
The Bucket Test
Dump exactly one gallon of water from a bucket directly into the center of the bowl as quickly as possible.
If the bowl drains rapidly with a strong pulling sound, the trapway and sewer lines are completely clear. Your slow drain is caused by a weak flush inside the tank (low water level, premature flapper closure, or clogged rim jets).
If the water rises in the bowl and drains away sluggishly, you have a physical blockage in the trapway or the plumbing vent.
Step 1: Plunge the Trapway
Plunging forces trapped air and water against a physical obstruction to dislodge it. You must use a flange plunger with a protruding rubber cup to form an airtight seal inside the bowl opening.
- Warm the Rubber: Run the plunger under hot water for 60 seconds to soften the rubber. Stiff rubber will not form a proper seal against curved porcelain.
- Burp the Air: Insert the plunger at a 45 degree angle. This allows the air trapped inside the bell to escape. If you push the plunger straight down immediately, you will blast compressed air back into your face.
- Establish the Seal: Stand the plunger completely vertical. Push down firmly to collapse the flange into the drain opening. Ensure the rubber cup is entirely submerged in water.
- Push and Pull: Execute 15 to 20 vigorous push and pull cycles. The pull (suction) is just as important as the push (pressure) for dislodging packed organic waste.
- Break the Seal: Sharply pull the plunger straight up. The sudden release of the vacuum often clears the remaining debris.
Expert Checkpoint: You know this step worked if the standing water immediately drops to normal resting level with a distinct suction sound.
Common Mistake: Do not flush the toilet to test your progress if the water level is already high. Use your bucket to pour small amounts of water to verify drainage.
Step 2: Deploy a Closet Auger
A closet auger is required when a plunger fails to clear the blockage. This tool uses a flexible steel cable inside a rigid metal tube to physically break up or retrieve hard obstructions like toys, plastics, or feminine hygiene products.
- Retract the Cable: Pull the auger handle all the way up so the coiled cable rests completely inside the protective metal tube. Only the bulbous tip should be visible at the bottom.
- Insert the Guide: Place the curved rubber or vinyl boot of the auger directly into the bowl drain opening. The boot prevents the steel cable from leaving permanent gray scratches on your white porcelain.
- Crank and Push: Push down on the handle while simultaneously turning it clockwise. The rotation helps the cable navigate the tight upward curve of the internal S trap.
- Hook the Obstruction: When you feel solid resistance, stop pushing. Turn the handle clockwise for three full rotations to allow the auger tip to bite into the clog.
- Retrieve the Clog: Pull the handle up slowly while continuing to turn clockwise. If you simply push harder, you risk packing the obstruction tighter into the trapway.
Expert Checkpoint: A successful auger deployment will either pull the foreign object back into the bowl or break it apart enough for the remaining water to flush it away.
Step 3: Descale the Siphon Jets
You must clean the siphon jets if your toilet passed the bucket test but still flushes slowly during normal operation. Hard water deposits (calcium and magnesium) accumulate inside the rim holes and the primary siphon jet, restricting water flow and destroying flush velocity.
- Dry the Bowl: Turn off the water supply valve and flush the toilet. Use a sponge to remove the remaining water from the bottom of the bowl.
- Apply Vinegar: Pour exactly 1 gallon of heated white vinegar down the overflow tube inside the toilet tank. This channels the acidic solution directly into the internal water galleys and rim jets.
- Tape the Rim: For severe scale buildup, apply waterproof duct tape over every rim hole under the bowl edge before pouring the vinegar. This traps the liquid inside the rim galleys for a deep soak.
- Wait and Scrape: Let the solution sit for 2 to 3 hours. Remove the tape. Use a small inspection mirror to see under the rim. Use a stiff L shaped allen wrench or a wire coat hanger to aggressively poke and scrape away the softened mineral deposits from every hole.
- Clear the Main Jet: Insert the wire into the large siphon jet opening at the very bottom of the bowl. Scrape away the hardened scale ring that typically forms there.
Expert Checkpoint: You know the jets are clear when water flows straight down the bowl sides rapidly, rather than dribbling diagonally.
Step 4: Clear the Roof Vent
You need to clear the plumbing vent stack if multiple fixtures drain slowly, sinks gurgle during a flush, and the bowl exhibits a weak swirling motion without a strong downward pull.
- Access the Roof: Safely access your roof using a secured ladder. Locate the primary vent pipe (usually a 2 to 4 inch PVC or cast iron pipe protruding above the bathroom area).
- Visual Inspection: Shine a heavy duty flashlight down the pipe. Look for accumulated leaves, bird nests, or frozen condensation in cold weather climates.
- Water Flush: Insert a garden hose into the vent pipe and turn the water on full blast. The weight of the water is usually enough to push light debris down into the main sewer line.
- Snake the Pipe: If the water backs up onto the roof, the clog is severe. Feed a 25 foot manual plumbing snake down the vent pipe until you hit the obstruction, then crank to break it apart.
Common Mistake: Never drop rocks or heavy weights down a vent pipe to clear a clog. This will permanently lodge inside the elbows of the wall pipes, requiring major drywall demolition to repair.
Which Repair Method is Best?
Your choice of repair method depends entirely on the nature of the blockage and the age of your plumbing system.
| Option | Method / Tools Used | Typical Price (USD) | Timeframe | Best For |
| Mechanical Plunging | Heavy duty rubber flange plunger | $10 to $20 | 5 to 10 mins | Soft clogs, excess toilet paper, organic waste. |
| Toilet Closet Auger | 3ft to 6ft manual steel cable auger | $15 to $50 | 15 to 30 mins | Hard obstructions, plastics, wet wipes, toys. |
| Jet Descaling | White vinegar, wire hangers | $5 to $15 | 2 to 3 hours | Mineral scale buildup causing weak flushes. |
| Enzyme Treatment | Natural enzyme cleaners | $10 to $25 | 1 to 8 hours | Slow grease accumulation over time. |
| Hydro Jetting | High pressure water by a plumber | $250 to $600 | 1 to 2 hours | Severe main line clogs, tree roots, heavy scale. |
Which Should You Choose?
- For the DIY Homeowner: Start with a high quality flange plunger. If plunging fails after three attempts, switch immediately to a 3 foot manual closet auger. Perform an annual vinegar soak of the tank and jets to prevent future scale slowdowns.
- For the Budget Conscious Renter: Rely strictly on mechanical tools. Avoid liquid drain cleaners to ensure you do not damage the property owner’s pipes or lose your security deposit.
- For Property Managers: Invest in a professional 6 foot drop head closet auger with a drill attachment interface. For recurring systemic slowdowns in older buildings, schedule professional hydro jetting every 3 to 5 years.
What Mistakes Will Damage Your Toilet?
Certain common repair habits will permanently damage your toilet porcelain or degrade your internal pipe infrastructure.
Pouring Boiling Water: You should never pour boiling water into a toilet bowl. Extremely hot water creates sudden thermal shock against cold porcelain. This instantly cracks the toilet base or bowl, resulting in a catastrophic flood and requiring a full toilet replacement. If you need to use hot water to aid a plunger, use tap water no hotter than 120 degrees Fahrenheit.
Using Chemical Drain Openers: Acidic or caustic chemical drainers are highly discouraged by professional plumbers. These heavy liquids sink to the bottom of the trapway. If they fail to dissolve the clog (and they will always fail against baby wipes or plastics), the corrosive chemicals sit stagnant. This generates intense heat that melts PVC piping and eats through old cast iron. Worse, it creates a severe chemical burn hazard for you or the plumber who inevitably has to manually auger the toilet later.
Flushing Flushable Wipes: “Flushable” is a marketing term, not a plumbing reality. These synthetic wipes do not disintegrate rapidly in water like toilet paper. They snag on minor pipe imperfections, accumulate in the main sewer lateral, and are the leading cause of slow draining systems worldwide.
Ignoring the Flapper Chain: A frequently overlooked cause of a slow flush is a flapper chain that is too long. If there is too much slack, the flapper closes prematurely before the tank can empty its full volume into the bowl. The chain should have exactly 1/2 inch of slack when the lever is at rest.
Frequently Asked Questions
Can I fix a slow draining toilet with dish soap?
Yes, hot tap water and liquid dish soap can clear minor organic clogs. Squeeze half a cup of grease fighting dish soap into the bowl, follow it with a gallon of very hot (not boiling) tap water, and let it sit for 30 minutes. The soap acts as a surfactant to lubricate the trapway walls while the heat breaks down organic waste.
Why does my toilet bubble when it drains slowly?
Bubbles rising from the bowl drain indicate air is trapped in the plumbing system. This happens when the roof vent is blocked or when a partial clog in the main sewer line forces displaced air backward through the toilet water seal. It is a strict indicator of restricted airflow.
How long should it take a toilet to flush completely?
A healthy, unobstructed toilet should complete its flush cycle in 3 to 5 seconds. The water should rise slightly, pull forcefully downward in a tight swirl, and empty the bowl entirely. If the downward pull takes longer than 6 seconds or leaves paper behind, you have a restriction.
Will a toilet eventually unclog itself?
A toilet will only unclog itself if the blockage consists entirely of standard toilet paper and organic waste, which naturally dissolve in water over a period of 12 to 24 hours. A toilet will never unclog itself if the blockage is caused by wet wipes, feminine products, plastics, or hard water scale buildup.
Does a slow draining toilet always mean a clog?
No, a slow draining toilet can also indicate mechanical failure inside the tank. If the water level is set too low, or if mineral deposits have sealed off the siphon jets under the rim, the toilet will lack the hydraulic velocity required to push water through an otherwise clear drain pipe.
The Bottom Line
A successful slow draining toilet fix relies on accurate diagnosis rather than blind effort. Use the bucket test to determine if the problem is a physical drain blockage or a weak hydraulic flush. Deploy a flange plunger for soft clogs, a closet auger for hard obstructions, and a heated vinegar soak for blocked siphon jets. By avoiding caustic chemicals and boiling water, you can restore full flush velocity without damaging your plumbing infrastructure.