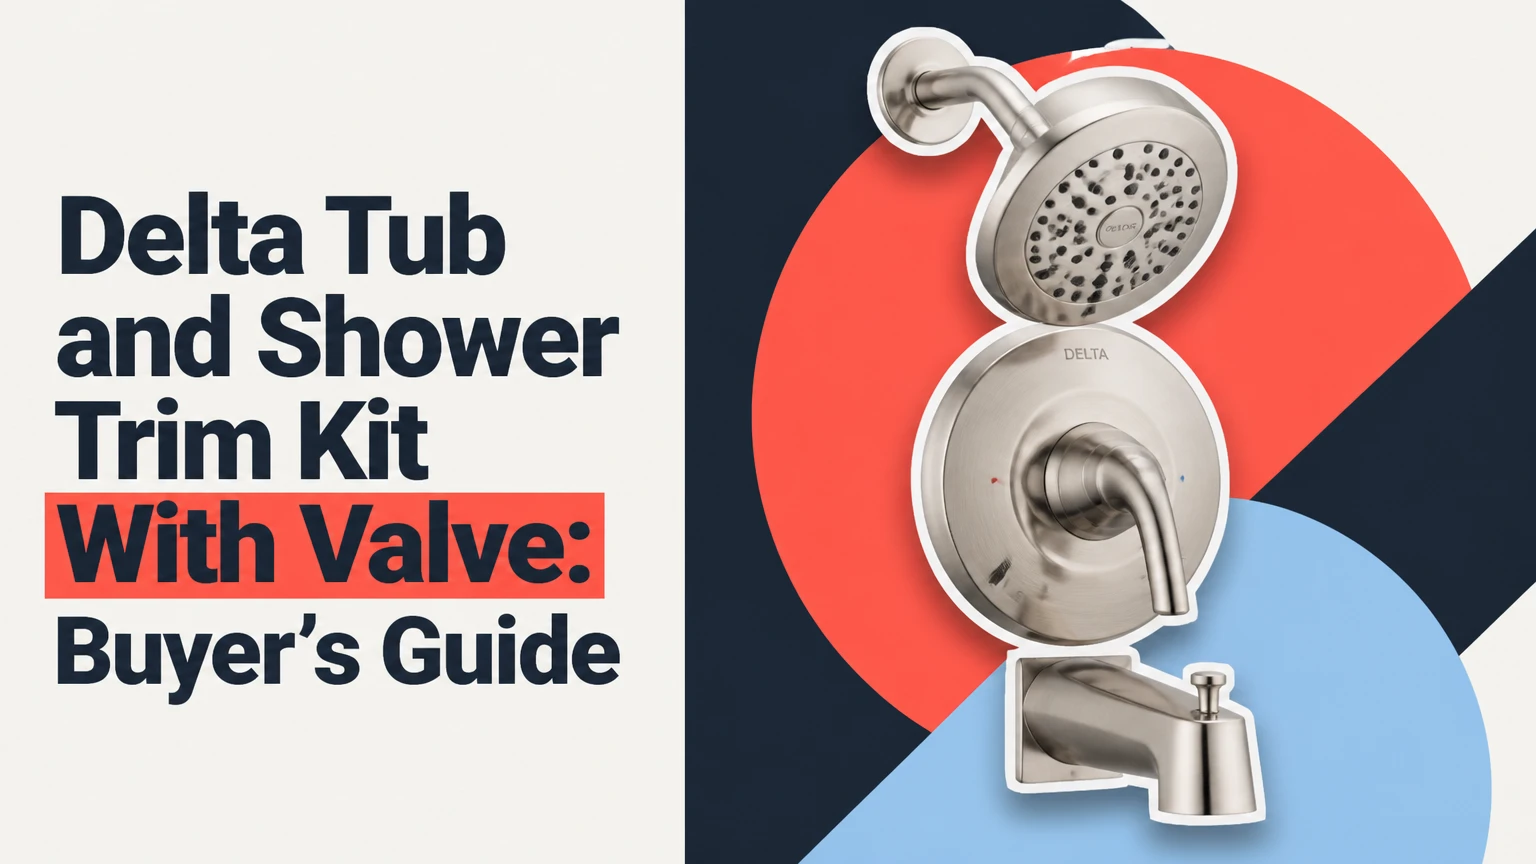
A Delta tub and shower trim kit with valve combines the visible faucet components with the concealed valve body that controls hot-water mixing and flow. A complete package normally includes the trim, cartridge, and compatible rough-in valve, but included parts vary by model, so verify the product number before purchase.
Key Facts at a Glance
- A Delta trim kit with valve contains visible hardware and a concealed rough-in valve; a trim-only kit does not.
- Delta MultiChoice R10000 valves support many Delta 13/14, 17, and 17T trim configurations, but series and cartridge compatibility still require verification.
- Delta 13/14 Series controls temperature and flow with one handle, while 17 Series separates volume from temperature.
- A tub spout normally needs a rigid 1/2-inch copper or iron-pipe connection; unrestricted flow reduces showerhead leakage while the tub fills.
- Typical full replacement takes 3-6 hours and costs approximately $500-$1,700 in parts and labor in the supplied BDT pricing context.
- A replacement cartridge cannot correct an incorrectly installed, incompatible, or badly positioned valve body.
What Does a Delta Tub and Shower Trim Kit With Valve Include?
A Delta tub and shower trim kit with valve includes the concealed rough-in valve, cartridge or valve-control assembly, and exterior components such as the handle, escutcheon, shower arm, showerhead, and tub spout. Some packages omit the showerhead or tub spout, so the box contents and technical drawing matter more than the product title.
The valve body sits inside the wall and connects to hot and cold supply pipes. The trim covers the finished wall and gives the user control. Delta describes the R10000 product as the “MultiChoice Universal Valve Body,” a useful distinction because the rough-in body and decorative trim are separate product layers even when sold together.
A typical tub-and-shower package contains these parts:
| Component | Location | Function | Common verification point |
|---|---|---|---|
| R10000 valve body | Behind finished wall | Mixes and controls water | Series and connection version |
| Cartridge | Inside valve body | Regulates temperature and flow | RP46074 or RP46463 family |
| Escutcheon | On finished wall | Covers valve opening | Wall depth and screw spacing |
| Handle or handles | Outside wall | Operate cartridge | 13/14, 17, or 17T design |
| Tub spout | Below valve | Directs water into bathtub | Slip-on or threaded connection |
| Shower arm and head | Above valve | Delivers shower water | Included flow rate and connection |
The phrase “with valve” does not guarantee that every visible component is included. A listing may include the valve and trim but exclude a showerhead, hand shower, or diverter. Delta product numbers, installation diagrams, and the retailer’s “in the box” list resolve that ambiguity.
How Does the Delta Valve and Trim Work?
A Delta tub and shower system receives hot and cold water at the rough-in valve, uses a cartridge to mix the supplies, and sends the blended water to the tub spout or showerhead. The handle changes cartridge position, while a diverter in the tub spout or valve determines the outlet path.
The operating sequence is mechanical:
- Hot water enters the left inlet and cold water enters the right inlet when the valve is oriented correctly.
- The cartridge opens and blends the supplies as the handle moves.
- A pressure-balancing mechanism responds when inlet pressure changes, such as during a toilet flush.
- Pulling or rotating a diverter blocks the tub outlet and directs water to the shower riser.
- Closing the control handle seals the cartridge, stopping normal flow.
Pressure balancing does not create hot water or correct a malfunctioning water heater. If the household water heater is set too low, the rotational limit stop is too conservative, or the cartridge has scale buildup, the shower can remain cool even when the valve is working correctly.
Where Is the Diverter Located?
The diverter is usually integrated into the tub spout for a standard single-control tub-and-shower installation. Some Delta configurations use a separate diverter valve, which is required when the system feeds several outlets such as a hand shower, body sprays, or a rain head.
A standard tub spout diverter is simple and economical, but it depends on an open, adequately sized pipe to the spout. Excessive restriction can force water upward through the shower riser. That behavior is often mistaken for a defective valve.
Which Delta Series Should You Choose?
The 13/14 Series is the economical choice for basic temperature and flow control, the 17 Series is better for independent volume adjustment, and the 17T Series is the premium option for thermostatic temperature regulation. The correct choice depends on control precision, budget, water quality, and the existing rough-in.
| Delta series | Control method | Cartridge or valve type | Typical user benefit | Typical limitation |
|---|---|---|---|---|
| 13/14 | One handle for temperature and flow | Pressure-balanced cartridge | Lower cost and simple operation | Flow cannot be reduced independently |
| 17 | Separate volume and temperature controls | Dual-function pressure-balanced cartridge | Set temperature, then adjust volume | More expensive trim and cartridge |
| 17T | Separate volume and thermostatic temperature controls | Thermostatic cartridge | More stable target temperature | Higher price and greater scale sensitivity |
| Integrated diverter model | Control plus outlet selection | Model-specific valve assembly | Multiple shower outlets | Less interchangeable than standard trim |
Is a 17 Series Better Than a 14 Series?
A Delta 17 Series is better than a 13/14 Series when users want independent volume control or a repeatable temperature setting. A 13/14 Series is the better value for a rental, guest bathroom, or homeowner who accepts full-flow operation after selecting a comfortable temperature.
Pressure-balanced protection exists in both families. The 17 Series does not automatically produce a stronger shower; actual performance depends on supply pressure, pipe size, showerhead restriction, and the valve’s flow path.
Is a 17T Thermostatic Valve Worth the Cost?
A Delta 17T Series is worth its higher cost when temperature stability, multiple outlets, or frequent household pressure changes justify the upgrade. It is not the best choice solely for a larger showerhead, because a high-flow head still requires adequate supply piping and available water pressure.
Thermostatic controls measure outlet temperature and adjust the hot and cold mix more directly than a pressure-balancing spool. They improve consistency, but hard-water deposits can impair moving parts. In a heavily scaled water system, filtration or regular cartridge maintenance may matter more than the series upgrade.
Which Delta Valve and Connection Version Fits Your Project?
The correct Delta rough-in version matches the supply-pipe material, serviceability requirements, and trim series. Common R10000 options include universal threaded or sweat configurations, PEX-compatible bodies, and versions with screwdriver stops for local shutoff.
| Rough-in option | Supply connection | Best application | Important limitation |
|---|---|---|---|
| R10000-UN | 1/2-inch universal threaded and sweat capability | Remodels using copper or threaded adapters | Requires correct adapter and sealing method |
| R10000-PX | Factory PEX connections | New construction with PEX supply lines | Tub-spout branch still needs rigid piping |
| R10000-UNWS | Universal connections with screwdriver stops | Serviceable remodel installations | Costs more than a basic body |
| Legacy or non-MultiChoice body | Model-specific connection | Existing older Delta installation | New trim may not fit |
The R10000 platform makes many future trim changes possible without removing the valve from the wall. That advantage applies only when the installed body is genuinely compatible with the replacement trim. A 13/14 trim, 17 trim, and 17T trim can have different cartridge and control requirements.
Can PEX Be Used With a Delta Tub and Shower Valve?
PEX can supply a Delta rough-in valve when the valve has approved PEX connections or properly installed adapters. PEX is not automatically suitable for the tub-spout drop, because the smaller effective opening and flexible routing can restrict the high-flow path needed during bathtub filling.
Use rigid 1/2-inch copper or an approved rigid threaded drop for the valve-to-spout connection, following the Delta installation instructions for the specific spout. A showerhead that dribbles while the tub fills is a classic symptom of a restricted spout branch, although a misadjusted diverter or incorrect valve orientation can produce similar symptoms.
What Dimensions Should You Plan Before Rough-In?
Typical planning places the valve at approximately 30-36 inches above the finished tub floor, the tub spout 8-18 inches below the valve center, and the showerhead around 72-78 inches above the finished floor. Manufacturer instructions and user height should override generic dimensions.
| Planning point | Typical value | What controls the final value |
|---|---|---|
| Valve center above tub floor | 30-36 inches | Tub deck, user reach, local practice |
| Spout below valve center | 8-18 inches | Tub geometry and manufacturer drawing |
| Showerhead above finished floor | 72-78 inches | Occupant height and head design |
| Finished-wall valve depth | Product-specific, often about 2-3/4 inches | Plaster guard and trim instructions |
| Supply and outlet nominal size | 1/2 inch | Valve body and local plumbing design |
The plaster guard is the practical depth reference. Set the valve too far forward and the escutcheon may not seat; set it too far back and the handle adapter may not engage. Measure from the future finished tile surface, not from the studs.
ADA or accessible bathrooms may require different control reach, showerhead height, and hand-shower provisions. A generic 72-inch showerhead placement is unsuitable when the room is designed around seated use.
How Much Does a Delta Complete Kit and Installation Cost?
A typical Delta tub and shower replacement costs about BDT 31,500-169,000 in the supplied pricing context, depending on series, finish, valve type, wall access, and labor. Trim-only replacement commonly takes 45-90 minutes, while replacing the concealed valve usually takes 3-6 hours when the wall is accessible.
| Project level | Typical hardware cost | Typical labor cost | Typical total |
|---|---|---|---|
| Chrome 13/14 remodel | BDT 4,500-20,000 | BDT 15,000-25,000 | BDT 31,500-51,500 |
| Brushed nickel 17 upgrade | BDT 6,500-40,000 | BDT 25,000-40,000 | BDT 53,500-89,000 |
| Premium 17T finish | BDT 9,000-85,000 | BDT 45,000-70,000 | BDT 99,000-169,000 |
| Wall repair after valve replacement | BDT 2,000-15,000 | BDT 5,000-30,000 | BDT 7,000-45,000 additional |
These are typical planning ranges, not a universal retail price list. Local labor, imported-finish availability, access from an adjoining closet, and tile replacement can move the total substantially.
A trim-only project is economical only when the existing valve body, cartridge family, outlet layout, and wall depth match the new trim. Buying an apparently cheaper trim-only kit and discovering an incompatible concealed valve can cost more than buying a complete set initially.
How Do You Install the Valve and Trim?
A full Delta valve-and-trim installation has two phases, rough-in plumbing and finished-wall trim, and typically requires 3-6 hours of plumbing work before tile repair. The success factor is accurate valve depth and outlet routing, not the speed of attaching the decorative handle.
Before You Start
- Difficulty: Advanced plumbing; concealed pipe work should follow local code.
- Time: 3-6 hours for accessible full replacement, plus wall repair.
- Tools: Adjustable wrench, screwdriver, tubing cutter, level, drill, hex key, torch or approved PEX tools.
- Materials: Compatible R10000 valve, 1/2-inch supply pipe, rigid spout pipe, approved fittings, thread sealant or tape, support blocking, and replacement trim.
- Prerequisites: Confirm water shutoffs, wall access, pipe material, finished-wall thickness, and exact Delta model instructions.
Step 1: Shut Off Water and Open the Wall
Turn off the main water supply or dedicated bathroom shutoffs, then open a low faucet to release pressure. Expose enough wall to identify the existing valve, supply direction, tub-spout branch, shower riser, and structural support.
You will know the step worked when no water emerges from the open lines and the valve location can be measured from the future finished surface. The common mistake is cutting the wall before confirming where the replacement escutcheon will land.
Step 2: Mount and Connect the Rough-In Valve
Secure the Delta valve to solid blocking, orienting the marked “UP” direction correctly and aligning the valve with the tub spout and shower riser. Connect hot water to the left inlet and cold water to the right inlet, using the valve’s approved connection method.
You will know the step worked when the valve is rigid, level, correctly oriented, and within the plaster-guard depth range. Do not rely on flexible pipe to hold the body in position. Movement can loosen joints and cause trim alignment problems.
Step 3: Build the Tub-Spout and Shower Branches
Use the specified rigid pipe arrangement for the tub spout, keep the run direct, and install a drop-ear elbow for the shower arm. Avoid unnecessary elbows and undersized fittings because the tub branch needs a low-resistance path.
You will know the step worked when the spout stub-out is straight, supported, and positioned to match the spout instructions. The common mistake is using a long PEX tub drop and then blaming the cartridge for shower rise.
Step 4: Flush the Supply Lines
Remove the cartridge or temporary test components as directed, open the water briefly, and flush debris from the hot and cold lines. Soldering residue, pipe shavings, and mineral fragments can damage cartridge seals or block inlet screens.
You will know the step worked when the discharge is clear and free of visible debris. Never flush through a newly installed cartridge unless the manufacturer explicitly permits that procedure.
Step 5: Finish the Wall and Install the Cartridge
Install backer board and tile while preserving the valve opening and required finished-wall depth. With water off, insert the cartridge in the correct orientation, install the bonnet or retaining hardware, and avoid excessive tightening.
You will know the step worked when the cartridge stem turns smoothly and the trim plate can sit flat against the finished wall. An overly tight bonnet can make the handle stiff and shorten seal life.
Step 6: Install and Test the Exterior Trim
Fit the escutcheon gasket, handle, tub spout, shower arm, and showerhead according to the model instructions. Apply thread sealant only where the connection requires it; do not use tape on a compression or slip-fit joint that depends on an O-ring.
Restore water gradually and test the tub outlet, shower outlet, temperature range, shutoff, and visible joints. You will know the installation worked when the tub spout fills the bath without significant showerhead leakage and the handle reaches a safe maximum temperature.
What Installation Mistakes Cause the Most Problems?
The most damaging mistakes are incorrect valve orientation, wrong finished-wall depth, restricted tub-spout piping, and failure to calibrate the rotational limit stop. Each mistake produces symptoms that can appear to be a defective Delta cartridge.
| Mistake | Observable symptom | Corrective action |
|---|---|---|
| Valve installed upside down | Reversed operation or abnormal outlet behavior | Reinstall before closing the wall |
| Tub branch restricted | Showerhead drips while tub fills | Replace with approved rigid pipe |
| Limit stop left too low | Water never becomes adequately hot | Recalibrate after checking heater supply |
| Bonnet overtightened | Handle is stiff or binds | Reinstall cartridge and tighten correctly |
| Valve too deep or shallow | Escutcheon or handle will not seat | Correct wall depth before final trim |
| Lines not flushed | Low flow or cartridge debris | Shut off water and clean screens or cartridge |
A temperature limit stop is a safety device, not a performance booster. Increasing it can create a scalding hazard, especially for children, older adults, and people with reduced sensation. Test outlet temperature with a thermometer and follow local plumbing requirements rather than choosing the hottest possible setting.
Why Does the Showerhead Drip When the Tub Is Running?
A Delta showerhead that drips while the tub is running usually indicates restricted flow through the tub-spout branch, an incorrect diverter arrangement, or a partially blocked spout. Water takes the lower-resistance path when the spout is unrestricted; pressure rises toward the shower riser when the branch is narrowed.
Check the following in order:
- Confirm the tub spout is designed for the installed connection.
- Inspect the tub branch for PEX restrictions, excess elbows, kinks, or debris.
- Remove the spout and test whether the open pipe produces a strong, unobstructed flow.
- Check the diverter for scale or incorrect assembly.
- Inspect the valve orientation and shower-riser plumbing.
A few residual drops after switching outlets can be normal because the shower arm retains water. Continuous flow or a strong stream is not normal and requires diagnosis.
Why Is the Water Not Hot Enough?
Water that remains too cool at maximum handle travel usually results from a low rotational limit-stop setting, reversed or restricted supplies, cartridge debris, or insufficient hot-water temperature. Adjust the limit stop only after confirming that the hot supply reaches the valve correctly.
Remove the handle and locate the plastic rotational limit mechanism on the cartridge stem. Adjust it incrementally toward the hotter position, reinstall the handle, and measure the outlet temperature. If adjustment produces no change, inspect the cartridge orientation, hot-side inlet, water heater setting, and inlet screens.
The valve cannot deliver hotter water than the hot supply entering it. A Delta pressure-balancing valve also reduces hot flow when cold pressure falls, so a weak hot-water supply can affect both temperature and volume.
Why Is a Delta Faucet Dripping After Shutoff?
A Delta tub-and-shower faucet that drips continuously after shutoff usually has a worn cartridge, damaged seals, mineral deposits, or debris lodged in the valve body. Replacing the cartridge is often faster than rebuilding it, but the replacement must match the installed Delta series.
Shut off the water, remove the handle and retaining hardware, withdraw the cartridge with an approved puller if necessary, and inspect the valve cavity. Flush sediment, lubricate compatible seals with approved silicone plumber’s grease, and install the replacement in the correct orientation.
If the new cartridge still leaks, inspect the valve body for scoring or damage. A damaged concealed body may require wall access, which is why water-line flushing and a clean work area matter during the original installation.
Which Finish and Collection Should You Buy?
Choose the collection by handle geometry and bathroom style, then choose the finish by maintenance tolerance and coordination with other fixtures. Delta Cassidy and Linden fit traditional rooms, while Trinsic, Vero, and Ara suit modern layouts with straighter profiles.
| Collection example | Visual direction | Common finishes | Maintenance consideration |
|---|---|---|---|
| Cassidy | Traditional curves | Chrome, Champagne Bronze | More detailed surfaces to clean |
| Linden | Transitional | Chrome, Stainless, Champagne Bronze | Broad compatibility with family baths |
| Trinsic | Minimalist | Chrome, Matte Black, Champagne Bronze | Flat surfaces show mineral spotting |
| Vero | Geometric modern | Chrome, Stainless, Matte Black | Precise lines need accurate alignment |
| Ara | Angular modern | Chrome, Stainless, Matte Black | Coordinates with contemporary hardware |
Chrome is usually the easiest finish to match and clean. Matte black can expose mineral residue and scratches more visibly. Brushed finishes hide water spots better than polished surfaces, but no finish eliminates the need to wipe standing water in a hard-water bathroom.
What Are the Best Alternatives to a Standard Delta Tub-and-Shower Kit?
A standard Delta kit is preferable when the project needs a familiar replacement platform, but alternatives make sense for separate shower controls, accessibility, or a freestanding tub. A thermostatic system, pressure-balancing system, or exposed valve each solves a different design problem.
| Alternative | Best use | Main advantage | Main trade-off |
|---|---|---|---|
| Delta trim-only kit | Existing compatible R10000 valve | Lower cost and less wall work | Compatibility must be proven |
| Separate thermostatic system | Multiple shower outlets | Independent temperature regulation | More plumbing and higher cost |
| Exposed shower valve | Historic or difficult wall access | Accessible service and visible piping | Different appearance and footprint |
| Hand-shower diverter system | Seated or flexible bathing | Reachable spray position | More hose and bracket maintenance |
| Freestanding tub filler | Standalone bathtub | Suitable floor-mounted supply | Does not replace a shower valve |
A freestanding tub filler is not an alternative to a tub-and-shower valve when the bathroom still needs a wall shower. It serves the tub only and normally requires separate shower plumbing.
Which Package Fits Your Situation?
A rental property usually benefits from a chrome 13/14 package with an R10000 universal valve, because simple controls and widely available replacement parts reduce maintenance complexity. A family bathroom often justifies a 17 Series, where users can set a safer temperature and regulate volume independently.
A premium remodel with several outlets should use a 17T or another thermostatic architecture only after the plumber confirms supply capacity, outlet flow requirements, and service access. A large rain head cannot compensate for undersized supply piping or low municipal pressure.
For an existing Delta bathroom, begin with the valve identification rather than the finish. Remove the handle and escutcheon only after shutting off water, photograph the cartridge and body markings, and compare the measurements with the new trim’s technical sheet.
Delta Tub and Shower Trim Kit With Valve Buying Checklist
Before ordering a Delta tub and shower trim kit with valve, confirm the valve series, connection type, outlet count, included components, finished-wall depth, and local water conditions. The following checklist prevents most return and installation problems:
- Select complete kit or trim-only kit deliberately.
- Match 13/14, 17, or 17T cartridge requirements.
- Verify R10000 compatibility and rough-in version.
- Confirm whether the tub spout, showerhead, arm, and flange are included.
- Check slip-on versus threaded tub-spout connection.
- Measure finished tile depth against the plaster-guard range.
- Confirm hot-left and cold-right pipe orientation.
- Plan rigid piping for the tub-spout branch.
- Check showerhead flow rate against available pressure.
- Choose a finish that matches existing bathroom hardware.
- Reserve access for cartridge replacement where possible.
- Price wall repair, shutoff work, and tile replacement separately.
Frequently Asked Questions
Can I replace only the Delta trim without replacing the valve?
Yes, a trim-only replacement works when the existing concealed valve is compatible with the new trim series and cartridge. Many Delta MultiChoice R10000 installations allow this approach, but older Delta bodies and nonstandard diverter arrangements may not. Confirm the valve model and trim compatibility before removing the existing hardware.
Does a Delta valve come with the trim kit?
Some Delta product listings include the rough-in valve, while many trim listings explicitly say “valve not included.” Product numbers that describe a complete faucet package may still omit a showerhead or separate diverter. Read the manufacturer’s included-parts list rather than relying on photographs or retailer category names.
Can I use a Delta shower trim on a Moen valve?
Generally, no. Delta trim, cartridges, escutcheons, and handles are designed around Delta valve geometry, while Moen uses different rough-in bodies and cartridge systems. Reusing the existing valve is normally practical only within the same manufacturer’s compatible platform or with a specifically documented adapter.
What flow rate should a Delta showerhead have?
Many residential Delta showerheads are rated around 1.75-2.5 gallons per minute, depending on the model and market requirements. The valve’s nominal capacity does not guarantee that flow at the showerhead, because pressure, pipe length, restrictions, and local water regulations determine actual performance.
Should the tub spout be installed before the wall plate?
Install the tub spout according to its model instructions and protect the finished wall during the sequence. The spout connection must remain accessible and correctly aligned, while the escutcheon must seal against the completed wall. Do not bury a connection that requires future removal or inspection.
When should a plumber install the valve?
Hire a licensed or experienced plumber when the wall must be opened, supply lines need rerouting, soldering or crimping is required, shutoffs are unreliable, or local code requires permitted work. A trim-only change can be simple, but a concealed leak can damage framing and finishes for months before becoming visible.
The Bottom Line
A Delta tub and shower trim kit with valve is the right purchase for a new tub-and-shower installation when the package includes a compatible rough-in body, cartridge, trim, and required outlets. Choose 13/14 for economical simplicity, 17 for independent volume and temperature control, and 17T for thermostatic precision. Verify R10000 compatibility, finished-wall depth, rigid tub-spout piping, and included parts before ordering.