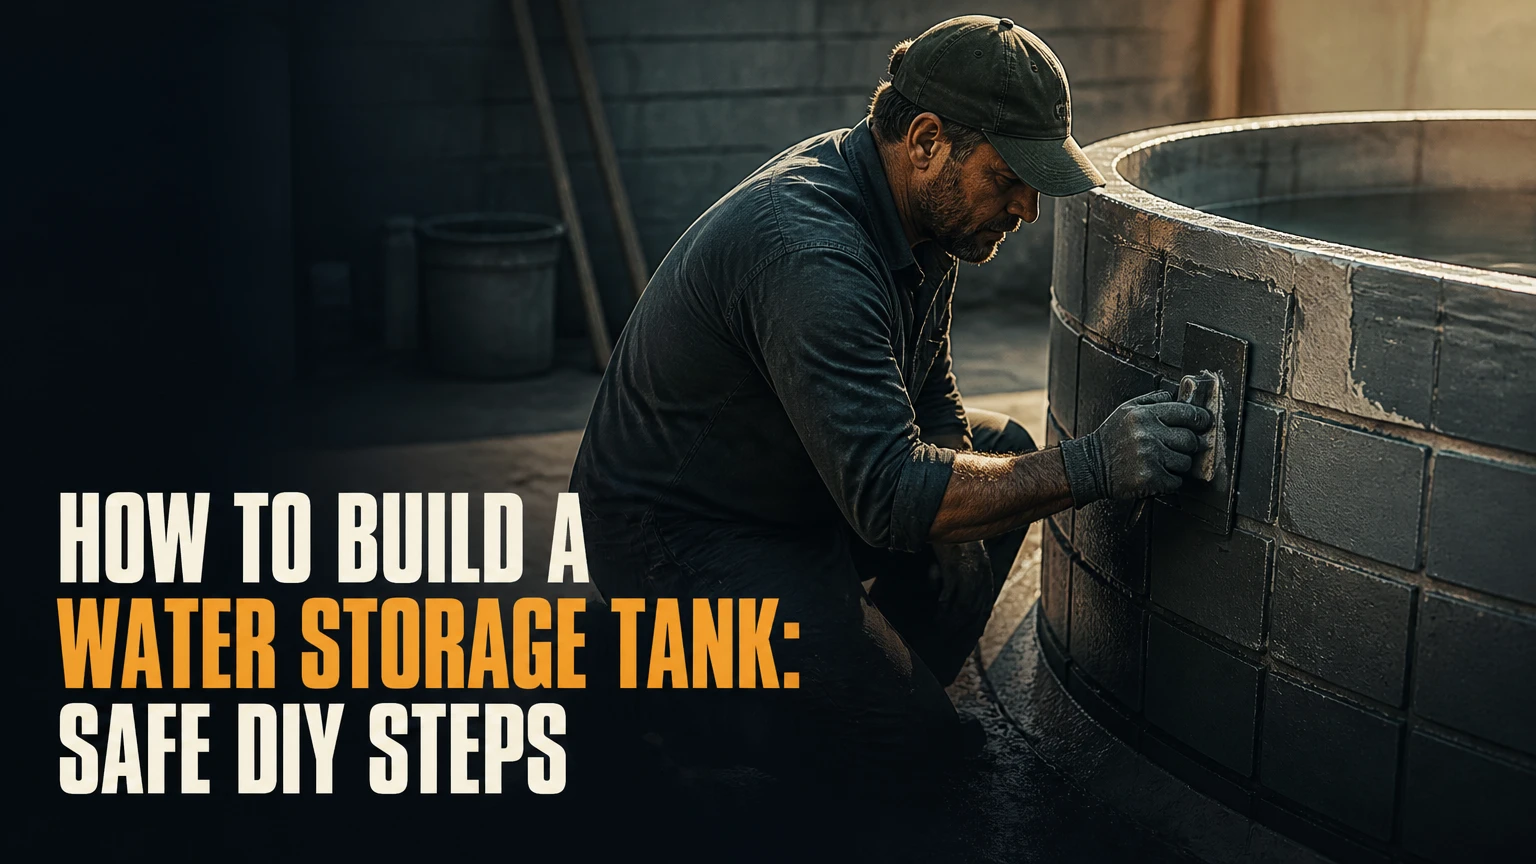
A water storage tank is built by selecting a water-compatible vessel, preparing a level structural base, installing screened inlet, outlet, overflow, drain, and vent connections, then testing and protecting the system from contamination. For most homes, installing a certified polyethylene tank takes 1-2 days; constructing a reinforced concrete cistern requires engineered drawings, excavation, reinforcement, waterproofing, and professional inspection.
Key facts at a glance
Water weighs 8.34 pounds per US gallon, so a full 5,000-gallon tank holds approximately 41,700 pounds of water.
Potable storage tanks, liners, coatings, fittings, and sealants should be certified for drinking-water contact, commonly under NSF/ANSI/CAN 61 in North America.
A storage tank must have a screened vent, overflow route, drain, accessible inspection opening, and an outlet positioned above settled sediment.
Above-ground polyethylene tanks normally need a fully supported concrete slab or engineered foundation, not loose soil or a thin layer of gravel.
A generic concrete wall thickness, rebar spacing, or soil-bearing figure cannot safely design every cistern because groundwater, soil, seismic loads, and roof loads vary.
Rainwater storage alone does not make water potable. Treatment and testing must match the collection surface, intended use, and local health requirements.
What Is a Water Storage Tank?
A water storage tank is a sealed or vented vessel that holds water between collection and use. The tank may receive water from a municipal main, well, spring, rainwater system, hauled supply, or treatment plant, then release it by gravity or pump.
A complete system has more than a container. The inlet controls or conveys incoming water, a float valve or electronic level control limits filling, and an overflow protects the tank when the control fails. A screened vent admits air as water leaves and releases air as the tank fills. Without adequate venting, rapid pumping can create damaging negative pressure.
Water entering a tank often carries sand, roof dust, iron particles, or organic debris. Heavier material settles in a low-sediment zone, so the outlet should not terminate at the absolute bottom. A bottom drain still allows periodic flushing, while an isolation valve permits repairs without draining connected pipework.
What must a tank system contain?
A dependable installation normally includes these components:
- Inlet pipe: Delivers source water without creating an unprotected cross-connection.
- Fill control: Uses a float valve, solenoid valve, pump control, or combination of controls.
- Screened vent: Matches the tank manufacturer’s required diameter and prevents insects and rodents entering.
- Overflow pipe: Discharges visibly or to a safe drainage point away from the foundation.
- Outlet assembly: Draws water above the sediment layer through a side outlet, floating intake, or internal standpipe.
- Drain valve: Sits at the low point and leads to a controlled discharge location.
- Access cover: Allows inspection and cleaning while remaining secured against children and animals.
- Pump and controls: Provide pressure when the tank outlet cannot supply fixtures by gravity.
For potable use, add filtration and disinfection appropriate to the source. A rain barrel supplying garden beds has different requirements from a cistern feeding a kitchen tap.
How Do You Size the Tank?
Tank size should reflect daily demand, refill reliability, rainfall or source flow, emergency duration, and usable rather than nominal capacity. The often-repeated formula of 80 gallons per person plus a 500-gallon buffer is only a rough planning shortcut, not a universal design rule.
Start with measured or estimated demand. A household using 50 gallons per person per day would require 200 gallons daily for four people, before irrigation, livestock, leakage, or reserve capacity. A seven-day reserve would therefore require 1,400 usable gallons, with additional capacity if the tank cannot be fully emptied or the source is seasonal.
Rainwater systems require a separate yield calculation:
Annual harvested water = roof area × annual rainfall × runoff coefficient
Using US units, a 1,000-square-foot roof receiving 30 inches of annual rain with a 0.8 runoff coefficient can theoretically collect about 14,960 gallons annually. Actual yield is lower because of first-flush diversion, dry periods, overflow, roof losses, and tank capacity.
| Use case | Typical storage range | Main sizing variable | Practical reserve |
|---|---|---|---|
| Garden irrigation | 250-1,500 gallons | Irrigated area and dry spell | 3-7 days |
| Small household backup | 500-2,500 gallons | Daily indoor demand | 3-10 days |
| Four-person off-grid home | 2,000-10,000 gallons | Demand and rainfall season | 14-60 days |
| Livestock watering | 1,000-20,000 gallons | Animal count and climate | 3-14 days |
| Rural fire reserve | 5,000-30,000+ gallons | Local fire code and hydrant flow | Authority-defined |
Reserve capacity is not the same as usable capacity. Sediment, pump submergence, dead volume, and overflow clearance reduce the amount available at fixtures. Size the vessel after calculating those losses.
Which Tank Material Fits the Site?
Tank material should be selected by water use, installation location, access, soil, climate, expected service life, and repair requirements. For most residential above-ground projects, a dark, UV-stabilized, potable-rated polyethylene tank offers the simplest installation; concrete becomes more appropriate when the tank must be buried or carry loads above it.
| Tank type | Typical capacity range | Installation profile | Main limitation |
|---|---|---|---|
| Polyethylene | 200-10,000 gallons | Above-ground pad; some models approved for burial | UV, heat, and burial restrictions vary by model |
| Reinforced concrete | 2,000-100,000+ gallons | Underground or semi-underground | Requires structural design and heavy construction |
| Corrugated galvanized steel | 5,000-1,000,000+ gallons | Modular agricultural or commercial installation | Liner damage and corrosion at coating defects |
| Fiberglass | 500-50,000 gallons | Above-ground or engineered underground installation | Higher purchase price and limited field modification |
Polyethylene tanks
Rotationally molded polyethylene tanks are lightweight, corrosion-resistant, and available with molded fittings. Choose a solid, opaque, UV-stabilized model with documented potable-water approval when drinking water is intended.
Polyethylene tanks must sit on a continuous, level support surface. A tank holding 2,500 gallons contains roughly 20,850 pounds of water, and point loading from an uneven base can deform the bottom or stress fittings. Never bury an above-ground model unless the manufacturer specifically approves burial and provides installation requirements.
Concrete cisterns
Reinforced concrete provides mass, fire resistance, and resistance to many external loads. Underground concrete tanks can preserve surface space, but hydrostatic pressure, cracking, buoyancy, seismic movement, pipe penetrations, and roof loading require a design based on local conditions.
Concrete does not automatically make water safe. Cement can initially raise alkalinity, cracks can admit groundwater, and unsealed surfaces can retain contaminants. Use a potable-water-compatible liner or coating only when the product documentation covers the intended water contact.
Steel and fiberglass tanks
Corrugated steel tanks scale efficiently for farms and commercial sites, particularly when a replaceable internal liner is available. Inspect liner seams, roof openings, anchoring, and corrosion-prone areas according to the manufacturer’s schedule.
Fiberglass resists corrosion and tolerates many chemicals, but field drilling and support details must follow the manufacturer’s instructions. A rigid fiberglass vessel can crack if settlement concentrates loads beneath its base.
How to Build a Water Storage Tank System
The following procedure applies to a typical above-ground polyethylene installation, which is the most practical route for a homeowner. Concrete, steel, and underground systems require additional structural and excavation controls.
Before you start
| Requirement | Typical residential value | Verification |
|---|---|---|
| Project time | 1-2 days for tank installation | Add excavation and curing time |
| Tank capacity | 500-5,000 gallons | Calculate demand and yield |
| Concrete pad | 4-6 inches, engineered as needed | Confirm tank manufacturer requirements |
| Inlet pipe | 1-2 inches nominal diameter | Match source flow and float valve |
| Overflow pipe | Manufacturer-specified, often 2-4 inches | Route away from structures |
| Isolation valves | 2-4 valves | Place at inlet, outlet, drain, and bypass |
| Tools | Level, tape, shovel, pipe cutters, wrenches | Add lifting equipment for large tanks |
| Prerequisites | Permits, utility locate, drainage plan | Confirm local plumbing and health rules |
Do not enter a tank to clean it without confined-space training, atmospheric evaluation, an attendant, and a rescue plan. A seemingly open cistern can contain oxygen-deficient or contaminated air.
Step 1: Confirm the use and permits
Decide whether the stored water will supply drinking fixtures, toilets, irrigation, livestock, process equipment, or fire protection. Potable and non-potable systems need separate pipe identification and backflow protection.
Contact the local building department, water authority, environmental health department, and fire marshal where applicable. Requirements may cover rainwater use, septic setbacks, foundation distance, overflow discharge, underground excavation, backflow prevention, and fire reserve volume.
You’ll know it worked when: the tank certification, site plan, plumbing method, and discharge route satisfy the relevant authorities.
Common mistake: connecting rainwater directly to household plumbing without an approved air gap or backflow arrangement.
Step 2: Choose and prepare the site
Select firm, accessible ground above areas that flood or pond. Keep the tank away from vehicle impact, falling branches, fuel storage, septic leach fields, and roof runoff that contains chemicals or animal waste.
Locate underground utilities before excavation. Level the site, remove organic soil, and compact suitable subgrade. For a large tank or questionable soil, obtain a geotechnical or structural assessment rather than guessing at foundation thickness.
You’ll know it worked when: the finished base is level across its full footprint, drains away from the tank, and leaves enough room to inspect fittings.
Common mistake: placing the tank where the overflow saturates the pad or house foundation.
Step 3: Build the supporting foundation
Construct the pad according to the tank manufacturer’s dimensions and loading requirements. A common residential pad uses reinforced concrete, but thickness and reinforcement depend on capacity, soil, frost, and local code.
The pad must support the entire tank bottom. Do not use isolated concrete blocks, narrow sleepers, uncompacted fill, or a ring foundation beneath a flat-bottom polyethylene tank unless the manufacturer expressly permits it.
Allow concrete to cure according to the concrete supplier’s and tank manufacturer’s instructions before loading it. Protect the pad from settlement and route surface water around, not beneath, its edges.
You’ll know it worked when: a long level shows no significant slope or rocking area, and the slab has no broken edges or exposed reinforcement.
Common mistake: assuming a nominal 4-inch slab is adequate for every 5,000-gallon tank. Tank loads and soil conditions differ.
Step 4: Position and anchor the tank
Place the empty tank on the pad using lifting equipment rated for its weight and shape. Keep the shell away from sharp aggregate, and do not drag it across concrete.
Install seismic straps, hold-downs, or anchors where required by the manufacturer, local code, wind exposure, or earthquake risk. An empty above-ground tank is vulnerable to wind, while an underground tank can float when groundwater rises around it.
Do not connect rigid pipework until the tank is stable. Flexible connectors or properly supported pipe sections reduce stress at molded tank fittings.
You’ll know it worked when: the tank sits fully on the pad, remains plumb, and anchors do not distort the shell.
Common mistake: tightening straps until they crease or deform polyethylene.
Step 5: Install the inlet and fill control
Connect the source to the inlet using compatible, potable-rated pipe and fittings where required. Install a shutoff valve before the float valve or electronic fill control so the inlet can be serviced.
An air gap or approved backflow preventer may be required between the supply and stored water. The fill outlet should not create a submerged cross-connection unless the design specifically protects against backflow and contamination.
Set the float valve below the overflow opening and test its shutoff at several fill levels. Municipal pressure, pump pressure, and well flow can exceed the rating of inexpensive valves.
You’ll know it worked when: the valve closes before water reaches the overflow and no pipe joint leaks under operating pressure.
Common mistake: relying on one float valve without an independent overflow path.
Step 6: Add the vent, overflow, drain, and outlet
Install a screened vent at the tank’s designated vent opening. The vent must admit air during drawdown and release air during filling; never cap it or reduce its diameter without manufacturer approval.
Route the overflow to a visible, stable discharge point that cannot erode the pad, flood a foundation, contaminate a well, or backflow into the tank. Install the drain at the low point with a valve and a discharge hose or pipe.
Place the service outlet above the sediment zone, or use a floating intake for cleaner withdrawal. Add an isolation valve immediately outside the tank and a union or flexible connector for maintenance.
You’ll know it worked when: water flows through the overflow without ponding, the drain empties the intended low point, and the vent remains screened but unobstructed.
Common mistake: terminating the overflow beside the foundation. Even a small failure can wash out supporting soil.
Step 7: Install the pump and treatment equipment
Use a booster pump when gravity cannot provide the required pressure or flow. Select the pump from the combined system head, elevation difference, pipe friction, desired flow, and electrical supply, not from horsepower alone.
A typical household system may include a pump, check valve, pressure tank, pressure switch, sediment filter, cartridge filter, ultraviolet unit, and chemical disinfection. Each device needs service isolation and a drain or bypass where appropriate.
Keep irrigation and potable plumbing separated unless an approved treatment and backflow design allows shared components. Label non-potable outlets clearly.
You’ll know it worked when: fixtures receive stable pressure, the pump does not short-cycle, and filters remain accessible without draining the entire tank.
Common mistake: diagnosing every pressure problem as a tank defect. A waterlogged pressure tank, blocked filter, failed check valve, or incorrect pressure-switch setting can cause the same symptom.
Step 8: Test, disinfect, and commission
Flush construction debris from all lines before connecting drinking-water fixtures. Disinfect the tank and pipework using a procedure accepted by the local health authority or equipment manufacturer, because chlorine concentration and contact time depend on system volume and material.
The US Environmental Protection Agency recommends protecting drinking-water systems from contamination through proper operation and maintenance; local authorities may also require laboratory testing before use. Test for relevant contaminants, which can include total coliform bacteria, E. coli, nitrate, lead, arsenic, and pesticides depending on the source.
Fill the tank partially, inspect every fitting, then fill it fully while monitoring the pad and shell. Record the installation date, tank model, capacity, treatment equipment, disinfection method, and baseline test results.
You’ll know it worked when: the system passes leak, overflow, pressure, and water-quality checks under normal operation.
Common mistake: using taste or appearance as proof of potability. Clear water can still contain pathogens or dissolved contaminants.
Above-Ground or Underground: Which Is Better?
Above-ground tanks cost less to install and remain easier to inspect, repair, and replace. Underground tanks save surface space and moderate temperature swings, but excavation, groundwater, buoyancy, access, structural loading, and pipe repairs increase project risk.
| Decision factor | Above-ground polyethylene | Underground concrete | Underground polyethylene |
|---|---|---|---|
| Typical installation time | 1-2 days | 2-3 weeks | 3-10 days |
| Excavation requirement | Minimal | Full tank excavation | Full tank excavation |
| Inspection access | Easy | Hatch required | Hatch required |
| Vehicle loading | Usually prohibited | Possible with engineering | Model-specific only |
| Groundwater risk | Low | Moderate | High without anchoring |
| UV exposure | Requires shade or UV rating | None | None |
| Typical residential cost | $2,500-$8,000 installed | $8,000-$25,000+ | $6,000-$20,000+ |
Never bury an above-ground tank. Underground installation is safe only when the vessel, anchoring, drainage, cover depth, and traffic loads are approved for burial.
Can You Build a Concrete Cistern Yourself?
A homeowner can manage excavation coordination, form preparation, and non-structural work, but a permanent underground concrete cistern should be designed and inspected by a qualified structural professional. Generic advice such as “use 6-inch walls, #4 rebar at 12 inches, and 3,000-psi concrete” cannot account for soil pressure, groundwater uplift, seismic loads, roof loads, wall geometry, or construction joints.
An engineered concrete sequence normally includes site investigation, permit drawings, compacted subgrade, designed footing and slab, reinforcement developed into the walls, waterstops at construction joints, continuous or carefully planned concrete placement, curing, crack repair, waterproofing, access hatches, and tested pipe penetrations.
A concrete tank is not automatically leakproof because concrete shrinks during curing and can crack under movement. Crystalline admixtures may reduce permeability, but they do not replace correct reinforcement, joint detailing, curing, and exterior drainage.
What Will the Project Cost?
Typical North American residential costs vary widely by excavation, distance from suppliers, electrical work, permits, treatment, and regional labor. The following ranges are planning figures, not quotations.
| System component | Typical cost | Typical time | Main price driver |
|---|---|---|---|
| 1,000-2,500 gallon polyethylene tank | $1,000-$3,500 | 1 day | Capacity, fittings, freight |
| 5,000 gallon polyethylene system | $2,500-$8,000 | 1-3 days | Pad, pump, plumbing |
| Concrete cistern | $8,000-$25,000+ | 2-3 weeks | Excavation, reinforcement, labor |
| Steel tank with liner | $4,000-$15,000+ | 3-10 days | Diameter, roof, liner, foundation |
| Pump and pressure equipment | $800-$4,000 | 0.5-2 days | Head, flow, treatment |
| Excavation and backfill | $1,000-$12,000+ | 1-5 days | Rock, access, groundwater |
A 5,000-gallon tank contains about 41,700 pounds of water before adding the vessel, fittings, platform, or roof loads. That mass explains why foundation design matters more than the tank’s empty purchase price.
What Maintenance Does Stored Water Need?
Inspect the tank, roof, access cover, vent screen, inlet, overflow, anchors, pad, and visible pipework at least twice a year. Inspect more often after storms, wildfire smoke exposure, flooding, construction, or a water-quality complaint.
Clean sediment when it reaches the outlet zone or according to the manufacturer’s schedule. Potable systems need periodic laboratory testing based on source risk and local requirements, while non-potable irrigation systems still require mosquito, algae, and structural control.
Winterize exposed pipework before freezing weather. Drain vulnerable lines, insulate approved sections, maintain heat where required, and never assume an underground tank protects shallow outlet piping.
Common Failures and Their Fixes
| Symptom | Likely cause | Corrective action | Prevention |
|---|---|---|---|
| Green water or algae | Light entering tank | Block light, clean tank, test water | Use opaque UV-rated tank and sealed cover |
| Musty odor | Stagnation or organic debris | Inspect, clean, disinfect, test | Use turnover and screened first-flush control |
| Tank tilting | Settlement or undermined pad | Empty safely and correct foundation | Compact subgrade and divert overflow |
| Tank implosion | Blocked or undersized vent | Stop pumping, clear vent, inspect shell | Install manufacturer-approved screened vent |
| Overflow erosion | Discharge beside foundation | Extend pipe to stable drainage | Use splash protection or swale |
| Low household pressure | Filter, pump, or pressure-tank fault | Check gauges, filters, valves, and pump | Add isolation valves and service records |
| Cloudy water | Sediment, air, or bacterial growth | Flush and test source and tank | Improve inlet settling and filtration |
| Concrete seepage | Crack or failed joint | Obtain structural and waterproofing assessment | Design joints and waterstops correctly |
Hydraulic cement can stop a small, non-structural seep, but it cannot repair a moving structural crack or a tank experiencing settlement. Emptying a large tank also creates a separate hazard because external groundwater pressure may exceed internal water pressure.
What Are the Best Choices for Different Situations?
- Urban or suburban rainwater backup: Use a 500-2,500 gallon opaque polyethylene tank on a properly designed pad, with first-flush diversion, screened inlet, overflow drainage, and irrigation-only labeling unless treatment is installed.
- Off-grid household: Use one or two connected potable-rated tanks totaling the calculated reserve, with isolation valves so one vessel can be cleaned while the other remains available.
- Farm or ranch: Choose steel, fiberglass, or large polyethylene according to capacity, livestock access, fire exposure, and repair logistics. Protect outlets from animal impact.
- Cold climate: Prefer protected or buried plumbing below the local frost depth, but verify tank burial approval and buoyancy controls.
- Wildfire-prone property: Use a non-combustible, code-compliant tank and protected pipework. A plastic tank may melt or fail from radiant heat even when its water remains usable.
- High groundwater site: Avoid an improvised underground tank. An engineer must check uplift and anchoring for the empty condition.
When Should You Hire an Engineer?
Hire a structural or civil engineer for an underground tank, any tank beneath a driveway, a concrete roof that carries soil or vehicles, steep or unstable ground, high groundwater, seismic areas, large commercial volumes, fire-protection storage, or a tank connected to a public water supply.
A licensed plumber should handle potable cross-connection protection, pressure systems, electrical pump connections, and work governed by local plumbing code. A water-treatment professional or certified laboratory should define disinfection and testing for drinking-water use.
The least expensive safe design is often a certified tank with a documented foundation detail. Correcting a cracked underground cistern or contaminated household plumbing can cost more than professional design.
FAQ
Can I use an IBC tote for drinking water?
An intermediate bulk container can store non-potable water, but only a new or documented food-grade tote with a compatible previous contents history should be considered for potable use. Inspect the plastic, cage, valve, and gasket, keep the tote shaded, and arrange treatment and testing before drinking.
How far should a tank be from a house?
Local rules and the tank manufacturer control the required separation. As a practical design principle, keep the tank far enough away that an overflow, fitting failure, or foundation movement cannot direct water toward the building, septic system, well, or electrical equipment.
Does rainwater need a first-flush diverter?
A first-flush diverter is advisable because the first runoff can carry roof dust, bird feces, leaves, and chemical residues. The required volume depends on roof condition, local rainfall, intended use, and health regulations; it cannot be selected safely from a universal single number.
Can stored rainwater be used for a shower?
Stored rainwater can supply a shower only when local rules allow it and the system includes appropriate filtration, disinfection, plumbing separation, and testing. Aerosol-generating fixtures create greater exposure risk than garden irrigation, so untreated rainwater should not feed them.
How long can water remain in a storage tank?
Water can remain physically stored for months, but quality depends on temperature, sunlight, tank cleanliness, turnover, source, and treatment. Potable systems need a documented testing and maintenance schedule rather than an assumed shelf life; stale or contaminated water should be isolated and tested before use.
Is a water tank better than a cistern?
A cistern is usually a type of water storage tank, often describing a larger or underground vessel that collects rainwater or stores a private supply. The terms overlap, so compare the vessel’s certification, construction, installation location, capacity, access, and treatment rather than relying on the name.
The Bottom Line
To build a water storage tank system safely, calculate usable demand, select a certified vessel for the installation site, prepare a fully supported foundation, install a controlled inlet, screened vent, safe overflow, elevated outlet, drain, pump, and treatment equipment, then disinfect and test the system. For most homeowners, an above-ground polyethylene tank is the lowest-risk approach. Underground concrete construction requires engineered design because water, soil, groundwater, and roof loads can exceed the assumptions in generic DIY instructions. A properly planned how to build a water storage tank project protects the water supply by treating structural support, contamination control, drainage, and maintenance as one connected system.