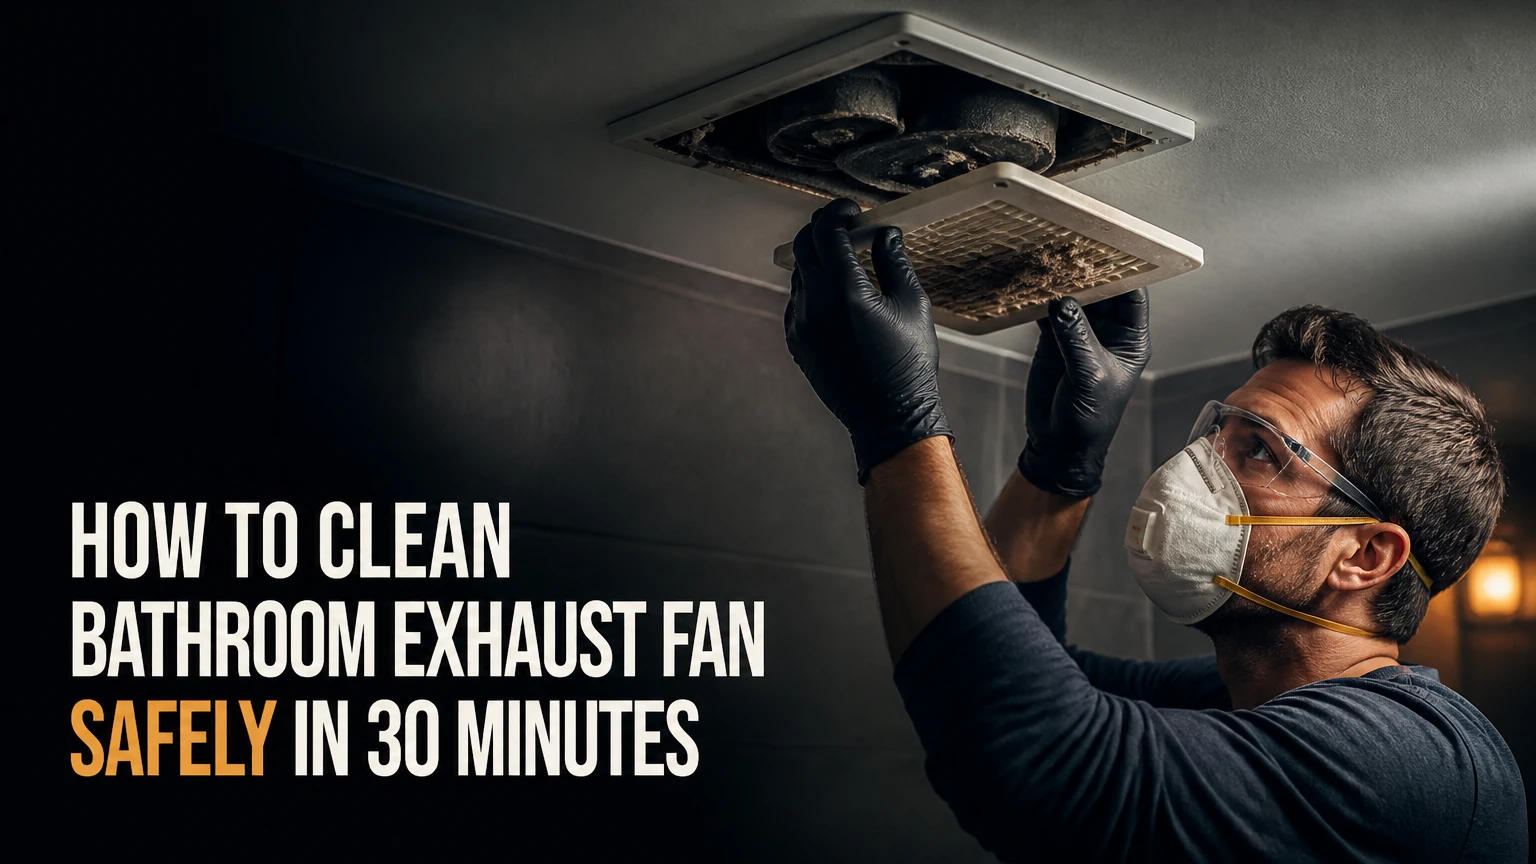
To clean a bathroom exhaust fan, switch off power at the breaker, remove and wash the grille, vacuum dust from the housing and blower, wipe removable parts without wetting the motor, inspect the damper, then reassemble and test airflow. A routine clean takes about 20-45 minutes when the fan is accessible and the duct is intact.
Key Facts
Clean the bathroom fan grille every 3-6 months and deep-clean the assembly every 6-12 months.
A vacuum with a brush attachment is safer than blowing dust through the bathroom with compressed air.
Never spray cleaner into the motor, wiring, light socket, heater, or ceiling housing.
A clean fan cannot overcome a crushed duct, blocked exterior cap, stuck damper, or undersized unit.
The U.S. Environmental Protection Agency states, “The key to mold control is moisture control.”
A persistent grinding or squealing sound after cleaning usually indicates motor-bearing wear, not surface dust.
What a Bathroom Exhaust Fan Does
A bathroom exhaust fan removes humid, odorous, and contaminated air by creating negative pressure at the ceiling or wall grille and sending that air through a duct to an exterior termination. The fan does not clean the room like an air purifier, and it cannot remove moisture effectively when the duct is blocked or terminates inside an attic.
Moisture control is the main reason to maintain the fan. Steam that remains on mirrors, drywall, insulation, or grout increases the chance of condensation damage and microbial growth. The EPA’s mold guidance identifies moisture control as the central prevention measure, so fan cleaning supports a wider bathroom ventilation strategy rather than cosmetic maintenance alone.
How does the ventilation path work?
The motor rotates an impeller or centrifugal blower wheel, which draws air through the grille. Air then passes through the housing, duct connector, flexible or rigid duct, backdraft damper, and roof or wall cap. The exterior cap should open while the fan runs and close when the fan stops.
The fan’s printed CFM rating is its nominal capacity under specified test conditions. Actual airflow falls when a duct is too long, sharply bent, crushed, leaking, undersized, or fitted with a restrictive cap. Cleaning the visible box improves resistance at the fan, but it does not repair poor installation.
Before You Start
A standard bathroom exhaust fan cleaning requires 20-45 minutes, household supplies, and safe access to the grille. The most important prerequisite is complete electrical isolation, followed by enough lighting to see dust, wiring, spring clips, and the motor plug.
| Requirement | Typical quantity or value | Why it matters |
|---|---|---|
| Cleaning time | 20-45 minutes | Covers grille, housing, blower, and test |
| Electrical isolation | 1 circuit breaker | Prevents accidental startup during cleaning |
| Ladder or step stool | 1 stable unit, rated for user weight | Keeps both hands available at the ceiling |
| Vacuum | 1 machine with brush nozzle | Captures dust instead of redistributing it |
| Dish soap | 1-2 teaspoons in 2-4 liters of warm water | Removes grille grease and dust |
| Microfiber cloths | 2-4 dry or lightly damp cloths | Keeps moisture controlled around electrics |
| Soft brush | 1 toothbrush or nylon brush | Reaches blower-wheel vanes |
| Eye protection | 1 pair | Prevents falling dust entering the eyes |
| Replacement fasteners | 2-4 matching screws, optional | Useful when corroded screws fail during removal |
Turn off the fan switch, then turn off the corresponding breaker. Confirm that the fan, light, and heater are inactive before touching the grille. If the bathroom has a combination unit, identify every control because a fan, light, and heater may use separate circuits or switches.
Do not work from a wet floor, a bathtub edge, a rolling chair, or an unsecured ladder. Renters should normally limit the job to grille washing and careful vacuuming unless the lease and landlord permit electrical disassembly.
How to Clean Bathroom Exhaust Fan Step by Step
The safest method progresses from external dust removal to controlled internal cleaning. The sequence prevents loose dust from falling onto wet surfaces and prevents a damp grille from being reinstalled before the housing is dry.
Step 1: Turn Off Power at the Breaker
Switch off the wall control and the circuit breaker that supplies the fan. Verify that the fan cannot start, and wait until any heater element or recently used light has cooled completely.
If the breaker label is unclear, have another person operate switches while you identify the correct circuit, or use a non-contact voltage tester according to its instructions. A wall switch reduces normal operation but does not provide the same protection as de-energizing the circuit.
You’ll know it worked when: the fan, light, and heater remain off when their controls are used.
Common mistake: assuming the bathroom switch controls every component in a light-and-fan combination unit.
Step 2: Remove the Grille
Pull the grille down approximately 5-8 centimeters. Most ceiling grilles use two spring-wire clips; squeeze the clip ends together to release them from the housing slots, then support the grille with your other hand.
Some models use screws, quarter-turn fasteners, clips, or a grille that remains attached to a light lens. Do not pull harder when the cover resists. Look for concealed screws and consult the model manual, because forcing a brittle plastic grille can break its mounting tabs.
You’ll know it worked when: the grille hangs free without bending, cracking, or pulling on wires.
Common mistake: allowing spring clips to snap upward and damage the ceiling paint or grille.
Step 3: Wash and Dry the Grille
Place the grille in a sink or basin containing warm water and 1-2 teaspoons of dish soap. Soak it for 5-10 minutes, brush dust from the louvers, rinse with clean water, and dry every surface with a microfiber cloth.
Keep light lenses, electronic humidity sensors, and heater components out of the sink unless the manufacturer specifically permits washing them. Avoid bleach, abrasive powders, solvent cleaners, and very hot water because those treatments can discolor, craze, or deform plastic.
You’ll know it worked when: no lint remains in the grille slots and no water drips when the grille is tilted.
Common mistake: reinstalling the grille while water remains near the motor or ceiling opening.
Step 4: Vacuum the Housing and Blower
Use a vacuum fitted with a soft brush to remove loose dust from the housing lip, blower wheel, motor bracket, and visible duct entrance. Hold the nozzle close to the brush so dust goes into the vacuum rather than spreading across the room.
Work gently around the motor shaft, capacitor, wiring, and electrical plug. A small amount of compressed air can dislodge dust from narrow gaps, but vacuuming is preferable because compressed air can drive debris deeper into bearings or into the duct.
You’ll know it worked when: the blower vanes are visible and the vacuum no longer collects large clumps of lint.
Common mistake: pushing a rigid vacuum nozzle into the blower wheel and bending its vanes, which can create imbalance and vibration.
Step 5: Remove the Motor Assembly Only When Appropriate
For a deeper clean, unplug the motor from the receptacle inside the housing, remove the retaining screws or bracket, and lower the motor-blower assembly carefully. Photograph the wiring and bracket orientation before removal.
Wipe the blower wheel and motor casing with a barely damp cloth, then use a dry brush for deposits between the vanes. Never submerge the motor, spray degreaser into it, or allow water to enter the bearing, capacitor, wiring connector, or receptacle.
Not every fan has a user-removable motor. Stop if the assembly requires electrical rewiring, resists removal after fasteners are out, or forms part of a sealed inline unit. The manufacturer’s installation manual takes precedence over a generic cleaning method.
You’ll know it worked when: the blower rotates freely by hand with power disconnected and no cloth fibers remain on the vanes.
Common mistake: lubricating a sealed motor with household oil. Oil can collect dust and may damage components that are not designed for field lubrication.
Step 6: Clean the Housing and Check the Damper
Vacuum the interior walls, then wipe accessible metal or plastic surfaces with a lightly damp cloth. Locate the duct connector and check that the backdraft damper moves freely without lint, paint, insulation, or nesting material blocking it.
Do not reach blindly into a duct, especially from a ceiling opening. Sharp sheet-metal edges can cut skin, and attic insulation can irritate the eyes and lungs. Inspect the exterior roof or wall cap only when it can be reached safely; otherwise, arrange a professional inspection.
You’ll know it worked when: the damper opens with fan airflow and closes when the fan stops.
Common mistake: cleaning the housing while ignoring a duct that terminates in the attic. Exhausting moist bathroom air into an attic can wet insulation and roof framing.
Step 7: Reassemble and Test
Reinstall the motor bracket in its original orientation, tighten the retaining screws evenly, and reconnect the internal plug. Refit the dry grille by squeezing the spring clips, placing them in the housing slots, and pushing the grille flush against the ceiling.
Restore the breaker and operate the fan for several minutes. Hold a single sheet of toilet tissue near the grille; the paper should be pulled toward the fan without being sucked into the opening. Listen for scraping, rattling, humming, or delayed startup.
You’ll know it worked when: airflow is steady, the grille remains secure, the damper opens, and the fan sounds no worse than before cleaning.
Common mistake: testing with a loose grille, because vibration from an improperly seated cover can mimic a failing motor.
Which Fan Type Changes the Cleaning Method?
Fan design determines how much of the cleaning procedure is accessible. A standard ceiling unit usually permits grille removal and motor access, while an inline fan places the motor elsewhere and requires a separate inspection point.
| Fan type | Motor location | Safe homeowner task | Special limitation |
|---|---|---|---|
| Ceiling-mounted | Above grille in ceiling box | Wash grille, vacuum housing, remove motor if manual permits | Requires stable ladder and falling-dust protection |
| Wall-mounted | Inside exterior-wall housing | Clean grille, blower, and exterior cap | Outdoor grit, insects, and weather seals need inspection |
| Inline remote | Attic, crawlspace, or duct run | Wash bathroom grille and vacuum visible duct opening | Motor access may require attic electrical work |
| Fan-light combo | Shared ceiling assembly | Clean grille and fan with all circuits isolated | Light sockets, lenses, sensors, and heaters need separate care |
| Humidity-sensing fan | Housing or control module | Clean grille and blower as specified by manual | Sensor contamination can cause false starts or poor control |
How should you clean a fan with a light or heater?
A bathroom fan with a light or heater should be cleaned only after every circuit is isolated and the heating element has cooled. Remove the lens according to its fastener design, keep water away from sockets and electronics, and vacuum dust around the heater without bending its coils.
A dusty heater can produce an odor when switched on, but persistent burning smell, discoloration, melted plastic, or repeated breaker trips requires electrical service. Do not use a household vacuum whose nozzle could contact a live or recently heated component.
How Often Should a Bathroom Fan Be Cleaned?
Clean a bathroom exhaust fan grille every 3-6 months and inspect the internal assembly every 6-12 months under normal household conditions. Homes with several occupants, pets, smokers, renovation dust, or frequent showers may need quarterly internal vacuuming.
Frequency should follow observed dust rather than a rigid calendar. A grille that visibly darkens within a month indicates high particulate loading or inadequate filtration elsewhere, while a clean grille does not prove the duct is unobstructed.
| Condition | Grille cleaning | Internal cleaning | Additional action |
|---|---|---|---|
| One occupant, low dust | Every 6 months | Every 12 months | Test airflow monthly |
| Family bathroom, daily showers | Every 3 months | Every 6 months | Run fan after showers |
| Pets or renovation dust | Every 1-3 months | Every 3-6 months | Vacuum surrounding room dust |
| Visible mold or condensation | Immediately | Inspect within 30 days | Correct moisture and duct problems |
| Commercial or shared bathroom | Monthly | Every 3-6 months | Use a documented maintenance log |
The fan should usually run during a shower and for approximately 20-30 minutes afterward, although the correct runtime depends on airflow, room size, climate, and moisture load. A timer or humidity sensor helps, but automation cannot compensate for a blocked duct or inadequate CFM.
What CFM Does a Bathroom Need?
The common sizing rule is approximately 1 CFM per square foot for many residential bathrooms, so a 70-square-foot room often receives a 70-CFM nominal fan. The Home Ventilating Institute also publishes ventilation guidance, but local building requirements and the specific installation manual control where they differ.
| Bathroom floor area | Common nominal fan size | Example use |
|---|---|---|
| 40 sq. ft. | 40-50 CFM | Small powder room |
| 60 sq. ft. | 60-70 CFM | Compact full bathroom |
| 80 sq. ft. | 80-90 CFM | Standard family bathroom |
| 100 sq. ft. | 100 CFM | Larger bathroom with shower |
| 120+ sq. ft. | 120+ CFM or multiple fans | Large room or high moisture load |
A fan’s CFM rating is not a guarantee of delivered airflow. Long duct runs, multiple elbows, a crushed flex duct, or a restrictive roof cap can reduce performance substantially, so a bathroom that remains damp may need duct correction rather than a larger fan.
Why Is the Fan Still Loud After Cleaning?
A bathroom exhaust fan that remains loud after cleaning usually has a loose grille or bracket, an unbalanced blower wheel, a damaged damper, or worn motor bearings. Dust is only one possible cause, and replacing a motor is more appropriate than repeated cleaning when the sound is grinding or squealing.
| Sound or symptom | Likely cause | Homeowner check | Correct response |
|---|---|---|---|
| Rattle at startup | Loose grille or bracket | Press grille gently while running | Reseat grille or tighten fasteners |
| Rhythmic vibration | Dust imbalance or bent blower | Inspect vanes with power off | Clean carefully, replace damaged blower |
| Flapping noise | Damper or exterior cap | Observe cap and damper movement | Remove obstruction or repair cap |
| Humming without airflow | Jammed blower or failed motor | Confirm breaker and free rotation | Replace motor or call electrician |
| Grinding or squealing | Bearing wear | Compare sound before and after cleaning | Replace motor assembly |
| Sudden loud operation | Foreign object or broken mount | Inspect housing and duct entry | Remove object if accessible, otherwise service |
A clean fan that produces a sharp electrical buzz, burning odor, smoke, or repeated breaker trips should remain off. Those symptoms are electrical or mechanical fault indicators, not normal maintenance conditions.
Why Does the Fan Run but Not Remove Moisture?
A bathroom exhaust fan can run while removing little moisture when airflow is restricted, the damper is stuck, the exterior cap is blocked, the duct is disconnected, or the fan is undersized. A foggy mirror alone is not a precise airflow test, so combine it with a tissue test and duct inspection.
Check the grille for suction, then inspect the wall or roof termination for lint, insects, leaves, or bird nesting. In an attic, look for a crushed flexible duct, disconnected joint, excessive sagging, missing insulation in a cold climate, or moisture staining around the termination.
A bathroom fan that has adequate airflow but cannot control humidity may be too small for the room, run for too little time, or discharge into a poorly designed duct system. A humidity sensor can improve runtime, but it may activate too late or run too long in naturally humid climates.
Common Cleaning Mistakes and Their Fixes
| Mistake | Immediate risk | Recovery |
|---|---|---|
| Spraying cleaner into housing | Short circuit or motor damage | Stop, isolate power, dry accessible surfaces completely |
| Using only the wall switch | Accidental startup | Turn off breaker before further contact |
| Blowing dust into attic or room | Contamination and hidden buildup | Vacuum the area and inspect the duct path |
| Forcing a stuck motor bracket | Bent mount and new vibration | Check hidden clips, then use the manual |
| Reinstalling a wet grille | Moisture near electrical parts | Remove it and dry for several hours |
| Ignoring exterior termination | Continued weak airflow | Inspect the wall or roof cap safely |
| Using bleach on plastic | Discoloration and material damage | Rinse with mild soap and replace damaged grille |
| Cleaning without eye protection | Dust or insulation exposure | Stop work, rinse eyes with clean water if irritated |
A particularly common error is treating compressed air as a substitute for cleaning. Compressed air removes visible dust from one location but can pack lint into the motor bearing, duct elbow, or damper, leaving the actual airflow restriction unchanged.
Should You Clean the Fan Yourself or Hire a Professional?
DIY cleaning is appropriate when the grille is accessible, the fan has a simple plug-in motor, the housing is dry, and the owner can isolate power safely. Professional service is preferable when attic access, roof access, wiring, mold contamination, damaged ductwork, or repeated electrical faults are involved.
| Situation | DIY suitability | Typical DIY cost | Professional need |
|---|---|---|---|
| Dusty grille and housing | High | $0-$10 | Not normally needed |
| Removable motor assembly | Moderate to high | $0-$20 | Manual-dependent |
| Inline fan in attic | Moderate | $0-$30 | Useful for difficult access |
| Roof cap or duct blockage | Low | $0-$50 | Roofer or HVAC technician |
| Burning smell or breaker trips | None | $0 until diagnosed | Licensed electrician |
| Mold on insulation or framing | Low | Varies by extent | Moisture and remediation assessment |
Typical professional cleaning or inspection costs range from $75-$150, while replacement fan components commonly cost $20-$200 or more. Professional installation may add approximately $150-$300, depending on wiring, access, duct changes, and local labor rates.
Cleaning is not good for a motor with failed bearings, a cracked blower wheel, a seized shaft, or insulation damage. Replacement is often more economical when a basic fan is old, noisy, poorly sized, and difficult to service.
Variations for Renters and Difficult Access
Renters should usually remove and wash the grille, vacuum visible dust, and report weak airflow, water staining, electrical noise, or a failed motor to the landlord. Removing a motor or opening attic ductwork can create liability for damage and may violate the lease.
For an inline fan, clean the bathroom grille first, then locate the remote motor in the attic or crawlspace. Do not enter an unsafe attic for a routine task, especially where flooring is incomplete, insulation is loose, or electrical hazards are present.
For a wall-mounted fan, inspect the exterior cap for insect screens, leaves, and weather damage. Keep the fan’s internal electrical parts dry, and check that the outside flap opens when the blower operates.
Frequently Asked Questions
Can I clean a bathroom exhaust fan without removing the grille?
Yes, you can vacuum the grille surface and surrounding ceiling, but cleaning without removing the grille leaves dust on its rear louvers and inside the housing. Turn off the breaker first, use a brush attachment, and remove the cover when its fasteners can be released safely.
Can I use vinegar to clean a bathroom fan grille?
Diluted vinegar can clean some plastic grilles, but warm water and mild dish soap are the safer default. Do not spray vinegar into the fan housing, motor, wiring, humidity sensor, light socket, or heater, and never mix vinegar with bleach or other cleaners.
Why does my bathroom fan smell after cleaning?
A temporary dusty smell can occur when residual particles warm during operation, but a burning, fishy, or electrical odor is abnormal. Turn off the breaker and stop using the fan if the smell persists, the plastic discolors, or the breaker trips.
How do I know whether the bathroom fan vents outside?
Inspect the roof or exterior wall for a dedicated vent cap, then observe whether its damper opens while the fan runs. An attic inspection can reveal a disconnected duct, but do not assume a ceiling grille vents outdoors because some installations discharge improperly into the attic.
Is a bathroom fan supposed to run continuously?
A standard intermittent bathroom fan does not normally need continuous operation, but it should run during bathing and often for 20-30 minutes afterward. Continuous ventilation can suit some humidity-controlled systems, provided the fan, duct, controls, and energy use are designed for that duty cycle.
The Bottom Line
Clean a bathroom exhaust fan by isolating power, washing the grille, vacuuming the housing and blower, wiping removable components without wetting electrics, checking the damper and duct path, and testing airflow after reassembly. Repeat the process every 3-6 months for the grille and every 6-12 months for the internal assembly. If bathroom exhaust fan cleaning does not resolve grinding noise, weak airflow, condensation, or electrical symptoms, inspect the duct and controls or call a qualified professional.