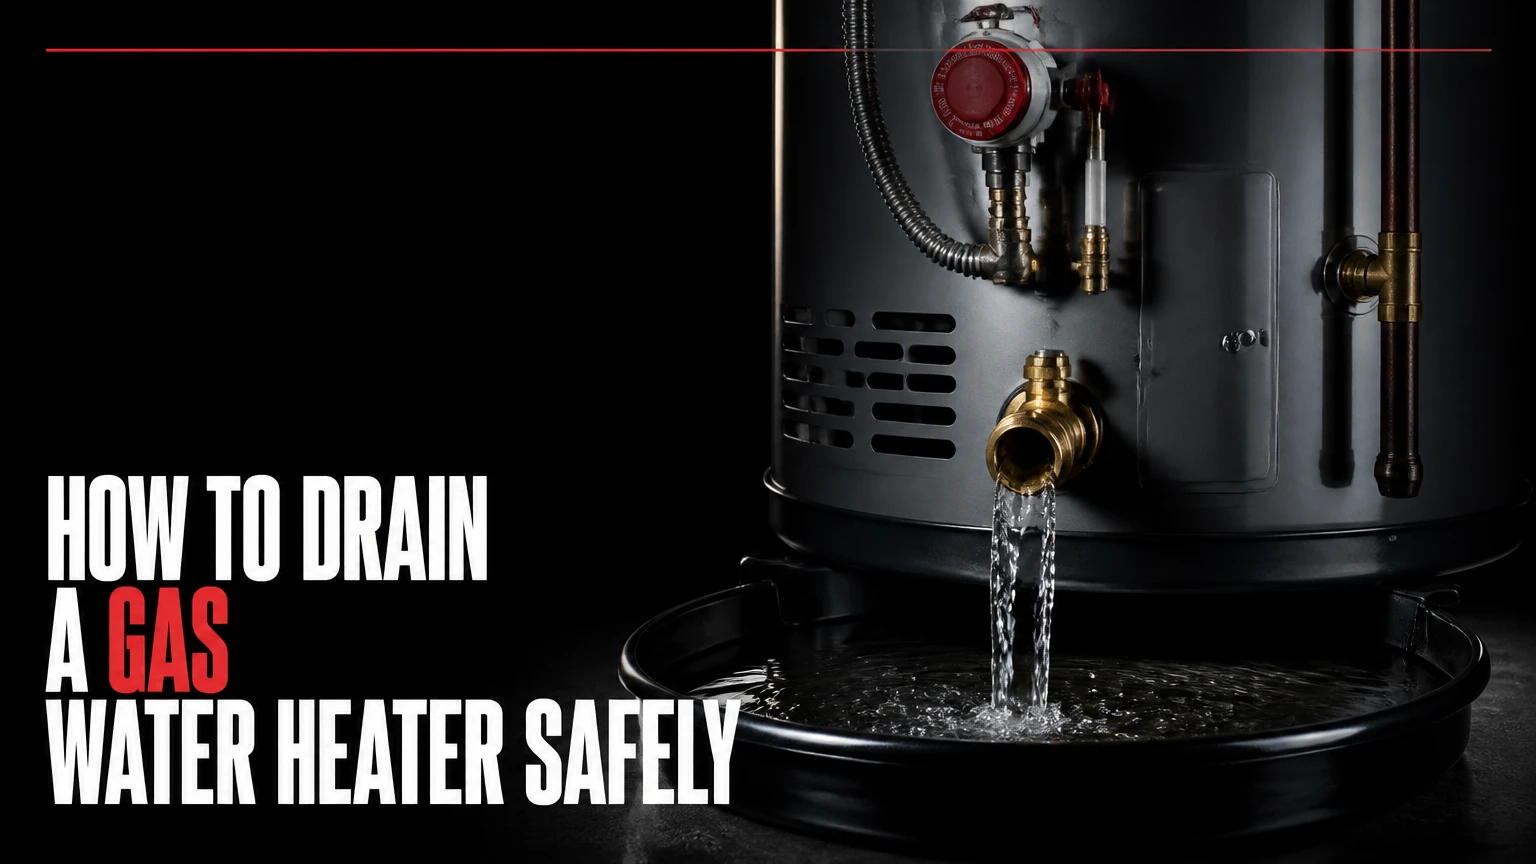
To drain a gas water heater, turn the gas control to OFF, close the cold-water inlet, connect a heat-rated garden hose, open a hot-water faucet, and open the tank drain valve. Allow the water to cool first, flush sediment with short bursts of cold water, then refill the tank completely before restoring gas. The process typically takes 30-60 minutes.
Key Facts at a Glance
A gas water heater must be full of water before its burner is turned on.
Typical draining takes 30-60 minutes, while heavy sediment can extend the process.
Water near a recently operating heater may reach 120-140°F, causing burns and damaging ordinary hoses.
A drain valve is not the temperature and pressure relief valve; never drain through the relief-valve opening.
Annual flushing is a reasonable baseline, but hard water, noisy operation, and manufacturer instructions can justify more frequent service.
A blocked or brittle drain valve is a repair problem, not a reason to apply excessive force.
What Does Draining a Gas Water Heater Do?
Draining a gas water heater removes stored water and allows sediment to leave through the bottom drain valve. Flushing adds controlled fresh-water flow to disturb deposits that gravity alone cannot remove. The maintenance targets calcium carbonate, magnesium scale, sand, and corrosion particles that collect below the burner area.
A storage tank heats water from the bottom. When hard-water minerals settle there, the sediment layer separates the flame from the tank water and reduces heat transfer. The burner may run longer, and trapped water beneath the deposit can produce popping, crackling, or rumbling sounds as steam bubbles escape.
Draining is not a complete repair for corrosion, a failing anode rod, a damaged flue, or a leaking tank. A flush can remove loose sediment, but it cannot restore a compromised glass lining or steel shell. The U.S. Department of Energy identifies maintenance as a way to preserve water-heating efficiency, but the exact service interval still depends on the appliance manual and local water conditions.
Draining Versus Flushing
Draining empties the tank. Flushing continues after the tank has emptied by briefly reopening the cold-water supply so incoming water carries loosened sediment out through the drain hose.
The distinction matters because a clear stream does not prove that the tank contains no deposits. Large mineral chunks can settle behind a restricted factory drain valve, while fine particles may remain after a single emptying. A practical flush uses short, controlled bursts rather than leaving the inlet fully open while the drain is barely flowing.
What Should You Check Before Starting?
Before draining a gas water heater, confirm that the appliance is a tank-style unit, identify the cold-water inlet and bottom drain valve, and find a safe discharge point. Plan for 30-60 minutes, wear gloves and eye protection, and do not begin until the water is cool enough for the hose and drainage area.
Before-You-Start Checklist
| Requirement | Typical specification | Why it matters |
|---|---|---|
| Work time | 30-60 minutes | Covers cooling, draining, flushing, and refill |
| Hose | 5/8-inch garden hose, 10-50 feet | Connects to common drain outlets and reaches discharge |
| Hose rating | 140°F or higher preferred | Reduces softening and splitting risk |
| Protective equipment | Gloves and safety glasses | Limits burn and sediment exposure |
| Drainage location | Floor drain, utility sink, or approved outdoor point | Prevents indoor flooding and unsafe discharge |
| Tools | Flat screwdriver or valve handle; adjustable wrench | Opens some valves and handles caps |
| Replacement item | Hose cap with rubber washer | Temporarily stops a weeping drain outlet |
| Documentation | Manufacturer manual and model number | Confirms controls, valve type, and restart procedure |
Turn off appliances or equipment that could be affected by a temporary water interruption. Keep children and pets away from the hose outlet because the first discharge can contain very hot water and sharp mineral fragments.
Is the Heater Safe to Drain?
A heater is safer to drain after several hours of nonuse, or after running hot water until the tank temperature falls substantially. Do not rely on a thermostat setting alone to prove the water is cool. Test the discharge into a bucket only if you can do so without touching the water, and stop if the hose, fitting, or drain route becomes hot.
A leak, bulging tank, strong gas odor, damaged flue, or failed temperature and pressure relief valve changes the job from routine maintenance to professional service. If you smell gas, leave the area, avoid switches and flames, and contact the gas utility or emergency service from a safe location.
How Do You Drain a Gas Water Heater?
Drain a gas water heater in nine controlled stages: shut off the burner, close the water inlet, connect and route the hose, open a hot faucet, open the drain, flush the bottom, close the valve, refill the tank, and restart the appliance. The success factor is verifying a full tank before gas operation.
Step 1: Turn the Gas Control to OFF
Set the water heater’s thermostat or gas control knob to OFF. On many models, this stops the burner and pilot sequence, but it does not necessarily close the building’s manual gas shutoff valve.
Use the manual gas shutoff valve on the supply pipe if the manufacturer’s instructions require it or if the control appears damaged. Do not force a seized knob, disconnect gas tubing, or remove the burner assembly for routine draining.
You will know it worked when: the control indicator shows OFF and the burner does not ignite.
Common mistake: selecting PILOT, VACATION, or LOW instead of OFF, which can permit heating during the drain.
Step 2: Close the Cold-Water Supply
Close the cold-water shutoff valve above the heater. A lever usually closes when turned perpendicular to the pipe; a round wheel normally closes clockwise.
Do not close the hot-water outlet valve unless you are isolating the heater for a specific repair. Keeping a hot faucet open later provides the air path needed for smooth drainage.
You will know it worked when: opening a hot faucet produces only a brief flow before water stops entering the system.
Common mistake: confusing the cold inlet with the temperature and pressure relief valve, which is normally mounted near the top and has a discharge pipe.
Step 3: Connect and Route a Heat-Rated Hose
Thread a sound garden hose onto the drain valve at the bottom of the tank. Tighten the connection by hand, then add only a small amount of wrench force if necessary. Do not cross-thread a plastic outlet.
Route the hose to a floor drain, utility sink, sump basin approved for hot water, or outdoor location that can accept the volume. Keep the outlet lower than the drain valve when possible. Secure the end so water pressure cannot make it whip or jump out of the drain.
You will know it worked when: the hose connection remains dry during a brief valve test.
Common mistake: using a cracked hose or directing hot discharge across a walkway, foundation, storm drain, or delicate lawn.
Step 4: Open a Hot-Water Faucet
Open a hot-water faucet at a nearby sink or bathtub. The open faucet admits air as water leaves and reduces vacuum formation inside the tank.
Choose a fixture that can remain open safely. A faucet aerator can catch sediment, so removing it may reduce clogging. Do not use the relief valve as an air vent or drain point.
You will know it worked when: the faucet allows air movement and the hose begins draining without repeated stopping.
Common mistake: opening several fixtures at once, which can make it harder to identify a leak or control an unexpected discharge.
Step 5: Open the Tank Drain Valve
Open the bottom drain valve slowly. A lever-style ball valve turns a quarter-turn; a screwdriver-operated plastic valve usually opens counterclockwise. Stop immediately if the body twists, the fitting flexes, or the valve begins leaking around its threads.
A normal initial flow may be strong, then weaken as the tank level drops. Sediment can reduce flow even when the valve appears fully open.
You will know it worked when: water exits through the hose and the open hot faucet continues admitting air.
Common mistake: using pliers on a brittle plastic handle. A replacement valve is safer than a broken outlet on a full tank.
Step 6: Flush Loose Sediment in Short Bursts
When flow becomes a trickle or stops, open the cold-water supply for 10-20 seconds, then close it and let the tank drain again. Repeat several times until the discharge becomes clearer and fewer particles appear.
Keep the burner off during every flush. Observe the outlet for cloudy water, white scale, rust-colored particles, or black flakes. Black material can indicate deteriorated anode-rod material, while persistent rust may indicate broader tank corrosion.
You will know it worked when: the outlet produces a steady stream with substantially less visible sediment.
Common mistake: opening the inlet fully while the drain valve is restricted, which pressurizes the tank without removing much material.
Step 7: Close the Drain Valve and Check for Leaks
Close the drain valve firmly without over-tightening. For a threaded valve, avoid using sealant on the hose outlet unless the manufacturer specifies it; the garden-hose washer makes the seal.
Leave the cold-water inlet closed until you are certain the drain valve is shut. Inspect the valve body, hose connection, nearby fittings, and floor for active leakage.
You will know it worked when: no water exits after the hose is removed or capped.
Common mistake: disconnecting the hose while the valve is still open, which can release residual hot water onto the floor.
Step 8: Refill the Tank Completely
Open the cold-water supply slowly. Keep one hot faucet open until water flows continuously without air sputtering. That stream confirms the tank and hot-water piping are filling and air is leaving through the fixture.
Close the faucet, then inspect the drain valve and all connections for at least several minutes. A full tank can expose a weak valve or fitting that did not leak while the heater was empty.
You will know it worked when: the hot faucet produces a stable, air-free stream and the heater remains dry.
Common mistake: turning the gas control on as soon as the inlet opens, before the tank has expelled air and filled.
Step 9: Restore Gas Operation
Follow the appliance manual to return the gas control to the normal operating setting and relight the pilot if required. Models with electronic ignition may relight automatically; older standing-pilot units require the specified ignition sequence.
Do not remove the combustion shield or bypass a safety control. After ignition, confirm that the burner flame is stable, blue, and contained beneath the tank, and check again for water leaks.
You will know it worked when: the heater completes a normal heating cycle without unusual flame behavior, gas odor, or water discharge.
Common mistake: restarting from memory when the control sequence differs by manufacturer. The model-specific manual takes priority.
How Often Should a Gas Water Heater Be Flushed?
Flush a gas water heater once every 12 months as a practical baseline, and consider a 6-month interval in hard-water areas or homes with recurring sediment and popping. Manufacturer instructions, water chemistry, heater age, and the quality of the previous flush should determine the final schedule.
| Household condition | Suggested interval | Additional check |
|---|---|---|
| Soft water, low use | 12-24 months | Inspect drain valve annually |
| Moderate hardness, typical family | 12 months | Check for popping and reduced recovery |
| Hard water, four or more occupants | 6-12 months | Consider sediment testing or water treatment |
| Well water with sand | 6 months | Inspect inlet screen and sediment filter |
| Heater older than 8 years | Service cautiously | Evaluate leaks and anode condition first |
| Rental property or commercial use | Per manual, often 6-12 months | Record date and discharge condition |
Annual draining is maintenance, not an insurance policy against tank failure. A tank that leaks from its shell, has severe corrosion, or repeatedly trips a safety control needs diagnosis rather than more flushing.
Which Drain Valve Is Best?
A full-port brass ball valve usually drains faster and resists blockage better than a standard plastic valve, but replacement requires shutting down, emptying, and correctly adapting the plumbing. A factory plastic valve costs nothing to retain and may be adequate when it operates freely and does not leak.
| Valve option | Approximate outlet flow | Typical part cost | Main limitation |
|---|---|---|---|
| Plastic screw-operated valve | 1-3 gallons per minute | $5-$15 | Narrow passage and brittle handle |
| Standard brass hose valve | 2-5 gallons per minute | $10-$25 | Internal opening can retain chunks |
| Full-port brass ball valve | 5-10 gallons per minute | $15-$40 | Requires compatible retrofit |
| Replacement drain assembly | 2-10 gallons per minute | $15-$60 | Flow depends on design and fitting |
Flow figures are typical ranges, not guaranteed specifications. Actual performance depends on tank height, hose length, valve condition, sediment depth, and whether the hose rises above the tank outlet.
A full-port valve is a practical upgrade during a planned replacement, especially where large calcium chunks repeatedly block the original outlet. It is not a reason to replace a functioning heater drain valve without checking thread type, clearance, and local plumbing requirements.
What Are the Time and Cost Ranges?
A homeowner typically spends $10-$25 when the hose and drain valve are usable, while a professional service commonly costs about $100-$200 for a straightforward visit. Total time is usually 30-60 minutes after cooling, but a blocked valve, long hose run, or heavy sediment can make the job take several hours.
| Service choice | Typical cost | Typical duration | Best fit |
|---|---|---|---|
| Existing hose, no parts | $0-$10 | 30-45 minutes | Accessible heater and working valve |
| New hose and cap | $10-$25 | 45-60 minutes | Routine homeowner maintenance |
| Drain-valve replacement | $40-$150 in parts and labor | 1-3 hours | Leaking or restricted valve |
| Professional drain and flush | $100-$200 | 45-90 minutes | Normal tank and accessible plumbing |
| Sediment or valve repair | $150-$400 | 1-4 hours | Blockage, seized valve, or damaged fitting |
Local labor rates, emergency timing, tank location, and whether the plumber replaces a valve can move these ranges substantially. A quote should identify whether it includes relighting, valve replacement, leak testing, and disposal of sediment-laden water.
What If the Heater Is Old or Has Never Been Drained?
An old or neglected water heater can leak after draining because sediment may have been masking a weak seam, corroded fitting, or failing drain valve. That does not mean draining caused the corrosion. The service revealed a condition that was already present.
For a heater around 8-12 years old, inspect the tank base, drain valve, water connections, burner compartment, and relief-valve discharge before beginning. The U.S. Department of Energy describes typical tank water-heater life as roughly 10-15 years, although water quality, maintenance, installation, and anode protection alter that range.
Stop and call a plumber when the tank shell is wet, the drain valve will not move without force, the outlet is completely blocked, or the heater continues leaking after the valve is closed. Do not insert a wire or screwdriver into the valve opening. That can damage the seat, create a larger leak, or leave metal inside the tank.
How Do You Fix a Water Heater That Will Not Drain?
A water heater that will not drain usually has a blocked valve, insufficient air entry, a kinked hose, or heavy sediment covering the outlet. Verify the cold inlet is closed, open one hot faucet, straighten the hose, and inspect the valve without dismantling it.
Use this recovery sequence:
- Confirm the gas control is OFF and the water is cool.
- Check that the hose is not kinked or routed uphill.
- Remove the hose only after confirming the valve is closed.
- Inspect the hose washer and valve outlet for visible debris.
- Reconnect the hose and retry a slow valve opening.
- If flow stops, close the valve and arrange professional service.
Do not force a stuck plastic valve or puncture the blockage with a rigid tool. A plumber can remove the valve after controlling the tank and can use a suitable replacement if the sediment has formed a hard plug.
What If the Drain Valve Keeps Dripping?
A dripping drain valve may have sediment trapped on its seat or a worn internal seal. Briefly reopening the valve can sometimes flush the seat, but continuous leakage requires a hose cap with a rubber washer as a temporary containment measure or a valve replacement.
A cap is not a permanent repair if the valve body or tank connection is damaged. Monitor the cap for leakage and never leave the heater unattended if water is accumulating near the burner or controls.
What If the Water Stays Cloudy?
Cloudy or gritty discharge is normal during sediment removal, but persistent rust-colored water, black flakes, or a metallic odor can indicate corrosion or anode deterioration. Continue only while the valve operates safely and the tank remains structurally sound.
A flush cannot remove deposits trapped above the drain opening or repair a deteriorated lining. A professional may inspect the anode rod, drain opening, burner area, and water chemistry instead.
What Are the Safest Situational Variations?
The same shutdown and refill rules apply in garages, basements, utility closets, and rental homes, but the discharge method changes. Outdoor drainage is acceptable only where local rules, landscaping, and the building foundation permit hot sediment water.
- Basement with no floor drain: Use a pump rated for hot water or hire a plumber. Do not rely on a thin vinyl hose running across stairs.
- Indoor closet: Use a short hose to an approved drain and place a pan or absorbent material around the connection. A pan does not replace a drain.
- Hard-water home: Use several 10-20-second inlet bursts, then inspect the discharge for large particles.
- Rental property: Obtain owner approval, photograph the control and valve before work, and document the date, leaks, and discharge condition.
- Heater connected to a recirculation system: Follow the system manual and isolate the pump if instructed, because circulation can refill or pressurize the tank unexpectedly.
- Tankless gas heater: Do not use this procedure. Tankless units require isolation valves and a descaling pump, not bottom-tank draining.
Common Mistakes and How Can You Prevent Them?
The most damaging mistakes are heating an empty tank, draining scalding water, forcing a brittle valve, and assuming a weak stream means the tank is empty. Each mistake has a specific prevention step and a clear recovery action.
| Mistake | Likely consequence | Prevention | Recovery |
|---|---|---|---|
| Gas control left operating | Burner damage to an empty tank | Set control to OFF first | Keep gas off and inspect before restart |
| Tank restarted before filling | Dry-fire damage and overheating | Run hot faucet until air-free | Shut gas off immediately and call service if damage is suspected |
| Hot water discharged uncontrolled | Burns, hose failure, landscape damage | Cool water and secure hose | Keep people away and allow the area to cool |
| Plastic valve forced | Broken outlet and flooding | Use hand pressure only | Close inlet, contain leak, call plumber |
| Relief valve used for draining | Safety-valve leakage | Use bottom drain only | Do not repeatedly operate the relief valve |
| Hose routed uphill | Slow or stopped drainage | Keep route downhill | Straighten hose and restore air entry |
One practitioner rule is worth remembering: the drain valve is the weakest inexpensive component on many tanks, so a routine flush should never become a valve-forcing exercise.
What Professional Advice Should You Follow?
The American Society of Sanitary Engineering and water-heater manufacturers treat temperature and pressure relief protection as a safety function, not a routine drain path. Follow the installation manual for the exact control sequence, valve replacement method, and acceptable discharge arrangements.
A second practitioner rule is to judge the first discharge before deciding how aggressively to flush. Clear water from a restricted plastic valve can be misleading, while a fast stream with large chunks signals that the outlet may clog when flow changes.
A third rule is to inspect the anode rod when the tank is old, noisy, or repeatedly produces black flakes. Sediment removal addresses the bottom deposit; anode inspection addresses a separate corrosion-control component.
Professional service is preferable when the heater is leaking, the drain outlet is seized, the tank has never been serviced for many years, the discharge cannot be routed safely, or the appliance is installed in a difficult indoor location.
Frequently Asked Questions
Can I drain a gas water heater without turning off the gas?
No. Turn the gas control to OFF before the water level falls. A burner operating against an empty or partially empty tank can overheat the tank and damage internal components. Use the manufacturer’s restart procedure after refilling, and close the manual gas shutoff only when the appliance instructions or an unsafe condition requires it.
How do I know when a water heater tank is full?
A tank is full when a hot-water faucet produces a continuous stream without air sputtering after the cold-water inlet opens. Keep the gas control OFF during filling, then inspect the drain valve and fittings for leaks. A steady faucet stream is a practical confirmation, although it does not replace the appliance manual’s instructions.
Should I turn off the water main to drain the heater?
Usually no. Close the dedicated cold-water inlet above the water heater, not the home’s main shutoff. Closing the main can interrupt every fixture and does not improve routine draining. If the dedicated valve does not close, stop the job and have the valve repaired rather than pressurizing an uncontrolled system.
Can I flush a water heater with vinegar?
Vinegar is not a standard substitute for draining and flushing a conventional gas storage tank. Household vinegar may help with certain removable components, but adding chemicals to the tank can affect seals, water quality, and manufacturer warranty conditions. Use the manufacturer’s approved procedure or hire a plumber for chemical descaling.
Does draining remove all sediment from the tank?
No. Bottom draining removes loose material near the outlet, while controlled inlet bursts disturb additional sediment. Deposits can remain behind a restricted valve or adhere to the tank bottom. Persistent popping, poor recovery, rust flakes, or repeated blockage may require valve removal, anode inspection, or professional tank service.
Is it worth flushing a water heater that is already leaking?
No. A leaking tank shell, corroded seam, or wet base usually indicates replacement or repair rather than routine flushing. Shut off the gas and cold-water supply if safe, contain the water, and contact a qualified plumber. Draining a structurally failing tank can increase the immediate flooding risk without restoring the vessel.
The Bottom Line
Learning how to drain a gas water heater is mainly a sequence-control task: cool the water, turn the gas control OFF, close the cold inlet, route the hose safely, flush sediment in short bursts, and refill completely before restarting. Annual service is a useful baseline, but an old tank, blocked valve, leak, or unsafe drainage route warrants professional help instead of force.