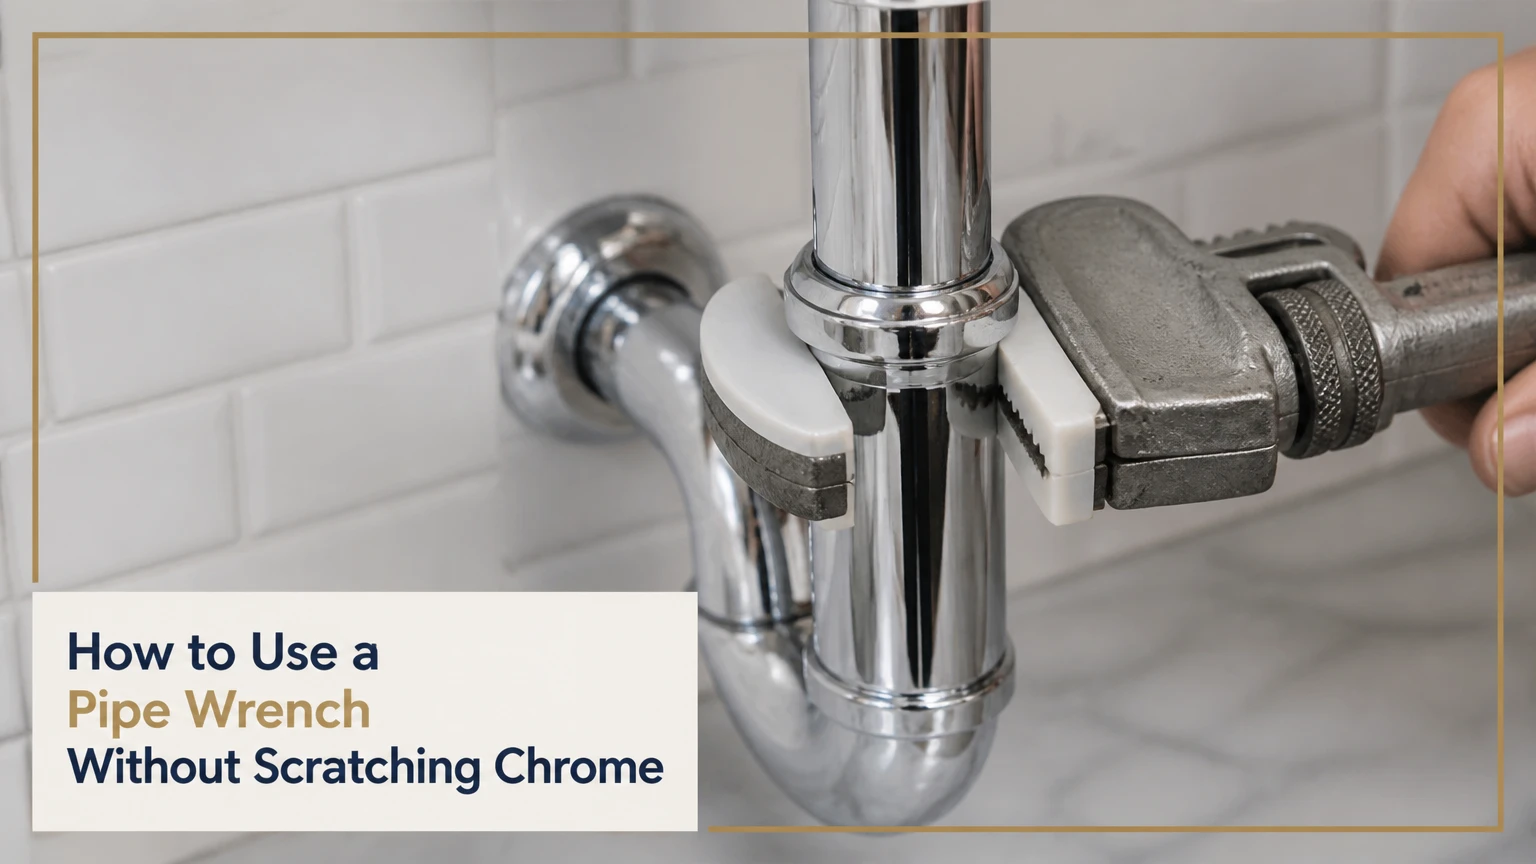
A standard pipe wrench can be used with reduced marking risk by cleaning the contact surfaces, wrapping the pipe in a tight protective layer, orienting the jaws for the intended rotation, and applying gradual force. For chrome, polished brass, or plastic, a strap wrench or smooth-jaw pliers wrench is safer because toothed jaws can cut through tape and damage the finish.
Key Facts at a Glance
- A traditional pipe wrench is designed to bite into pipe, so it cannot guarantee scratch-free contact.
- Four tight layers of quality vinyl electrical tape are a typical starting barrier for light-duty work.
- Suede leather or a split rubber sleeve usually provides better tooth protection than thin tape.
- A strap wrench is the lowest-risk choice for polished round surfaces, although oil and water can reduce its grip.
- Never use a toothed wrench on a visible finish when a correctly sized smooth-jaw or strap tool can do the job.
- Isolate water, gas, or pressure before loosening a connected fitting, and support the pipe so the wrench does not load the adjacent joint.
What Is a Pipe Wrench, and Why Does It Scratch?
A pipe wrench is an adjustable plumbing wrench with a serrated fixed jaw, a pivoting upper jaw, and an adjustment nut. The jaws are shaped to grip round threaded pipe through a cam-like action, which makes the teeth bite harder as turning force increases.
That mechanism works well on black steel, galvanized steel, and other robust threaded pipe. It is unsuitable for a polished chrome sleeve because the same tooth penetration that prevents slipping also creates grooves in softer or coated surfaces. Aluminum, brass, copper, plated steel, and PVC can all show damage sooner than heavy steel.
A protective barrier changes the interface, but it does not change the wrench into a non-marring tool. If the wrench must deliver high torque, the teeth may compress, cut, or displace the barrier. Treat every wrapped setup as damage reduction, not a guarantee.
Before You Start
Prepare the fitting before placing any wrench on it. A scratch-free setup normally takes 5-10 minutes, costs $0-$20 if materials are already available, and requires more attention to cleaning and alignment than to physical strength.
| Requirement | Typical amount or range | Practical specification |
|---|---|---|
| Work time | 5-10 minutes | Add 10-20 minutes for a seized fitting |
| Protective tape | 4-6 wraps | Vinyl electrical tape, 0.5-0.75 inch width |
| Leather barrier | 2-3 mm thick | Clean suede or smooth leather, 2-3 inches wide |
| Rubber sleeve | 3-6 inches long | Inner tube or hose with no embedded grit |
| Wrench size | 8-18 inches | Select the smallest wrench that fits the pipe |
| Cleaning supplies | 1 rag plus cleaner | Use mild detergent or isopropyl alcohol where finish-safe |
| Safety equipment | 1 pair of glasses | Add gloves, stable footwear, and ventilation as needed |
Before loosening a plumbing fitting, close the water supply and release pressure. For gas piping, stop and use the applicable local code and a qualified professional; a wrapped pipe wrench does not make gas work safe.
How Do You Use a Pipe Wrench Without Scratching?
Use the smallest suitable wrench, place a clean and tightly fitted barrier between the teeth and the surface, orient the wrench in its gripping direction, and increase force slowly. The barrier must remain flat and intact throughout the turn, while the pipe must be supported independently from the fitting being protected.
Step 1: Clean the Pipe and Wrench Jaws
Wipe the pipe, jaws, and protective material until no grit, oil, sealant, or metal shaving remains. Use a soft cloth first, then a finish-compatible cleaner; test alcohol or solvent on an inconspicuous area before applying it to lacquered or painted surfaces.
Inspect the teeth for embedded chips. A steel fragment under leather can make a deeper mark than the wrench itself.
Success checkpoint: A white cloth wiped across the contact area stays clean, and the barrier sits against a dry surface.
Common mistake: Wrapping over oily pipe dope or old thread sealant. Oil allows the barrier to rotate, while grit acts like abrasive paper.
Step 2: Select and Install the Barrier
Choose the barrier according to the surface and required torque. For a light turn on chrome, four tight electrical-tape layers may be sufficient. For greater tooth protection, use a 2-3 mm suede strip or a slit rubber hose sleeve.
Wrap the material around the exact contact zone, keeping the overlap on the side away from the highest tooth pressure when possible. Smooth wrinkles and leave no exposed metal. Do not stack loose cloth around the pipe because loose folds can compress unevenly and make the wrench slip.
| Barrier | Typical thickness or layers | Best application | Main limitation |
|---|---|---|---|
| Vinyl electrical tape | 4-6 layers | Light chrome or painted fittings | Teeth can cut through under high torque |
| Suede leather | 2-3 mm | Brass, chrome, and moderate torque | Slips when saturated with oil |
| Rubber hose or inner tube | 2-4 mm wall | Round pipe and irregular surfaces | Can deform around sharp edges |
| Heavy canvas | 4-8 folded layers | Low-torque, large-area protection | Compresses and may shift |
| Duct tape | 1-3 layers | Temporary residue-free priority is not required | Mesh backing transfers tooth pressure |
Vinyl electrical tape is useful because it conforms closely to the pipe. Duct tape is less suitable: its fabric mesh can transmit tooth points, and its adhesive may leave residue on a plated finish.
Success checkpoint: The barrier cannot slide when you twist it by hand.
Common mistake: Using one thin layer and assuming the adhesive will hold against steel teeth.
Step 3: Fit the Smallest Wrench That Works
Open the jaws, place them over the protected area, and turn the adjustment nut until the wrench fits snugly without crushing the barrier. Use a wrench head large enough to clear the pipe, but avoid an oversized handle that encourages excessive torque.
The upper jaw needs room to pivot and bite. Do not force the jaws completely closed around a thick wrap, and do not rely on a universal quarter-inch clearance rule. Pipe-wrench geometry varies by manufacturer and size, so follow the tool maker’s fit guidance and confirm that the jaw can rock into contact.
Success checkpoint: Both jaws contact the barrier, the adjustment nut turns freely, and the upper jaw can move slightly under hand pressure.
Common mistake: Tightening the adjustment nut so aggressively that the teeth crush through the barrier before rotation begins.
Step 4: Point the Jaws in the Gripping Direction
Orient the wrench so the movable jaw faces the direction that allows it to bite when the handle turns. Pipe wrenches grip in one direction; reversing the tool can make it slip rather than tighten.
Perform a low-force test before applying body weight. Hold the pipe or fitting steady, pull the handle a few degrees, and confirm that the jaw tightens rather than walks around the wrap.
Success checkpoint: A light pull increases jaw pressure and does not rotate the wrench head around the pipe.
Common mistake: Choosing orientation by the desired handle position instead of by the jaw’s gripping direction.
Step 5: Pull Smoothly and Support the Assembly
Pull the handle with a controlled, increasing force. Keep your hand clear of pinch points, stand where a slip will not throw you into the work, and use a second wrench or suitable support to prevent twisting the connected pipe.
Avoid cheater bars unless the manufacturer permits them and the pipe assembly can withstand the added torque. A long lever can overcome the barrier and damage threads, valves, escutcheons, or the concealed pipe inside a wall.
Success checkpoint: The fitting turns while the barrier stays flat and the wrench remains seated.
Common mistake: Jerking the handle after the first resistance. Sudden loading is more likely to tear tape and scar the surface.
Stop immediately if the barrier bunches, the wrench slides, the finish begins to whiten, or the pipe starts bending. Reset the setup or select another tool.
Which Barrier Protects Chrome, Brass, and PVC Best?
Suede leather or a clean rubber sleeve usually protects better than thin tape when moderate torque is required, while a strap wrench provides the lowest marking risk on a smooth round surface. No barrier is reliable if the pipe is oily, the wrench is misaligned, or the fitting requires extreme force.
| Surface | Preferred tool | Acceptable temporary barrier | Avoid |
|---|---|---|---|
| Polished chrome | Nylon strap wrench | Clean suede, 2-3 mm | Bare toothed steel |
| Plated brass | Pliers wrench with smooth jaws | Four to six tape layers | High-force pipe wrench |
| Painted steel | Strap wrench or smooth jaws | Canvas or leather | Loose abrasive cloth |
| PVC or ABS | Strap wrench | Rubber sleeve | Crushing with a steel pipe wrench |
| Black iron pipe | Standard pipe wrench | Leather if appearance matters | Overly large wrench |
| Copper tubing | Correctly sized smooth wrench | Rubber sleeve for light torque | Serrated jaws on thin wall |
A protective sleeve does not prevent deformation. PVC can ovalize under concentrated force, and thin copper can crease even when its coating remains unmarked.
What Tools Are Safer Than a Standard Pipe Wrench?
A strap wrench is generally the safest replacement for polished, round surfaces. A pliers wrench or smooth-jaw wrench is better for hexagonal nuts and fittings because parallel smooth jaws distribute force across flats instead of concentrating it at serrated teeth.
| Tool type | Typical working range | Surface contact | Best use | Typical price |
|---|---|---|---|---|
| Nylon or polyester strap wrench | 0.5-12 inch diameter | Flexible strap | Chrome arms, PVC, filters | $15-$50 |
| Smooth-jaw aluminum pipe wrench | 1-3 inch fittings | Flat jaws | Large hex fittings and valves | $30-$90 |
| Pliers wrench | 5-16 inch tool length, up to about 3 inch jaw capacity | Parallel smooth jaws | Chrome nuts and fixture sleeves | $40-$130 |
| Brass or plastic jaw inserts | Size-specific | Replaceable soft pads | Occasional protected work | $5-$25 |
| Standard steel pipe wrench | Commonly 8-36 inch sizes | Serrated steel teeth | Heavy threaded steel pipe | $15-$120 |
Prices are typical United States retail ranges and vary by brand, size, and professional grade. A strap wrench may lack the torque of a toothed wrench on a seized steel nipple, but it is the better first choice when surface appearance matters more than maximum grip.
When Should You Use a Strap Wrench?
Use a strap wrench for polished chrome, plastic pipe, oil filters, and irregular round components that need turning without concentrated tooth marks. Clean and dry the strap, center it on the largest safe diameter, and keep the handle aligned with the intended rotation.
A strap wrench can slip on water, oil, or thread compound. It can also stretch under high load, so it is not a substitute for a correctly sized wrench on a corroded steel joint. If the strap slips twice after cleaning and repositioning, stop increasing force.
When Is a Pliers Wrench Better?
Use a smooth-jaw pliers wrench for hex nuts, compression nuts, chrome faucet components, and valve flats. Its parallel jaws maintain broad contact as the opening changes, reducing the point loading associated with adjustable pliers and pipe-wrench teeth.
A pliers wrench is not ideal for a perfectly round, smooth pipe because it depends on flat contact and friction. It also has less leverage than a long pipe wrench, which helps protect delicate assemblies but limits its use on large seized joints.
Common Mistakes and How Do You Fix Them?
Most scratches occur because the operator uses the wrong tool, contaminates the barrier, or applies more torque than the protected surface can tolerate. Fixing the setup is safer than adding force.
| Failure mode | Likely cause | Immediate correction | Do not do |
|---|---|---|---|
| Wrench slides around | Oil, wrong jaw direction, loose wrap | Clean, rewrap, and test rotation | Pull harder |
| Teeth cut through tape | Too few layers or sudden load | Replace tape with leather or rubber | Continue on exposed metal |
| Leather bunches | Strip too wide, loose overlap | Trim and tension the strip | Fold loose layers |
| Chrome develops a dull crescent | Finish compression or tooth contact | Stop and switch to strap wrench | Hide damage with polish |
| Pipe bends at the wall | No backup support | Add a second wrench or call a plumber | Use a longer lever |
| Sticky residue remains | Adhesive left on warm or porous finish | Use finish-safe cleaner and soft cloth | Scrape with a blade |
A counterintuitive field rule is that tighter is not always safer. Excessive pre-tightening can crush the barrier, create hard tooth points, and make the first turn more damaging than a lightly seated wrench.
Another useful rule is to use the smallest wrench that completes the task. A 10-inch wrench gives more control than a 24-inch wrench on a small fixture, and the shorter handle makes accidental over-torque less likely.
How Do You Handle a Stuck Fitting Without Marking It?
A stuck polished fitting should be treated as a tool-selection problem, not a force problem. First clean and inspect the joint, apply an appropriate penetrating product only where the finish allows it, wait according to the product label, and use a strap or smooth-jaw wrench with a backup wrench.
For a seized steel pipe joint, the pipe wrench may remain appropriate on the sacrificial steel section away from the visible fitting. Do not clamp a toothed wrench onto a decorative escutcheon, thin brass sleeve, or valve body simply because the joint is difficult.
Use heat only when the material, nearby seals, wall construction, and local safety requirements permit it. Never heat a pressurized line, a gas fitting, a plastic component, or a surface with unknown coatings. If the fitting is inside a wall, connected to a fragile valve, or beginning to twist the supply pipe, professional service is less expensive than replacing hidden plumbing.
What Changes for Different Materials?
Chrome and polished brass need the most conservative approach because their visible finish can mark before the fitting moves. PVC needs low compression, while black iron pipe can normally tolerate direct toothed contact if appearance is irrelevant.
Chrome Shower Arm
Use a nylon strap wrench first. If unavailable, wrap the arm with clean suede and use only enough force to begin movement, while holding the wall-side connection with a backup wrench.
Brass Compression Nut
Use a smooth-jaw pliers wrench on the nut flats. A pipe wrench can distort the nut and damage the softer brass, even when several tape layers protect its appearance.
PVC Threaded Adapter
Use a strap wrench and support the opposite fitting. If the adapter resists, replacing the inexpensive adapter is safer than crushing the pipe or splitting the female socket.
Painted or Powder-Coated Pipe
Use a rubber sleeve or strap wrench when the coating must remain intact. A pipe wrench can leave tooth impressions even if the paint does not visibly chip.
How Much Time and Money Does Scratch-Free Wrenching Take?
A temporary protective setup usually costs $0-$20 and takes 5-10 minutes, while a dedicated non-marring wrench typically costs $15-$130 and reduces setup time on repeated jobs. Stuck fittings, restricted access, and replacement of damaged barriers can extend the task to 20-45 minutes.
| Approach | Typical initial cost | Setup time | Torque suitability | Finish risk |
|---|---|---|---|---|
| Existing wrench plus tape | $0-$8 | 5-8 minutes | Light torque | Medium |
| Existing wrench plus leather | $0-$20 | 5-10 minutes | Light to moderate | Medium-low |
| Rubber sleeve | $0-$10 | 3-6 minutes | Light to moderate | Low if clean |
| Strap wrench | $15-$50 | 1-3 minutes | Light to moderate | Low |
| Pliers wrench | $40-$130 | 1-2 minutes | Moderate on flats | Low |
| Plumber or service call | $100-$300 typical minimum | 30-120 minutes scheduling | High, with equipment | Depends on access |
These are planning ranges, not fixed quotes. Local labor rates, emergency timing, fixture access, and whether a valve or pipe must be replaced change the final cost substantially.
What Should You Choose for Your Project?
Choose a strap wrench for a polished round fixture, a smooth-jaw pliers wrench for a hex nut, and a standard pipe wrench for rugged threaded steel pipe. Use a wrapped pipe wrench only when the available tool is appropriate, the required torque is modest, and a small mark would be acceptable if the barrier fails.
- One-time chrome repair: Use a strap wrench if available; otherwise use clean suede and test with minimal force.
- Frequent fixture installation: Buy a pliers wrench for flats and a strap wrench for round surfaces.
- Black iron pipe assembly: Use a correctly sized standard pipe wrench, with a backup wrench on the adjacent fitting.
- PVC maintenance: Prefer a strap wrench and replace damaged fittings instead of applying extreme torque.
- High-value decorative hardware: Do not improvise with bare teeth. Use the manufacturer-approved non-marring tool.
The honest limitation is simple: a standard pipe wrench cannot be made truly scratch-free with tape, leather, or canvas. Those materials reduce direct contact and distribute pressure, but they can tear, move, or trap abrasive particles under load.
FAQ
Can I use a towel under a pipe wrench?
A towel is usually too compressible and unstable for a pipe wrench. Loose fabric bunches under the jaws, transfers tooth pressure unevenly, and can make the wrench slip. A tight suede strip, rubber sleeve, or purpose-built strap provides a more predictable contact surface for light or moderate torque.
Will electrical tape prevent all scratches?
Electrical tape will not prevent all scratches. Four to six tight layers can protect a clean surface during light-duty turning, but hardened teeth may cut through the vinyl when force rises. Replace the tape if any tooth reaches the surface, and switch to a strap wrench for valuable finishes.
Can I use a pipe wrench on a chrome faucet?
Avoid a standard toothed pipe wrench on a chrome faucet whenever possible. Chrome faucet components are often thin, plated, or attached to brass, so teeth can mark or deform them. Use a smooth-jaw pliers wrench on flats or a strap wrench on round bodies, with a backup wrench where the plumbing connection requires support.
How do I remove a fresh pipe-wrench mark?
Stop work, remove loose grit, and wipe the area with a clean microfiber cloth and a finish-safe cleaner. Do not polish aggressively until you know whether the mark is residue, a superficial scuff, or exposed base metal. Deep grooves in plating usually require component replacement or professional refinishing.
Is leather better than rubber for protecting pipe?
Leather often gives better control under moderate torque because suede creates friction without compressing as much as soft rubber. Rubber conforms well to irregular shapes and can protect effectively at lower loads. Both materials fail when contaminated with oil, folded loosely, or compressed by an oversized wrench.
Should I push or pull a pipe wrench?
Pull the pipe wrench in the direction that makes the upper jaw bite, while keeping your body out of the tool’s slip path. A controlled pull gives better leverage and control than a sudden push. Confirm the jaw direction with a low-force test before applying full hand pressure.
Conclusion
To use a pipe wrench without scratching, clean every contact surface, install a tight leather, rubber, or multi-layer vinyl barrier, fit the smallest suitable wrench, orient the jaws correctly, and pull gradually while supporting the connected pipe. For chrome, brass, PVC, and polished surfaces, a strap wrench or smooth-jaw pliers wrench is the safer first choice because a standard pipe wrench remains inherently capable of cutting through its protective layer.