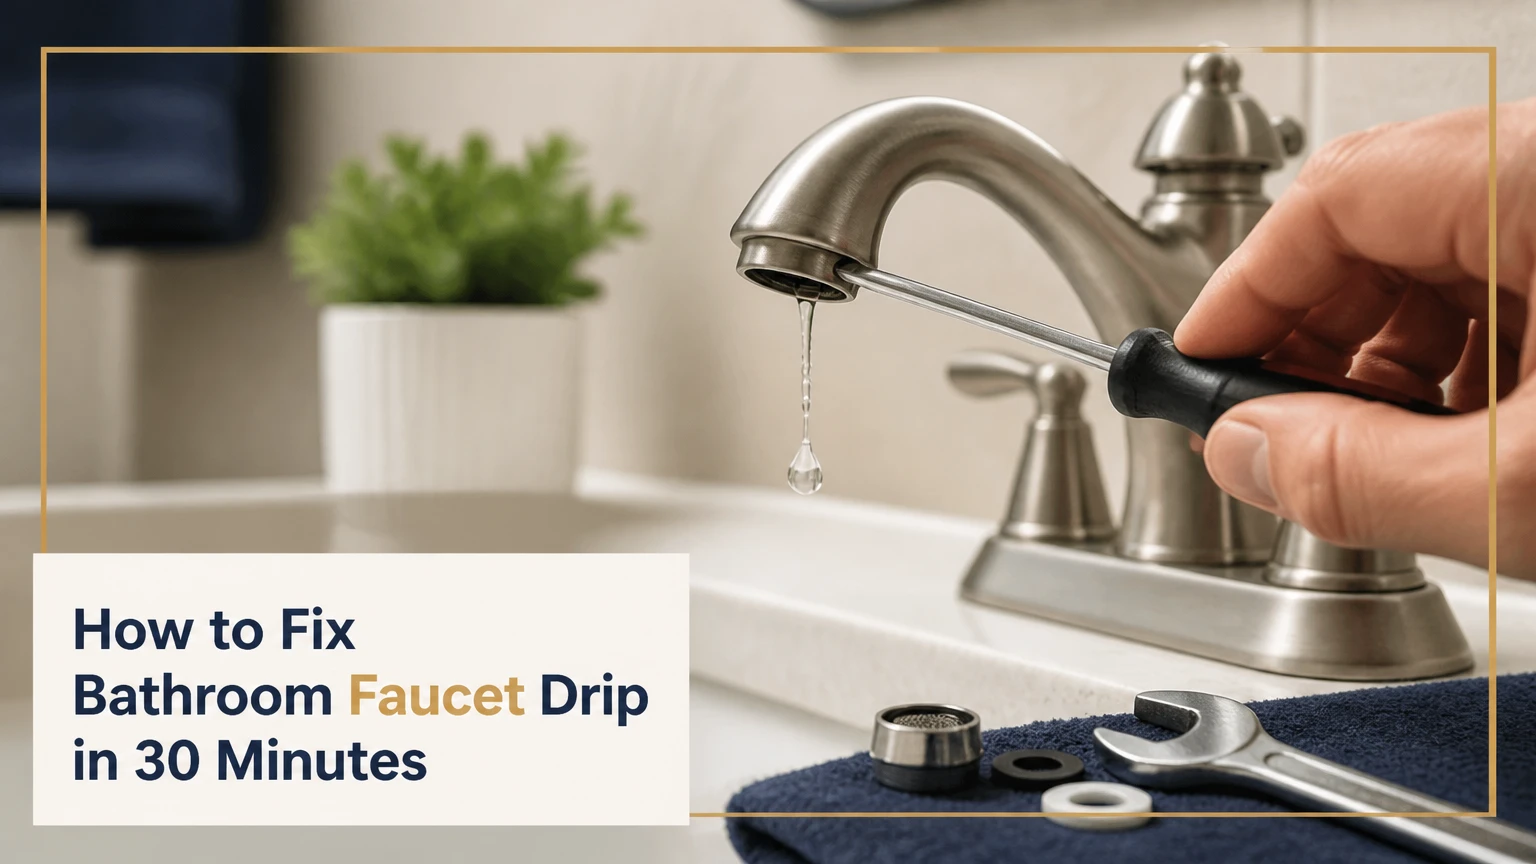
To fix a bathroom faucet drip, shut off the water, identify the faucet mechanism, and replace the worn washer, cartridge, ball seats, or O-rings that stop water flow. Most bathroom sink repairs take 30-60 minutes and cost $5-$40 in parts, but the correct replacement depends on the faucet brand, handle design, and leak location.
Key facts
A drip from the spout usually means the internal cartridge, washer, ceramic disk seal, or ball seats are no longer sealing.
A leak around the handle usually points to a worn stem O-ring, cartridge seal, or loose packing or retaining nut.
A typical DIY repair costs $5-$40 and takes 30-60 minutes.
Silicone plumber’s grease is appropriate for faucet O-rings; petroleum jelly can damage some rubber compounds.
Replace a faucet when corrosion has pitted the valve body, replacement parts are unavailable, or repair cost approaches a new fixture.
EPA WaterSense estimates that a faucet dripping once per second can waste more than 3,000 gallons of water annually.
Why Does a Bathroom Faucet Drip?
A bathroom faucet drips because pressurized water passes through a failed sealing surface after the handle is closed. The failed part may be a rubber washer, cartridge seal, O-ring, ball seat, spring, ceramic disk seal, or the metal valve seat beneath a compression washer.
The leak location narrows the diagnosis. Water appearing at the spout tip indicates an internal shutoff problem, while water rising around the handle indicates an upper seal or retaining component. Water inside the vanity cabinet usually involves a supply-line nut, faucet mounting connection, flexible hose, or shutoff valve rather than the faucet cartridge.
A slow drip still deserves repair. EPA WaterSense uses more than 3,000 gallons per year as the potential waste from one drip per second, although the actual amount varies with droplet size and pressure.
What does the leak location tell you?
| Leak location | Most likely cause | First repair action | Typical part cost |
|---|---|---|---|
| Spout tip after shutoff | Cartridge, washer, ball seat, or disk seal | Replace internal sealing part | $5-$40 |
| Around handle base | Stem O-ring, cartridge seal, packing nut | Inspect seal and nut | $3-$25 |
| Under faucet body | Supply connection or mounting gasket | Tighten or replace connection seal | $3-$20 |
| Supply shutoff valve | Valve stem or compression fitting | Stop use and inspect valve | $5-$35 |
| Aerator edge | Damaged aerator gasket or cross-threading | Remove and replace aerator seal | $2-$12 |
How Much Time, Money, and Skill Does the Repair Need?
A typical bathroom faucet drip repair takes 30-60 minutes, requires basic hand tools, and costs $5-$40 when the faucet body and shutoff valves remain usable. A plumber commonly charges about $150-$350 for a service repair, with local labor, access, emergency timing, and faucet brand affecting the final price.
The part is usually inexpensive; identification is the difficult part. A visually similar cartridge can differ in length, spline count, stem shape, or alignment tabs, so photographing the faucet and carrying the removed cartridge to a plumbing supplier reduces repeat trips.
| Repair type | DIY time | Typical parts cost | Typical professional price |
|---|---|---|---|
| Replace compression washer | 20-40 minutes | $2-$8 | $120-$250 |
| Replace cartridge | 30-60 minutes | $15-$40 | $150-$350 |
| Replace ball repair kit | 45-75 minutes | $10-$30 | $175-$350 |
| Replace ceramic disk cartridge | 30-60 minutes | $25-$80 | $175-$400 |
| Replace complete bathroom faucet | 1-2 hours | $60-$300 | $250-$650 |
What Should You Gather Before Starting?
Gather an adjustable wrench, Phillips and flathead screwdrivers, an Allen wrench set, needle-nose pliers, silicone-based plumber’s grease, a flashlight, towels, a drain stopper, and the correct replacement part. A cartridge puller may be necessary when mineral deposits or corrosion hold a cartridge in the valve body.
Before You Start
- Time: Reserve 60 minutes, even if the repair normally takes 30 minutes.
- Difficulty: Easy for a compression washer; moderate for cartridges, ball faucets, and seized handles.
- Materials: One replacement cartridge, washer kit, ball kit, or O-ring set; two towels; one drain stopper.
- Tools: Adjustable wrench, screwdriver set, Allen keys, needle-nose pliers, flashlight, and cartridge puller if needed.
- Safety condition: Confirm that both under-sink shutoff valves close fully before removing the handle.
- Identification: Photograph the faucet, logo, handle, retaining nut, and removed mechanism before buying parts.
Do not rely on a universal repair kit for a branded cartridge without comparing dimensions. Universal washers and O-rings are often practical for compression faucets, but cartridges usually require a brand- and model-specific match.
Which Faucet Mechanism Do You Have?
Identify the faucet mechanism before ordering parts, because single-handle cartridges, compression stems, ball assemblies, and ceramic disks are repaired differently. The handle count helps, but it does not identify every faucet: two-handle faucets may use cartridges, ceramic disks, or compression stems.
| Faucet mechanism | Common appearance | Internal sealing part | Usual repair |
|---|---|---|---|
| Compression stem | Two handles that tighten downward | Rubber washer and metal seat | Replace washer and inspect seat |
| Cartridge | One or two handles with limited rotation | Plastic or brass cartridge and O-rings | Replace cartridge or seals |
| Ball | One rounded single handle | Ball, rubber seats, and springs | Install ball repair kit |
| Ceramic disk | Modern single lever or two-handle body | Paired ceramic disks and seals | Clean or replace disk cartridge |
How do compression faucets differ?
Compression faucets require the handle to be tightened against a washer, so a drip from one handle usually means that handle’s washer or valve seat has worn. Remove the decorative cap, handle screw, and packing nut, then unscrew the stem from the faucet body.
The rubber washer sits at the bottom of the stem and is commonly held by a small brass screw. Replace the washer with the same diameter and thickness, inspect the metal seat for grooves, and replace the stem O-ring if water was leaking around the handle.
How do cartridge, ball, and disk faucets differ?
Cartridge faucets use a removable cylinder with ports that align to control water. Ball faucets use a rounded ball over spring-loaded rubber seats. Ceramic disk faucets use precisely matched ceramic surfaces and usually require a complete cartridge replacement when the disks are cracked.
A cartridge is usually the fastest repair when the faucet body is sound. A ball faucet requires careful control of several small parts, while a ceramic disk faucet often fails because sediment scratches or cracks the disk assembly rather than because the ceramic simply wears out.
How Do You Fix a Bathroom Faucet Drip?
Follow seven controlled steps: shut off and drain the water, protect the drain, remove the handle, expose and extract the mechanism, replace or clean the sealing parts, reassemble without overtightening, and test gradually. Success depends most on installing the replacement part in the same orientation as the original.
Step 1: Shut Off the Water Supply
Turn both under-sink shutoff valves clockwise until they stop, then open the faucet to release pressure. If the valves do not close, leak at the stems, or remain difficult to turn, shut off the home’s main water valve before disassembly.
Place a towel beneath the connections and confirm that water has stopped. You will know the supply is isolated when the open faucet produces only a brief residual flow.
Common mistake: Forcing a seized shutoff valve can break the valve stem or create a cabinet leak. Stop and use the main shutoff if the local valve will not operate normally.
Step 2: Protect the Drain and Document the Assembly
Close the drain stopper or cover the drain opening with a cloth. Take several photos showing the handle position, cartridge orientation, washer stack, and retaining hardware before removing anything.
Set screws, springs, clips, and tiny washers are easy to lose in a sink basin. A shallow tray or labeled cup keeps each part in its original sequence.
Common mistake: Removing the old cartridge without recording its alignment can cause reversed hot and cold operation or a handle that stops incorrectly.
Step 3: Remove the Faucet Handle
Look for a decorative index cap marked hot or cold, then lift it with a thin flathead screwdriver and remove the exposed screw. If no cap is visible, inspect the handle’s side or rear for a recessed set screw and loosen it with the correctly sized Allen key.
Pull the handle straight upward or outward according to its design. Wiggling is safer than twisting force, especially when the handle is attached to a plastic cartridge stem.
Common mistake: Using an oversized Allen key rounds the set screw. Try metric and SAE sizes gently until one fits completely.
Step 4: Expose and Remove the Cartridge, Stem, Ball, or Disk
Remove the decorative sleeve, dome cap, retaining clip, or bonnet nut while keeping the wrench square to the fitting. For a cartridge, note the alignment tab and pull vertically; for a compression stem, unscrew the stem; for a ball faucet, lift the cam and ball after removing the dome.
A stuck cartridge may need a cartridge puller. Gentle side-to-side movement can loosen mineral deposits, but pliers applied directly to a plastic stem can break the stem and leave the cartridge lodged inside the valve body.
Common mistake: Forgetting a retaining clip or nut before pulling can damage the faucet body. Inspect the valve opening completely before applying force.
Step 5: Replace the Failed Sealing Components
Match the old component by brand, dimensions, stem profile, spline count, and orientation. Clean loose mineral deposits from the valve body with a nylon brush and a small amount of vinegar, then rinse and wipe the surface before installing the new part.
Apply a thin film of silicone plumber’s grease to O-rings and rubber seals. Do not coat ceramic faces, cartridge ports, or the rubber washer’s sealing face with excess grease.
Common mistake: Installing a new washer against a deeply grooved valve seat causes another drip. Replace or professionally reface the seat when the groove catches a fingernail.
Step 6: Reassemble Without Overtightening
Install the new mechanism in the same orientation as the original, replace clips and nuts, and tighten retaining hardware firmly by hand before using a wrench for a small final turn. Reinstall the handle and set screw, then replace the decorative cap.
Overtightening can crack a plastic cartridge, distort an O-ring, strip brass threads, or make the handle difficult to operate. Faucet retaining nuts secure the mechanism; they do not compensate for a mismatched part.
Common mistake: Pinching an O-ring during installation creates a leak around the handle even when the new cartridge is correct. Lubricate the ring lightly and lower the component straight into place.
Step 7: Restore Water and Test the Faucet
Open the shutoff valves slowly, first one-quarter turn and then fully, while watching the connections with a dry tissue. Run cold water for 30 seconds, run hot water for 30 seconds, close the handle, and inspect the spout and handle base for at least two minutes.
You will know the repair worked when the spout remains dry after closure, the handle moves smoothly, and the tissue stays dry around every threaded connection. Remove the aerator first if sediment dislodged during repair and causes weak flow.
Common mistake: Opening the valve suddenly can send debris into the cartridge or create a pressure surge at a weak supply connection.
How Do You Repair Each Faucet Type?
The repair method depends on the internal mechanism, not merely whether the faucet has one handle or two. Compression faucets usually need a washer, cartridge faucets need a matched cartridge, ball faucets need seats and springs, and ceramic disk faucets need clean seals or a replacement disk cartridge.
Compression faucet repair
Replace the bottom rubber washer and inspect the metal valve seat. If the drip continues with a new washer, the seat may be pitted, the stem may be bent, or the replacement washer may have the wrong diameter.
Use the old washer as a physical template. A washer that is too thick can prevent full closure, while one that is too thin allows water through even when the handle feels tight.
Cartridge faucet repair
Replace the complete cartridge when the faucet drips from the spout, feels gritty, or has inconsistent temperature control. Remove the retaining clip or nut, pull the old cartridge, lubricate the new O-rings, and align the cartridge tabs exactly as photographed.
A replacement cartridge is preferable to rebuilding an inexpensive plastic cartridge because internal seals and ports can wear together. Rebuilding makes sense only when the manufacturer supplies individual seals and the cartridge body remains undamaged.
Ball faucet repair
Install a complete ball repair kit when a single-handle ball faucet drips from the spout or handle. The kit normally includes rubber seats, springs, O-rings, and sometimes a replacement ball and cam.
Use needle-nose pliers to remove the seats and springs without scratching the valve body. Place each spring with its narrow end in the valve recess according to the kit instructions, because reversed springs can prevent sealing.
Ceramic disk faucet repair
Clean sediment from the inlet screens and rubber seals when the faucet has a sudden drip after plumbing work. Replace the ceramic disk cartridge if the ceramic surfaces are cracked, chipped, or visibly scratched.
Ceramic disk faucets are not good candidates for aggressive sanding or improvised lapping. The paired disks require precise flatness, and abrasive damage usually converts a repairable sediment problem into a permanent leak.
What If the Faucet Still Drips After Repair?
A faucet that still drips after repair usually has a mismatched cartridge, incorrect installation orientation, damaged valve seat, trapped debris, or a cracked faucet body. Reopen the faucet in a controlled sequence instead of tightening the handle harder, because extra force rarely repairs an internal sealing failure.
| Continuing symptom | Likely cause | Corrective action |
|---|---|---|
| Spout drips immediately | Wrong cartridge or reversed cartridge | Compare model, length, tabs, and orientation |
| Handle-base leak | Pinched O-ring or loose retaining nut | Remove, lubricate, reseat, and retighten |
| Drip returns within days | Pitted valve seat or debris | Clean seat and inspect for grooves |
| Handle is stiff | Dry seal, misalignment, or overtightening | Reassemble with silicone grease and correct torque |
| Weak flow after repair | Sediment in aerator or inlet screen | Remove aerator, flush lines, and clean screen |
| Water leaks below cabinet | Supply line or faucet shank seal | Dry the area and isolate the failing connection |
A recurring leak around the faucet body can indicate corrosion or a hairline crack. When the brass or plastic valve body is pitted, replacing internal seals alone is usually temporary.
Should You Repair or Replace the Bathroom Faucet?
Repair the faucet when the body is sound, the finish is acceptable, and a replacement cartridge or washer costs less than about one-third of a comparable new fixture. Replace the faucet when corrosion, stripped threads, repeated cartridge failures, or unavailable parts make another repair unreliable.
A new faucet also makes sense when the fixture lacks modern features such as an accessible ceramic cartridge, standard supply connections, or a readily available manufacturer warranty. A replacement is not automatically better: a low-cost new faucet may have less durable internal parts than a repairable brass-bodied fixture.
When should a renter stop the DIY repair?
Renters should usually replace only accessible washers or aerators after checking the lease and notifying the property manager. A seized shutoff valve, leaking supply connection, concealed plumbing leak, or faucet requiring cabinet disassembly should be reported rather than forced.
When should you call a plumber?
Call a plumber when the main shutoff will not close, the valve body is cracked, the cartridge is broken inside the faucet, water is entering the wall or cabinet base, or the repair requires soldering or pipe replacement. Stop using the faucet if water reaches electrical components or causes cabinet swelling.
What Temporary Fixes Are Safe?
A temporary measure can reduce damage but cannot repair a failed faucet seal. Close the local shutoff valve when the faucet is not needed, place a container beneath a cabinet leak, and label the closed valve so nobody accidentally restores water before repair.
Do not wedge the handle tightly, seal the spout with adhesive, or overtighten the packing nut to stop a drip. Those actions can damage the cartridge, distort the stem, or conceal a worsening leak.
Common Mistakes That Cause Repeat Drips
- Buying by appearance: Similar cartridges may have different spline counts or lengths. Match the brand and old part physically.
- Skipping the valve-seat inspection: A sharp groove can destroy a new compression washer quickly.
- Using petroleum jelly: Use silicone plumber’s grease recommended for plumbing seals instead.
- Forgetting the retaining clip: A cartridge can lift or leak when its clip is missing.
- Overtightening the handle: A tight handle does not correct a failed cartridge and can break the stem.
- Testing too aggressively: Restore water slowly so debris and pressure do not damage the replacement seal.
A useful practitioner rule is to photograph every layer before removal and place each part in removal order. The rule saves more time than rushing through a familiar faucet design, particularly when a decorative sleeve hides the retaining hardware.
Another practical rule is to use dry tissue rather than a fingertip during testing. Tissue reveals a small supply-line seep that may evaporate before it can be felt, especially inside a warm vanity cabinet.
Frequently Asked Questions
Can a dripping faucet increase my water bill?
Yes. EPA WaterSense states that a faucet dripping once per second can waste more than 3,000 gallons of water annually. The exact bill impact depends on local water and sewer rates, droplet size, and whether the leak is hot or cold, but prompt repair prevents ongoing waste.
Why does my faucet drip only when the water is hot?
A hot-only drip often indicates a worn hot-side cartridge seal, compression washer, or valve seat. Thermal expansion can make a marginal seal leak after the faucet warms, while mineral deposits may affect one inlet more than the other. Isolate and inspect the hot-side mechanism first.
How do I find the faucet model without the packaging?
Look for a logo on the escutcheon, handle cap, or faucet body, then photograph the handle, spout, cartridge stem, retaining clip, and mounting area. Manufacturer websites and plumbing suppliers can often identify the model from those details, but the removed cartridge remains the most reliable physical match.
Can vinegar fix a dripping bathroom faucet?
Vinegar can loosen mineral deposits on removable parts and around a valve opening, but vinegar cannot restore a worn washer, cracked cartridge, damaged O-ring, or pitted valve seat. Use it for cleaning only, rinse the part afterward, and keep acidic cleaners away from finishes and natural-stone surfaces.
Why does a new faucet cartridge leak?
A new cartridge can leak when the part is incompatible, installed backward, contaminated with debris, or fitted with a pinched O-ring. Verify the model and orientation, flush the valve body, lubricate rubber rings lightly with silicone grease, and inspect the retaining clip before replacing the cartridge again.
The Bottom Line
To fix a bathroom faucet drip, shut off the water, identify the mechanism, replace the failed washer, cartridge, ball seats, or O-rings, and restore pressure slowly while checking every connection. Most repairs take 30-60 minutes and cost $5-$40, but a corroded valve body, failed shutoff valve, or unavailable replacement part is a reason to replace the faucet or call a plumber.