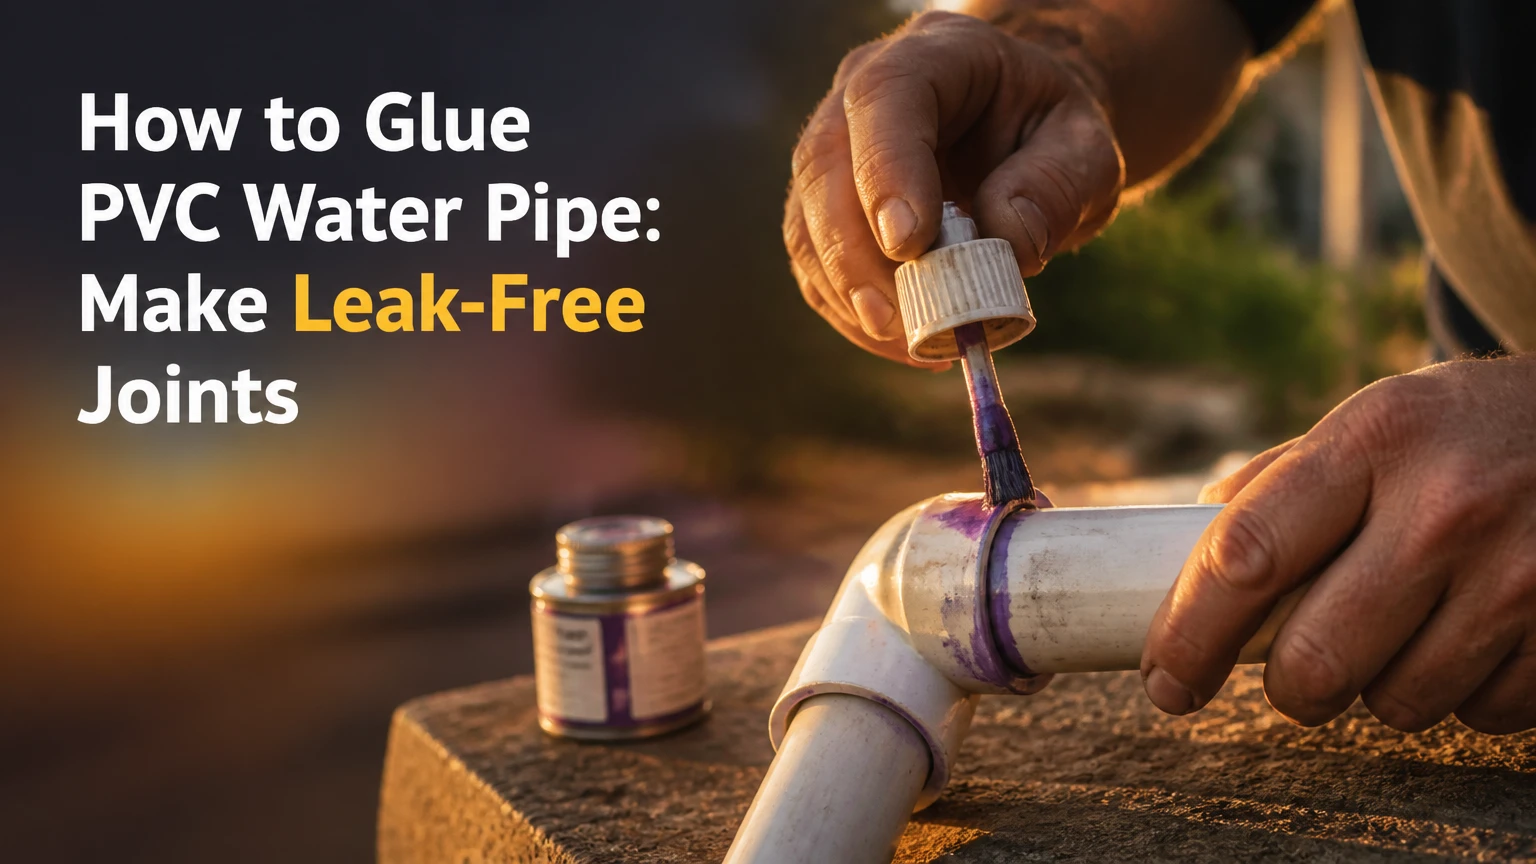
To glue PVC water pipe, cut the pipe square, deburr and dry-fit it, apply the correct primer and PVC solvent cement, then insert, quarter-turn, and hold the joint without movement. A small residential joint usually takes 5-10 minutes to assemble, but the cement must cure according to pipe size, temperature, pressure, and the product label before testing.
Key Facts
PVC pipe is joined by solvent welding, not by ordinary adhesive bonding.
PVC cement must match the pipe material, diameter, pressure application, and local plumbing requirements.
A square cut, clean surfaces, complete insertion, and immediate assembly determine joint reliability.
Primer requirements vary by cement product and jurisdiction, but primer is commonly required for pressure plumbing.
A newly assembled joint should remain motionless during its initial set, then cure before pressurization.
A leaking solvent-welded joint normally requires cutting out and replacing the fitting or pipe section.
Before You Start
PVC water-pipe work requires compatible pipe, fittings, solvent cement, cutting and deburring tools, clean rags, and adequate ventilation. Turn off the water, drain the line, and confirm that the pipe is actually PVC rather than CPVC, ABS, polyethylene, or PEX before opening the cement can.
Materials and tools checklist
| Item | Typical quantity for one joint | Typical cost in the USA | Selection rule |
|---|---|---|---|
| PVC pressure pipe | 1 cut section | $2-$12 per 10-foot length | Match nominal size and pressure schedule |
| PVC socket fitting | 1 fitting | $0.50-$8 | Use a pressure-rated fitting for water service |
| PVC primer | 1 can, 4-16 fluid ounces | $4-$12 | Choose a product approved for the pipe system |
| PVC solvent cement | 1 can, 4-16 fluid ounces | $5-$18 | Match PVC, pipe size, and service temperature |
| Ratchet cutter or fine-tooth saw | 1 tool | $12-$35 | The blade must produce a square cut |
| Deburring tool or utility knife | 1 tool | $5-$18 | Remove internal and external burrs |
| Marker and clean rag | 1 each | $1-$5 total | Use a solvent-resistant marker and lint-free rag |
| Eye protection and nitrile gloves | 1 set | $5-$20 | Protect against liquid solvent and splashes |
Typical consumable cost is $10-$30 for a small repair when tools are already available. A first-time repair commonly costs $35-$90 after buying a cutter, deburring tool, primer, cement, and protective equipment.
Do not use general-purpose household glue, silicone sealant, hot-melt adhesive, or construction adhesive. PVC solvent cement is formulated to soften compatible thermoplastic surfaces and create a solvent-welded joint; sealants may fill a gap temporarily but cannot reproduce the pressure-rated socket connection.
Which cement matches the pipe?
PVC solvent cement must match the exact thermoplastic being joined. PVC cement is intended for PVC, CPVC cement is intended for CPVC, and ABS cement is intended for ABS; color alone does not prove compatibility.
| Pipe material | Common appearance or use | Correct joining product | Typical service |
|---|---|---|---|
| PVC | White or gray pipe | PVC primer and PVC solvent cement | Cold water, irrigation, pools, drainage |
| CPVC | Cream, tan, or light orange pipe | CPVC primer and CPVC cement | Hot and cold potable water |
| ABS | Black pipe | ABS cement | Drain, waste, and vent systems |
| PVC to ABS | White-to-black transition | Listed transition cement or approved mechanical transition | Drainage applications where permitted |
Never assume that PVC cement can join CPVC because both materials are plastic. Some products are labeled multi-purpose, but the can must specifically list both materials and the intended pressure or potable-water application. PVC-to-ABS transitions are usually associated with drainage, not pressurized water supply, and local code may require a mechanical transition fitting instead.
For drinking-water lines, select cement marked for potable-water use and follow the product’s cure and flushing instructions. NSF/ANSI/CAN 61 listing is a useful certification reference for components that contact drinking water, although local approval requirements control the installation.
How PVC Solvent Welding Works
PVC solvent welding creates a continuous plastic joint because primer and cement soften the mating surfaces before the pipe enters the fitting socket. The socket is tapered, so full insertion creates a large contact area while the softened PVC chains fuse as solvent evaporates.
Oatey describes the process as “not a glue joint, but a solvent weld,” which is the practical distinction that explains most installation rules. The cement is not a permanent film placed between two hard surfaces. It temporarily dissolves and mixes the outer pipe surface with the fitting’s inner surface.
The joint depends on four variables: clean surfaces, sufficient softened material, full insertion, and immobility while the softened plastic sets. An angled cut reduces insertion depth and contact area, while burrs can remove cement from the socket during assembly. Excess cement inside the pipe can also reduce the bore and create a stress-concentrated area.
Primer cleans oils and dirt and softens the plastic. Cement then supplies the solvent and resin needed to form the weld. The exact sequence and whether primer is mandatory depend on the cement label, pipe manufacturer, pipe size, and plumbing code.
What determines a strong joint?
A strong PVC pressure joint has a square pipe end, a visible but controlled cement bead at the socket entrance, full pipe insertion, and no movement during the initial set. The pipe should bottom firmly in the fitting, but forcing it beyond the socket stop can damage the fitting or distort the pipe.
Professional installers often mark insertion depth before applying cement. The mark is more reliable than judging by the outside bead because a clean, properly inserted joint can leave only a narrow bead.
How to Glue PVC Water Pipe: 7 Steps
The following method applies to typical small PVC pressure-pipe joints from 1/2 inch through 2 inches. Read the specific cement label first because temperature limits, primer requirements, application windows, and cure times differ among products.
Step 1: Cut the pipe square
Cut the PVC pipe at 90 degrees to its length with a ratchet cutter, wheel cutter, or fine-tooth saw. A miter saw can produce accurate cuts when the pipe is clamped securely and the blade is appropriate for plastic.
A square end gives the fitting socket uniform engagement around the circumference. Do not use a crushed, cracked, or heavily scratched section as the joint end.
You’ll know it worked when: the cut edge is flat, circular, and perpendicular to the pipe wall.
Common mistake: squeezing thin-wall pipe with an unsuitable cutter. Rotate the pipe while using light pressure, or use a saw and guide instead.
Step 2: Remove burrs and create a small bevel
Remove the internal and external burrs with a deburring tool, reamer, or sharp utility knife. Add a light chamfer to the outside edge, usually about 10-15 degrees, without removing enough material to reduce the pipe’s insertion diameter.
Burrs can scrape softened cement from the socket and make insertion difficult. Internal burrs also disturb water flow and can break loose inside a valve or aerator.
You’ll know it worked when: a clean finger or deburring tool passes around the edge without catching, and the pipe enters the socket smoothly.
Common mistake: aggressively sanding the pipe. Heavy sanding can create a tapered end or remove critical wall thickness. Remove only the sharp edge and loose debris.
Step 3: Dry-fit the joint and mark insertion depth
Push the dry pipe fully into the fitting socket while twisting gently, then mark the pipe at the fitting entrance. If the fitting has directional parts, such as an elbow, tee, or valve, draw a second alignment line across both components.
Dry-fitting confirms that the pipe and fitting are the same nominal size and that the assembly can be positioned before the cement starts working. Do not rely on dry-fit resistance alone, because solvent changes the surface friction.
You’ll know it worked when: the pipe reaches the socket stop and the alignment marks show the final orientation.
Common mistake: skipping the dry fit on a repair in a fixed line. Plan the order of assembly first, because a rigid final section may not allow the last fitting to rotate into place.
Step 4: Apply primer when required
Wear gloves and eye protection, then apply the specified primer to the outside of the pipe and the inside of the fitting socket. Use the dauber supplied with the can, keep the application even, and avoid leaving puddles inside the pipe.
Purple primer is common in North American plumbing because its color provides a visible inspection record, but clear primer and primerless systems also exist. The International Association of Plumbing and Mechanical Officials and individual plumbing codes may treat primer differently, so the cement label and local authority govern.
You’ll know it worked when: both bonding surfaces are uniformly wet and softened, with no dry band where the socket will contact the pipe.
Common mistake: priming and then waiting several minutes. Apply cement within the product’s stated working window while the surface remains prepared.
Step 5: Apply compatible PVC solvent cement
Apply a uniform coat of cement to the pipe’s marked insertion area, then apply a lighter, even coat inside the fitting socket. The pipe normally receives the heavier application because its accessible surface is easier to coat; the socket still needs complete coverage.
Use a dauber sized for the pipe. A 1/2-inch joint needs controlled coverage, while a 2-inch joint needs enough cement to wet the entire socket without creating an internal puddle. Do not thin cement with another solvent, and discard cement that has become stringy, gelatinous, or unusually thick.
You’ll know it worked when: the surfaces look continuously wet, with no bare crescent and no large liquid pool.
Common mistake: applying cement to only the pipe. A dry section of the fitting socket can create a longitudinal leak path even when the outside bead looks normal.
Step 6: Insert, rotate, align, and hold
Insert the pipe fully into the fitting immediately while the cement remains wet. Rotate the pipe about one-quarter turn, normally 90 degrees, only if the manufacturer permits rotation and your alignment marks require it; then hold the joint motionless for at least the label’s stated set time.
The rotation spreads cement and helps distribute the softened material, but rotating after the joint begins to set can damage the weld. A tapered socket can push the pipe outward, which is why hand pressure must continue until the initial set is complete.
You’ll know it worked when: the insertion mark is at the fitting entrance, the alignment marks match, and the pipe no longer tries to back out.
Common mistake: releasing the joint after 5-10 seconds. Thirty seconds is a common minimum for small joints, but diameter, temperature, cement type, and fit determine the actual hold time.
Step 7: Wipe the outside bead and leave the joint undisturbed
Wipe the external bead with a clean rag immediately after the joint is stable. Do not push wet cement into the fitting opening, and do not use a solvent-soaked rag that redistributes cement across the pipe.
A small continuous bead at the socket entrance indicates that cement reached the joint perimeter. A large bead is not evidence of a stronger weld, and cement pooled inside the pipe can narrow the passage or continue attacking the plastic.
You’ll know it worked when: the joint remains aligned, the bead is controlled, and no cement has entered a valve body or threaded section.
Common mistake: moving, hanging, or backfilling the pipe immediately. Support the pipe without applying bending force until the cement has reached its handling time.
How Long Should PVC Cement Cure?
PVC solvent cement cure time ranges from about 15 minutes to 48 hours, depending on pipe diameter, temperature, humidity, cement formulation, and pressure. The product label is authoritative; a generic two-hour rule is unsafe for large pipe, cold conditions, wet joints, or high-pressure systems.
Typical manufacturer guidance for small PVC pressure joints is summarized below. These are planning ranges, not permission to pressurize every joint at the listed time.
| Condition | 1/2- to 1-inch pipe | 1 1/4- to 2-inch pipe | Testing guidance |
|---|---|---|---|
| 60-100°F, dry, low pressure | 15-30 minutes | 30-60 minutes | Follow label before water test |
| 40-60°F, dry, residential pressure | 30-60 minutes | 1-2 hours | Extend cure before pressure |
| 0-40°F, dry conditions | 2-4 hours | 4-8 hours | Many products require 24 hours |
| High humidity or wet surfaces | Add time | Add time | Do not assemble a flooded joint |
| High pressure or large diameter | Label-specific | Label-specific | Use manufacturer pressure table |
Cure time is different from set time. Set time means the joint can resist light movement; cure time means enough solvent has evaporated for pressure service. Charlotte Pipe and other pipe manufacturers publish solvent-welding instructions that tie cure to temperature, pipe size, and pressure rather than a single universal number.
Do not pressure-test a line with compressed air unless the pipe and governing code specifically permit it. Stored compressed air can release far more energy than water if a fitting fails. Water testing is generally safer, but the test pressure and procedure must comply with local code and the system manufacturer.
Typical Cost, Time, and Material Use
A small accessible PVC repair normally takes 20-45 minutes, including water shutdown, cutting, assembly, cleanup, and basic inspection. The solvent-welding operation itself often takes less than five minutes, while waiting for cure creates most of the elapsed time.
| Project type | Parts cost | Assembly time | Conservative cure planning |
|---|---|---|---|
| One 1/2-inch coupling repair | $3-$12 | 15-30 minutes | 30-120 minutes |
| One 1-inch elbow replacement | $5-$20 | 20-40 minutes | 1-2 hours |
| Four-joint irrigation repair | $12-$35 | 30-60 minutes | 2-4 hours |
| Indoor pressure-line reroute | $30-$120 | 1-3 hours | Overnight is prudent |
Material waste matters on long runs. Buy at least one extra coupling and 10-15 percent more pipe than the measured requirement because a failed joint cannot be safely reused and rigid layouts often need a second cut.
A licensed plumber may charge substantially more than parts cost because access, shutdown, inspection, and restoration dominate a small repair. Hidden wall leaks, municipal supply lines, fire-sprinkler piping, and contaminated or inaccessible lines warrant professional evaluation.
When Solvent Welding Is Not the Best Choice
Solvent welding is usually the lowest-cost permanent method for compatible PVC socket joints, but it is unsuitable for wet pipe, chemically incompatible plastic, emergency pressure repair, or a connection that must remain serviceable. Compression, threaded, flanged, or push-fit fittings may be better when disassembly or immediate restoration matters.
| Joining method | Best use | Typical assembly time | Main limitation |
|---|---|---|---|
| PVC solvent cement | Permanent PVC socket joint | 5-10 minutes | Requires clean, dry surfaces and cure time |
| PVC threaded fitting | Removable valve or equipment connection | 10-20 minutes | Threads can crack if overtightened |
| Compression fitting | Accessible repair without cement | 5-15 minutes | Needs restraint and periodic inspection |
| Push-to-connect fitting | Fast temporary or permanent accessible repair | 2-5 minutes | Higher cost and strict insertion-depth needs |
| Flanged connection | Large pipe, pumps, removable equipment | 30-90 minutes | Requires bolts, gasket, and alignment |
Threaded PVC is useful at valves, filters, and tanks because equipment may need removal. Use a threaded transition fitting rather than forcing solvent-welded pipe into metal threads. A union can provide serviceability, but it must be installed where the line can separate without bending the pipe.
Compression and push-fit fittings do not solve every buried or high-temperature problem. Follow their manufacturer’s pressure, temperature, pipe-material, and support requirements, and keep mechanical fittings accessible when the product requires inspection.
Common Mistakes and How to Fix Them
Most failed PVC joints result from contamination, incomplete insertion, movement during set, wrong cement, or attempting to repair a wet line. The visible outside bead cannot prove that the internal bonding surfaces were correctly prepared.
| Symptom | Likely cause | Safe correction |
|---|---|---|
| Immediate weeping at the socket | Incomplete insertion or dry surface | Shut water off, cut out the fitting, and rebuild |
| Joint leaks after pressure test | Dirt, wrong cement, or insufficient coverage | Replace the entire failed joint |
| Pipe backs out while setting | Insufficient hold or tapered socket force | Hold longer; if set, cut out and replace |
| Cracked fitting | Over-tightened threaded connection or forced pipe | Replace fitting and correct alignment |
| Restricted flow | Cement pooled inside bore | Cut out affected section if blockage persists |
| Joint will not assemble | Burrs, oversized pipe, or cement beginning to set | Stop forcing; cut square, deburr, and use fresh cement |
Never brush cement over the outside of a leaking pressurized joint. External patches, tape, and silicone do not recreate the solvent weld and may conceal progressive failure. Cut out the fitting with enough pipe to expose clean material, then install a new coupling or a repair coupling approved for that application.
A failed joint that has already set cannot be pulled apart reliably without damaging the pipe or fitting. Heat can release hazardous solvent vapors and distort PVC, so do not try to salvage a cemented socket with a torch or heat gun.
How do you glue PVC in cold weather?
PVC solvent welding in cold weather requires dry surfaces, compatible cold-weather cement, longer assembly and cure times, and protection from freezing. Many manufacturers permit application near 40°F, while some products are rated for lower temperatures, but the can label controls the permissible range.
Keep pipe and fittings warm before assembly, remove ice or condensation completely, and do not warm solvent cement near a flame. Cold PVC is less flexible, cement evaporates more slowly, and the initial set takes longer. Plan for overnight curing before pressure testing when temperatures approach freezing.
Can you glue a wet PVC water line?
You cannot reliably solvent-weld a flooded or actively wet PVC joint. Water prevents cement from contacting and softening the plastic uniformly, so drain the line below the repair, dry the pipe, and control residual seepage before applying primer.
A damp exterior can be wiped dry, but water inside the socket is a different problem. Use an isolation valve, drain point, temporary plug, or mechanical repair fitting when the line cannot be fully drained. Some specialized products claim damp-surface capability, but only use one if its label specifically approves the pipe, pressure, and condition.
How do you join PVC in a fixed line?
A fixed line needs assembly planning because solvent-welded joints cannot be rotated after curing. Dry-fit the complete sequence, orient elbows and valves, and reserve a final connection that can accept a repair coupling or an approved telescoping fitting.
Do not bend rigid PVC into alignment while cement is wet. Bending places side load on the socket and can produce a joint that appears sealed but fails when the pipe shifts. Add supports according to the pipe manufacturer’s spacing guidance, especially near valves and changes in direction.
How Do You Verify the Finished Joint?
Inspect every finished joint before covering it, energizing the pump, or restoring wall finishes. A correct joint has full insertion, accurate orientation, no visible crack, no severe fitting distortion, and a cure period appropriate to the conditions.
Use this verification sequence:
- Confirm the pipe insertion mark is at the fitting entrance.
- Check that the fitting is the correct material and pressure rating.
- Look for splits, whitening from excessive force, or a fitting pushed out of alignment.
- Confirm the joint stayed still during the initial set.
- Flush potable-water lines according to the cement manufacturer’s instructions.
- Fill and test with water at the code-required pressure, increasing pressure gradually.
- Inspect the joint again after the line has stabilized.
A pressure test that passes immediately is useful but not conclusive if the pipe is under bending stress or the line is buried before inspection. Support the completed run, protect it from impact, and follow local requirements for burial depth, sleeving, thermal movement, and inspection.
FAQ
Can I use PVC cement without purple primer?
Sometimes, but only when the cement product and local code permit primerless assembly. Many pressure-water systems require primer because primer cleans and softens the bonding surfaces. For a code-compliant repair, follow the cement label, pipe manufacturer, and local plumbing authority rather than assuming clear cement means primer is unnecessary.
How long after gluing PVC can I turn the water on?
For a small joint in warm, dry conditions, manufacturers commonly specify roughly 15-30 minutes before handling and longer before pressure service. Cold weather, larger diameters, high pressure, humidity, and potable-water requirements can extend the period to several hours or overnight. The product’s cure table overrides generic timing.
Can I glue PVC pipe to a PVC fitting that has old cement on it?
Usually no. Old solvent cement changes the socket dimensions and may hide damaged or contaminated plastic. Cut out the old fitting and expose clean pipe, or replace the pipe section if the pipe surface is deeply scored, oval, brittle, or chemically damaged.
Is PVC cement waterproof?
A properly cured PVC solvent-welded joint is designed to withstand water and internal pressure when the pipe, fitting, cement, and installation method are compatible. PVC cement alone is not a waterproof coating for cracks or holes. A damaged pipe must be cut out and replaced, not painted with solvent cement.
Can I glue PVC pipe when it is raining?
Outdoor PVC assembly should wait until rain, condensation, and standing water can be excluded from the bonding surfaces. A sheltered workspace can work if pipe and fittings remain clean and dry, but high humidity and cold temperatures still increase cure time. Protect the joint without trapping solvent vapors near an ignition source.
Should PVC pipe be sanded before cementing?
Light deburring and a small external bevel are appropriate, but aggressive sanding is not required and can damage the pipe. Solvent cement needs a clean, compatible surface, not a deeply scratched surface. If sanding is used to remove a manufacturing mark or contamination, remove all abrasive dust before priming.
The Bottom Line
How to glue PVC water pipe correctly is a controlled solvent-welding process: identify the material, cut square, deburr, dry-fit, prime when required, apply matching cement, insert fully, rotate only as directed, hold motionless, and wait for the complete cure period. Replace failed joints rather than patching them externally, and pressure-test with water only after the manufacturer’s timing and local plumbing requirements are satisfied.