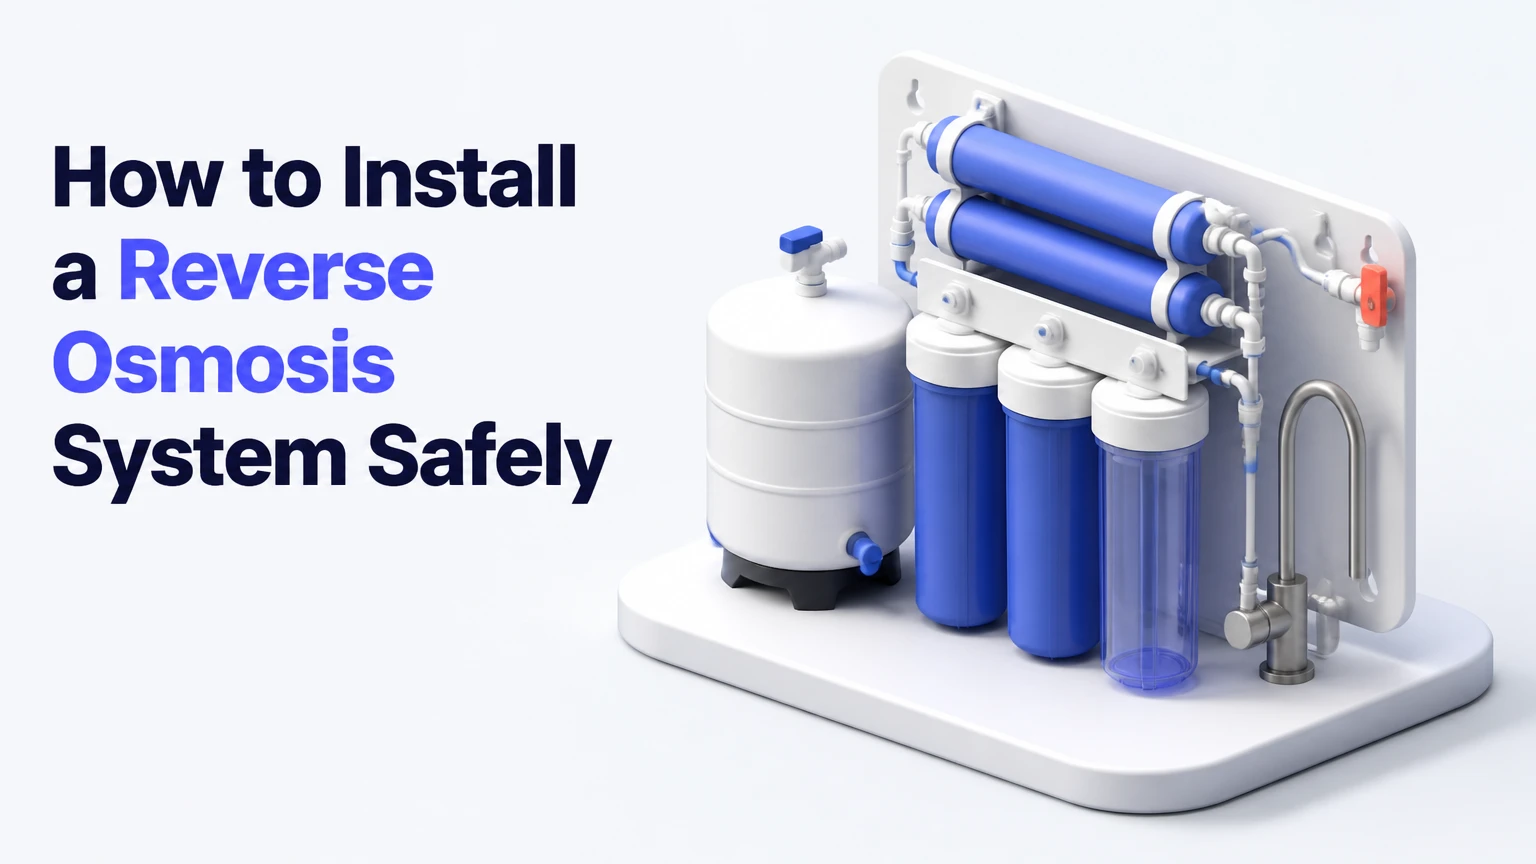
To install a reverse osmosis system, connect the unit to the cold-water supply, mount the filtered-water faucet, route concentrate water to the drain, connect the storage tank, and flush the system before use. A typical under-sink installation takes 2-4 hours, and adequate pressure, correct tubing routes, and leak testing determine the result.
Key Facts
A standard under-sink reverse osmosis system requires a cold-water connection, drain connection, storage tank, and dedicated faucet.
Residential RO systems typically work best at approximately 40-80 psi, although the manufacturer’s specification controls.
A pressurized tank commonly holds 3.2-4.5 gallons of water, but usable water is lower than the tank’s labeled volume.
A new RO system should be flushed according to its manual, commonly by discarding the first one or two tanks.
A drain connection is normal because the RO membrane sends concentrated contaminants away from the product-water stream.
A private well may require sediment, iron, sulfur, hardness, or microbial pretreatment before an RO membrane.
What Does a Reverse Osmosis System Do?
A reverse osmosis system reduces dissolved contaminants by pushing pressurized feed water through a semipermeable membrane. Sediment and carbon filters protect the membrane first; the membrane then separates product water from a concentrated wastewater stream, while a post-carbon filter generally improves taste before dispensing.
Natural osmosis moves water across a membrane toward the solution with greater dissolved-solute concentration. Reverse osmosis reverses that direction by applying pressure to the higher-solute side. The membrane’s effective separation scale is often described as approximately 0.0001 micron, but performance depends on pressure, temperature, feed-water chemistry, membrane condition, and the contaminant.
A typical five-stage unit contains a sediment filter, one or two carbon filters, an RO membrane, and a final carbon filter. Some models add remineralization, ultraviolet treatment, alkaline media, a permeate pump, or electronic monitoring. Those additions change the tubing layout, so the supplied manual always takes priority over a generic diagram.
The U.S. Environmental Protection Agency describes reverse osmosis as a process that uses pressure to force water through a semipermeable membrane. That mechanism explains both the strong dissolved-solids reduction and the unavoidable concentrate stream.
Which RO Configuration Should You Install?
For most homeowners who want drinking and cooking water, an under-sink point-of-use system is the practical choice. Renters usually need a countertop model, while whole-house RO belongs to specialized high-volume applications that require pretreatment, storage, pumping, and professional design.
| Configuration | Typical purchase cost | Installation requirement | Best-fit application |
|---|---|---|---|
| Countertop RO | $150-$500 | Faucet connection or reservoir filling; 15-45 minutes | Rental kitchen, dormitory, temporary use |
| Tanked under-sink RO | $150-$600 | Cold supply, drain saddle, faucet, tank; 2-4 hours | Municipal drinking and cooking water |
| Tankless under-sink RO | $300-$1,000 | Cold supply, drain, faucet, electrical outlet; 2-4 hours | Cabinet space savings and higher on-demand flow |
| Whole-house RO | $1,500-$5,000+ | Main-line plumbing, pretreatment, storage, pump; 1-3 days | Severe whole-home dissolved-contaminant problem |
| Well-water RO point of use | $300-$1,200 including pretreatment | RO plus sediment or contaminant-specific treatment | Treated well water used for drinking |
A countertop unit avoids drilling and permanent plumbing changes, but reservoir filling and lower output can become inconvenient for a family. A tanked under-sink unit occupies cabinet space but provides water immediately from storage. A tankless unit saves space yet normally needs higher feed pressure and an electrical connection.
Whole-house RO is not automatically a better drinking-water solution. Treating showers, toilets, laundry, and outdoor fixtures can multiply water demand, installation complexity, and concentrate disposal. The system also needs a storage tank and delivery pump because a residential membrane usually cannot supply every fixture at normal household flow.
Before You Start
Reserve 2-4 hours for a conventional tanked under-sink installation, including leak testing and initial flushing. The work is moderate for a homeowner comfortable with shutoff valves and push-fit plumbing, but drilling a finished stone countertop or altering a pressurized main line is a professional task.
Tools and Materials Checklist
| Item | Typical quantity or specification | Purpose |
|---|---|---|
| Adjustable wrench | 1, 8-10 inches | Supply adapter and faucet fittings |
| Basin wrench | 1 | Tightening the dedicated faucet beneath the sink |
| Drill and bits | 1 drill; 1/4-inch and model-specified faucet bit | Drain saddle and faucet hole |
| Tubing cutter | 1 | Square cuts for leak-resistant push fittings |
| Bucket and towels | 1 bucket; 2 towels | Capture water and identify seepage |
| PTFE tape | 1 roll | Threaded tank valve only, if the manual specifies it |
| Pressure gauge | 1, 0-100 psi | Measuring incoming water and empty-tank air pressure |
| Flashlight and marker | 1 each | Cabinet inspection and tubing identification |
Confirm that the kit includes the faucet, feed-water adapter, drain saddle, storage-tank valve, flow restrictor, tubing, filter housings, membrane, and replacement seals. Check cabinet clearance before buying: a common tanked assembly needs approximately 15 inches of vertical height for the tank and 12-18 inches of width for the filtration module.
Do not begin until you identify the cold-water shutoff, inspect the drainpipe, confirm an available faucet hole, and check whether the sink cabinet has a garbage-disposal drain or dishwasher branch. If the home has no usable drainpipe section, use the manufacturer’s approved air-gap or drain connection rather than improvising.
How to Install Reverse Osmosis System Components
The installation sequence is: faucet, cold-water adapter, drain saddle, filter assembly, storage tank, then tubing. Keep the membrane and final filter protected from contamination, cut every tube squarely, and label each connection before opening the water supply.
Step 1: Mount the Dedicated Faucet
Use an existing accessory hole when possible. If drilling is necessary, verify the faucet manufacturer’s required diameter, because 1/2 inch is common but not universal; stainless steel, porcelain, granite, and engineered stone require different bits and drilling methods.
Remove the faucet hardware, place the escutcheon and upper gasket on the counter, and pass the faucet stem through the hole. From below, install the lower washer and mounting nut, then tighten until the faucet is stable without crushing the counter or gasket.
Success checkpoint: The faucet does not rotate when operated, and the stem remains centered over the sink.
Common mistake: Drilling through a hidden sink clip, reinforcing rib, electrical cable, or plumbing line. Inspect below and behind the drilling location first.
Step 2: Install the Cold-Water Feed Adapter
Close the cold-water shutoff and open the regular faucet to release pressure. Place a bucket beneath the valve, disconnect the existing faucet flex line, and install the RO feed adapter between the shutoff and the faucet line.
Use the adapter’s supplied washers. Do not add PTFE tape to a compression fitting that seals with a washer, because excess tape can prevent the nut from seating correctly. Keep the adapter valve closed until all downstream connections are complete.
Success checkpoint: The kitchen faucet remains connected to the adapter, and the adapter outlet points toward the RO module without stressing the flex line.
Common mistake: Connecting the RO feed to the hot-water valve. Hot water can damage carbon filters and the thin-film composite membrane.
Step 3: Position the RO Module and Storage Tank
Place the filtration module where filter housings can be removed vertically or where the manufacturer allows horizontal servicing. Leave enough clearance to turn housings, remove cartridges, and reach the shutoff valve.
Install the tank valve on the tank nipple as directed. Some tanks require PTFE tape on the metal threads; others use a supplied O-ring or preinstalled seal. Apply approximately five wraps only when the manual calls for tape, and tighten the plastic valve by hand before a small wrench adjustment.
Success checkpoint: The tank stands securely, the module can be serviced, and tubing will not kink at cabinet hinges or filter heads.
Common mistake: Hiding the unit so tightly that filter replacement requires disconnecting the entire assembly.
Step 4: Install the Drain Connection
Choose a straight section of drainpipe above the P-trap and below the sink basin. Avoid the curved trap, garbage-disposal body, and flexible corrugated pipe. Position the saddle where its tubing will descend continuously without a sharp bend.
For a standard saddle, mark the center of the gasket opening, drill the manufacturer-specified hole, remove plastic shavings, and clamp the saddle with the gasket centered. The hole must align with the saddle opening. Some systems use an air-gap faucet and a larger drain tube, so follow that kit’s diagram rather than assuming a 1/4-inch connection.
Success checkpoint: The waste tube enters the drainpipe freely, and the saddle does not rotate when the tubing is inserted.
Common mistake: Drilling into the wrong side or using a saddle on a disposal hose. A blocked concentrate path can cause poor production, noise, or membrane damage.
Step 5: Connect the Tubing
Push-fit fittings need clean, square tubing cuts. Insert each tube fully to the internal stop, then tug lightly to confirm retention. Install the supplied locking clips if the fittings include them.
| Tubing route | Connect from | Connect to | Function |
|---|---|---|---|
| Feed line | Cold-water adapter outlet | First sediment-filter inlet | Supplies untreated water |
| Interstage lines | Filter outlet | Next filter inlet | Moves water through pretreatment |
| Product line | RO membrane outlet or post-filter tee | Tank valve and faucet circuit | Delivers purified water |
| Waste line | Membrane concentrate outlet through flow restrictor | Drain saddle or air-gap drain | Carries concentrated reject water |
| Faucet line | Final post-filter outlet | Dedicated faucet stem | Delivers drinking water |
A common tanked layout sends product water through an automatic shutoff valve, then to the storage tank. When the tank reaches pressure, the automatic shutoff valve stops feed and concentrate flow. Tankless systems may use a pump, solenoid, sensor, and electronic controller instead.
Success checkpoint: Every tube matches the supplied flow diagram, with no tube kinked or connected to a visually similar but incorrect port.
Common mistake: Reversing the membrane waste and product lines. The product line should not carry the restricted concentrate flow.
Step 6: Open the Water and Test for Leaks
Open the cold-water adapter slowly while the RO faucet remains closed or follows the startup position in the manual. Inspect the adapter, filter housings, membrane housing, tank valve, faucet stem, and drain saddle with a dry paper towel.
If a fitting leaks, close the supply, depressurize the line, remove the tube, cut off the damaged end, and reconnect it. If a threaded housing leaks, check the O-ring for twisting or displacement. Do not solve an O-ring leak by repeatedly tightening the housing.
Success checkpoint: No fitting dampens the paper towel after 5-10 minutes under pressure.
Common mistake: Testing only the visible front of the system. Water often tracks along the cabinet floor from a rear fitting.
How Do You Flush and Commission a New RO System?
Flush a new reverse osmosis system before drinking its water. Most tanked units require opening the faucet to flush manufacturing residue and carbon fines, then filling and discarding the first one or two tanks; exact instructions vary by membrane, post-filter, and manufacturer.
A typical startup sequence is:
- Keep the tank valve closed if the manual directs initial membrane flushing without the tank.
- Open the dedicated faucet and allow water to flow for 10-15 minutes, or for the specified volume.
- Close the faucet and open the tank valve.
- Allow the tank to fill, commonly for 2-4 hours.
- Open the faucet and discard the entire first tank.
- Repeat the tank-fill and discard cycle when the manual calls for two flushes.
- Check for leaks again after the tank reaches full pressure.
Do not confuse flushing with sanitization. Flushing removes loose carbon dust and preservative solution; sanitization uses the manufacturer’s approved procedure and disinfectant concentration. Sanitizing with a chlorine product can damage an exposed RO membrane, so the membrane may need removal or bypass during that procedure.
Test taste, odor, flow, and, where useful, total dissolved solids after flushing. A TDS meter can show membrane rejection, but it cannot prove that water is microbiologically safe or that every contaminant has been removed.
What Pressure and Water Conditions Does RO Need?
Residential reverse osmosis production falls sharply below approximately 40 psi, while many systems perform near their rated output at 60 psi or higher. Incoming pressure, feed temperature, membrane rating, hardness, and TDS determine actual gallons per day, so a printed 50-GPD rating is not a guaranteed faucet flow.
| Condition | Typical range or threshold | Installation consequence |
|---|---|---|
| Incoming pressure | 40-80 psi | Below 40 psi may require a booster pump |
| Cold feed temperature | 50-77°F | Colder water produces less permeate |
| Tank air pressure, empty | 5-8 psi for many tanks | Check the specific tank and manufacturer setting |
| Typical membrane rejection | 90%-99% | Depends on contaminant, pressure, age, and temperature |
| Typical waste ratio | 1:1-4:1 | Efficient models may require higher pressure or controls |
| Residential tank label | 3.2-4.5 gallons | Usable water is lower because of air bladder space |
Measure pressure with a gauge attached to an appropriate cold-water connection, not by judging faucet force. A booster pump is appropriate when static pressure is consistently low, but it does not correct excessive hardness, iron fouling, a blocked prefilter, or an incorrectly installed flow restrictor.
Water hardness above the system’s design limit can scale the membrane. Private wells may also contain iron, manganese, hydrogen sulfide, tannins, sediment, or bacteria. Obtain a laboratory water test before selecting pretreatment, particularly when the source is a private well.
How Much Does Installation Cost?
A DIY under-sink installation typically costs $150-$600 for the RO equipment plus $20-$100 for tools or plumbing parts, while professional installation commonly adds $150-$400. Whole-house systems cost substantially more because pretreatment, storage, pumps, electrical work, concentrate disposal, and commissioning are separate requirements.
| Cost component | Typical DIY cost | Typical professional cost | Main price driver |
|---|---|---|---|
| Standard under-sink RO | $150-$600 | $300-$1,000 installed | Stage count, tank, certification |
| Faucet-hole drilling | $10-$40 in bits | $75-$250 | Countertop material |
| Booster pump | $100-$300 | $250-$600 installed | Low incoming pressure |
| Well-water pretreatment | $100-$1,500 | $500-$3,000 installed | Iron, hardness, sulfur, bacteria |
| Annual replacement filters | $80-$250 | $150-$400 serviced | Filter type and service plan |
| Whole-house RO | $1,500-$5,000+ | $2,000-$6,500+ | Flow rate, tank, pump, treatment train |
NSF/ANSI 58 certification addresses reverse osmosis drinking-water treatment systems, but certification is claim-specific. A certified unit may be evaluated for TDS reduction without being certified for every contaminant a homeowner wants to reduce. Match the performance claim to a laboratory water report and the contaminant of concern.
What Maintenance Does an RO System Need?
Replace sediment and carbon prefilters approximately every 6-12 months, replace many post-carbon filters every 6-12 months, and expect an RO membrane to last roughly 2-5 years under suitable water conditions. Heavy sediment, chlorine breakthrough, scale, low pressure, and high usage shorten those intervals.
Record the installation date and each cartridge change. Replace filters sooner when the pressure gauge drops, production slows, taste changes, or the manufacturer specifies a shorter interval. Sanitize the housings and tank during the filter-change cycle if the manufacturer provides a compatible procedure.
A useful membrane check is rejection percentage:
Rejection = [(feed-water TDS – product-water TDS) ÷ feed-water TDS] × 100
For example, 300 ppm feed water and 30 ppm product water indicate 90% TDS rejection. TDS is only a screening measurement. It does not identify lead, nitrate, PFAS, pathogens, or volatile chemicals individually, and some dissolved substances do not contribute equally to the reading.
Common Installation Mistakes and Their Fixes
The RO System Sends Water to the Drain Continuously
Continuous drain flow after the storage tank fills usually indicates an incorrectly routed product line, a blocked flow restrictor, a failed automatic shutoff valve, a failed check valve, or insufficient pressure. Confirm that the tank valve opens, the waste line contains the supplied restrictor, and the tank reaches pressure.
Close the feed valve before disconnecting tubing. If the system still drains after correct routing and adequate pressure, replace the defective valve or obtain a service diagnosis.
The Faucet Produces Very Little Water
Low faucet output commonly results from an empty or under-pressurized storage tank, clogged prefilters, cold feed water, low supply pressure, a kinked tube, or a depleted membrane. Empty the tank completely before checking air pressure at the Schrader valve.
Many residential tanks use approximately 5-8 psi when empty, but the tank label or RO manual controls. Add air gradually with a bicycle pump and gauge. Excess pressure can reduce storage capacity or damage the bladder.
The Water Tastes Like Plastic or Carbon
New carbon filters can release fines and new tanks can impart temporary taste. Complete the specified flushing procedure before diagnosing a persistent odor.
If taste remains after flushing, replace exhausted carbon filters, inspect the tank and tubing, and sanitize the system using the approved procedure. Chlorine-free treatment is not a universal rule, because some systems specify a controlled disinfectant with the membrane removed.
The Drain Saddle Leaks
A leaking drain saddle usually has a misplaced gasket, an uneven clamp, a hole larger than specified, or a pipe material that does not support the saddle. Close the feed, dry the pipe, center the gasket, and retighten evenly.
Replace a damaged saddle rather than applying exterior sealant around it. Sealant does not repair a misaligned internal opening.
The Filter Housing Leaks
A housing leak often comes from a twisted, dry, dirty, or incorrectly seated O-ring. Shut off water, depressurize the housing, remove the O-ring, clean its groove, lubricate it only with manufacturer-approved food-safe lubricant, and reinstall it flat.
Do not overtighten plastic housings. Excess force can distort the housing or make the next service difficult.
How Should Installation Change for Different Homes?
Countertop RO is the simplest option for renters because it avoids permanent drilling and supply-line alteration. Under-sink RO is better for homeowners who want a dedicated faucet and higher daily convenience. A private-well installation requires water testing before the membrane is selected.
Apartment or Rental Kitchen
Choose a countertop model when the lease prohibits drilling or plumbing changes. Keep the reservoir covered, empty standing water as directed, and verify that the faucet diverter fits the kitchen tap. A portable unit does not solve poor source-water quality if its filters are overdue.
Municipal Water
A standard four- or five-stage under-sink system is usually sufficient when the municipal supply is already microbiologically controlled and the goal is dissolved-contaminant reduction at one faucet. Activated carbon protects the membrane from chlorine, while the RO membrane reduces many dissolved constituents.
Private Well
Test for bacteria, nitrate, arsenic, iron, manganese, sulfur, hardness, pH, and turbidity before installation. Sediment filtration, iron treatment, softening, sulfur treatment, or ultraviolet disinfection may be needed upstream; RO is not a substitute for well disinfection or a whole-house microbial barrier.
Septic Drainage
An RO drain line discharges additional water into the plumbing system. Confirm that the septic system can accommodate the flow and use the manufacturer’s air-gap or approved connection. A permeate pump or high-efficiency unit can reduce waste, but neither eliminates concentrate disposal.
RO Compared With Alternatives
Reverse osmosis is strongest when the target is dissolved contaminants and the user accepts slower production, storage, filter maintenance, and wastewater. Carbon filtration is simpler for taste and chlorine, while ultrafiltration retains more minerals and generally does not reduce dissolved salts as extensively.
| Treatment | Typical target | Typical wastewater | Installation complexity |
|---|---|---|---|
| Activated carbon | Chlorine, taste, odor, selected organic chemicals | 0 gallons per gallon treated | Low |
| Ultrafiltration | Sediment, bacteria, cysts, some particulates | 0-1 gallon per gallon | Low to moderate |
| Reverse osmosis | Dissolved salts, nitrate, many metals, TDS | 1-4 gallons per gallon | Moderate |
| Distillation | Broad dissolved-solids reduction | Low liquid waste; high energy use | Moderate |
| Bottled water | Purchased drinking supply | Packaging waste varies | None at home |
RO water is not ideal when the source water is already safe and the only complaint is chlorine taste. Carbon filtration costs less, preserves minerals, uses no drain water, and usually provides higher flow. RO also does not remove every volatile organic compound reliably, and it cannot make a contaminated well safe without appropriate pretreatment and disinfection.
Frequently Asked Questions
Can I install an RO system without drilling a hole?
Yes. A countertop RO system can connect to a faucet diverter or use a refillable reservoir, so it avoids drilling and permanent plumbing changes. An under-sink system generally needs a dedicated faucet, although an existing accessory hole may be available. Do not drill a finished countertop unless the bit and method match its material.
Does an RO system need electricity?
A conventional tanked under-sink RO unit usually operates without electricity because household water pressure drives the membrane. Tankless models, booster-pump systems, UV stages, electronic shutoff valves, and digital monitors commonly require a grounded outlet. Check the electrical requirements before selecting a cabinet location.
Can I connect reverse osmosis to a refrigerator?
Usually, yes. Route the refrigerator line from the RO product-water circuit only after confirming that the refrigerator manufacturer permits filtered-water connection and that the RO tank or pump can supply the required flow. A dedicated shutoff valve helps service the refrigerator without shutting down the drinking faucet.
Why is my new RO faucet making noise?
A brief humming, gurgling, or intermittent drain sound can occur while the membrane produces water and the automatic shutoff system operates. Persistent noise may indicate high drain flow, a missing flow restrictor, trapped air, low pressure, or a faulty check valve. Verify tubing order before replacing parts.
Does reverse osmosis remove beneficial minerals?
Reverse osmosis reduces many dissolved minerals along with unwanted dissolved solids. For most users, dietary mineral intake comes primarily from food rather than drinking water, but people with medically prescribed mineral restrictions should ask a clinician. A remineralization cartridge can add minerals and alter taste, but it does not replace a balanced diet.
Should I install a whole-house RO system?
Install whole-house RO only when testing shows a whole-home treatment need and the design includes pretreatment, storage, a delivery pump, concentrate management, and maintenance access. For ordinary drinking-water improvement, a point-of-use under-sink system treats the intended water while avoiding the cost and waste of treating every fixture.
The Bottom Line
The safest way to install a reverse osmosis system is to follow the manufacturer’s tubing diagram while connecting only to cold water, routing concentrate water through the correct flow restrictor to an approved drain connection, and testing every fitting before use. Allow 2-4 hours for a typical under-sink project, then flush the system and verify pressure, taste, flow, and leak-free operation.