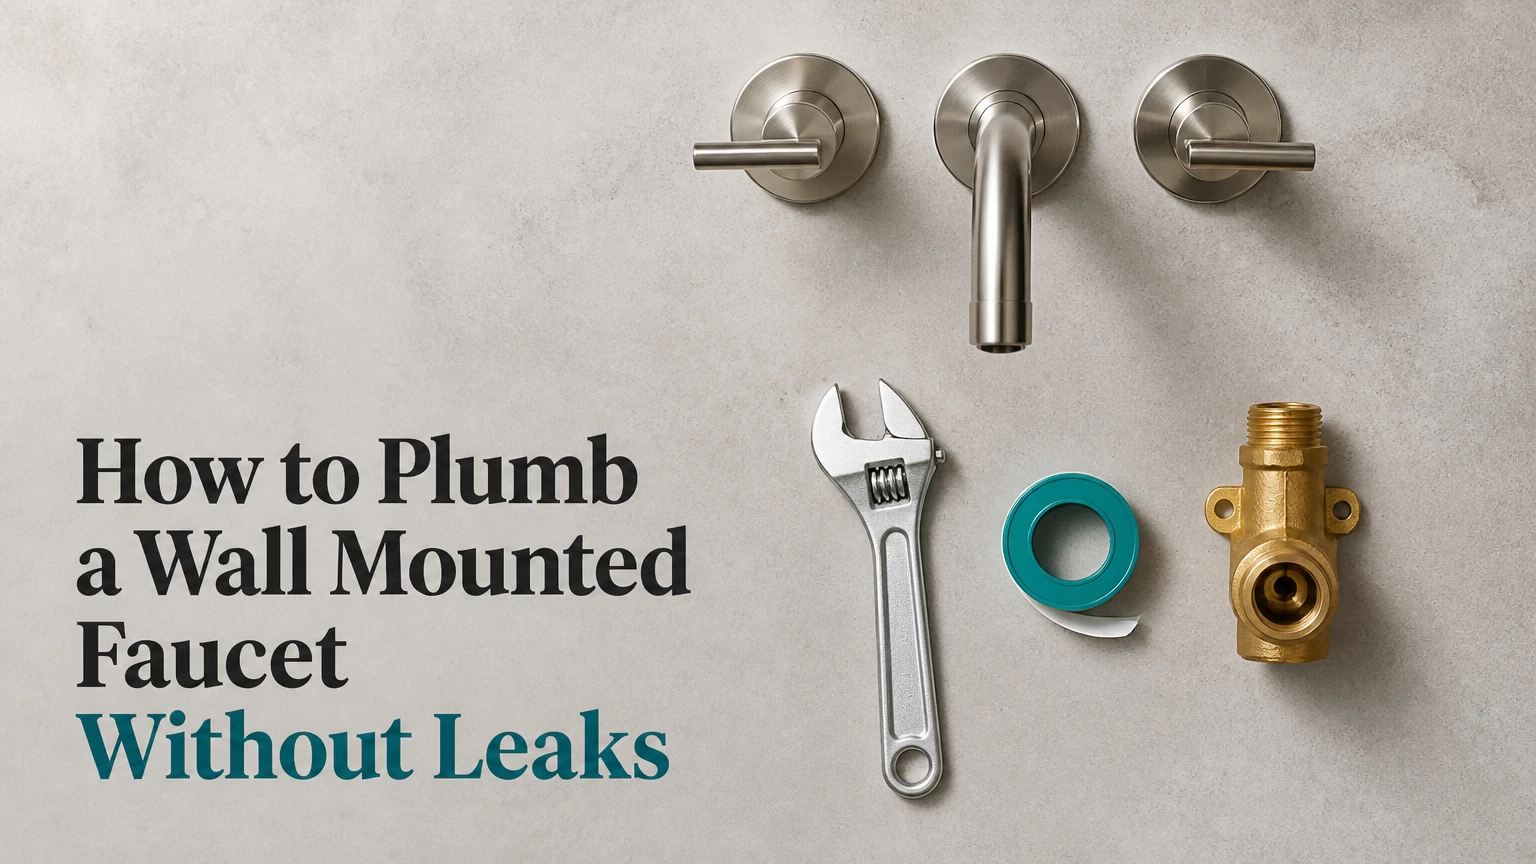
To plumb a wall-mounted faucet, install a manufacturer-matched rough-in valve, anchor it to solid blocking, connect hot and cold supplies, position the spout outlet, pressure-test the concealed plumbing, then finish the wall and install the trim. The most important measurement is the valve’s finished-wall depth, because incorrect depth can prevent the handles and escutcheon from fitting.
Key Facts at a Glance
- A wall-mounted faucet requires a concealed rough-in valve inside the wall cavity.
- The valve must attach to structural blocking, not only drywall, cement board, or tile.
- Hot water normally connects to the valve’s left inlet and cold water to the right when viewed from the room, unless the manufacturer specifies otherwise.
- Typical residential supply branches use 1/2-inch copper, PEX, or CPVC, subject to local code and the valve manufacturer’s fittings.
- The spout should discharge near the sink drain center without extending so far forward that water lands near the basin edge.
- Concealed joints must be tested before drywall, waterproof backer board, or tile hides them.
What Must Be Inside the Wall?
A wall-mounted faucet has three concealed plumbing elements: the valve body, hot and cold supply lines, and a discharge outlet leading to the spout. The visible parts are usually the handle, escutcheon, cartridge cover, and spout. A single-handle faucet generally uses one compact mixing valve, while a two-handle faucet uses separate valve bodies or a coordinated rough-in assembly.
The rough-in valve controls flow and temperature. Its cartridge or ceramic discs mix incoming water before the mixed water travels through the valve outlet to the spout. Sensor faucets add a solenoid, control module, power source, or battery compartment, so they need more planning than a mechanical faucet.
Structural support matters because users apply torque to handles and spouts. A loose valve can move inside the wall, stress soldered or crimped joints, and eventually create a concealed leak. The International Residential Code and local plumbing codes govern pipe support, access, materials, and protection, but the faucet manufacturer’s installation sheet controls the exact valve orientation and rough-in dimensions.
Which Parts Need Service Access?
The cartridge is normally serviced from the room after removing the handle and trim. Supply-line joints, valve bodies, and sensor components may require access from an adjacent closet or a deliberately placed access panel. A removable panel is particularly valuable behind tiled walls, where a repair may otherwise require removing several tiles.
Do not bury a union, shutoff, filter, or electronic control module where no practical service opening exists. A concealed valve is acceptable; an inaccessible collection of repairable connections is poor planning.
How Do You Position the Spout and Valve?
Position the faucet from the finished sink, counter, and wall surfaces, not from the bare studs. A typical bathroom layout places the spout outlet about 4-6 inches above the sink rim, with the stream directed toward the drain area, but the faucet manufacturer, basin shape, and spout reach determine the final location.
Measure these dimensions before cutting the wall:
| Measurement | Typical bathroom target | Why it matters |
|---|---|---|
| Spout center above sink rim | 4-6 inches | Reduces hand clearance and splash |
| Spout tip beyond drain center | 0-3 inches | Keeps the stream inside the basin |
| Finished counter depth | 18-24 inches | Determines wall-to-drain geometry |
| Valve rough-in tolerance | Manufacturer-specific, often about 1/4 inch | Controls trim and handle engagement |
| Blocking height | Faucet centerline plus valve dimensions | Supports the actual valve body |
| Finished wall thickness | 1/2-1 inch in many remodels | Changes valve setback from studs |
A deep vessel sink may need a lower faucet position than a shallow undermount basin. A kitchen faucet needs enough reach to wash the full bowl, while a tub filler must discharge into the tub without striking the rim. There is no universal “8-inch” spacing for all wall-mounted faucets; that dimension applies to some widespread or two-handle designs, not every model.
How Do You Calculate Rough-In Depth?
Use the manufacturer’s plaster guard or depth gauge as the reference, then add the planned backer board, mortar, tile, or finished wall thickness. The valve should finish within the manufacturer’s marked range relative to the completed wall surface, rather than simply sitting flush with the studs.
For example, if the valve gauge specifies a finished-wall reference 2-3/4 inches forward of the stud face, and the tile assembly will add 1/2 inch, the valve’s position must account for that assembly. Never estimate from drywall alone when stone, uncoupling membrane, thick mortar, or large-format tile will cover the wall.
What Tools and Materials Do You Need?
Prepare the faucet, exact rough-in valve, approved supply pipe, blocking lumber, fasteners, test caps, pipe cutter, level, measuring tape, drill, and the correct tools for the selected pipe system. Copper installations may require a torch or press tool; PEX installations require the specified crimp, clamp, or expansion tool.
Before You Start
| Item | Typical requirement | Check before work |
|---|---|---|
| Project duration | 8-16 hours of active work | Add curing and wall-finishing time |
| DIY material cost | $150-$800 or more | Include valve, trim, pipe, tile, and access parts |
| Professional labor | $400-$1,200 typical | Remodel access increases labor |
| Blocking | One or more 2×4 or 2×6 pieces | Match the valve mounting pattern |
| Supply branches | 1/2-inch typical residential size | Confirm valve inlet size |
| Test pressure | Code or manufacturer requirement | Do not assume 24 hours |
| Wall opening | Full stud-bay access preferred | Protect electrical and existing pipes |
Wear eye protection when cutting pipe or framing. Confirm the wall contains no electrical cables, drain lines, heating ducts, or structural members that cannot be altered. Shut off water before opening the cavity.
How to Plumb a Wall Mounted Faucet
The following sequence applies to a typical bathroom or kitchen mechanical faucet installed with the wall open. Read the faucet’s installation manual first, because valve orientation, outlet fittings, support requirements, and trim depth vary by model.
Step 1: Shut Off and Drain the Water
Close the local branch shutoff if one exists; otherwise close the main water supply. Open a lower faucet and the nearest cold and hot taps to release pressure, then verify that the exposed pipe is no longer supplying water.
Drainage prevents a wet connection from contaminating solder, press fittings, or threaded sealant. Place a bucket below the work area and identify the hot and cold branches before disconnecting anything.
You will know it worked when: the pressure gauge reads zero, or opening the branch produces no continuing flow.
Common mistake: assuming a closed fixture stop isolates the wall branch when the stop serves a different line.
Step 2: Open the Wall and Inspect the Stud Bay
Remove enough drywall, plaster, backer board, or tile to expose the full connection area. Locate the studs and inspect for existing wiring, drain piping, insulation, and signs of moisture before planning the valve position.
A partial opening often creates poor access for blocking and makes it difficult to keep the valve level. In a bathroom remodel, expose the complete faucet bay and leave room to route the supply lines without sharp bends or unsupported fittings.
You will know it worked when: the valve location, supply route, outlet route, and future service path are visible.
Common mistake: cutting the opening exactly around the old faucet and discovering that the new valve cannot be secured.
Step 3: Install Solid Structural Blocking
Cut 2×4 or 2×6 blocking to fit tightly between the studs, or install a continuous horizontal board across the bay when the valve’s mounting holes require it. Fasten the blocking with structural screws of the length and type approved for the framing, commonly 3 inches in wood framing.
Set the blocking at the height and setback shown in the rough-in instructions. Blocking must provide a firm mounting surface for the valve and any separate spout support. Do not rely on drywall anchors, tile fasteners, or short wood screws driven only into the edge of a stud.
You will know it worked when: the blocking does not shift under hand pressure and the valve mounting holes land fully on wood.
Common mistake: placing blocking at the correct height but at the wrong depth, leaving the valve too far forward after tile installation.
Step 4: Mount and Align the Rough-In Valve
Orient the valve according to its markings, usually with “UP” facing upward and hot and cold inlets on the specified sides. Hold the valve against the blocking, set the finished-wall depth with the manufacturer’s gauge, and check level in both horizontal and vertical directions.
Fasten the valve using the supplied mounting points or approved corrosion-resistant screws. Keep the plaster guard installed during rough-in work. The guard protects threads and provides the most reliable reference for the finished wall.
Hot normally enters the left inlet and cold the right when viewed from the room, but reversing those connections can create incorrect temperature control on some cartridges. Follow the model-specific diagram instead of relying on convention.
You will know it worked when: the valve is rigid, level, correctly oriented, and inside the printed depth range.
Common mistake: measuring from the stud face rather than the completed tile or wall surface.
Step 5: Connect the Hot, Cold, and Spout Lines
Connect the hot and cold supply branches to the valve using the pipe material and fittings approved for that valve. Route the mixed-water outlet to the spout connection with the required pipe size, keeping the run supported and the outlet square to the finished wall.
Copper may use soldered, press, or threaded transitions. PEX may use crimp, clamp, expansion, or push-fit connections only where the valve and local code permit them. CPVC requires compatible solvent-weld fittings and adequate curing time. Never force a pipe into a fitting or mix incompatible materials without a listed transition adapter.
Use thread sealant on tapered pipe threads when the manufacturer permits it. Do not apply thread tape or compound to compression, flare, cartridge, or gasketed connections. The spout connection may require a brass nipple, drop-ear elbow, or proprietary adapter, so identify the part before closing the wall.
You will know it worked when: every connection is fully inserted or threaded, the spout outlet is level, and pipes cannot rattle against framing.
Common mistake: using a flexible braided connector inside a concealed wall where the product is not approved for that installation.
Step 6: Pressure-Test the Concealed Plumbing
Install the manufacturer’s test plug or cap on the spout outlet and protect open valve ports as directed. Restore water slowly, inspect every joint with a dry tissue, and test the system at the pressure and duration required by local code or the faucet instructions.
A 24-hour test is not a universal requirement. Some jurisdictions specify a test pressure and minimum duration, while some manufacturer instructions require a shorter functional leak check. The safe rule is to meet the strictest applicable requirement and document the result before covering the wall.
Run the valve briefly if the instructions allow it, then close it and inspect again. Check for thermal movement, water hammer, and seepage at threaded transitions.
You will know it worked when: all joints remain dry under the required test and the valve holds firmly without movement.
Common mistake: testing only the supply lines while leaving the mixed-water spout branch capped or untested.
Step 7: Install the Finished Wall and Seal Penetrations
Photograph the completed rough-in, record the valve model, and mark the valve location before installing wall material. Fit cement backer board or another approved substrate around the plaster guard, then apply the specified waterproofing system in wet areas.
Cut openings closely around the guard and pipe penetrations. Keep fasteners outside the valve body and pipe paths. Seal penetrations according to the waterproofing manufacturer’s system; silicone at the visible escutcheon may limit surface water, but it does not replace a properly waterproofed wall assembly.
Tile thickness, mortar, membrane, and grout all affect final trim depth. Dry-fit the trim or use the manufacturer’s dimensions before committing to tile layout.
You will know it worked when: the wall is flat, waterproofed, and the valve guard remains accessible at the specified finished-wall position.
Common mistake: setting the valve for painted drywall and later adding thick tile, which buries the cartridge and prevents handle installation.
Step 8: Install the Trim and Spout
After tile, grout, paint, and sealants cure, remove the plaster guard and clean the valve threads. Install the cartridge, retaining hardware, handle, escutcheon, and spout in the order stated by the manufacturer.
Apply thread sealant only to the connection that requires it. Many spouts use a threaded nipple, while others use an O-ring, slip-fit sleeve, or proprietary adapter. Tighten threaded parts without scratching the finish, and avoid rotating the valve body while tightening the spout.
Turn on the faucet gradually, flush debris through the aerator if removable, and verify hot-cold orientation, handle range, flow, and splash position.
You will know it worked when: the trim sits against the finished wall, the spout is level, the handle operates smoothly, and no water appears at the escutcheon or wall penetration.
Common mistake: using the wrong stem extension after setting the valve too deep. Extensions must be approved for that faucet cartridge and cannot correct every depth error.
Which Wall-Mounted Faucet Type Fits the Installation?
Single-handle, two-handle, thermostatic, and sensor-operated faucets differ in rough-in size, service needs, and installation complexity. Choose the valve and trim as a matched system; decorative trim from one series rarely fits a concealed valve from another series.
| Faucet type | Typical rough-in arrangement | Additional requirement | Best installation context |
|---|---|---|---|
| Single-handle | One compact mixing valve | Cartridge access from front | Small bathroom or modern vanity |
| Two-handle widespread | Separate hot and cold valves | Fixed center spacing, often 8-12 inches | Traditional bathroom or utility sink |
| Thermostatic | Thermostatic cartridge and volume control | Accurate temperature calibration | Tub, shower, or high-comfort bathroom |
| Sensor-operated | Solenoid valve and control module | Battery or listed electrical supply | Commercial or high-hygiene washroom |
| Pot filler | Cold-water valve and articulated outlet | Shutoff and rigid wall support | Kitchen range wall |
Sensor faucets require special attention to electrical separation, battery access, and code-approved junction boxes. A hardwired model should be planned with an accessible power route; a sealed battery compartment hidden behind tile creates a predictable maintenance problem.
Which Supply Pipe Should You Use?
Use the pipe system accepted by local code and listed for the faucet valve. PEX is often fastest in an open stud bay, copper offers rigid support and familiar transitions, and CPVC can be economical where permitted, but none is automatically superior in every wall.
| Pipe material | Typical residential size | Installation method | Main limitation |
|---|---|---|---|
| Type L copper | 1/2 inch | Solder, press, or compression transition | Requires heat or press equipment |
| PEX-A or PEX-B | 1/2 inch | Expansion, crimp, clamp, or approved push-fit | Needs correct support and bend control |
| CPVC | 1/2 inch | Solvent-welded fittings | Brittle in cold or mechanically stressed areas |
| Stainless braided connector | 3/8-1/2 inch | Compression or threaded ends | Usually unsuitable for concealed permanent runs |
| Multilayer PEX-AL-PEX | 1/2 inch | Manufacturer-specific press fittings | Availability and fitting-system limits |
Install pipe supports close to the valve and at the intervals required by code. Add nail plates where pipe passes near the face of a stud. Keep hot and cold lines separated enough to identify them and protect them from fasteners.
How Much Time and Money Does Installation Take?
A typical open-wall DIY installation takes 8-16 active hours and costs approximately $150-$800 before major tile upgrades. Professional labor commonly adds $400-$1,200, with finished-wall demolition, relocation of drains, electrical work, and premium tile increasing the total.
| Project condition | DIY time | Professional labor | Typical material range |
|---|---|---|---|
| New construction, open studs | 4-8 hours | $300-$700 | $150-$450 |
| Bathroom remodel with drywall | 8-16 hours | $400-$1,200 | $250-$800 |
| Tiled wall with limited access | 12-24 hours | $800-$2,000 | $400-$1,200 |
| Sensor faucet with electrical work | 10-20 hours | $700-$1,800 | $500-$1,500 |
| Exterior wall requiring reroute | 12-24 hours | $900-$2,500 | $500-$1,500 |
These are typical planning ranges, not fixed prices. Local labor rates, permit requirements, wall repair, water damage, and the selected faucet can change the estimate substantially.
Can You Install One Without Opening the Wall?
A true concealed wall-mounted faucet generally cannot be installed correctly without opening the wall or gaining equivalent access from behind. Surface-mounted supply tubes or an exposed valve can avoid demolition, but they create a different fixture configuration.
Finished-wall installation is possible when the back of the wall is accessible from a closet or removable panel. The plumber can open the rear surface, install blocking and piping, then preserve the tile on the faucet side. This approach works best when the adjacent room has unfinished drywall or cabinetry that can conceal a service door.
A countertop or deck-mounted faucet is the better alternative when the wall cannot be opened and no rear access exists. It avoids concealed valve plumbing, usually costs less to repair, and suits replacement work where the existing sink already has compatible holes.
Common Mistakes and How to Fix Them
The Handles Do Not Engage
A valve installed too deep can leave the stem short of the trim. Confirm the finished-wall measurement, then use an approved extension kit only if the manufacturer provides one. If the valve is too far forward, the trim may bottom out against the wall before the retaining hardware seats.
The Faucet Is Crooked
A crooked spout usually results from an outlet elbow or nipple that was not held level during rough-in. Correct the pipe support before finishing the wall. Decorative escutcheons can hide small wall gaps, but they cannot reliably correct a visibly angled discharge.
Water Leaks Behind the Wall
A concealed leak usually comes from an improperly assembled thread, incomplete pipe insertion, damaged gasket, or stressed fitting. Shut off water immediately, open the nearest practical access point, dry the area, and repair the joint using the fitting manufacturer’s method. Do not seal the wall and monitor it later.
The Sink Splashes
Splashing results from poor spout reach, excessive height, a high-flow aerator, or a basin with a steep slope. First verify that the stream lands near the drain. A low-flow aerator can reduce velocity, but it cannot fix a spout that is geometrically too short or too far forward.
Pipes Freeze
Avoid routing water lines through an uninsulated exterior wall in freezing climates. Move the plumbing to an interior stud bay where possible. If relocation is impossible, the assembly requires code-compliant insulation and freeze protection, but insulation alone does not make an unsuitable layout safe.
The Valve Moves When the Handle Turns
Movement indicates inadequate blocking or loose fasteners. Remove the trim and inspect the valve support if accessible. Strengthen the framing before repairing the wall, because repeated handle torque can fatigue nearby joints even when no leak is visible.
Which Code and Permit Issues Apply?
Permit requirements depend on the city, county, state, province, and project scope. Moving a water supply, altering a wall, adding a sensor power connection, or changing a drain can each trigger different requirements, so check the local building department before cutting pipe.
The International Plumbing Code and Uniform Plumbing Code are model codes, not universal law. Local amendments control pipe materials, support spacing, pressure tests, access panels, backflow protection, electrical separation, and wet-area waterproofing. A licensed plumber may be required for concealed work in some jurisdictions.
Never cover a required inspection before approval. Keep photographs of the rough-in, valve model, pressure-test result, and waterproofing details for future maintenance or resale documentation.
When Is a Wall-Mounted Faucet the Wrong Choice?
A wall-mounted faucet is a poor choice when the wall cannot provide rigid blocking, the plumbing would occupy an unheated exterior cavity, or the owner cannot accept future access through tile or an adjacent room. The fixture is also unsuitable when the sink’s geometry cannot place the water stream safely inside the basin.
Choose a deck-mounted faucet for a low-disruption replacement. Choose an exposed wall valve when service simplicity matters more than a concealed appearance. Choose a professional installation when the project involves structural changes, unknown in-wall utilities, natural stone, electrical controls, or a drain relocation.
The minimalist appearance is real, but the maintenance trade-off is permanent. Plan access before choosing the finish.
FAQ
Do wall-mounted faucets need a special valve?
Yes. Most wall-mounted faucets require a model-specific concealed rough-in valve, and the visible trim may not function with a generic valve body. Confirm the exact valve part number, inlet size, outlet location, cartridge orientation, and finished-wall depth before purchasing pipe or cutting framing.
Can a wall-mounted faucet use a standard sink?
Yes, provided the spout reach and height place the stream inside the basin and the sink has enough rear clearance. Measure from the faucet centerline to the drain, rim, and front edge. Vessel sinks often need different height calculations than undermount or drop-in basins.
Should the faucet be installed before or after tile?
The concealed valve and supply plumbing are installed before tile, while the decorative trim and spout are installed after tile and grout cure. Use the plaster guard during rough-in and set its face within the manufacturer’s finished-wall range.
How long should concealed plumbing remain under pressure?
Use the test pressure and duration required by the local plumbing code and faucet instructions. A 24-hour test is sometimes used as a conservative project-control practice, but it is not a universal rule. Inspect immediately, after the specified test, and again before closing the wall.
Is an access panel necessary behind a wall-mounted faucet?
An access panel is not always required when the cartridge is serviceable from the room, but rear access is strongly advisable for concealed supply joints, sensor electronics, and valves that cannot be repaired from the trim opening. Place the panel in an adjacent closet or cabinet when possible.
Can PEX connect directly to a wall-mounted faucet?
PEX can connect to an approved rough-in valve through the valve’s listed adapter or fitting system. Use the correct connection method, support the valve independently with blocking, protect PEX from fasteners, and follow local code. Do not substitute an unlisted push-fit fitting inside a concealed wall.
The Bottom Line
To plumb a wall-mounted faucet successfully, plan from the finished sink and wall surfaces, install solid blocking, match the rough-in valve to the trim, connect the correct supply materials, and pressure-test every concealed joint before closing the cavity. The installation takes more planning than a deck-mounted faucet, but accurate valve depth, spout geometry, waterproofing, and service access prevent most expensive failures.