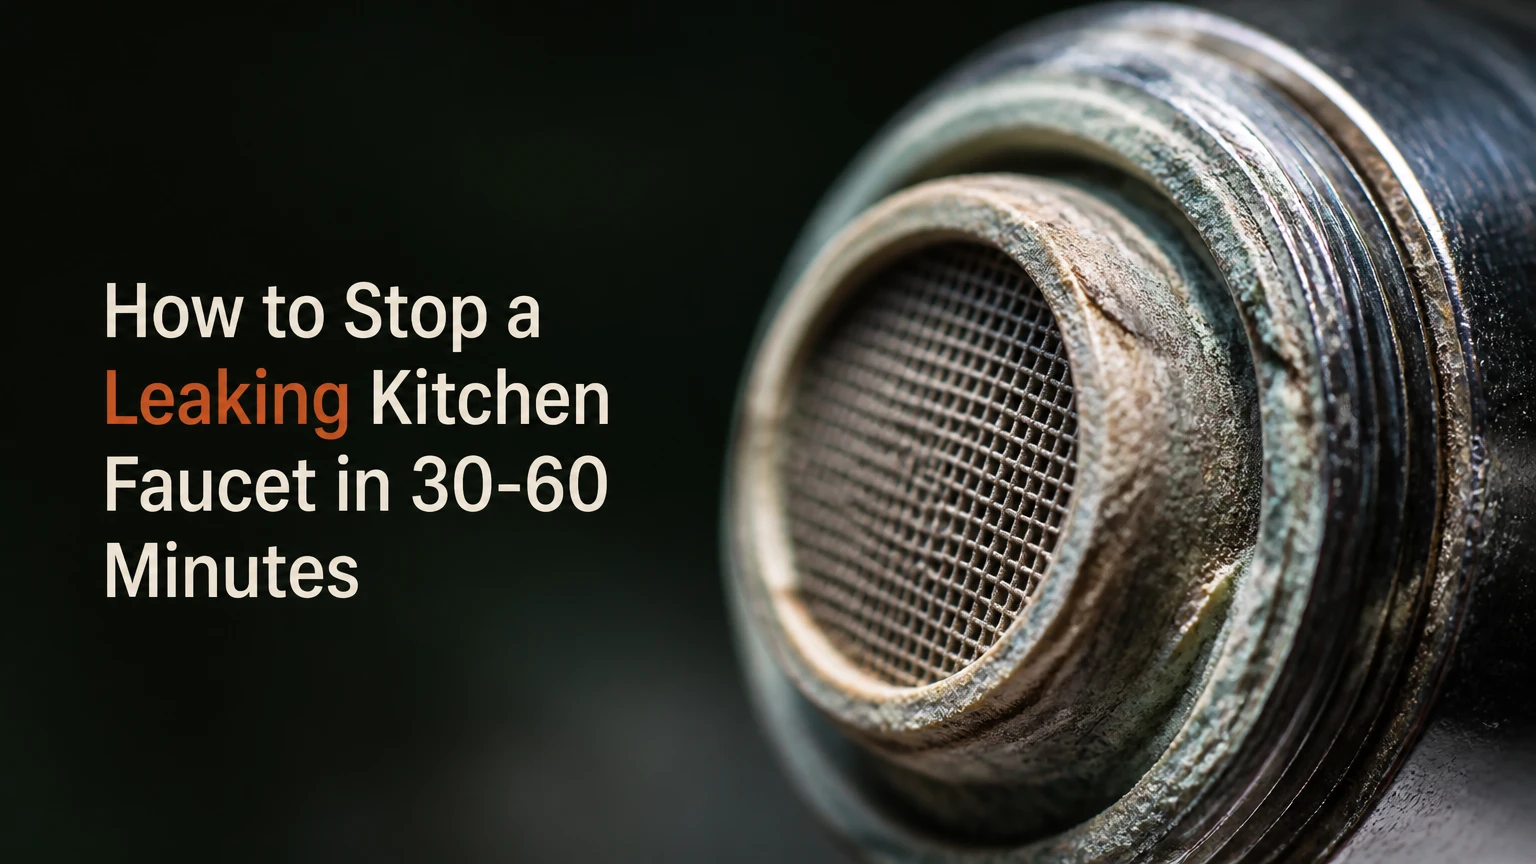
To stop a leaking kitchen faucet, identify where the water escapes, shut off both under-sink supply valves, and replace the failed washer, O-ring, cartridge, ball-valve seal, or ceramic-disc component. Most accessible repairs take 30-60 minutes, but the correct replacement part and an undamaged valve body determine success.
Key Facts at a Glance
A spout drip usually indicates a failed internal valve seal, washer, cartridge, or ball-valve seat.
Water around the handle usually comes from a stem packing or cartridge O-ring.
Typical DIY repair cost is $5-$45, while a replacement cartridge commonly costs $15-$80.
Shut off the hot and cold supply valves before removing a handle, retaining nut, or cartridge.
Never force a stuck cartridge against a plastic faucet body because the housing can crack.
A faucet that leaks from several locations, has severe corrosion, or lacks replacement parts is usually a replacement candidate.
Before You Start
A faucet repair requires water isolation, basic hand tools, a replacement component, and enough time to document the assembly order. Set aside 30-60 minutes for a first repair, although a seized cartridge or failed shutoff valve can extend the job beyond two hours.
Tools and materials checklist
| Item | Typical quantity or size | Purpose |
|---|---|---|
| Adjustable wrench | 1, 6- or 8-inch | Supply nuts and retaining nuts |
| Hex key set | 1 set, commonly 2.5-4 mm | Hidden handle screws |
| Screwdrivers | 1 Phillips and 1 flat-head | Handle caps, screws, seats |
| Replacement washer or O-ring | 1 matched set | Compression or stem repair |
| Replacement cartridge | 1 exact model | Cartridge or disc faucet |
| Silicone plumber’s grease | 2-5 grams | New rubber seals |
| White vinegar | 120-250 millilitres | Mineral scale removal |
| Small container and towel | 1 each | Catch water and protect the cabinet |
Use silicone-based faucet grease, not petroleum jelly. Petroleum products can soften some rubber compounds and reduce seal life. A clean rag around the drain also prevents a retaining screw from disappearing into the trap.
Record the faucet before disassembly
Photograph the handle, cap, cartridge orientation, retaining clip, and hose connections. Put each screw and washer in a small container in removal order. Faucet cartridges that look similar can differ in stem height, splines, alignment tabs, and hot-cold orientation.
Do not begin by spraying penetrating oil into the faucet body. Penetrating oil may help an exposed metal thread, but it is unsuitable for drinking-water passages and can damage finishes or elastomeric seals. Apply it only to an external corroded fastener, then clean the area before reassembly.
How to Stop a Leaking Kitchen Faucet Safely
Stop a leaking kitchen faucet by isolating the water, diagnosing the leak location, removing the handle and valve retainer, replacing the matching sealing component, and testing the faucet slowly. The repair is generally suitable for a careful DIYer when the shutoff valves work and the faucet body is not cracked or heavily corroded.
Step 1: Shut off both supply valves
Turn the hot and cold shutoff valves clockwise until they stop. Open the faucet fully in the center position to release pressure and drain water from the body. If the valves are quarter-turn types, rotate each handle 90 degrees so the handle is perpendicular to the pipe.
Place a towel under the connections. Close the sink drain or cover it with a cloth before removing any small screw.
Success checkpoint: Water should stop flowing within several seconds after the faucet opens.
Common mistake: Do not assume closing one valve is enough. A mixer faucet can still receive water from the open side.
If a shutoff valve will not close, do not twist it with excessive force. The valve stem may break, or the supply hose may rotate and loosen at the faucet. Turn off the home’s main water supply and arrange a replacement shutoff valve if necessary.
Step 2: Locate the leak and remove the handle
Dry the faucet completely, then turn the water supply back on briefly if the leak location is unclear. Watch whether water appears at the spout tip, handle, base, spray hose, supply connection, or faucet mounting plate. Shut the water off again before disassembly.
Remove the decorative hot or cold cap with a thin flat screwdriver. Loosen the exposed Phillips or hex screw, then pull the handle straight upward or outward according to the faucet design. If the handle is stuck, rock it gently or use a faucet-handle puller.
Success checkpoint: The handle comes off without bending the stem or scratching the finish.
Common mistake: Avoid prying under the handle with a large screwdriver. A cloth-covered trim tool protects the finish and applies force more evenly.
Step 3: Remove the retaining hardware
Under the handle, identify the retaining nut, bonnet, horseshoe clip, cam, or decorative collar. Use an adjustable wrench on the nut while supporting the faucet body with your other hand. For a cartridge held by a clip, photograph the clip orientation before lifting it out.
Turn metal nuts counterclockwise. If the nut is mineral-bound, apply a small amount of penetrating oil to the external thread only, wait 10-15 minutes, and keep the product away from internal water passages.
Success checkpoint: The retaining hardware moves without twisting the faucet body or supply hoses.
Common mistake: Overtightening during reassembly is more damaging than slight under-tightening. Plastic cartridge retainers can crack when treated like pipe fittings.
Step 4: Replace the failed valve component
The repair component depends on the faucet mechanism. Match the old part by brand, model, dimensions, stem shape, and alignment features rather than by color or appearance alone.
| Faucet mechanism | Usual leak location | Replacement part | Typical DIY time |
|---|---|---|---|
| Compression, two handles | Spout tip or handle stem | Rubber washer, packing, or seat | 20-40 minutes |
| Cartridge, one or two handles | Spout, handle, or base | O-rings or complete cartridge | 30-60 minutes |
| Ball valve, one handle | Spout or handle base | Seats, springs, cam, ball, or O-rings | 40-75 minutes |
| Ceramic disc, one handle | Spout or handle base | Cartridge, seals, or inlet screens | 30-60 minutes |
Compression faucet
Unscrew the stem from the faucet body. Remove the small screw holding the rubber washer at the stem tip, install a washer with the same diameter and thickness, and inspect the metal valve seat. A scratched seat can destroy a new washer quickly.
Replace hardened or flattened packing around the stem. Apply a thin film of silicone grease to the new packing, then reinstall the stem without forcing the threads.
Cartridge or ceramic-disc faucet
Pull the cartridge straight out after removing the retainer. A cartridge puller is safer than locking pliers when the part is seized. Compare the new cartridge with the old one before installation, paying attention to the locating tabs and stem position.
Clean the valve chamber with a soft cloth and diluted white vinegar for mineral scale. Do not scrape ceramic sealing surfaces with a screwdriver. Install new O-rings with a thin coat of silicone grease and seat the cartridge fully before tightening the retainer.
Ball faucet
Remove the cap, cam, and ball assembly in sequence. Lift the rubber seats and springs from their recesses with a small screwdriver, then install the replacement seats with the springs beneath them if the repair kit specifies that orientation.
Inspect the ball for grooves, pitting, or corrosion. New seats will not reliably seal against a damaged ball, so replace the ball assembly when the polished surface has visible wear.
Success checkpoint: The replacement part sits flush, aligns with its locating tab, and requires no hammering.
Common mistake: Do not substitute a generic cartridge solely because it fits the opening. A slightly different stem position can leave hot and cold ports partially open.
Step 5: Clean the valve body and reassemble
Remove grit, scale, and fragments of old rubber from the valve chamber. Use a soft nylon brush or cloth. Rinse removable parts with clean water and wipe the chamber dry enough to see the sealing surfaces.
Apply a thin layer of silicone plumber’s grease to O-rings. Reinstall the cartridge, ball assembly, cam, retaining clip, nut, handle, and decorative cap in the reverse order. Tighten the retaining nut firmly by hand, then add a small wrench turn if the manufacturer’s instructions allow it.
Success checkpoint: The handle moves through its normal range without binding or excessive resistance.
Common mistake: A thick coating of grease does not compensate for a damaged O-ring. Excess grease can collect grit and make a cartridge difficult to seat.
Step 6: Restore water and test gradually
Open each shutoff valve slowly while the faucet is open. Start with a small flow, then close the handle and inspect the spout and handle base. Check under the sink with a dry tissue around every compression nut and hose connection.
Run the faucet for 30-60 seconds to flush loose debris. Remove and rinse the aerator if the flow is restricted after repair.
Success checkpoint: No drip appears after five minutes with the faucet closed, and no tissue becomes damp under the sink.
Common mistake: Opening the supply valves suddenly can dislodge sediment and push it into the newly replaced seal.
Which Faucet Mechanism Needs Repair?
The faucet mechanism can usually be identified by the number of handles and the internal hardware revealed after the handle is removed. Two-handle faucets are commonly compression or cartridge types, while single-handle faucets commonly use cartridges, balls, or ceramic discs.
| Identification clue | Likely mechanism | Main internal part | Repair warning |
|---|---|---|---|
| Two handles, stem turns several times | Compression | Rubber washer and valve seat | Seat damage causes repeat leaks |
| One handle, removable plastic or brass sleeve | Cartridge | Cartridge and O-rings | Exact model matching matters |
| One handle, dome cap and round ball | Ball valve | Ball, cam, seats, springs | Several small parts can be misplaced |
| One handle, short controlled movement | Ceramic disc | Disc cartridge and inlet seals | Ceramic surfaces tolerate little grit |
A brand logo, model number, or cartridge code is more reliable than mechanism appearance. If no model number is visible, take the removed cartridge to a plumbing supplier and compare stem length, body diameter, tabs, and port arrangement.
Where Is the Faucet Leaking?
Leak location narrows the diagnosis, but it does not identify the replacement part by itself. A spout drip points toward the main valve seal, while a leak below the handle often involves an O-ring or stem packing.
| Leak location | Likely cause | First repair action | Escalation signal |
|---|---|---|---|
| Spout tip when closed | Washer, cartridge, ball seat | Replace valve seal or cartridge | Drip remains with new part |
| Around handle | Stem packing or upper O-ring | Replace packing or O-ring | Stem is scored or bent |
| Faucet base | Base O-ring or loose mounting | Clean, replace gasket, tighten mount | Faucet body is cracked |
| Pull-out hose connection | Hose seal or quick-connect clip | Reseat or replace hose seal | Hose jacket is split |
| Under-sink supply nut | Loose connection or failed hose gasket | Tighten slightly or replace hose | Hose bulges or corrodes |
| Spray head diverter | Clogged aerator or diverter seal | Clean aerator and inspect diverter | Water bypasses continuously |
Water under the sink is not always a faucet-body leak. Dry every component, wrap tissue around each joint, and identify the first wet point while the faucet runs. Tightening a connection that is not leaking can distort a gasket and create a new failure.
Repair or Replace the Faucet?
Repair the faucet when the leak has one identifiable cause, replacement parts remain available, and the body and threads are sound. Replace the faucet when multiple seals fail, the body is corroded or cracked, the cartridge is discontinued, or repair parts approach the price of a dependable new fixture.
| Decision factor | Repair is reasonable | Replacement is more practical |
|---|---|---|
| Faucet age | Under 8 years with one leak | Over 10-15 years with repeated leaks |
| Repair cost | $5-$80 in parts | $120-$500 installed, typical |
| Leak pattern | One location only | Spout, base, and hose leaks together |
| Valve body | Clean brass or intact plastic | Cracked, pitted, or heavily corroded |
| Parts availability | Identifiable current cartridge | Discontinued cartridge or unknown brand |
| Feature needs | Existing height and spray meet needs | Need a pull-down, filtered, or touchless faucet |
A replacement faucet also requires checking sink-hole count, hole spacing, deck thickness, supply-hose length, and clearance below the counter. A technically sound faucet may still be a poor replacement if its shank cannot pass through the sink or its handle hits a backsplash.
How Much Time and Money Does Repair Take?
A basic washer or O-ring repair typically costs $5-$20 and takes 20-40 minutes. Cartridge repairs commonly cost $15-$80 and take 30-60 minutes, while professional service often adds approximately $100-$250 depending on region, access, emergency timing, and the failed shutoff valve.
| Repair or option | Typical parts cost | Typical labor or DIY time | Best use |
|---|---|---|---|
| Compression washer kit | $5-$15 | 20-40 minutes DIY | Older two-handle faucet |
| O-ring and seat kit | $8-$25 | 30-60 minutes DIY | Serviceable cartridge or ball valve |
| Replacement cartridge | $15-$80 | 30-60 minutes DIY | Known brand and model |
| Plumber faucet repair | $100-$250 labor | 45-120 minutes | Stuck parts or failed valves |
| New faucet installation | $120-$500 fixture | 1-3 hours installed | Corrosion or repeated failures |
The often-repeated claim that ten drips per minute always wastes 3,000 litres annually is not universal because droplet size varies by aerator and pressure. The U.S. Environmental Protection Agency’s WaterSense program uses a different benchmark, stating that a faucet leaking at one drip per second can waste more than 3,000 gallons, or about 11,300 litres, per year.
Fixing a slow leak also protects cabinetry and flooring. Moisture beneath a sink can swell particleboard, corrode shutoff valves, and create concealed mold conditions even when the visible drip seems minor.
Common Mistakes and How to Fix Them
Most failed faucet repairs result from incorrect diagnosis, wrong replacement parts, damaged threads, or debris left in the valve body. Recovery depends on whether the new seal is misaligned or the faucet itself has a damaged seat, cartridge chamber, or supply connection.
- The new cartridge still leaks: Remove it, inspect the chamber for grit, confirm the orientation, and check whether the cartridge is the exact model. Replace a scratched valve body rather than repeatedly changing cartridges.
- The handle is stiff after repair: Shut off water, remove the handle, and check for a pinched O-ring or incorrectly seated cartridge. Do not force the handle because excess resistance can break the stem.
- The retaining nut will not move: Support the faucet body, use the correct wrench size, and apply external penetrating oil to the thread. A cartridge puller is safer than twisting the entire faucet.
- The compression faucet leaks after a washer change: Inspect the valve seat for grooves. A seat-replacement tool may restore a serviceable faucet, but a deeply corroded seat requires a new valve assembly or faucet.
- Water flow drops after repair: Remove and rinse the aerator and inlet screens. Sediment released during service commonly blocks these small passages.
- The leak is under the sink: Dry all connections and test with tissue. Replace a hose with corrosion, bulging, or a damaged gasket instead of repeatedly tightening the nut.
One practitioner rule matters here: tighten fittings only until the connection seals. Wrench force cannot repair a missing, split, or distorted gasket.
What Changes for Special Situations?
Different faucet designs and household conditions change the repair sequence, tool choice, or safe stopping point. Pull-out sprayers, hard-water scale, rental restrictions, and emergency leaks require diagnosis before ordinary cartridge replacement.
Pull-out and pull-down faucets
A hose leak may occur at the quick-connect fitting rather than inside the valve. Turn off the supplies, release the retaining clip, inspect the O-ring, and confirm that the hose is fully seated. Replace a cracked hose; do not wrap thread tape around a quick-connect seal.
Hard-water areas
Calcium carbonate scale can bind a cartridge and clog inlet screens. Vinegar can loosen moderate mineral deposits on removable parts, but do not soak unknown finishes, rubber components, or manufacturer-coated surfaces for extended periods. Severe scale may require a replacement cartridge.
Rental properties
A renter should photograph the leak and notify the landlord or property manager before replacing the faucet. A washer repair may be minor, but unauthorized fixture changes can affect the lease, warranty, or responsibility for water damage.
Emergency leaks
If water cannot be stopped at the faucet valves, close the nearest working isolation valve or the home’s main shutoff. A burst supply hose, cracked faucet body, or uncontrolled leak under pressure requires immediate isolation and professional plumbing help.
When Should You Call a Plumber?
Call a plumber when the shutoff valve will not close, the supply hose is damaged, the faucet body is cracked, the cartridge cannot be removed without damaging the housing, or water continues leaking after correct parts and orientation are verified. Professional help is also appropriate when a cabinet, wall, or floor has sustained water damage.
Stop DIY work if the faucet begins turning in the countertop, a copper or braided supply line twists, or a corroded nut starts deforming. Those symptoms indicate that the problem may involve the mounting hardware, shutoff valve, or building plumbing rather than a simple faucet seal.
FAQ
Can I stop a faucet drip without replacing the cartridge?
A temporary reduction may come from cleaning the aerator or reseating a loose handle, but a closed-faucet drip usually requires a new washer, cartridge, ball seat, or disc seal. Do not rely on tightening the handle because handle pressure does not restore a worn internal valve surface.
Why does my faucet leak only when the handle is turned?
A leak that appears only during operation often comes from a loose connection, damaged cartridge O-ring, cracked hose, or worn stem packing. Dry the faucet, operate it slowly, and identify the first wet point before removing the handle or tightening a fitting.
Can vinegar fix a leaking kitchen faucet?
Vinegar can dissolve moderate mineral scale on removable metal parts, but it cannot repair a torn washer, flattened O-ring, cracked cartridge, or damaged valve seat. Use diluted vinegar briefly, rinse parts completely, and follow the manufacturer’s finish restrictions.
How do I find the correct replacement cartridge?
Remove the old cartridge and match its brand, model code, body diameter, stem length, spline pattern, locating tabs, and port arrangement. A hardware-store comparison based only on external color or approximate shape frequently produces a cartridge that fits but does not seal.
Is a dripping faucet an emergency?
A slow spout drip is usually a prompt repair rather than an emergency, but water spraying from a supply hose, leaking into the cabinet, or flowing after both faucet valves are closed requires immediate isolation. Hidden cabinet moisture can cause structural and mold damage.
How long should a repaired faucet last?
A repair can last several years when the replacement part matches, the valve body is smooth, and the water system has manageable sediment. A faucet with repeated seal failures, extensive corrosion, or discontinued parts may fail again soon and deserves replacement rather than another inexpensive repair.
The Bottom Line
To stop a leaking kitchen faucet, diagnose the leak location, identify the valve mechanism, shut off both supplies, and install the exact washer, O-ring, cartridge, ball-valve seal, or ceramic component required. A clean valve chamber and gradual water test prevent many repeat failures. Repair remains worthwhile when the faucet body is sound; replacement is usually better for a corroded, obsolete, or repeatedly leaking fixture.