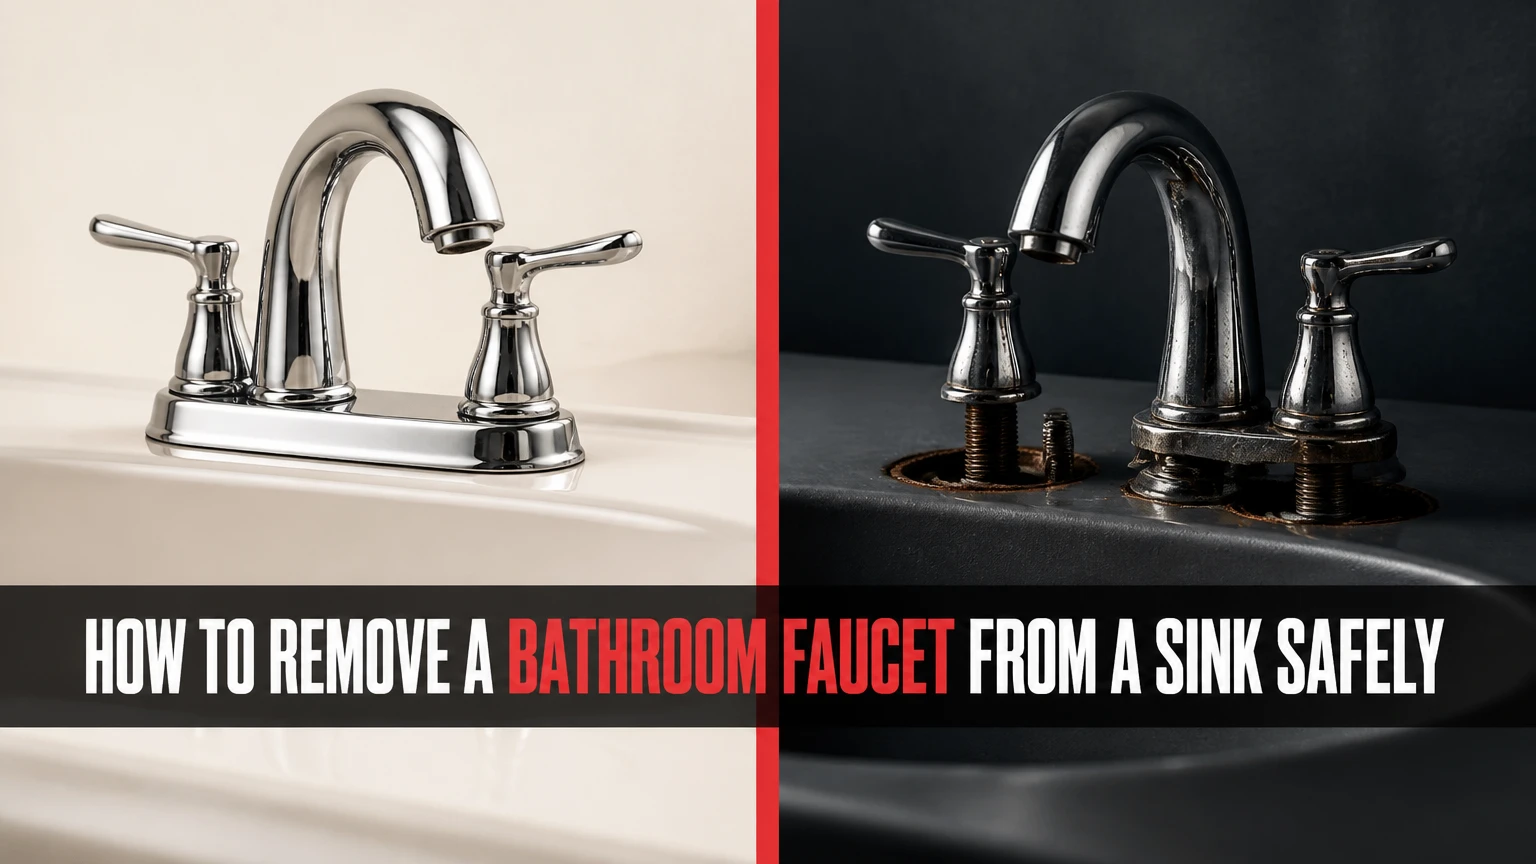
To remove a bathroom faucet from a sink, shut off the hot and cold water, open the faucet to release pressure, disconnect the supply lines, remove the mounting hardware underneath, and lift the faucet straight up. Most bathroom faucets take 45-90 minutes to remove, with success depending mainly on access and corrosion beneath the sink.
Key Facts at a Glance
A bathroom faucet is held to the sink by one or more mounting nuts, brackets, or a threaded mounting plate beneath the basin.
Turn both under-sink shutoff valves clockwise, then open the faucet handles before disconnecting any hose.
A basin wrench reaches faucet mounting nuts that an ordinary adjustable wrench often cannot grip.
Centerset and single-hole faucets usually lift out as one assembly; widespread faucets may have separate spout and handle bodies.
Typical DIY removal costs $15-$40 when the existing shutoff valves and supply hoses remain usable.
Do not force a seized connection if a shutoff valve twists, leaks, or moves inside the wall.
Before You Start
Bathroom faucet removal is usually a moderate DIY plumbing task, not a water-supply installation. The work becomes substantially harder when the cabinet opening is narrow, the mounting nut is heavily corroded, or the faucet uses rigid copper tubing rather than removable braided connectors.
Clear the cabinet completely. Place a work light at the back of the vanity, spread a towel across the cabinet floor, and put a bucket directly under the hose connections. Photograph the plumbing before disconnecting anything. The image records which line is hot, which line is cold, and how the drain hardware is arranged.
Time, difficulty, and cost
| Job condition | Typical time | Typical DIY cost | Difficulty |
|---|---|---|---|
| Newer single-hole faucet, accessible cabinet | 30-45 minutes | $10-$20 | Low |
| Centerset faucet with ordinary corrosion | 45-75 minutes | $15-$40 | Moderate |
| Widespread faucet with three supply connections | 60-120 minutes | $20-$50 | Moderate |
| Seized hardware or rigid copper tubing | 90+ minutes | $30-$100 | High |
The $15-$40 figure assumes you need basic consumables or a basin wrench but already own an adjustable wrench. A plumber commonly charges about $150-$350 or more for a straightforward faucet replacement or removal, although local labor rates, access, and emergency scheduling can change that range.
Tools and materials
| Tool or material | Quantity | Function | Useful specification |
|---|---|---|---|
| Adjustable wrench | 1 | Disconnect supply-line nuts | 6-10 inch jaw range |
| Basin wrench | 1 | Reach faucet mounting nuts | Telescoping or fixed head |
| Tongue-and-groove pliers | 1 pair | Hold fittings or remove plastic nuts | 8-12 inch length |
| Bucket | 1 | Catch residual water | 1-2 gallon capacity |
| Towels | 2-4 | Protect cabinet and dry fittings | Absorbent cotton or microfiber |
| Penetrating oil | 1 can | Loosen corroded metal threads | Apply 10-15 minutes before retrying |
| Plastic scraper | 1 | Remove putty and silicone | Nonmetal edge for porcelain |
| Headlamp or work light | 1 | Illuminate the mounting area | Battery-powered |
A faucet-and-sink installer tool can replace several tools for some plastic and brass mounting nuts. It is useful in cramped cabinets, but it is not a substitute for pliers when a shutoff valve or supply-line fitting must be held stationary.
What Faucet Type Is Installed?
The faucet configuration determines how many mounting points and water connections you will find under the sink. Identify the configuration from above before lying inside the cabinet, because the removal sequence changes most noticeably with widespread faucets.
| Faucet configuration | Sink holes | Typical hole spacing | Under-sink connections | Removal pattern |
|---|---|---|---|---|
| Single-hole, single-handle | 1 | 0 inches between holes | 2 supply lines | One mounting nut or bracket |
| Centerset, two-handle | 3 | 4 inches center-to-center | 2 supply lines | One base plate with 1-3 nuts |
| Centerset, single-handle | 1 or 3 | 4 inches if deck plate is used | 2 supply lines | One body, plate may remain separately |
| Widespread, two-handle | 3 | 8-12 inches | 3 or more supply lines | Spout and handles detach separately |
| Wall-mounted lavatory faucet | 0 deck holes | Wall valve spacing varies | In-wall connections | Not a normal sink-top removal |
A centerset faucet has its spout and handles on one compact base. A widespread faucet has separate handle valves and a separate spout, so removing it can require disconnecting several flexible tubes below the sink. A deck plate may cover unused holes, but the plate does not necessarily hold the faucet in place.
How to Remove a Bathroom Faucet From a Sink
Use the following five-step sequence for most single-hole and centerset bathroom faucets. Widespread faucets follow the same shutoff and supply-line steps, but each separate body usually has its own mounting hardware.
Step 1: Clear and inspect the workspace
Remove stored items, drawers, and removable shelves from the vanity. Place the bucket under the shutoff valves, then use a flashlight or headlamp to identify the hot line, cold line, supply connections, and faucet mounting hardware.
Look for a label on each shutoff valve. In a typical installation, the left valve supplies hot water and the right valve supplies cold water, but installers do not always follow that arrangement. Do not rely on position alone.
You will know the workspace is ready when you can see both supply-line nuts and can place a wrench on each without pushing against the cabinet wall. The common mistake is beginning before the bucket can catch water from both connections.
Step 2: Shut off the water and drain the faucet
Turn the hot and cold shutoff valves clockwise until they stop. Do not use pliers on a small oval handle unless the valve manufacturer permits it, because excessive force can damage the stem or valve body.
Open both bathroom faucet handles and leave them open until water stops flowing. If the faucet has a pull-up drain rod, lifting the rod is unnecessary for water shutoff. Confirm that no pressurized water remains before loosening a supply connection.
The shutoff has worked when the faucet produces no steady stream and the pressure falls within several seconds. A common mistake is closing only the cold valve, which leaves the hot side pressurized.
If either valve is frozen, leaks around its stem, or turns without stopping the water, close the home’s main shutoff instead. Open a lower-level faucet to drain pressure, and plan to replace the defective valve rather than forcing the faucet connection.
Step 3: Disconnect the water supply lines
Place the bucket beneath the first shutoff valve. Hold the valve body or its outlet with one wrench if necessary, then loosen the supply-line compression nut counterclockwise with the second wrench.
Disconnect the lower end of each flexible hose first. A small amount of trapped water is normal. After the lower connections are free, disconnect the upper hose connections from the faucet shanks, unless the hoses are permanently attached to the faucet or cannot be reached.
| Supply connection | Tool approach | Expected water | Replacement concern |
|---|---|---|---|
| Braided hose with compression nut | Adjustable wrench | 1-2 cups per line | Replace if kinked or corroded |
| Faucet hose with hand-tight swivel nut | Hand first, wrench second | Less than 1 cup | Do not crush plastic nut |
| Rigid copper tube | Two adjustable wrenches | 1-2 cups | Professional help often safer |
| Corroded steel connector | Penetrating oil and backup wrench | Up to 2 cups | Replace connector after removal |
| Widespread faucet tube set | Label each tube, then disconnect | 1-3 cups total | Photograph routing first |
The connection is fully disconnected when the hose no longer turns the faucet shank or remains attached to the shutoff valve. The common mistake is twisting the shutoff valve while loosening the hose. Always stabilize the valve body.
If a braided hose is fused to the faucet and the lower connection is accessible, disconnect it at the shutoff valve instead. The faucet can often be lifted out with the old hose attached, and new supply lines should then be installed with the replacement faucet.
Step 4: Remove the mounting nuts or bracket
Reach up behind the sink and locate the threaded faucet shank. A single-hole faucet commonly has one large nut, washer, and horseshoe-shaped bracket. A centerset faucet may have one nut at each end or a central mounting plate. Remove every nut or bracket that clamps the fixture to the sink.
Turn each mounting nut counterclockwise when viewed from below. Use a basin wrench for metal nuts in the narrow area behind the bowl. Use your hand or a plastic faucet tool first on plastic nuts, because a metal wrench can round or crack them.
Ask a helper to hold the faucet body from above if the shank spins with the nut. Keep the faucet centered while breaking the nut loose. Turning a free-spinning shank repeatedly can twist attached hoses, damage the sink seal, or make the nut harder to reach.
You will know the hardware is free when the faucet body moves slightly in the sink holes and the bracket drops away from the shank. The common mistake is removing one visible nut while a second bracket remains hidden behind the basin.
What if the mounting nut is seized?
Apply penetrating oil to the exposed threads and wait 10-15 minutes. Protect the sink and cabinet from overspray, then try short, controlled turns while holding the faucet above.
If the nut remains immovable, use a basin-wrench extension, a dedicated faucet-nut removal tool, or a nut splitter designed for the hardware size. A rotary cut-off tool can remove a metal nut, but it requires sink protection and careful control around porcelain, acrylic, and supply hoses.
Do not heat plumbing hardware beneath a vanity. Heat can damage plastic valves, cabinet materials, supply hoses, and nearby sealants. Stop and call a plumber if the pipe or shutoff valve moves with the nut, if water begins leaking, or if the sink starts flexing.
Step 5: Lift out the faucet and clean the sink
From above the sink, pull the faucet vertically through the mounting holes. If a deck plate is present, lift the faucet and plate separately when the plate is not mechanically attached to the faucet.
A pop-up drain lift rod usually does not need to be disconnected to remove a bathroom faucet. Disconnect the drain linkage only if the rod passes through the faucet body, obstructs the mounting hardware, or must be removed with the faucet. In that case, remove the spring clip from the horizontal ball rod and slide the lift rod free.
Use a plastic scraper to remove old plumber’s putty, silicone, mineral scale, and rubber gasket residue. On porcelain or vitreous china, avoid steel blades that can scratch the glazed surface. On a stone countertop, remove cured silicone carefully without gouging the sealant joint.
The sink is ready for a replacement faucet when the mounting surface is smooth, dry, and free of old gasket material. The common mistake is installing a new fixture over hardened putty or mineral deposits, which can leave the base uneven and create a leak path.
How Do You Handle Special Sink and Faucet Situations?
Special installations require the same isolation principles but may need different access or removal tools. Do not treat a wall-mounted faucet, pedestal sink, or rigid-tubing connection like a standard vanity installation.
| Situation | Main complication | Recommended approach | Stop condition |
|---|---|---|---|
| Pedestal sink | Little cabinet access | Remove pedestal access cover or use a compact wrench | Basin must not be used as a wrench brace |
| Glass vessel sink | Fragile bowl and exposed seal | Support faucet from above while loosening below | Any cracking or movement |
| Cast-iron sink | Heavy, durable basin | Use normal wrench technique with sink support | Faucet body will not lift after nuts are removed |
| Acrylic sink | Flexible mounting surface | Use low force and wide support washer | Surface begins deforming |
| Widespread faucet | Separate bodies and extra tubes | Label each tube, then remove each mounting nut | Hidden connection remains under a handle |
| Rigid copper lines | Soldered or compression connections | Use two-wrench technique or hire a plumber | Pipe rotates inside wall or joint sweats |
A bathroom vanity with a false bottom may conceal the shutoff valves and mounting hardware. Remove only panels intended for service access, and do not cut the cabinet until the faucet manufacturer’s mounting dimensions and plumbing route are understood.
An integrated sink and countertop can have a faucet that is clamped to the countertop rather than the ceramic basin. The removal method remains similar, but the mounting surface is more vulnerable to chipping at the drilled holes.
Which Tool Works Best for Each Faucet Nut?
A basin wrench is the best general-purpose tool for faucet mounting nuts located behind a sink bowl. An adjustable wrench is better for supply-line compression nuts when there is enough side clearance, while pliers are useful for holding a valve body or gripping a loose plastic bracket.
| Hardware location | Preferred tool | Typical size or reach | Avoid |
|---|---|---|---|
| Faucet mounting nut behind bowl | Basin wrench | 10-17 inch adjustable reach | Short open-end wrench |
| Compression nut at shutoff | Adjustable wrench | 6-10 inches | Locking pliers on hex flats |
| Plastic mounting nut | Hand or faucet installer tool | 1-2.5 inch nut range | High-force channel locks |
| Corroded metal nut | Basin wrench or nut splitter | 10-17 inch reach | Hammering against porcelain |
| Faucet shank that spins | Pliers from above with helper | 8-12 inch plier length | Twisting the supply hose |
| Silicone seal around base | Plastic scraper | 1-2 inch blade | Utility blade on glazed ceramic |
A basin wrench works by gripping the nut with a pivoting jaw while its long handle provides leverage in a confined space. The tool is less effective when the nut is plastic, badly rounded, or positioned at an angle that prevents the jaw from seating fully.
An expert rule of thumb is to improve access before increasing force. Removing a vanity drawer, adding a headlamp, or using a shorter tool often prevents more damage than applying a longer wrench to a poorly supported fitting.
What Are the Most Common Removal Mistakes?
The most expensive mistakes involve water isolation, unsupported fittings, and excessive force. Correcting the process early is safer than repairing a cracked sink, broken shutoff valve, or flooded cabinet later.
Forcing a frozen shutoff valve
A stuck angle-stop valve can break internally or begin leaking at the stem. Close the main water supply if the local valve cannot stop flow, then replace the angle stop after the faucet is removed.
Holding the wrong part
Turning the supply-line nut without supporting the shutoff valve can rotate the valve and stress the pipe stub-out. Use two wrenches when the valve body or threaded outlet moves.
Pulling before all hardware is free
A faucet that lifts only a few millimeters may still have a hidden mounting bracket, retaining plate, or widespread tube attached. Reinspect from above and below rather than rocking the faucet aggressively.
Cutting without protecting the sink
A hacksaw or rotary tool can remove a seized nut, but its blade can scratch porcelain or cut a supply hose. Cover the sink with cardboard or a folded towel, shield hoses, and use a nut splitter first when practical.
Reusing damaged supply hoses
A hose with bulging braid, green corrosion, flattened bends, or a damaged washer should be replaced. Flexible supply hoses are inexpensive compared with cabinet-floor water damage, and old washers may not reseal after being disturbed.
When Should You Call a Plumber?
Call a plumber when a shutoff valve will not stop water, a rigid pipe rotates inside the wall, a soldered copper connection must be altered, or the faucet is mounted where you cannot safely see the connection. Professional help is also appropriate for a cracked porcelain sink, a leaking wall connection, or water damage inside the vanity.
A plumber is not automatically required for a corroded faucet nut. A basin wrench, penetrating oil, and a controlled nut-splitting method can resolve many seized fasteners. The dividing line is whether force is being transferred into the sink or the building’s water piping.
Older homes may have galvanized steel or copper supply piping with fragile threaded joints. If the pipe stub-out moves when the shutoff valve is held, stop turning. A hidden leak inside the wall can cause more damage than the original faucet problem.
What Should You Check Before Installing the Replacement?
Measure the sink holes, confirm the faucet configuration, inspect the shutoff valves, and compare the new faucet’s supply-hose length with the distance to the valves. A replacement faucet must match the hole pattern or include a compatible deck plate.
| Check before purchase | Typical bathroom value | Why it matters | Failure if ignored |
|---|---|---|---|
| Single-hole opening | 1-1.5 inches | Fits single-body faucets | Faucet cannot seat |
| Centerset hole spacing | 4 inches center-to-center | Matches compact three-hole bases | Handles do not align |
| Widespread spacing | 8-12 inches center-to-center | Determines tube length | Hoses will not reach |
| Supply connection | 3/8-inch compression at valve | Common North American size | Adapter required |
| Faucet shank length | 1.5-2.5 inches typical | Must clear sink thickness | Nut cannot engage |
| Spout reach | 4-6 inches typical | Controls water landing point | Water strikes basin wall |
Do not assume every faucet uses the same mounting nut. Manufacturers use different brackets, threaded sleeves, rubber seals, and installation tools, so keep the removed hardware separate until the new fixture is fully inspected.
The sink surface should be dry before installing a new gasket or manufacturer-approved sealant. Plumber’s putty is common for some drain and faucet applications, but some faucet manufacturers require silicone or a supplied rubber gasket, particularly on porous or uneven surfaces. Follow the replacement faucet instructions when they differ.
How Long and How Much Does Faucet Removal Take?
Most accessible bathroom faucet removals take 45-90 minutes and cost $15-$40 for a DIYer. A newer single-hole fixture may take 30-45 minutes, while corroded widespread hardware or a pedestal sink can push the job beyond two hours.
| Removal condition | Labor time | Consumables or tools | Typical total DIY cost |
|---|---|---|---|
| Accessible single-hole faucet | 30-45 minutes | Existing wrench, bucket, towels | $0-$20 |
| Standard centerset faucet | 45-75 minutes | Basin wrench, scraper, oil | $15-$40 |
| Widespread faucet | 60-120 minutes | Basin wrench, labels, replacement hoses | $20-$60 |
| Seized metal mounting nut | 90-180 minutes | Penetrating oil, splitter, new hardware | $30-$100 |
| Plumber-assisted removal | 1-2 hours onsite | Labor and possible parts | $150-$350+ |
These are typical planning ranges, not fixed prices. Regional labor, emergency service, cabinet access, faucet brand, and whether shutoff valves must also be replaced have the largest effect on the final bill.
FAQ
Can I remove a bathroom faucet without removing the sink?
Yes, most bathroom faucets can be removed with the sink still installed. The mounting nuts are designed to be accessed from below, although a basin wrench may be necessary when the backsplash or bowl blocks a straight wrench approach. Removing the sink is usually considered only when access is impossible or the countertop is already being replaced.
Do I need to turn off the main water supply?
You need the main water supply only when the under-sink shutoff valves are missing, frozen, damaged, or unable to stop water completely. Close both local valves first, open the faucet to test them, and use the main shutoff if any water continues flowing. Drain pressure before loosening a hose.
How do I remove a faucet when the nut will not turn?
Apply penetrating oil to a metal mounting nut, wait 10-15 minutes, and try a basin wrench while a helper holds the faucet shank or body. If the nut remains seized, use a faucet-nut tool or nut splitter. Stop if the sink flexes, the valve moves, or the pipe connection begins leaking.
Can I reuse the old faucet supply lines?
Reuse a supply line only if its braid, fittings, threads, and sealing washers are undamaged and the replacement faucet accepts the same connection. Replace any hose with corrosion, kinks, bulges, damaged threads, or a compressed washer. New hoses are preferable when the old faucet was removed because of a leak.
Why does the faucet spin while I loosen the mounting nut?
The faucet shank is turning because the mounting nut is gripping the threads while the faucet body has no upper support. Have a helper hold the faucet firmly from above, keep the fixture centered, and turn the nut below. If the shank still spins freely, disconnect any attached hose before continuing.
Does removing the faucet disconnect the pop-up drain?
Usually, no. The pop-up drain linkage is separate from the faucet mounting system and can remain connected during removal. Disconnect the lift rod only when it passes through the faucet, blocks access to a mounting nut, or must leave with the faucet assembly. Photograph the linkage before separating it.
The Bottom Line
To remove a bathroom faucet from a sink, isolate the hot and cold water, drain residual pressure, disconnect the supply lines, remove every mounting nut or bracket, and lift the fixture vertically from above. Budget 45-90 minutes and $15-$40 for a typical DIY job, but stop when a shutoff valve, rigid pipe, or sink begins moving. Proper support and controlled force matter more than the largest wrench.