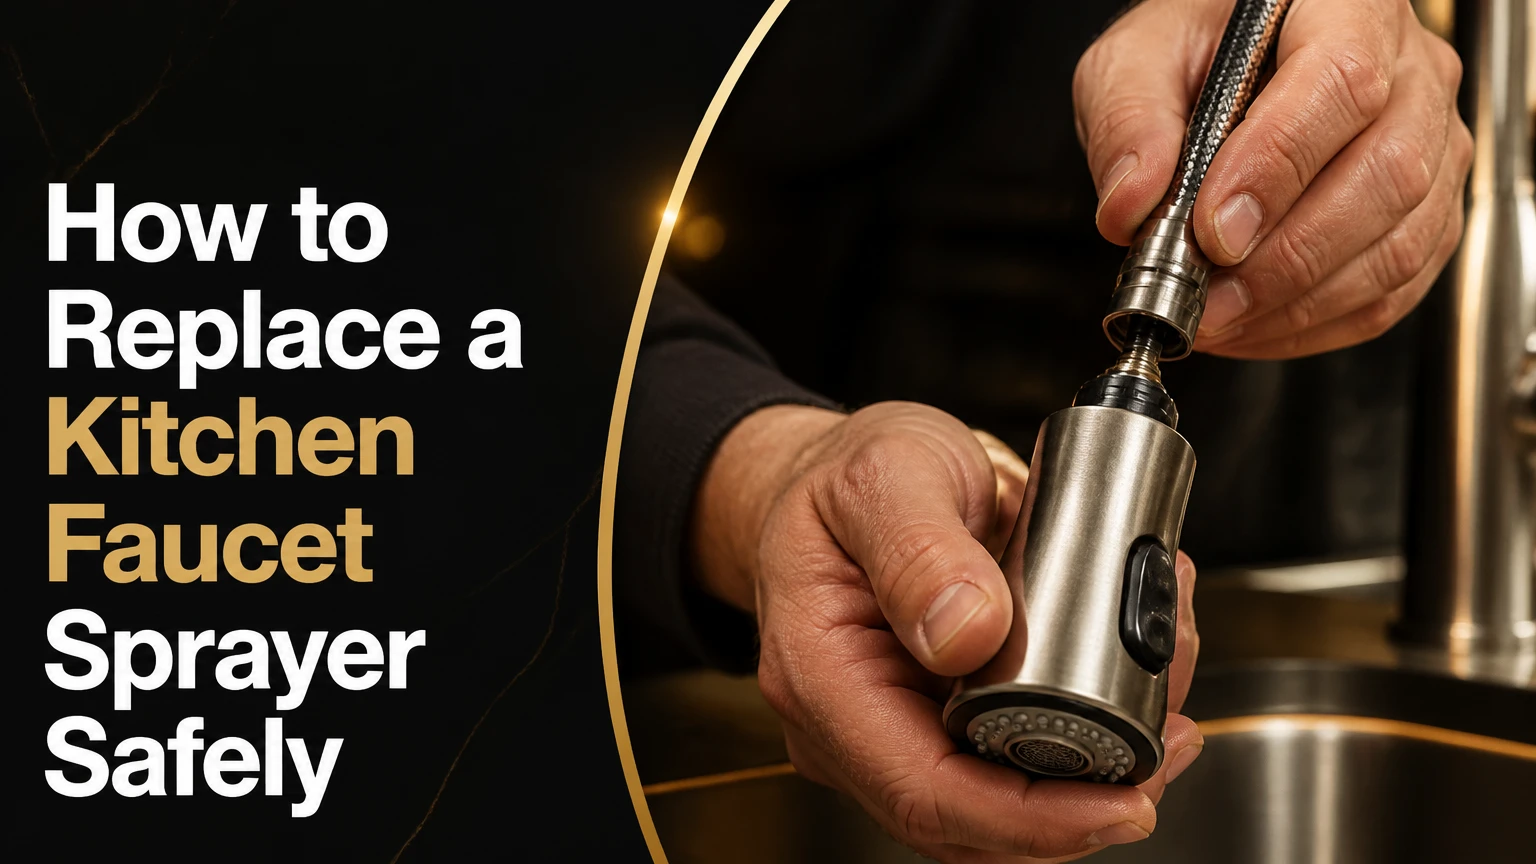
To replace a kitchen faucet sprayer, shut off the hot and cold supply valves, disconnect the old hose beneath the sink, remove the sprayer head and guide, then install a compatible assembly and test every connection for leaks. A side-sprayer replacement usually takes 20-45 minutes; integrated pull-out and pull-down hoses require model-specific parts.
Key Facts at a Glance
A standalone side sprayer connects to a faucet diverter port beneath the sink.
A replacement side-sprayer kit typically costs $15-$40 and installs in 20-45 minutes.
A sealing washer prevents leaks at most threaded sprayer-hose connections.
Plumber’s tape belongs on tapered pipe threads, not on flat-washer connections or most quick-connect fittings.
Pull-out and pull-down hoses are often proprietary, so the faucet model matters more than hose length.
A leak test should use a dry paper towel while the sprayer operates under full pressure.
What Does a Kitchen Faucet Sprayer Do?
A kitchen faucet sprayer is a secondary water outlet connected to the faucet body by a flexible hose. A side sprayer sits in a separate sink-deck hole, while a pull-out or pull-down sprayer is built into the main faucet spout and retracts into the faucet body.
The faucet diverter controls flow on many side-sprayer designs. When the sprayer trigger is pressed, the diverter redirects water from the main spout into the hose. Releasing the trigger returns flow to the spout, although a worn diverter can allow both outlets to run at once.
A side sprayer usually has four serviceable parts: the spray head, hose, support guide, and hose connection. Integrated faucets add a docking sleeve, counterweight, quick-connect fitting, and sometimes a check valve or proprietary adapter. Those parts explain why a universal side-sprayer kit may fit a traditional faucet but fail on a modern pull-down model.
How does the sprayer connection work?
The hose connection transfers pressurized water from the faucet’s diverter outlet to the spray head, and the connection seals either with a rubber washer or with tapered pipe threads. Identifying the sealing method prevents the most common installation error, which is applying tape where a washer should seal.
A female hose nut commonly tightens against a flat rubber washer on a male faucet outlet. The washer creates the seal; the threads hold the parts together. A quick-connect fitting seals through an internal O-ring and locking collar. A tapered pipe-thread adapter seals on the threads and may require compatible thread sealant.
Do not assume every visible thread needs tape. Plumber’s tape cannot repair a missing washer, and excess tape can enter the waterway or prevent a quick-connect fitting from locking.
Which Sprayer Are You Replacing?
Identify the sprayer design before buying parts. A separate trigger head beside the faucet indicates a side sprayer, a head that pulls from the spout indicates a pull-out faucet, and a head that pulls downward from a high-arc body indicates a pull-down faucet.
| Sprayer type | Connection location | Typical replacement part | Extra sink hole |
|---|---|---|---|
| Standalone side sprayer | Faucet diverter port under sink | Head and hose kit, $15-$40 | Usually 1 dedicated hole |
| Pull-out sprayer | Hose inside horizontal faucet spout | Model-specific hose, $20-$50 | Usually none |
| Pull-down sprayer | Hose inside high-arc faucet body | Hose, weight, or head, $20-$80 | Usually none |
| Commercial pre-rinse head | Exposed riser and valve assembly | Spray valve or hose, $25-$100 | Faucet-dependent |
What should you replace: the head, hose, or complete assembly?
Replace only the spray head when the hose is flexible, dry, and undamaged, but the trigger, aerator, or spray pattern has failed. Replace the hose when it is cracked, kinked, swollen, or leaking at the ends. Replace the complete side-sprayer assembly when the guide, head, and hose show wear or when the original connector is corroded.
A head-only repair is usually the lowest-cost option, often $8-$25, but head threads and hose-end threads must match. A complete kit is safer when the old washer has hardened or the hose has rubbed against the cabinet.
Replace the faucet rather than the sprayer when the faucet body diverter is damaged, the mounting hardware is corroded through, or the faucet has several simultaneous failures. A $20 hose cannot correct a cracked faucet casting or a failed internal cartridge.
How Do You Identify a Compatible Replacement?
Match the faucet brand and model first, then verify the connector, thread standard, hose length, head diameter, and deck-hole arrangement. A “universal” label is only useful when the replacement includes the correct adapter and sealing washer for the existing faucet.
Look for a model number on the faucet body, instruction booklet, receipt, underside of the spout, or the manufacturer’s parts diagram. If no model number exists, photograph the hose connection beside a ruler and measure the old hose from fitting to fitting.
| Compatibility check | What to inspect | Typical value or result | Consequence of mismatch |
|---|---|---|---|
| Hose length | Old hose, fitting to fitting | 48-60 inches for many side sprayers | Head cannot reach or excess hose loops |
| Thread type | Male outlet and female hose nut | 1/4-inch NPSM, 1/2-inch IPS, or brand-specific | Cross-threading or persistent leaks |
| Connector style | End fitting beneath faucet | Brass nut, plastic clip, or quick-connect | Hose cannot lock or seat |
| Sink-deck hole | Guide opening | Commonly about 1-1/4 inches, verify locally | Guide will not pass through or will wobble |
| Faucet brand | Logo and model record | Moen, Delta, Kohler, Pfister, and others | Proprietary hose may be required |
| Sealing method | Washer, O-ring, or tapered thread | Replace damaged seal with exact type | Tape fails to stop washer-seal leaks |
Do not force a 1/2-inch fitting onto a 1/4-inch outlet. Do not cut a proprietary quick-connect from a hose to create a threaded connection. The altered hose may lack the correct O-ring, retention collar, or backflow component.
What Tools and Materials Do You Need?
A typical side-sprayer replacement needs an adjustable wrench, slip-joint pliers, a bucket, two towels, a flashlight, and the replacement assembly. A basin wrench is useful when the guide’s mounting nut is inaccessible, while penetrating oil helps with corrosion but does not substitute for the correct wrench.
Before you start
| Item | Typical requirement | Why it matters |
|---|---|---|
| Project time | 20-45 minutes | Includes removal, installation, and leak testing |
| DIY difficulty | Beginner, 1 out of 5 | Tight access is the main physical challenge |
| Replacement kit | 1 compatible head and hose | Match connector and sealing method |
| Adjustable wrench | 1, usually 6-10 inches | Removes threaded hose nuts |
| Bucket | 1, 1-2 gallons | Catches residual water |
| Dry towels | 2-3 | Protects the cabinet and exposes seepage |
| Plumber’s tape | 1 roll, only if specified | Seals compatible tapered threads |
| Flashlight | 1 | Shows hidden clips and corrosion |
Place a towel inside the cabinet before loosening the connection. Remove bottles, trash bins, and stored objects from the hose path because a clear connection can still fail when the new hose catches on an obstruction.
How Do You Replace a Kitchen Faucet Sprayer?
Replace a kitchen faucet sprayer in seven actions: isolate water, release pressure, disconnect the old hose, remove the old assembly, install the guide, connect the new hose, and perform a staged leak test. The connection type and the presence of a sealing washer determine whether the installation succeeds.
Step 1: Shut off the water and release pressure
Turn the hot and cold stop valves clockwise until they stop, then open the faucet and press the sprayer trigger to drain residual pressure. If either valve will not close completely, shut off the home’s main water supply before loosening the hose.
Place the bucket under the faucet connection. Confirm that water has stopped before continuing.
Success checkpoint: The faucet produces no continuous stream, and only a small amount of trapped water enters the bucket.
Common mistake: Closing the faucet handles without closing the supply valves. Faucet handles do not isolate the hose connection.
Step 2: Disconnect the old sprayer hose
Use one wrench to stabilize the faucet’s diverter outlet and a second wrench, if needed, to loosen the hose nut counterclockwise. For a quick-connect fitting, release the retaining clip or squeeze the collar or tabs specified by the manufacturer, then pull the hose straight down.
Keep the bucket beneath the joint because the hose can hold several tablespoons of water. If mineral deposits or corrosion resist movement, apply penetrating oil to the metal connection, wait 10-15 minutes, and protect plastic parts from chemical contact.
Success checkpoint: The hose separates without twisting the faucet body or damaging the outlet.
Common mistake: Pulling a quick-connect hose without releasing its collar, which can break the locking tabs.
Step 3: Remove the old sprayer head and hose
Lift the old spray head from the sink deck and pull the hose upward through the support guide. If the head will not pass through the guide, remove the guide’s mounting nut from below the sink and take out the entire guide.
Inspect the removed parts. Look for a flattened washer, green corrosion on brass, cracked plastic, a split hose near the fitting, or rub marks caused by cabinet hardware.
Success checkpoint: The deck hole is empty and free of old gasket fragments or mineral scale.
Common mistake: Leaving the old washer inside the faucet outlet, where it blocks the new washer and creates a double seal.
Step 4: Install or replace the support guide
Insert the new guide from above the sink, using its supplied gasket or escutcheon in the orientation shown by the instructions. From below, thread on the mounting nut and tighten it by hand, followed by a small wrench adjustment, generally no more than one-quarter turn.
The guide must suit the sink-deck thickness. A loose guide can rotate and twist the hose; an overtightened plastic nut can crack before the guide feels secure.
Success checkpoint: The guide sits vertically, does not rotate under light hand pressure, and the spray head rests fully in its opening.
Common mistake: Omitting the upper gasket, which allows water from the sink deck to enter the cabinet.
Step 5: Connect the new hose to the diverter outlet
Feed the hose through the guide from above, then connect it beneath the sink. For a washer-sealed threaded connection, place the new rubber washer inside the hose nut, thread the nut by hand, and tighten it until snug. For tapered pipe threads, apply two or three clockwise wraps of approved plumber’s tape, keeping the first thread clear.
Push a quick-connect adapter straight onto its port until the retaining mechanism locks. Reinstall the retaining clip when the design uses one, then pull downward gently to confirm engagement.
Success checkpoint: The hose nut is straight, the washer remains centered, or the quick-connect collar is fully seated and locked.
Common mistake: Using tape on a flat-washer connection and tightening until the plastic nut splits.
Step 6: Route the hose and install the weight when required
Route the hose in a smooth loop with no sharp bend, cabinet contact, or interference from the drain trap. For a pull-out or pull-down faucet, reinstall the manufacturer’s counterweight at the marked location, which is commonly about 2 inches above the lowest part of the hose loop.
A side sprayer generally does not need a counterweight. Adding an arbitrary weight can restrict extension or stress the diverter connection.
Success checkpoint: The head extends fully, retracts without a tug, and does not strike the cabinet base.
Common mistake: Mounting the weight too close to the spray head, which shortens travel and causes docking problems.
Step 7: Restore water and test every connection
Close the faucet, open the cold and hot stop valves slowly, and watch the connection while pressure returns. Dry the joint completely, run the main faucet for 30 seconds, activate the sprayer for 30 seconds, and inspect again with a dry paper towel.
Test the head in every spray mode, then retract it several times. A paper towel reveals a slow seep that may remain invisible on a dark cabinet floor.
Success checkpoint: The towel stays dry, the main spout stops when the side sprayer operates, and the head returns to its guide.
Common mistake: Testing only with the faucet barely open, which does not reproduce full operating pressure.
How Much Does Sprayer Replacement Cost?
A DIY side-sprayer replacement typically costs $15-$40 for a complete kit and takes 20-45 minutes. A model-specific pull-out or pull-down hose commonly costs $20-$80, while professional service often adds approximately $150-$300 depending on access and local labor rates.
| Repair scope | DIY parts range | Typical time | Professional total |
|---|---|---|---|
| Spray head only | $8-$25 | 10-20 minutes | $100-$200 |
| Side-sprayer head and hose | $15-$40 | 20-45 minutes | $150-$300 |
| Pull-out hose | $20-$60 | 30-60 minutes | $175-$350 |
| Pull-down hose and weight | $30-$80 | 30-75 minutes | $175-$400 |
| Complete faucet replacement | $80-$400 | 1-3 hours | $250-$700 |
These are typical planning ranges, not a quote. Proprietary hoses, difficult cabinet access, seized shutoff valves, and corroded mounting hardware increase the final cost.
What Are the Main Failure Modes?
Most failed sprayer installations result from an incorrect connector, a displaced washer, an obstructed hose path, or an internal faucet diverter problem. Recheck compatibility before replacing a second part, because changing the spray head cannot fix a faulty faucet valve.
| Symptom | Likely cause | Correct response | Escalation point |
|---|---|---|---|
| Leak at hose nut | Missing or crooked washer | Install the supplied washer and retighten gently | Replace damaged nut or outlet |
| Leak at tapered adapter | Wrong tape or cross-threading | Remove, inspect, and reseal correctly | Replace damaged fitting |
| Hose will not click | Wrong quick-connect adapter | Match the faucet model and connector | Contact manufacturer |
| Low spray pressure | Clogged screen, kink, or partly closed valve | Clean screen, straighten hose, open valves | Check diverter or supply |
| Main spout and sprayer run together | Stuck or worn diverter | Clean or replace diverter cartridge | Replace faucet if inaccessible |
| Head will not retract | Weight misplaced or hose obstructed | Reposition weight and clear cabinet | Replace damaged hose or dock |
Why does the new sprayer drip?
A new kitchen faucet sprayer usually drips because the sealing washer is absent, reversed, damaged, or trapped beside the connection rather than seated inside the hose nut. Shut off water, remove the nut, inspect the washer, clean both sealing faces, reinstall the washer flat, and tighten only until snug.
A drip from the spray-head trigger may come from debris in the valve or a defective new head. Remove the head only if the design permits it, rinse the screen, and soak mineral-encrusted removable parts in white vinegar for about 30 minutes. Do not soak rubber seals or manufacturer-prohibited finishes.
Why is the spray pressure low?
Low sprayer pressure usually comes from a clogged aerator screen, a kinked hose, a partially closed supply valve, or a diverter that is not opening fully. Remove and rinse the spray-head screen first, because that check takes less than five minutes and does not disturb the faucet connection.
If pressure is low only at the sprayer, inspect the hose loop and diverter. If pressure is low at both the main spout and sprayer, check the supply stops and household water pressure before replacing faucet parts.
What if the old shutoff valve will not close?
Do not loosen a pressurized sprayer connection when the local stop valve continues supplying water. Shut off the building or home main valve, open the faucet to drain pressure, and arrange replacement of the defective stop valve if it leaks around the stem or will not isolate the fixture.
A corroded stop valve can begin leaking when turned. Keep a second bucket available and know where the main shutoff is before starting.
Which Alternatives Make Sense?
A replacement spray head is appropriate when the hose and faucet diverter work normally. A complete faucet replacement is more sensible when the faucet body, cartridge, mounting hardware, and sprayer have multiple failures.
Side sprayer versus integrated sprayer
| Decision factor | Side sprayer | Pull-out or pull-down sprayer |
|---|---|---|
| Replacement cost | $15-$40 typical | $20-$80 typical |
| Installation access | Separate deck hole and under-sink port | Hose inside faucet body |
| Compatibility | Some universal kits fit | Frequently model-specific |
| Failure repair | Head, hose, guide, or diverter | Head, hose, weight, dock, or cartridge |
| Best application | Traditional multi-hole faucet | Single-hole modern faucet |
| Main limitation | Extra deck hole and hose loop | Proprietary parts and retraction hardware |
A side sprayer is usually the most economical repair when the faucet diverter remains functional. An integrated hose is preferable for a clean deck and one-handed rinsing, but a replacement should be ordered from the faucet manufacturer whenever the connector is proprietary.
Situational Variations
Replacing a sprayer in a rental
A renter can usually replace a removable side-sprayer head or hose without changing the faucet, provided the landlord or lease does not prohibit plumbing work. Photograph the original assembly, retain every part, and reinstall the original component before moving out if the replacement changes the fixture.
Working with hard water
Hard-water scale can bind the trigger, clog the spray screen, and make a brass nut appear welded to the outlet. Use white vinegar on removable spray-head parts, a nylon brush on deposits, and penetrating oil only on suitable external metal threads.
Working under a cramped sink
A basin wrench helps with mounting nuts, but it is often the wrong tool for the hose connection because the fitting may be plastic or quick-connect. Use a flashlight, clear the cabinet completely, and stabilize the faucet outlet before turning the hose nut.
Replacing a pull-down hose
Pull-down hose replacement is not the same as side-sprayer replacement. Identify the faucet model, remove the spray head, release the under-sink quick-connect, pull the old hose through the spout, and reinstall the weight exactly where the manufacturer specifies.
Expert Rules That Prevent Repeat Repairs
- Buy by connector, not appearance. Two hoses can look identical while using different O-rings, retaining collars, or thread standards.
- Use hand pressure as a diagnostic. A nut that will not start by hand is misaligned or incompatible; a wrench should never be used to force the first threads.
- Test under operating pressure. A connection that stays dry at half-open flow can seep when the sprayer trigger creates full pressure.
- Treat the cabinet as part of the installation. A hose that works outside the cabinet can kink against a garbage disposal, water filter, or cleaning-product bin after installation.
- Replace the washer whenever the joint is opened. Old rubber can flatten permanently and may leak after reconnection even when the hose itself is sound.
Frequently Asked Questions
Can I replace a kitchen faucet sprayer without replacing the faucet?
Yes, a standalone side sprayer can usually be replaced independently when the faucet has a working diverter port and the new hose matches its connector. Integrated pull-out and pull-down sprayers also can be serviced separately, but their hoses and heads often require the exact faucet model or a manufacturer-approved adapter.
Are kitchen faucet sprayers universal?
No kitchen faucet sprayers are universally compatible. Side-sprayer kits may share common thread sizes, but faucet brands can use different hose lengths, diverter outlets, washers, quick-connects, and proprietary adapters. Match the model number or take the old part to a plumbing supplier before purchasing.
Do I need to turn off both hot and cold water?
Turn off both hot and cold supplies when the faucet has two supply lines, even if the sprayer normally uses mixed water. Shutting off both valves prevents unexpected flow through the faucet while the hose is disconnected and makes pressure testing safer.
How tight should a sprayer hose connection be?
Tighten a washer-sealed sprayer hose by hand until the nut is seated, then add a small wrench adjustment if necessary. Tapered pipe-thread fittings need firm engagement, but overtightening can split plastic parts, deform washers, or damage the faucet’s diverter outlet.
Why does the main faucet run while I press the sprayer?
The main faucet and sprayer run simultaneously when the diverter valve is stuck, worn, or obstructed by mineral debris. Clean the accessible diverter only according to the faucet manual; if the valve is internal or the symptom remains after hose replacement, repair or replace the diverter cartridge.
When should I call a plumber?
Call a plumber when the main shutoff cannot isolate the water, a supply valve begins leaking, the faucet body is cracked, or the connection is inaccessible without removing the sink. Professional help also makes sense when corrosion prevents safe disassembly or when a proprietary faucet requires specialized parts.
The Bottom Line
To replace a kitchen faucet sprayer, identify the faucet type and connector before buying parts, shut off both supply valves, install the correct washer or adapter, route the hose without kinks, and test under full pressure. A side-sprayer kit is usually a 20-45 minute DIY repair, while integrated hoses demand model-specific compatibility checks.