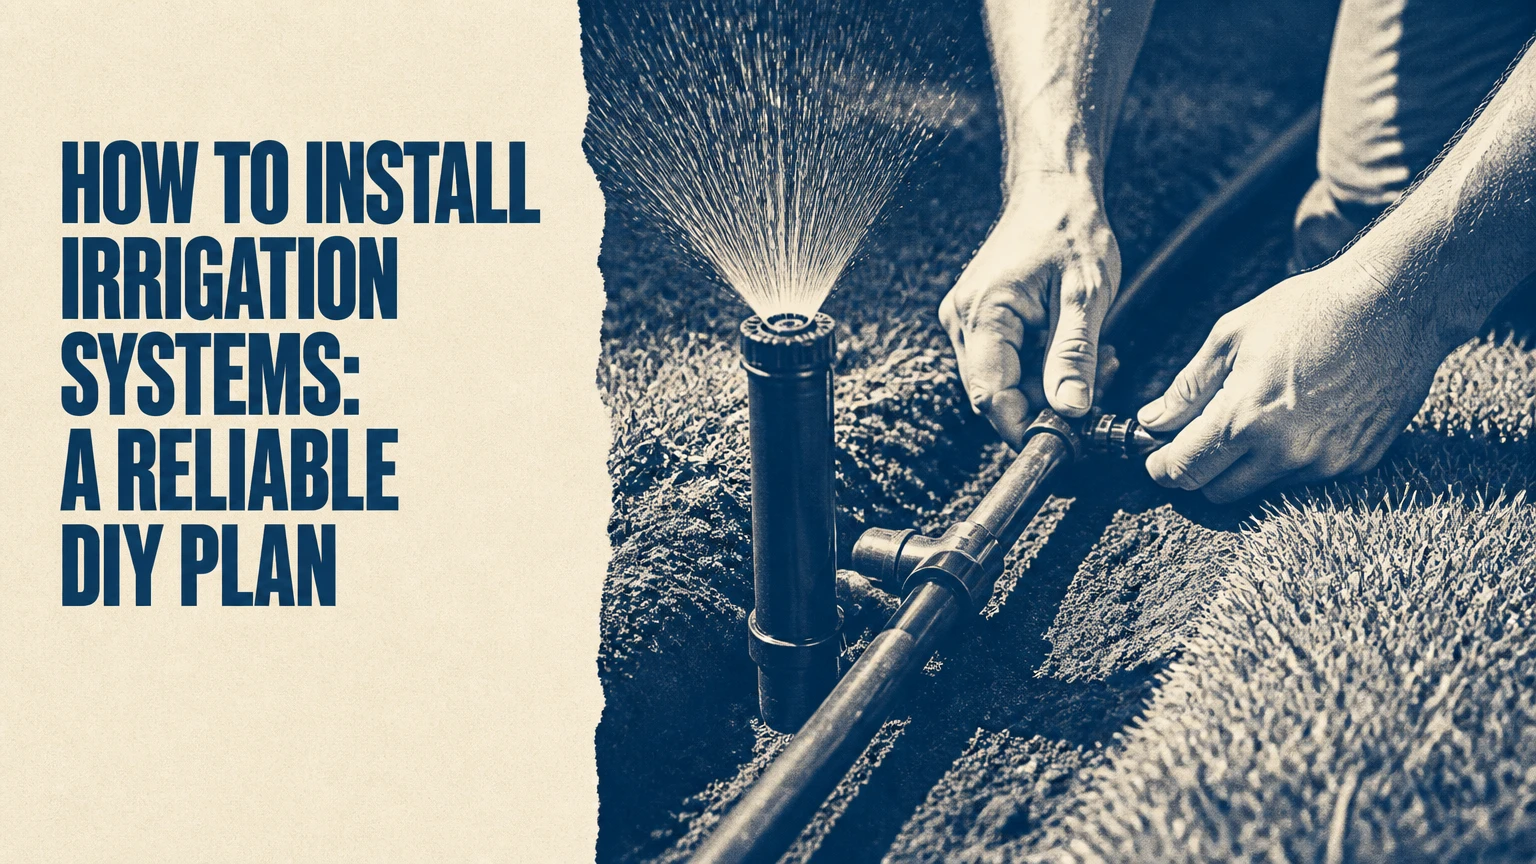
To install an irrigation system, measure available pressure and flow, divide the landscape into compatible zones, install a protected water connection, bury supply and lateral pipes, connect sprinkler heads or drip tubing, wire the controller, then flush and test every zone before backfilling. A typical residential DIY project takes 2-3 weekends.
Key Facts
Residential irrigation zones commonly operate best at approximately 40-65 PSI, but each sprinkler and nozzle has a manufacturer-specific pressure range.
A zone must stay below the usable flow rate of the water source after allowing for pipe friction and pressure loss.
Sprinklers and drip emitters should not share a valve because their flow rates and run times differ substantially.
Backflow protection is required by many local plumbing codes when an irrigation system connects to potable water.
Irrigation pipe should be pressure-tested and flushed before trenches are backfilled.
Head-to-head sprinkler coverage means each sprinkler pattern reaches the next sprinkler, reducing dry strips and overwatering.
How the System Works
A residential irrigation system moves water through a predictable sequence: source, shutoff, backflow device, filter or pressure regulator, zone valve, buried pipe, distribution device, and controller. The controller energizes one solenoid valve at a time, allowing water to reach only the sprinkler heads or drip emitters assigned to that zone.
The water source may be a municipal service, private well, pump, rainwater tank, or dedicated irrigation meter. A pressure gauge measures force in pounds per square inch, while flow rate measures available volume in gallons per minute. Both values matter because high pressure does not guarantee high flow.
The Irrigation Association identifies uniform application as a central design objective, and that principle explains why coverage matters more than simply making every head spray. A system can run reliably while still producing brown patches, runoff, or saturated soil if nozzle output, spacing, pressure, and soil infiltration do not match.
What each component does
| Component | Typical specification | Primary function | Failure consequence |
|---|---|---|---|
| Mainline | 1-inch PVC or polyethylene | Carries water from source to valves | Whole system pressure loss |
| Zone valve | 24-volt AC solenoid | Opens one watering circuit | Zone stays closed or leaks |
| Lateral pipe | 3/4-inch or 1-inch | Carries water from valve to devices | Weak end-of-zone pressure |
| Spray head | 2-4 inch pop-up, 0.5-4 GPM nozzle | Waters small lawn areas | Mist, overspray, dry corners |
| Rotor | 3/4-inch inlet, 1.5-8 GPM typical | Covers larger turf areas | Uneven arcs or slow rotation |
| Dripline | 1/2-inch tubing, 0.4-0.9 GPH emitters | Applies water at plant roots | Clogging or uneven discharge |
| Controller | 4-16 stations, 24-volt output | Schedules zone operation | Manual watering only |
Which Irrigation System Should You Install?
Choose drip irrigation for beds, shrubs, containers, and vegetable rows; choose rotors or rotary nozzles for large lawn areas; and choose fixed sprays only where their shorter radius fits the geometry. Soaker hoses suit small temporary beds, but they usually provide less uniform distribution than pressure-regulated dripline.
| System | Best use | Typical efficiency | Typical operating pattern | Main limitation |
|---|---|---|---|---|
| Pressure-regulated dripline | Shrubs, hedges, vegetables | 85%-95% | 30-90 minutes, 2-4 times weekly | Requires filtration and flushing |
| Individual drip emitters | Pots and isolated plants | 85%-95% | 20-60 minutes, 2-5 times weekly | More fittings and exposed tubing |
| Rotary sprinkler | Medium and large lawns | 70%-85% | 30-60 minutes, 2-3 times weekly | Needs adequate pressure and spacing |
| Fixed spray head | Narrow lawn strips | 60%-75% | 8-15 minutes, 2-4 times weekly | Higher wind and evaporation loss |
| Soaker hose | Small seasonal beds | 60%-80% | 30-60 minutes, 2-4 times weekly | Uneven output over long runs |
Efficiency figures are typical planning ranges, not guarantees. Wind, slope, soil texture, pressure, nozzle condition, and scheduling can materially change water use. EPA WaterSense states that a properly programmed WaterSense-labeled irrigation controller can save an average household nearly 8,800 gallons of water annually, although savings depend on the previous schedule and local climate.
Do not place fixed sprays, rotors, and dripline on one zone. Their precipitation rates can differ by several times, so a shared schedule either floods one area or leaves another dry.
Before You Start
Plan for 2-3 weekends, moderate excavation work, and a typical DIY material cost of $500-$2,500 for a small or medium residential system. Large yards, extensive lawn removal, difficult soil, pump work, and permitted plumbing can push the project beyond those ranges.
| Planning item | Typical requirement | Practical target |
|---|---|---|
| DIY labor | 16-30 hours | Two people for trenching and pipe placement |
| Lawn sprinkler area | 4-12 zones | One device type per zone |
| Drip bed | 1 zone per hydrozone | Filter and regulator at valve outlet |
| Trench depth | 8-12 inches | Deeper where freezing or traffic requires |
| Mainline | 1-inch pipe | Size from source to valve manifold |
| Lateral line | 3/4-inch or 1-inch pipe | Keep zone flow within pipe capacity |
| Controller | 4-16 stations | Reserve 1-2 future stations |
| Pressure gauge | 0-100 PSI | Test at the source and zone outlet |
Tools and materials checklist
Prepare a tape measure, graph paper, marking paint, shovel or trencher, pipe cutter, adjustable wrenches, pressure gauge, bucket, PVC primer and cement where applicable, pipe fittings, valve box, zone valves, burial-rated irrigation wire, waterproof gel connectors, heads or dripline, filters, pressure regulators, and a controller.
Before excavation, contact the local utility-marking service. In the United States, homeowners commonly use 811, but the process and notice period vary by state. Confirm local rules for backflow assemblies, electrical connections, trenching, water meters, and cross-connection control.
Step 1: Measure the Water Supply
Measure both static pressure and usable flow before designing zones. Attach a 0-100 PSI gauge to the outdoor faucet, record pressure with no water running, then perform a bucket test: divide the container volume by fill seconds and multiply by 60.
For example, a 5-gallon bucket that fills in 30 seconds provides:
(5 ÷ 30) × 60 = 10 GPM
That result is not automatically the design flow. Run the test with other household fixtures off, then repeat while the suspected irrigation connection is open. A well system may show a temporary pressure peak but lose flow as the pump cycles or the pressure tank empties.
Use approximately 70%-80% of measured flow as a conservative planning limit. A 10 GPM source should usually support a zone designed around 7-8 GPM, leaving capacity for friction, elevation, filters, and aging components.
Success checkpoint: pressure remains within the device manufacturer’s operating range while the test flow runs.
Common mistake: sizing zones from static PSI alone. Static pressure can look acceptable while operating pressure collapses when several heads open.
Step 2: Install the Water Connection and Backflow Protection
Shut off the water supply, install an approved irrigation takeoff, add a master shutoff, and fit the locally required backflow preventer in the correct orientation and accessible location. A licensed plumber may be required when the connection involves a pressurized household main or code-regulated backflow assembly.
The exact device varies by hazard level and jurisdiction. Common residential assemblies include pressure vacuum breakers and reduced-pressure principle devices, but the correct choice depends on elevation, chemicals, auxiliary water sources, and local cross-connection rules. Do not bury a backflow preventer unless the product and local authority specifically allow it.
Add a filter for drip irrigation. A 120-mesh filter is a common starting point for fine drip emitters, while larger agricultural systems may require a disc or screen filter selected for source-water debris and emitter specifications. A pressure regulator belongs downstream of the valve or filter when the dripline requires lower pressure.
Success checkpoint: the shutoff is accessible, the backflow device drains or tests as required, and no threaded connection seeps under pressure.
Common mistake: using a garden-hose vacuum breaker as a substitute for a code-approved irrigation backflow assembly.
Step 3: Divide the Property Into Zones
Draw the property to scale and separate turf, planting beds, containers, sunny areas, shady areas, slopes, and different soil types into hydrozones. Keep each zone within the source-flow limit, and use the sprinkler manufacturer’s nozzle tables rather than guessing head counts.
Sprinkler spacing should normally provide head-to-head coverage. If a nozzle sprays 12 feet, place the next head approximately 12 feet away, subject to wind and the manufacturer’s radius data. Corner heads usually use quarter-circle patterns, edge heads use half-circle patterns, and interior heads use full-circle patterns.
Count every device’s flow. If six nozzles use 1.1 GPM each, the zone demand is 6.6 GPM before pipe loss. A rotary nozzle may use less flow than a conventional spray nozzle but usually needs a longer run time.
Example zone schedule
| Zone | Landscape | Devices | Combined demand | Suggested runtime |
|---|---|---|---|---|
| 1 | Front lawn | 6 rotary nozzles | 5.4 GPM | 25-40 minutes |
| 2 | Side lawn | 4 fixed sprays | 6.0 GPM | 8-12 minutes |
| 3 | Shrub border | 1/2-inch dripline | 1.5 GPM | 35-60 minutes |
| 4 | Vegetable bed | 0.5 GPH emitters | 0.8 GPM | 30-50 minutes |
| 5 | Slope lawn | 4 rotors | 7.0 GPM | 3 cycles of 10-15 minutes |
These runtimes are starting points. Soil infiltration and a catch-cup audit should determine the final schedule.
Success checkpoint: every zone contains plants with similar water needs and devices with similar precipitation rates.
Common mistake: combining a drip bed and lawn sprays because both are near the same valve box.
Step 4: Mark Sprinkler Locations and Drip Routes
Mark heads with paint or flags before digging. Place lawn heads just inside the edge of pavement or hardscape, and use flexible swing pipe or funny pipe between buried laterals and pop-up heads so a mower impact does not crack the rigid pipe.
Keep spray patterns off walls, windows, sidewalks, and neighboring property. A shorter nozzle or adjustable arc often fixes overspray more effectively than moving the entire lateral line.
For drip beds, route tubing along plant rows and install pressure-compensating emitters where elevation changes. Space inline dripline according to soil texture and plant spacing. Typical residential spacing is 12 inches in sandy soil, 18 inches in loam, and up to 24 inches in clay, but plant root zones should determine the final arrangement.
Success checkpoint: a dry layout shows complete lawn coverage and reaches every intended plant row without watering structures.
Common mistake: placing heads only around the perimeter. Large lawn centers need interior heads to prevent the center from receiving less water.
Step 5: Dig Trenches and Lay the Pipe
Dig mainline and lateral trenches approximately 8-12 inches deep for common residential yards, separating topsoil from subsoil so the best soil returns to the surface. Local freeze depth, vehicle traffic, aeration, rodents, and future cultivation may require deeper or better-protected lines.
Remove sharp stones from the trench base. Lay mainline from the water connection to the valve manifold, then install lateral lines from each valve to the heads or drip zones. Use 1-inch pipe for many residential mainlines and 3/4-inch laterals where flow and distance permit, but confirm capacity with the pipe manufacturer’s friction-loss chart.
PVC requires clean, square cuts, primer where specified, and solvent cement applied to both mating surfaces. Polyethylene and HDPE generally use barbed insert fittings with clamps or manufacturer-approved compression fittings. Do not use PVC joining methods on poly pipe.
Install a short vertical riser or swing assembly at each sprinkler. Leave enough slack for future head-height adjustment, but avoid tight bends that kink flexible pipe.
Success checkpoint: pipes lie flat, fittings are fully seated, and each head location remains visible and accessible.
Common mistake: burying untested joints. A small underground leak can create a void, erode soil, and cause a pressure failure that is difficult to locate.
Step 6: Assemble the Valve Manifold
Place zone valves in a valve box above compacted gravel or a stable drainage base, with the flow arrow pointing toward the irrigation zones. Install unions or threaded adapters where future valve replacement may require disassembly.
Connect the manifold inlet to the mainline and each valve outlet to one lateral zone. Keep valve boxes clear of downspouts and low points that fill with standing water. Label every valve immediately with its zone number and landscape description.
Install a manual flush point at the end of long laterals when practical. Drip zones benefit from end flush valves, while sprinkler laterals can often be flushed by removing the final nozzle during commissioning.
Success checkpoint: each valve opens independently, the manifold remains accessible, and the valve box lid sits level with finished grade.
Common mistake: placing the manifold at the lowest point without drainage. Persistent water around wire splices and solenoids accelerates corrosion.
Step 7: Wire the Controller and Solenoids
Run burial-rated multi-conductor irrigation cable from the controller to the valve box, leaving service loops at both ends. Connect one common wire to every solenoid and connect each zone wire to one valve, using waterproof gel-filled connectors inside the valve box.
Many residential controllers use 24-volt AC output. Match the controller’s station count to present and future zones, and place the controller where it is protected from direct weather unless it carries the required outdoor rating. Keep low-voltage irrigation wire separate from mains-voltage electrical wiring.
Program a temporary manual test for each station before burying the cable. If a station does not activate, check the wire connection, common wire continuity, solenoid resistance, and controller terminal.
Success checkpoint: every zone valve opens from its assigned station and closes when the station stops.
Common mistake: using ordinary indoor wire nuts underground. Moisture enters the splice and produces intermittent or permanently open circuits.
Step 8: Flush, Pressure-Test, and Adjust
Flush the mainline and each lateral before installing nozzles or closing dripline ends. Run water for at least 2 minutes on short residential branches, and longer on visibly dirty or debris-prone systems, until the discharge is clear.
Pressure-test the system while trenches remain open. Inspect every fitting, valve, riser, filter, and regulator. Replace leaking fittings rather than covering them with soil.
Install nozzles, adjust arcs, and verify that sprinkler spray reaches the adjacent head without excessive pavement runoff. For dripline, open end flush points, clean filters, confirm regulator pressure, and check that emitters discharge consistently along the run.
Use catch cups to audit sprinklers. Place identical cups across the zone, run the system for a measured period, compare collected depth, and adjust spacing, pressure, or nozzle selection when one area receives substantially more water.
Success checkpoint: all heads rise fully, spray patterns are stable, drip emitters discharge evenly, and no fitting leaks.
Common mistake: testing only the first head. Pressure loss often appears at the far end of the zone.
Step 9: Backfill and Program the Schedule
Backfill in lifts, tamping gently every few inches so trenches do not settle into long depressions. Return subsoil first and topsoil last, then replace sod, water the repaired surface, and mark valve-box locations for future maintenance.
Program watering during the early morning when evaporation and wind are often lower, while observing local restrictions. Use cycle-and-soak scheduling on clay, compacted soil, and slopes. For example, replace one 30-minute run with three 10-minute cycles separated by 30-60 minutes.
A controller schedule should specify start times, zone runtimes, watering days, and seasonal adjustment. Smart weather-based controllers can reduce unnecessary operation, but rain sensors and soil-moisture sensors require correct placement and calibration. A sensor under a tree or beside a downspout does not represent the whole lawn.
Success checkpoint: water infiltrates without pooling, runoff, or persistent saturated patches.
Common mistake: setting every zone to the same runtime. Spray heads, rotors, and dripline apply water at different rates.
How Much Does Installation Cost and Take?
A typical DIY residential irrigation installation costs approximately $500-$2,500 in materials and takes 16-30 labor hours, while professional installation commonly costs $1,600-$4,200 for a quarter-acre yard. Site access, trenching method, backflow work, number of zones, controller type, and lawn restoration create most of the variation.
| Project type | DIY materials | Professional range | Typical duration |
|---|---|---|---|
| Small drip bed | $100-$350 | $300-$900 | 2-6 hours |
| Mixed suburban yard | $500-$2,500 | $1,600-$4,200 | 2-3 weekends DIY |
| Large lawn system | $1,500-$4,000 | $3,000-$8,000 | 1-3 crew days |
| Smart controller upgrade | $150-$500 | $250-$800 installed | 1-3 hours |
| Well-fed irrigation | $800-$4,000 additional | $2,000-$8,000 additional | 1-3 days |
Typical prices exclude major electrical work, new wells, pump replacement, landscape reconstruction, permits, and difficult rock excavation. A contractor with a vibratory plow may complete trenching in 1-2 days, but design quality still depends on proper flow measurement and zone planning.
Variations for Difficult Sites
How do you install irrigation on a slope?
Install short zones across the contour, use pressure-regulated devices, and divide watering into multiple cycles. Check valves in sprinkler bodies can prevent low-head drainage, while dripline with pressure-compensating emitters reduces elevation-related flow differences.
What changes for a well or pump?
Test flow while the pump is operating and account for pressure-switch cycling. A well system may need a holding tank, pump upgrade, or irrigation-only storage because simultaneous household demand can reduce available irrigation flow.
What works best in clay soil?
Use cycle-and-soak irrigation, avoid high-output sprays on slopes, and inspect for runoff after each cycle. Clay accepts water slowly, so a lower application rate with longer pause periods usually performs better than one continuous run.
Can a rain barrel supply the system?
A rain barrel can supply small gravity-fed drip zones, but it usually cannot provide the pressure or volume required for pop-up sprinklers. A pump, filter, pressure regulator, and backflow protection may be needed for a reliable rainwater system.
Common Mistakes and How to Fix Them
| Symptom | Probable cause | Corrective action |
|---|---|---|
| Heads fail to rise | Zone demand exceeds usable flow | Remove heads, reduce nozzle size, or split the zone |
| Far heads spray weakly | Undersized pipe or excessive friction | Use larger mainline or shorten lateral runs |
| One area stays wet | Poor spacing, blocked drainage, or mixed nozzles | Re-space heads and match precipitation rates |
| Valve drips after shutdown | Debris in diaphragm or damaged valve | Flush valve and replace diaphragm if necessary |
| Zone never starts | Faulty solenoid, common wire, or controller output | Test continuity and replace the failed component |
| Dripline end is dry | Clogged filter or excessive run length | Clean filter, flush the end, or divide the zone |
| Trenches sink later | Loose backfill or leaking joint | Repair leak, rebuild the trench in compacted lifts |
| Spray misses lawn edge | Incorrect arc or head position | Adjust nozzle arc or relocate the head |
Troubleshoot in sequence: confirm the controller signal, inspect the valve, measure pressure, inspect filters, check for visible leaks, then examine underground pipe. Replacing a sprinkler head before checking a closed valve often wastes time.
Maintenance and Winterization
Inspect filters monthly during the first season and at least once each quarter afterward, especially when the source is a well, pond, or rainwater tank. Flush dripline at the beginning and end of the season, replace damaged emitters, and check that heads remain level after soil settles.
Perform a catch-cup audit at least once per year. Adjust runtimes after changing nozzles, landscaping, soil cover, or controller settings. Watering restrictions may change by municipality, so a technically efficient system can still violate local rules if its schedule is not updated.
Before freezing weather, shut off the irrigation supply, open drain points, and use compressed air only at pressure and flow levels approved by the equipment manufacturer. Professional blowout is safer for complex systems because excessive air pressure can damage valves, filters, and drip components. Do not rely on a controller’s off setting as winterization.
FAQ
Is an irrigation system worth installing for a small yard?
A small yard benefits from irrigation when hand watering takes more than 15-20 minutes several times weekly or when plants have different water needs. A simple two-zone drip system may cost less than a full sprinkler installation, while a hose timer can be more economical for one compact bed.
How many sprinkler heads can one zone run?
The number depends on nozzle flow, operating pressure, pipe size, elevation, and source capacity. Divide the zone’s usable flow by each head’s GPM, then leave roughly 20%-30% reserve. A 10 GPM source might support six 1.1 GPM nozzles, but not six high-flow rotors.
Should irrigation pipe be PVC or polyethylene?
PVC provides rigid, smooth pipe and works well for straight mainlines and stable soil. Polyethylene tolerates movement, roots, and freezing better in many residential applications and is easier to repair, but fittings must be installed correctly and secured against pullout.
How often should drip irrigation run?
Drip irrigation commonly runs 30-90 minutes, two to four times weekly, but the correct schedule depends on emitter flow, soil, weather, and plant maturity. Check soil moisture several inches below the surface rather than copying a timer schedule from another property.
Do irrigation systems increase water bills?
An irrigation system can increase water use when zones are oversized, schedules are excessive, or leaks go unnoticed. Proper zoning, pressure regulation, seasonal adjustment, and annual catch-cup audits can reduce waste compared with irregular hand watering, but the system does not create water savings automatically.
When should a professional install the system?
Hire a professional for connections to a buried potable-water main, regulated backflow work, pump or well modifications, extensive rock excavation, steep slopes, large commercial areas, or systems requiring permits. DIY installation is more reasonable for exposed hose timers, small drip beds, and accessible low-voltage controllers.
The Bottom Line
How to install irrigation systems successfully depends on hydraulic planning more than trenching technique. Measure pressure and flow first, keep sprinklers and dripline in separate zones, install locally approved backflow protection, pressure-test every buried connection, and adjust watering only after observing soil and coverage. A smaller, well-balanced system usually outperforms a larger system with poorly matched zones.