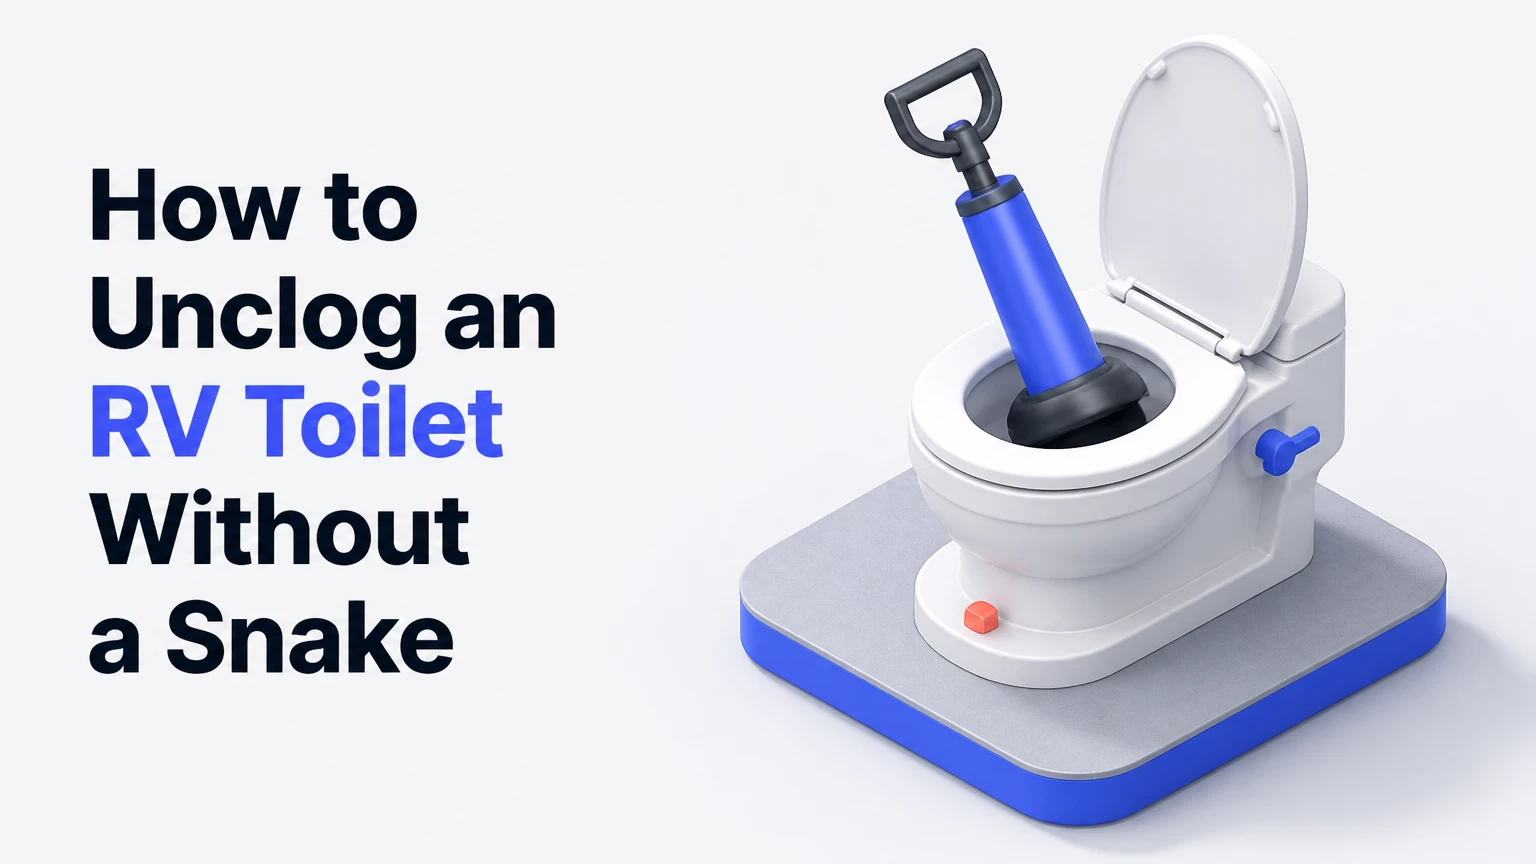
Unclogging an RV toilet without a plumbing snake requires using non-mechanical methods that protect sensitive black water holding tanks, plastic flush valves, and rubber seals from catastrophic damage. By executing a structured 5-phase protocol utilizing targeted thermal lubrication or enzymatic breakdown, you can completely resolve stubborn blockages in 20 minutes to 24 hours without professional plumbing assistance. The single factor that most determines success is matching the correct chemical or thermal method to your specific clog density while keeping the black tank valve securely closed during treatment.
Before You Start: Quick Reference
- Time Required: 20 minutes (thermal method) to 24 hours (enzymatic method).
- Difficulty Level: Beginner.
- Estimated Cost: $10 to $25 (for dish soap or enzymatic cleaner).
- Tools and Materials Checklist:
- Heavy-duty rubber gloves and safety glasses (1 pair each).
- Liquid dish soap (Dawn original formula, 240 milliliters / 1 cup).
- Enzymatic RV holding tank cleaner (1 standard bottle dose or treatment packet).
- Accordion-style flexible RV toilet plunger (1 unit).
- Bucket (5-liter capacity).
- Warm tap water (4 to 8 liters, heated to 50°C to 60°C / 120°F to 140°F).
- Prerequisite Conditions: The RV black water holding tank dump valve must be verified as completely closed before starting any treatment.
Phase 1: Assessment and Safety Preparation
Step 1: Verify Black Tank Valve Position
- Action: Inspect your RV exterior waste panel and verify that the black water holding tank dump valve is in the fully closed position.
- Execution: Push the black tank T-handle all the way home. If the valve is left open during treatment, your cleaning liquids and hot water will immediately drain out onto the ground or sewer hose without contacting the clog.
- Success Check: You will know it is correct when the T-handle is seated flush against the stop bracket and no liquid is trickling into your external clear elbow connector.
- Common Mistake: Leaving the valve open. Beginners often wonder why chemical treatments fail instantly, only to discover the active solution drained straight through the open gate valve.
Step 2: Don Protective Equipment and Assess Bowl Level
- Action: Put on heavy-duty rubber gloves and safety glasses, then inspect the standing water level inside the toilet bowl.
- Execution: Slide your rubber gloves on, secure your safety glasses, and peer into the bowl. If the water level is sitting right at the brim, take a 5-liter bucket and carefully bail out half of the standing water into the bucket so the bowl is only half full.
- Success Check: You will know it is correct when the liquid level sits roughly 5 centimeters below the toilet rim, preventing an immediate overflow when you add soap or water.
- Common Mistake: Pouring treatments directly into a completely brim-full toilet bowl. This forces waste and gray-brown water over the sides onto your bathroom floor the moment you introduce any additional volume.
Phase 2: Method Selection and Execution
Step 3: Apply the Thermal Soap Lubrication Method for Paper Clogs
- Action: Pour exactly 240 milliliters of liquid dish soap directly into the toilet bowl.
- Execution: Measure 1 cup of liquid dish soap, hold open the toilet foot pedal or hand lever briefly to let the liquid coat the inner drop-pipe, and let it pool around the obstruction.
- Success Check: You will know it is correct when you see a thick layer of soap clinging to the inner circumference of the plastic bowl and resting directly on top of the paper mass.
- Common Mistake: Using harsh household chemical drain cleaners like bleach or lye-based products. These generate extreme exothermic heat that melts thin RV ABS plastic pipes and ruins rubber ball-valve seals.
Step 4: Introduce Warm Water to Activate Lubrication
- Action: Heat 4 liters of water to a safe operating temperature of 50°C to 60°C and pour it into the bowl.
- Execution: Warm your water on the stove or via water heater until it is hot to the touch but well below boiling (never use rolling boiling water at 100°C). Press the flush pedal halfway down to keep the blade slightly open, and slowly pour the 4 liters of warm water directly down into the throat of the toilet.
- Success Check: You will know it is correct when the water fills the bowl and down-pipe without overflowing, generating mild steam and mixing thoroughly with the dish soap.
- Common Mistake: Pouring boiling water straight from a kettle into a cold RV porcelain or plastic bowl. Thermal shock will crack the bowl instantly or warp the internal valve tracks.
Step 5: Execute Chemical Incubation for Compacted Pyramid Plugs
- Action: Administer one full manufacturer-recommended dose of enzymatic holding tank cleaner into the bowl if thermal soap fails.
- Execution: If you suspect a hardened solid waste pile directly beneath the toilet (a pyramid plug), pour one full dose of a liquid or pod-based bio-enzymatic tank treatment into the bowl along with 2 liters of warm water.
- Success Check: You will know it is correct when the solution sits undisturbed, slowly releasing bacterial cultures designed to digest organic proteins and paper fibers.
- Common Mistake: Rushing the chemical process. Enzymatic bacteria require 12 to 24 hours of uninterrupted incubation time to consume dense masses of toilet paper and waste. Do not use the bathroom during this window.
Phase 3: Mechanical Assistance via Accordion Plunger
Step 6: Position the Accordion Plunger Over the Drain Hole
- Action: Place the accordion-style rubber plunger directly over the RV toilet drain opening to create an airtight seal.
- Execution: Insert the rubber flange of the accordion plunger into the bottom of the bowl. Center the lower lip precisely over the flush valve opening, ensuring the plastic valve blade is pushed open or rests inside the bell of the plunger without getting jammed sideways.
- Success Check: You will know it is correct when you push down slightly and feel a firm air-spring resistance confirming a complete vacuum seal against the bowl contours.
- Common Mistake: Using a standard flat-bottom household sink plunger or a round flange toilet plunger built for residential ceramic bowls. These fail to seal on RV drop-valves, rendering plunging entirely ineffective.
Step 7: Apply Controlled Upward and Downward Strokes
- Action: Pump the accordion plunger up and down rhythmically 5 to 8 times with moderate force.
- Execution: Keep the handle vertical. Push down firmly to force water pressure downward into the clog, then pull upward gently to draw the mass apart. Repeat this cycle for roughly 30 seconds.
- Success Check: You will know it is correct when you hear a sudden gurgling noise followed by a rapid drop in the water level inside the bowl.
- Common Mistake: Plunging with extreme, violent force. Over-aggressive thrusting can invert the rubber accordion flange, scratch the plastic seal track, or unseat the rubber gasket at the base of the toilet assembly.
Phase 4: Tank Sloshing and Vent Verification
Step 8: Perform the Bumpy Parking Lot Slosh Test for Stubborn Plugs
- Action: Fill your black water holding tank to 80% capacity with fresh water and drive the RV around a bumpy route for 15 minutes.
- Execution: If chemical and plunging methods fail because waste is stacked high in the tank, connect a fresh water hose to your black tank flush inlet (or pour water down the toilet until the tank monitor reads 80%). Drive your motorhome or tow vehicle to a nearby unpaved road or industrial parking lot with speed bumps. The vehicle motion will cause the water to slosh violently back and forth, breaking up the solid waste pile.
- Success Check: You will know it is correct when you return to your campsite, pull the black tank valve, and observe a massive surge of high-velocity waste rushing out through the clear sewer adapter.
- Common Mistake: Driving with an overfilled tank without monitoring capacity. Always keep an eye on your tank sensor levels so you do not accidentally back sewage up into the toilet bowl while driving.
Step 9: Inspect and Clear the Roof Plumbing Vent Cap
- Action: Climb onto the roof of your RV and inspect the black tank plumbing vent cap for external obstructions.
- Execution: Locate the roof vent pipe corresponding to the black tank. Remove the plastic cap and check down the pipe using a flashlight for wasp nests, mud dauber build-up, fallen leaves, or bird nests. Clear any blockages using a flexible brush or compressed air.
- Success Check: You will know it is correct when you can look down the vent pipe and see open daylight or hear air moving freely into the black tank below.
- Common Mistake: Ignoring roof vents during slow-draining incidents. If a vent is plugged, negative air pressure traps air in the tank, preventing water from draining smoothly even when the physical clog is gone.
Phase 5: Post-Clearing System Reset
Step 10: Flush and Sanitize the System
- Action: Flush 20 liters of clean water through the toilet and recharge the black tank with fresh holding tank treatment.
- Execution: Step on the foot pedal and let multiple full bowls of water flush into the system. Once the water runs completely clear through your external sewer connection, close the black tank valve. Add 4 liters of fresh water into the bowl along with a maintenance dose of enzymatic tank treatment to coat the inner walls and sensors.
- Success Check: You will know it is complete when the flush pedal action produces a smooth, roaring whirlpool sound and your tank sensors read empty.
- Common Mistake: Skipping the post-treatment tank recharge. Leaving a completely dry black tank after a clog encourages future waste to cement directly onto the tank floor.
Common Mistakes and How to Fix Them
- Mistake: Using a rigid wire coat hanger or metal rod to poke at the clog.
- The Fix: Stop immediately if you have already done this. Inspect the rubber ball-valve seal for tears or punctures. If the seal is damaged, purchase an RV toilet seal replacement kit matching your specific Dometic or Thetford model number and replace the gasket.
- Mistake: Holding the flush pedal down continuously while the bowl is completely clogged.
- The Fix: Release the pedal instantly. Allow the water level to stabilize, bail out excess liquid into a bucket, and use the dish soap thermal lubrication method rather than raw water volume.
- Mistake: Forgetting to close the black tank dump valve during chemical soaking.
- The Fix: Close the dump valve immediately. Reapply your enzymatic cleaner or dish soap mixture and allow it to sit for the full recommended duration.
- Mistake: Using excessive amounts of non-RV-approved thick household toilet paper.
- The Fix: Switch exclusively to rapid-dissolving, RV-specific single-ply or two-ply toilet paper. Always hold the flush pedal down for 5 to 10 seconds after every flush to ensure waste travels completely down into the tank rather than resting in the dry drop-pipe.
Variations for Alternate Situations
The Winter Freezing Constraint
If you are camping in freezing temperatures below 0°C, hot water methods carry a high risk of cracking brittle RV plumbing components. Instead of using warm or hot water, rely exclusively on winter-safe RV enzymatic holding tank treatments combined with RV-safe non-toxic antifreeze (propylene glycol) to liquefy blockages without thermal shock.
Cassette Toilet Variations
If your RV uses a portable cassette toilet rather than a gravity-flush black water tank, do not use an accordion plunger. Cassette toilet blades and plastic holding tanks are compact and fragile; instead, use liquid dish soap and warm water followed by manual agitation of the removable cassette tank once detached from the unit.
How Long Does It Take and What Does It Cost
- Time Investment: 20 to 30 minutes for the dish soap thermal method; 12 to 24 hours if chemical enzymatic incubation is required.
- Financial Cost: $10 to $25 total if purchasing a bottle of Dawn dish soap and standard enzymatic tank treatment pods. This compares favorably to emergency mobile RV technician service calls, which typically cost between $150 and $300.
Frequently Asked Questions
Can I use a regular household plunger on an RV toilet?
Standard household plungers featuring a flat rubber bell do not form an airtight seal over an RV drop-valve opening. You must use an accordion-style flexible RV plunger designed to compress neatly into the eccentric opening of a marine or RV toilet bowl.
How do I prevent pyramid plugs from forming in the future?
Prevent pyramid plugs by always keeping your black water tank valve closed during normal camping use so liquids accumulate properly. Dump the tank only when it reaches two-thirds to three-quarters full, and always add a few gallons of water and an enzymatic treatment packet right after dumping.
Is it safe to use boiling water in an RV toilet?
Never pour boiling water directly into an RV toilet bowl. Boiling water at 100°C can crack porcelain bowls, warp lightweight ABS plastic drop-pipes, and melt rubber valve seals. Always restrict your thermal solutions to warm water heated between 50°C and 60°C.
Why does my RV toilet smell like sewage even after unclogging?
A lingering odor after a successful unclog usually indicates that dried organic waste residue remains stuck to your black tank level sensors or that your roof plumbing vent pipe is blocked. Clean the tank thoroughly with a wand sprayer and verify that your roof vent is clear.