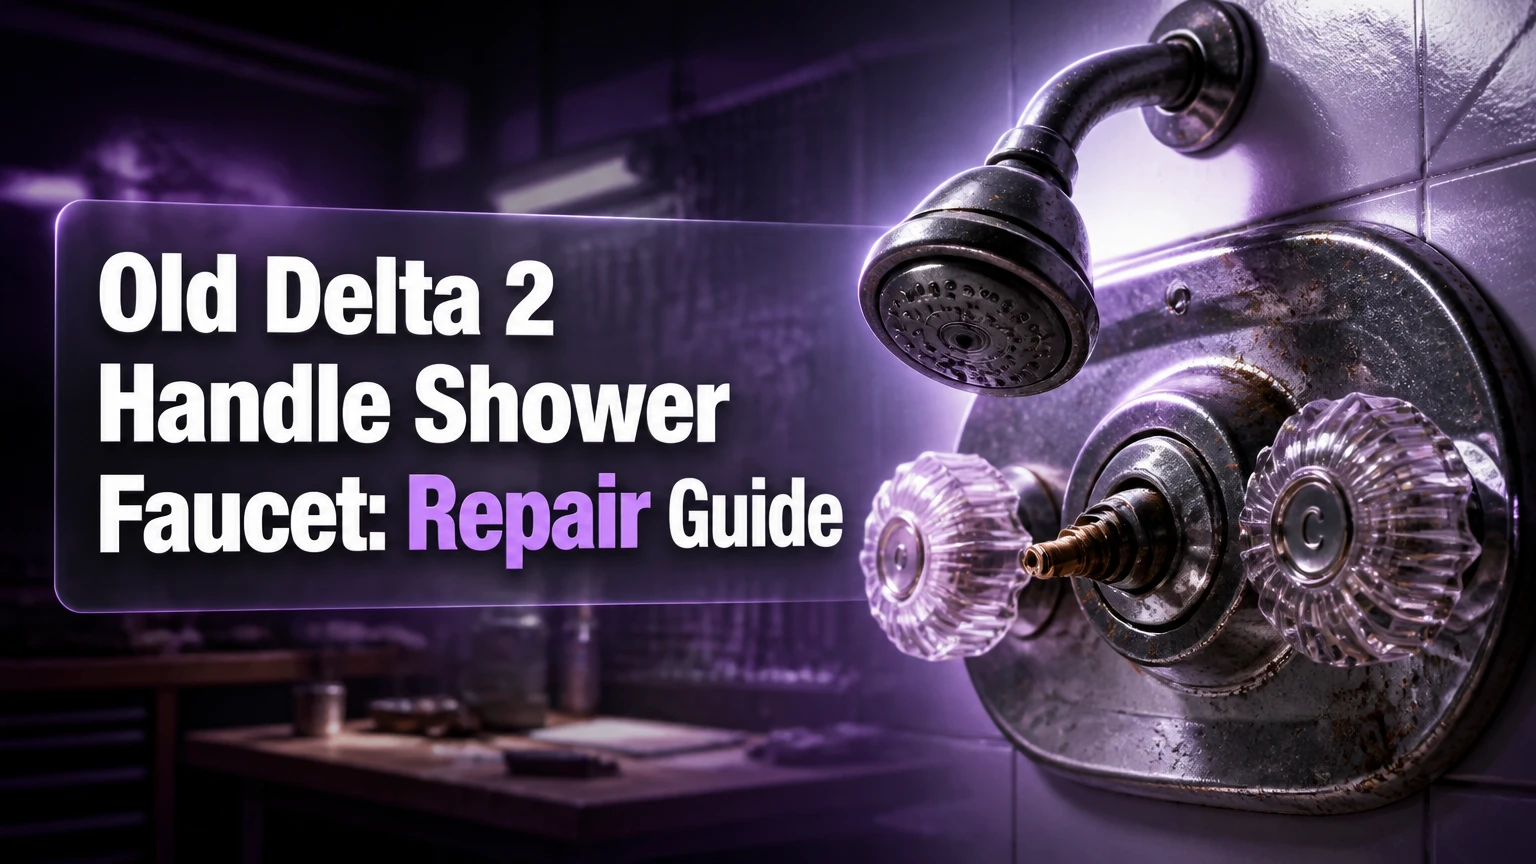
An old Delta 2 handle shower faucet is a two-control shower valve with separate hot and cold stems inside an in-wall brass body. Most leaks come from replaceable seats, springs, stem seals, or worn stem assemblies, so a sound valve body can usually be rebuilt without opening the wall. Correct identification matters more than handle style.
Key Facts at a Glance
A continuous tub-spout drip usually requires new seats and springs on both hot and cold sides.
Delta RP4993 is the commonly associated seat-and-spring repair set, but the valve model must still be verified.
Delta RP1740 and RP24096 are different stem assemblies and should not be selected from appearance alone.
A typical component rebuild takes 20-45 minutes when the bonnet nuts and handles are not seized.
Brace the valve body before turning a bonnet nut, because twisting an in-wall connection can create a concealed leak.
A two-handle valve does not balance pressure automatically, so it lacks the scald protection of a modern pressure-balanced valve.
What Is an Old Delta 2 Handle Shower Faucet?
An old Delta 2 handle shower faucet is a manual mixing valve that uses one handle for hot water and one for cold water. Each handle turns a stem inside the valve body, and the user adjusts temperature by changing the relative flow from the two supply lines.
The trim kit includes handles, screws, index buttons, escutcheons, and decorative hardware. The functional parts are behind that trim: the bonnet nut retains the stem, the stem regulates the port, and a rubber seat and spring help close the inlet. A tub-and-shower installation may also include a diverter in the spout or a separate transfer mechanism.
“Old” does not identify one Delta model. Delta used several stem designs, handle splines, bonnet configurations, and trim families over many production years. Two faucets with identical acrylic knobs can require different internal parts.
How Does the Valve Work?
Turning a Delta stem changes the opening between the supply passage and the valve chamber. The hot and cold stems operate independently, so the outlet temperature depends on both handle positions and on the pressure available in each supply line.
The rubber seat presses against the stem end when the handle closes. The spring keeps the seat positioned against that sealing surface. A damaged seat can cause dripping even when the stem itself still turns normally. A worn stem can also leak around its shaft or fail to compress the seat evenly.
This arrangement has an important limitation: a sudden pressure drop on the cold side can make the shower run hotter. Modern pressure-balancing and thermostatic valves address that hazard; a traditional two-handle valve does not.
Which Parts Does an Old Delta Valve Need?
The correct replacement depends on the valve body and stem assembly, not simply on the number of handles. Remove one stem only after shutting off water, photograph its orientation, and compare the removed part with the manufacturer’s parts diagram or a plumbing-supply cross-reference.
| Part or assembly | Typical function | Common clue | Typical replacement range |
|---|---|---|---|
| RP4993 seat and spring | Seals inlet under stem | Spout drips with handles closed | $4-$12 per repair pair |
| RP1740 stem assembly | Controls flow in compatible older bodies | Shorter splined stem with top screw | $10-$25 each |
| RP24096 stem assembly | Controls flow in another Delta body family | Longer brass or plastic stem profile | $15-$35 each |
| Stem O-ring | Seals around stem shaft | Water appears behind handle | $2-$8 per stem |
| Bonnet nut | Retains stem in valve body | Loose or seized retaining ring | $5-$20 if damaged |
| Escutcheon and handle | Covers and operates valve | Corroded or broken external trim | $20-$100 per set |
RP1740 and RP24096 are not universal substitutes. The stem length, body geometry, spline count, stop arrangement, and bonnet interface must match. Generic kits often use broad compatibility language, but a kit that fits the handle spline can still fail to seal inside the valve.
How Can You Identify the Stem?
Identify the stem by comparing its length, body shape, splines, screw location, stop tabs, and sealing surfaces with the removed assembly. Delta’s official parts-identification resources are more reliable than a photograph of the handle because external trim has often been replaced during the faucet’s life.
Use this sequence:
- Photograph the complete trim before disassembly.
- Remove one handle and measure the exposed stem.
- Record whether the body is brass, plastic, or a mixed assembly.
- Count or photograph the handle splines.
- Note the hot-side and cold-side orientation.
- Compare the removed stem with Delta documentation and a reputable plumbing supplier.
- Buy seats and springs for both sides, even if only one side currently drips.
Do not install a ceramic cartridge merely because it is advertised as a “Delta two-handle upgrade.” Ceramic assemblies use different internal interfaces and often require a compatible valve body. If the seller cannot identify the matching body or conversion instructions, treat compatibility as unproven.
Before You Start the Repair
A typical old Delta two-handle stem rebuild requires 20-45 minutes, $10-$40 in parts, and moderate hand-tool skill. Seized bonnet nuts can extend the job to 1-3 hours, while a valve-body replacement requires wall access, plumbing tools, and often a licensed professional.
| Requirement | Typical value | Why it matters |
|---|---|---|
| Repair time, accessible valve | 20-45 minutes | Covers handle removal, stem extraction, seal replacement, and testing |
| Repair time, seized parts | 1-3 hours | Includes penetrant, scale treatment, and controlled extraction |
| Parts budget | $10-$40 | Covers two seats, springs, O-rings, or compatible stems |
| Professional stem repair | $150-$350 | Typical service range, excluding major access work |
| Full valve replacement | $600-$1,500+ | Typical range when wall access and finish restoration are involved |
| Water shutoff | Main valve or local stops | Prevents uncontrolled flow during stem removal |
Gather two adjustable wrenches, a Phillips screwdriver or hex key, slip-joint pliers, a small pick or flat screwdriver, a flashlight, replacement seats and springs, silicone-based faucet lubricant, towels, and a container for small parts. Use a tub drain cover or cloth so the retaining screw cannot disappear into the drain.
Before disassembly, locate the home’s main shutoff or the bathroom’s local isolation valves. Open the shower or tub faucet after shutting off water, then wait until flow stops. If water continues steadily, the shutoff does not isolate the valve and the repair should pause.
Step-by-Step Old Delta 2 Handle Shower Faucet Rebuild
The following rebuild replaces accessible wear parts while leaving the in-wall brass body in place. The factor that most determines success is controlled bonnet removal, because excessive torque can damage the valve body or supply connections.
Step 1: Shut Off Water and Relieve Pressure
Close the main water valve or verified local stops, then open both shower handles to discharge residual pressure. Cover the drain and place a towel below the valve trim.
You will know the valve is isolated when both handles produce no continuous flow after several seconds. A few drops from the stem cavity are normal; sustained pressure is not.
Common mistake: trusting a partially closed stop valve. If water pressure remains, close the main supply instead.
Step 2: Remove the Handles
Pry out each hot and cold index button with a thin plastic tool or small flat screwdriver protected by tape. Remove the retaining screw with the correct Phillips driver or hex key, then pull the handle straight outward.
If mineral deposits have locked the handle to the splines, apply penetrating oil around the hub and allow it to work. A handle puller is safer than levering against the finished escutcheon or tile.
The success checkpoint is a handle that comes off without bending the stem. Common mistake: twisting a brittle acrylic handle until the hub cracks.
Step 3: Remove the Escutcheons and Bonnet Nuts
Unscrew or remove the decorative escutcheon according to its mounting style. Place one wrench on the valve body or a designed wrench flat, then turn the bonnet nut counter-clockwise with the second wrench.
The body must remain stationary. Older Delta installations can have soft copper connections or aging solder joints behind the wall, and turning the body can damage those connections.
Common mistake: gripping the visible trim as a reaction point. Decorative trim is not structural support.
Step 4: Extract and Document Each Stem
Pull the stem assembly straight out with pliers, using steady force rather than side-to-side bending. If the stem is stuck, work it with small rotational movements after confirming that the bonnet is fully removed.
Lay the hot and cold stems on separate towels. Photograph the alignment tabs, stop surfaces, washer faces, and stem length before cleaning.
The success checkpoint is a clearly documented orientation and an undamaged valve opening. Common mistake: mixing the two stems or reinstalling one upside down.
Step 5: Remove the Seats and Springs
Look into the empty valve chamber with a flashlight. Use a small pick, hook tool, or narrow screwdriver to lift out the rubber seat, then remove the conical spring beneath it.
Inspect the cavity for fragments of rubber, scale, brass debris, or a spring that has collapsed sideways. Replace both seats and both springs as a set because uneven seal condition can produce different hot and cold shutoff behavior.
The spring normally sits with its wider end down in the recess and its narrower end supporting the rubber seat. Confirm the replacement kit’s instructions if its spring geometry differs.
Common mistake: leaving a fragment of the old seat inside the recess. Even a small fragment can hold the new seat off-center.
Step 6: Clean the Valve Openings
Wipe loose debris from the chamber with a nylon brush or cloth. White vinegar can soften mineral scale on removable parts, but aggressive scraping inside the sealing area can score brass.
Do not flood the wall cavity with chemical descaler. Protect finished surfaces, and never mix vinegar with chlorine products. If the brass seat pocket is deeply pitted, a new rubber seat may not seal reliably.
A practical test is visual: the seat recess should be free of loose material, sharp scale, and fragments. Common mistake: using steel tools forcefully against the sealing lip.
Step 7: Install the New Seats and Springs
Drop one spring into each clean recess with the wide end down unless the manufacturer specifies otherwise. Place the rubber seat over the spring and press it squarely into position with a clean blunt tool.
Apply a very thin film of silicone faucet lubricant to the stem O-rings. Do not coat the rubber seat with petroleum jelly, because petroleum products can degrade some elastomers and contaminate the sealing surface.
The success checkpoint is a level seat that does not tilt, roll, or protrude above the recess. Common mistake: installing the spring above the rubber seat or using excess lubricant.
Step 8: Reinstall Stems, Bonnet Nuts, and Handles
Insert each stem in its original orientation, aligning tabs and stops with the valve-body slots. Start the bonnet nut by hand to avoid cross-threading, then snug it with a wrench while bracing the valve body.
Reinstall the escutcheons and handles, but do not overtighten the handle screws. Close both handles, restore water slowly, and inspect every joint before operating the faucet.
The success checkpoint is dry trim, smooth handle movement, and no spout flow after both handles close. Common mistake: reversing a stem, which can make clockwise operation open rather than close the valve.
What Should You Compare Before Buying Parts?
The relevant comparison is not “old versus new.” It is the match between the existing valve body, the replacement stem, the seal design, and the expected maintenance burden.
| Feature | Traditional Delta stem | Ceramic conversion stem | Complete modern valve |
|---|---|---|---|
| Typical handle travel | Multi-turn or approximately 360 degrees | Approximately 90 degrees | Single lever or thermostatic control |
| Common service parts | Seat, spring, O-ring, stem | Ceramic cartridge or matched stem | Cartridge, seals, trim, valve body |
| Typical parts cost | $10-$40 per pair | $20-$90 per pair | $150-$500 for valve and trim |
| Wall access required | Usually no | Usually no, if compatible | Usually yes |
| Pressure balancing | No | Usually no, unless valve includes it | Yes on pressure-balanced models |
| Grit tolerance | Rubber seat tolerates minor debris | Ceramic surfaces dislike grit | Depends on cartridge and filter design |
| Best use case | Sound body and low-cost repair | Verified compatible conversion | Remodel or safety upgrade |
Traditional seats and springs are inexpensive and forgiving. Ceramic components can provide smooth quarter-turn operation, but they are not automatically a maintenance-free solution; debris, incorrect fit, and damaged valve-body surfaces can cause early failure.
Is Repair Better Than Valve Replacement?
Repair the existing valve when the brass body is sound, the supply connections are stable, the valve is accessible from the trim side, and replacement parts are identifiable. Replace the valve when the body is cracked, badly pitted, structurally loose, repeatedly leaking inside the wall, or incompatible with the safety requirements of the intended installation.
A full replacement is also reasonable during a bathroom remodel when wall finishes are already open. A modern pressure-balanced valve reduces temperature shock risk and usually provides more predictable shower control.
An old two-handle valve is not automatically illegal or unsafe solely because of its age. Local plumbing requirements, project scope, property type, and jurisdiction determine compliance. A licensed plumber can verify whether a remodel requires pressure balancing or thermostatic protection.
How Do You Fix the Main Failure Modes?
Most repair diagnoses become straightforward when the leak location and handle behavior are observed separately. A drip from the tub spout points toward the shutoff seal, while water behind a handle points toward the stem seal or bonnet area.
| Symptom | Most likely cause | First repair action | Stop condition |
|---|---|---|---|
| Spout drips with handles closed | Worn seat or spring | Replace both RP4993-type sets | Valve body is deeply pitted |
| Water behind handle | Stem O-ring or loose bonnet | Snug bonnet, then replace O-ring | Water enters wall cavity |
| Handle turns endlessly | Broken stem stop or damaged stem | Replace matching stem | Valve body stop is damaged |
| Low flow on one side | Debris or blocked inlet | Remove stem and flush briefly | Flow remains low after flushing |
| Hot and cold operate backward | Stem orientation error | Reinstall using original alignment | Supply lines are reversed |
| Bonnet will not turn | Mineral seizure or corrosion | Apply penetrant and controlled heat only when safe | Body moves with nut |
What If the Bonnet Nut Is Stuck?
Treat a stuck bonnet nut as a structural risk, not a contest of strength. Apply a suitable penetrating product to the exposed threads, allow time for it to work, and use two opposing wrenches with short, controlled pressure.
A cloth soaked in white vinegar can help with surface mineral scale, but vinegar is not a substitute for mechanical restraint. Avoid open flame near wood framing, plastic components, insulation, or unknown wall materials. A plumber may use specialized extraction tools when the valve body begins to rotate.
Stop immediately if the central body moves, copper tubing flexes, solder joints creak, or the wall side begins to shift. Replacing a bonnet nut is cheaper than repairing a concealed supply leak.
What If the New Seat Still Leaks?
A new seat will not correct every drip. Check that the spring is correctly oriented, the seat is fully seated, the stem is the correct model, and the valve cavity contains no debris.
Inspect the removed stem end for a groove, corrosion, bent stop, or damaged sealing surface. If the brass seat pocket is eroded, the rubber seat may have no flat surface against which to close. At that point, repeated seal replacement is false economy.
If the tub spout drips only when the shower diverter is engaged, inspect the diverter and spout connection separately. The two-handle valve may be shutting off correctly while the diverter is allowing residual water to drain.
What If Flow Is Restricted?
Remove the affected stem and place a bucket or thick towel over the opening. Restore water for only a brief flush, then shut it off and inspect the cavity. This can remove loose rubber or mineral debris without sending larger fragments into the showerhead.
Clean the showerhead screen and tub-spout diverter after valve work. If both hot and cold flows are weak, check the home pressure, inlet stops, supply filters, and showerhead before blaming the Delta valve.
Do not flush an open valve unattended. Water can enter the wall, and an unrestrained stream can dislodge debris into another fixture.
How Should You Test the Finished Repair?
Test the repair in stages rather than immediately opening both handles fully. Restore water slowly, inspect the bonnet and stem areas with a dry tissue, and check the wall or access panel for hidden moisture.
Use this checklist:
- Close both handles and verify that the tub spout stops dripping within several seconds.
- Open the hot handle halfway and confirm smooth, controlled flow.
- Repeat with the cold handle.
- Run both sides together and check temperature adjustment.
- Operate the diverter, if fitted, and inspect the spout.
- Check each bonnet and handle for moisture after five minutes.
- Recheck the valve after the first shower because thermal cycling can expose a marginal seal.
A dry tissue is more sensitive than a visual inspection around chrome trim. If the tissue becomes wet behind an escutcheon, remove the trim and determine whether water is escaping from the stem, bonnet, threaded connection, or wall opening.
When Should You Call a Plumber?
Call a plumber when the shutoff cannot isolate the valve, the bonnet rotates the valve body, water enters the wall, copper tubing moves, the valve body is cracked, or the repair requires opening finished tile. Professional help is also appropriate when a remodel requires a pressure-balanced or thermostatic valve.
A tenant should not begin a concealed valve replacement without written permission from the property owner. A component rebuild may still be restricted if the building uses shared water isolation or if local rules require licensed work.
The honest limitation is that a trim-side rebuild cannot repair a cracked in-wall body, failed solder joint, inaccessible supply connection, or incorrectly installed valve. It also cannot add pressure balancing to a valve that was never designed to provide it.
Frequently Asked Questions
Can I replace only the dripping side?
You can replace only the visibly defective side, but replacing both seat-and-spring sets is usually the better repair. The hot and cold sides have experienced the same service conditions, and a second hardened seat can begin leaking soon after the first repair.
Do old Delta shower handles fit every Delta valve?
No. Delta handles differ by spline pattern, stem length, screw position, and trim family. A handle that mounts successfully can still have the wrong rotation or stop position, so confirm the stem and handle as a matched combination.
Can I use plumber’s grease on the seat?
Use silicone-based faucet lubricant on compatible O-rings and moving stem surfaces. Keep lubricant off the rubber seat’s sealing face, and avoid petroleum grease unless the component manufacturer specifically approves it.
Why does the shower become hotter when another faucet runs?
A traditional two-handle valve does not automatically compensate for a pressure change. If cold-water pressure falls when another fixture operates, the hot side can dominate the mixed outlet. A pressure-balanced or thermostatic valve is the long-term solution.
Should I replace the showerhead before repairing the valve?
Repair the valve first when the tub spout drips or one handle leaks. Clean the showerhead screen when flow is restricted, but a new showerhead cannot stop water passing through a worn stem seal.
The Bottom Line
An old Delta 2 handle shower faucet is usually repairable from the trim side when its in-wall brass body is sound. Start with the leak location, identify the removed stem rather than guessing from the handle, replace both seat-and-spring sets when appropriate, and brace the valve body before loosening any bonnet nut. For an old Delta 2 handle shower faucet with structural damage or inadequate scald protection, valve replacement is the safer long-term decision.