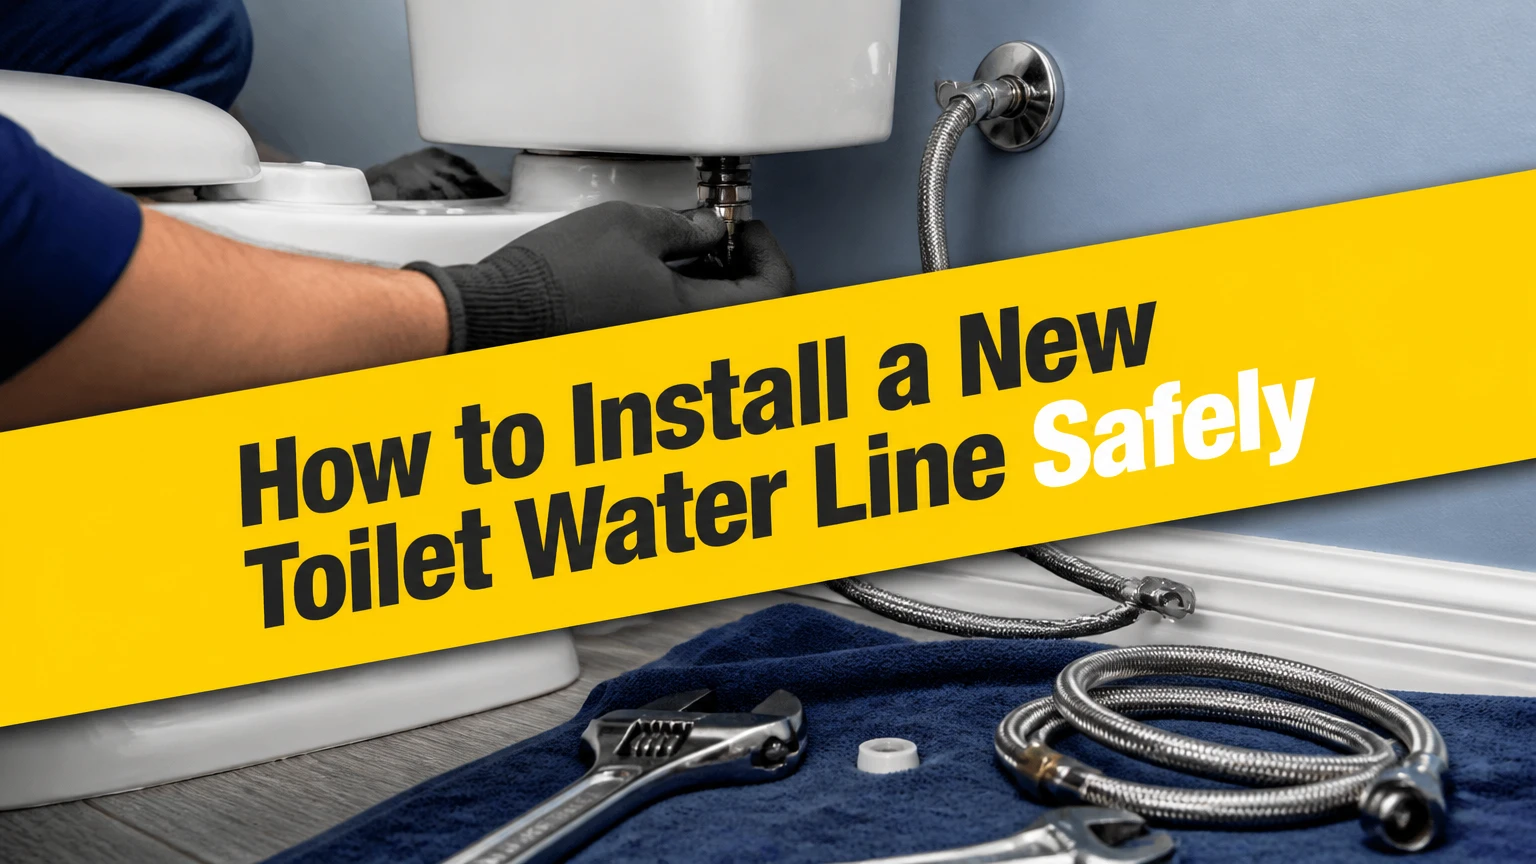
To install a new toilet water line, shut off the toilet valve, drain the tank, remove the old supply line, and connect a correctly sized replacement hose between the shut-off valve and fill valve. A typical flexible braided line takes 15-30 minutes and requires an adjustable wrench, bucket, towel, and no thread tape.
Key Facts
Most modern toilet supply lines use a 7/8-inch tank connection and a 3/8-inch compression valve connection in the United States.
A braided stainless-steel line is typically the most reliable flexible choice for residential toilet installations.
The line must be long enough to form a relaxed curve without touching the floor or pulling on either fitting.
Rubber washers create the tank-side and valve-side seals, so thread sealant is normally unnecessary.
Typical replacement cost is $5-$20 for the line and 15-30 minutes for a straightforward DIY installation.
A shut-off valve that will not close, leaks at its stem, or has damaged threads may require valve replacement before the new line can be installed.
What a Toilet Water Line Does
A toilet water line, also called a toilet supply line, carries cold, pressurized water from the fixture shut-off valve to the toilet fill valve. The fill valve admits water into the tank after a flush, while the float or float cup rises until the valve closes at the tank’s fill mark.
The supply line is not the toilet drain, waste pipe, or overflow tube. It is the small external connector normally visible behind or below the toilet tank. Most replacement jobs involve changing this connector, not running a new water branch through the wall.
How does the toilet refill system work?
When the flush valve opens, tank water leaves through the bowl outlet and the float drops. The fill valve then opens, allowing household water pressure to travel through the supply line into the tank. As the float rises, the fill valve closes and stops flow.
Typical residential water pressure is approximately 40-60 PSI, although pressure varies by property and pressure-reducing equipment. Supply hoses are often labeled for a higher maximum working pressure, such as 125 PSI, but that rating does not mean a toilet should operate at 125 PSI. Excessive household pressure can damage valves, appliances, and fixture connections.
What Should You Check Before Installation?
Before installing a new toilet water line, confirm the shut-off valve works, identify both connection sizes, measure the route, and verify that the replacement hose is rated for cold potable water. A standard flexible replacement usually needs only an adjustable wrench, a bucket, and a dry cloth.
Before-you-start checklist
| Requirement | Typical value or quantity | Why it matters |
|---|---|---|
| Project time | 15-30 minutes | Allows draining, connection, refill, and leak testing |
| Replacement line | 1 hose, usually 9-20 inches | The old length is a starting measurement, not an automatic choice |
| Wrench | 1 adjustable wrench, 6-10 inches | Loosens and tightens the valve-side compression nut |
| Water container | 1 bucket or shallow pan, 1-2 gallons | Catches residual water from the tank and hose |
| Dry cloth | 1 clean towel or rag | Reveals slow drips during the final test |
| Replacement washers | Supplied with new line | Old washers can be compressed, hardened, or distorted |
| Water rating | Cold water, commonly 40-140°F | Toilet supply lines are not hot-water connectors |
Place the bucket under the entire connection path before loosening anything. A tank can retain more water than expected, and water trapped inside the hose will drain after both ends are disconnected.
Do not start if the shut-off valve cannot stop the flow. A faulty valve can turn a routine hose replacement into an uncontrolled leak, especially when the home’s main shutoff is inaccessible or seized.
What Size Toilet Supply Line Do You Need?
Most residential toilets in the United States use a 7/8-inch female ballcock connection at the fill valve and a 3/8-inch compression connection at the fixture shut-off valve. The valve-side connection can differ in older homes, imported fixtures, or installations using a 1/2-inch threaded or soldered valve, so inspect the existing hardware before buying.
Common toilet line specifications
| Feature | Common residential value | Important qualification |
|---|---|---|
| Tank-side connection | 7/8-inch female ballcock thread | Fits many modern toilet fill valves |
| Valve-side connection | 3/8-inch compression | Common on U.S. angle-stop valves |
| Common lengths | 9, 12, 16, 20 inches | Measure the actual route and clearance |
| Household pressure | 40-60 PSI typical | Property pressure can be higher or lower |
| Hose pressure rating | 125 PSI common label | Use the manufacturer’s rating, not a universal assumption |
| Temperature range | 40-140°F commonly listed | Use only for cold potable water |
A compression connection seals through the mating geometry and internal washer or ferrule, depending on the fitting design. The tank-side hose nut generally seals against a rubber washer inside the nut. These sealing methods explain why adding PTFE tape, commonly called Teflon tape, is usually incorrect on a flexible toilet supply line.
How do you measure the replacement line?
Measure from the outlet of the shut-off valve to the tank inlet, following the intended curve rather than measuring in a perfectly straight line. Choose the shortest standard length that leaves a gentle bend and approximately 1-2 inches of slack without stretching.
| Measured route | Suitable standard length | Installation result |
|---|---|---|
| 6-8 inches | 9 inches | Compact route with limited adjustment |
| 9-11 inches | 12 inches | Common residential choice |
| 13-15 inches | 16 inches | Useful for offset valves |
| 17-19 inches | 20 inches | Useful for recessed or distant valves |
| More than 20 inches | Longer listed hose or plumbing change | Do not connect multiple toilet hoses end to end |
A line that is too short places side load on the fill-valve shank and shut-off valve. A line that is too long can form a sharp loop, rub against the wall, or become kinked behind the toilet.
Which Toilet Supply Line Material Is Best?
Braided stainless steel is the best general-purpose choice for a flexible toilet replacement because it bends easily, resists ordinary kinking, and is widely available with 3/8-inch compression by 7/8-inch ballcock ends. Braided nylon costs less and resists surface rust, while chrome-plated copper suits exposed decorative work but demands accurate measurement and bending.
| Supply line type | Typical price | Flexibility | Best application | Main limitation |
|---|---|---|---|---|
| Braided stainless steel | $8-$15 | High | Most residential replacements | Mesh can corrode under harsh chemical exposure |
| Braided nylon | $6-$12 | High | Budget or humid bathroom installations | Lower abrasion and burst margin than quality steel |
| Chrome-plated copper | $10-$25 | None after bending | Visible, traditional installations | Requires precise cutting and tube bending |
| Plain vinyl or plastic | $3-$8 | Medium before bending | Short-term emergency use | Greater risk of kinking, aging, and bursting |
Braided stainless steel is not automatically indestructible. A hose with a damaged braid, crushed end, sharp bend, or evidence of corrosion should be replaced rather than straightened and reused.
Chrome-plated copper can provide a clean appearance under a wall-hung or pedestal-style fixture, but rigid tubing is unforgiving. A small measurement error can prevent the compression nuts from aligning without stress. Flexible braided hose is usually the safer option for a first-time replacement.
How to Install a New Toilet Water Line
Install a new toilet water line in five controlled steps: close the shut-off valve, empty the tank, remove the old hose, attach the replacement without damaging the seals, and test both connections under pressure. The success factor is alignment, because a straight, unstressed connection seals more reliably than an overtightened one.
Step 1: Close the toilet shut-off valve
Turn the fixture shut-off valve clockwise until it stops. Do not force a valve that becomes hard to turn, and do not use pliers on a small plastic or decorative handle.
Check that the water has stopped by lifting the toilet tank lid and flushing once. The tank should not begin refilling. If water continues flowing, close the home’s main shutoff and postpone the work until the fixture valve can be repaired.
You will know it worked when: the tank empties without refill flow and the supply hose no longer feels pressurized.
Common mistake: assuming a quarter-turn ball valve needs several rotations. A quarter-turn valve normally closes with its handle perpendicular to the pipe.
Step 2: Drain the toilet tank
Hold the flush handle down until the tank is nearly empty. Use a sponge or towel to remove the remaining water around the bottom of the tank, particularly if the supply connection sits low.
The bowl does not need to be emptied for a supply-line replacement. Only the tank and hose need draining, so avoid unnecessary attempts to siphon or remove the toilet.
You will know it worked when: less than a small cup of water remains around the tank outlet and no water runs from the fill valve.
Common mistake: skipping the tank drain and loosening the hose while several gallons remain above the connection.
Step 3: Remove the old supply line
Place a bucket beneath the wall-side valve connection. Loosen the metal compression nut counterclockwise with an adjustable wrench, then remove the nut by hand after it breaks free.
Next, unscrew the plastic tank-side nut by hand. If the nut is stuck, use adjustable pliers gently on the nut, not on the fill-valve shank. Support the fill valve inside the tank if the entire valve begins rotating.
Inspect the shut-off valve outlet, fill-valve shank, and old washers. Mineral scale, cracked plastic, cross-threading, and corrosion are warning signs that the connection may not seal with a new hose.
You will know it worked when: the old line is removed without bending the valve or rotating the fill valve.
Common mistake: twisting the fill valve inside the tank, which can disturb its tank seal and create a second leak.
Step 4: Attach the new supply line
Confirm that the new hose has the 7/8-inch ballcock nut at the toilet end and the correct compression nut for the shut-off valve. Position the hose so it follows a smooth curve with no twist, loop, or sharp kink.
Thread the tank-side plastic nut onto the fill-valve shank by hand. Tighten it until the washer seats firmly, then stop. At the wall valve, thread the metal compression nut by hand until the threads engage fully, then tighten approximately one-quarter turn with the wrench.
The exact torque depends on the manufacturer and fitting design. Hand-tight plus a modest wrench turn is a practical starting point, but a persistent leak should be diagnosed rather than corrected by repeated tightening.
You will know it worked when: both nuts thread straight, the hose has slack, and neither fitting moves when lightly touched.
Common mistake: applying pipe dope or PTFE tape to threads that are not intended to seal through the threads. Tape can interfere with the washer’s seating and conceal cross-threading.
Step 5: Reopen the valve and test
Turn the shut-off valve counterclockwise slowly. Stop if water sprays, the hose swells, or either connection begins leaking heavily.
Let the tank refill completely, then wipe the tank-side and valve-side connections with a dry towel. Watch the towel and fittings for at least 5 minutes, and check again after the toilet has been flushed twice.
You will know it worked when: the tank reaches its fill line, the fill valve shuts off, and both connections remain dry after repeated flushing.
Common mistake: checking only for a visible stream. A slow drip can travel along the hose or valve and appear several inches away from its source.
What Are the Most Common Installation Mistakes?
The most common toilet supply-line failures come from incompatible fittings, cross-threaded plastic nuts, excessive tightening, poor hose routing, or a defective shut-off valve. Each failure has a different remedy, so tightening every leak is unsafe and can crack the fill valve or damage the valve threads.
| Failure mode | Likely cause | Correct recovery | Do not do this |
|---|---|---|---|
| Leak at tank nut | Washer misaligned or nut cross-threaded | Close valve, remove nut, center washer, restart by hand | Do not wrench-tighten plastic threads |
| Leak at wall valve | Wrong compression size or damaged valve seat | Confirm size and inspect outlet; replace valve if damaged | Do not add tape to compression threads |
| Hose kinks | Excess length or twisted braid | Shut water, reroute with a broad curve, replace if crushed | Do not bend sharply with pliers |
| Fill valve rotates | Nut tightened while valve was unsupported | Hold the valve steady and reseat its tank gasket if needed | Do not keep tightening the hose nut |
| Slow refill | Partially closed valve, kink, clogged screen, low pressure | Open valve fully, inspect hose, clean only serviceable screens | Do not assume the hose is defective |
| Valve will not shut off | Seized or worn angle stop | Close main valve and replace or repair the stop | Do not force the handle until it breaks |
Expert rule: tighten the fitting, not the leak
A supply-line nut needs enough compression to seat its washer, not enough force to deform the plastic or valve body. When a leak persists after a small corrective turn, disassemble the connection and inspect alignment, washer condition, fitting size, and valve damage.
Expert rule: a new hose cannot repair a bad shut-off valve
A replacement line cannot compensate for a valve outlet that is corroded, cracked, cross-threaded, or out of round. Water may seep around the valve body or stem even when the hose connection is perfectly dry.
Expert rule: replace a damaged braid
A stainless braid that has separated, rusted through, or been crushed has lost part of its protective function. Straightening the hose does not restore its original structure. Replace the line, especially where a cabinet, wall, or flooring could suffer water damage.
What If the Existing Shut-Off Valve Is Different?
A different shut-off valve does not automatically prevent installation, but the replacement line must match the valve outlet exactly. Older toilets may use a 1/2-inch compression outlet, a threaded adapter, a soldered connection, or a valve with an integral hose that was not designed for repeated removal.
Inspect the outlet after shutting off the water. Measure the fitting or take the old line to a plumbing-supply store, but do not rely only on the tank-side size because the two ends commonly differ.
If the valve is soldered directly to copper pipe, replacing the valve becomes a plumbing repair rather than a simple hose change. If the valve is visibly corroded or does not close, shut off the main water supply and use a plumber unless you are equipped to isolate, cut, and reconnect the pipe.
Can You Install a Toilet Line Without a Valve?
You can install a toilet supply line without an existing fixture shut-off valve only by adding a properly sized shut-off valve to the water branch first. The flexible toilet hose should never connect directly to an open pipe because the toilet would lack local emergency isolation.
For a new installation, the valve type depends on the pipe material and local plumbing code. Common options include compression, push-fit, threaded, and soldered angle stops. Push-fit valves require clean, properly deburred pipe and full insertion depth; copper, PEX, and CPVC products are not interchangeable without the correct valve.
A licensed plumber is advisable when the pipe is concealed, the main shutoff does not work, or the installation involves soldering, structural access, or a shared building supply.
Can a Bidet Use the Toilet Water Line?
A bidet attachment can often share the toilet’s cold-water supply through a manufacturer-approved tee adapter, but the adapter must be installed between the shut-off valve and the toilet hose. The toilet and bidet then require compatible hoses, washers, and a valve that can isolate the branch safely.
Do not force two hoses onto one outlet or stack adapters without confirming thread and washer compatibility. A bidet seat may also require an electrical receptacle, backflow protection, or a dedicated installation method specified by its manufacturer and local code.
A tee increases the number of potential leak points. Test every connection independently, keep the hoses free of kinks, and close the valve before servicing either fixture.
How Much Time and Money Does Installation Require?
A straightforward DIY toilet supply-line replacement typically costs $5-$20 and takes 15-30 minutes when the shut-off valve works and the replacement size is available. A plumber commonly charges $75-$150 for a basic service call, with the total increasing if the angle stop, wall connection, or concealed pipe also requires replacement.
| Installation situation | Parts cost | Typical labor time | Typical total cost |
|---|---|---|---|
| Standard braided hose replacement | $5-$20 | 15-30 minutes | $5-$20 DIY |
| Braided line plus new angle stop | $15-$45 | 45-90 minutes | $100-$250 professional |
| Rigid chrome-plated copper line | $10-$25 | 30-90 minutes | $10-$25 DIY with tools |
| Concealed or corroded valve repair | $20-$80 parts | 1-3 hours | $150-$400 professional |
| New branch with no existing valve | $30-$150 parts | 2-6 hours | $200-$600 or more |
These are typical planning ranges, not universal prices. Labor varies by region, access, emergency timing, building type, and whether a plumber must open a wall or shut down a shared water system.
When Should You Call a Plumber?
Call a plumber when the main shutoff cannot stop water, the toilet valve is seized, the wall connection is corroded, the pipe moves inside the wall, or water continues leaking after the line is correctly aligned and tightened. Professional help is also appropriate when installing a new branch, soldering copper, or working in a condominium with shared isolation valves.
Stop the DIY installation immediately if the wall fitting begins turning, the pipe withdraws into the wall, or the water cannot be controlled. Those signs indicate that the apparent supply-line problem may involve the building’s fixed plumbing.
FAQ
Can I reuse the existing toilet supply line?
Reusing the existing hose is reasonable only when it is undamaged, correctly sized, and being disconnected temporarily for another repair. Replace a line with corrosion, crushed braid, hardened washers, discoloration, swelling, or an unknown service history because a $5-$20 replacement is cheaper than repairing water damage.
Should the toilet supply line be straight or curved?
A flexible toilet supply line should follow a broad, relaxed curve rather than run perfectly straight under tension. The hose must not kink, twist, rub against a sharp edge, or pull sideways on the fill valve. Extra length should form one gentle curve, not a tightly coiled loop.
Why does my toilet water line keep leaking after tightening?
Repeated leaking usually indicates a misaligned washer, cross-threaded nut, wrong fitting, damaged valve seat, or cracked fill-valve shank. Close the shut-off valve, remove the connection, inspect the sealing surfaces, and reinstall it squarely. If the valve body or threads are damaged, replace the valve instead of tightening further.
Is a 1/2-inch toilet supply line compatible with a 3/8-inch valve?
A 1/2-inch line is not directly compatible with a 3/8-inch compression valve unless the hose has the correct factory-made end or an approved adapter. Measure the valve outlet and buy a line labeled for both ends. Do not use an improvised reducer on a pressurized toilet connection.
How long does a toilet supply line last?
Service life depends on material, water chemistry, heat, movement, and installation quality. Inspect the hose at least annually, and replace it immediately when the braid is damaged, the hose swells, or fittings corrode. Many homeowners replace older flexible lines during bathroom renovation rather than waiting for a visible failure.
What is the safest toilet supply line for a rental?
A quality braided stainless-steel line is generally the safest flexible rental replacement when its fittings match the existing valve and fill valve. It installs without permanent changes, can be removed during a move, and provides better physical protection than plain vinyl. Confirm the landlord’s rules before changing a shut-off valve or adding a bidet tee.
The Bottom Line
Installing a new toilet water line is usually a 15-30 minute repair when the fixture shut-off valve works and the replacement hose matches the valve and fill-valve connections. Use a correctly sized braided line, drain the tank, hand-start both nuts, avoid thread tape, tighten modestly, and test with a dry towel after multiple flushes. If the valve cannot isolate water or the wall plumbing moves, stop and call a plumber.