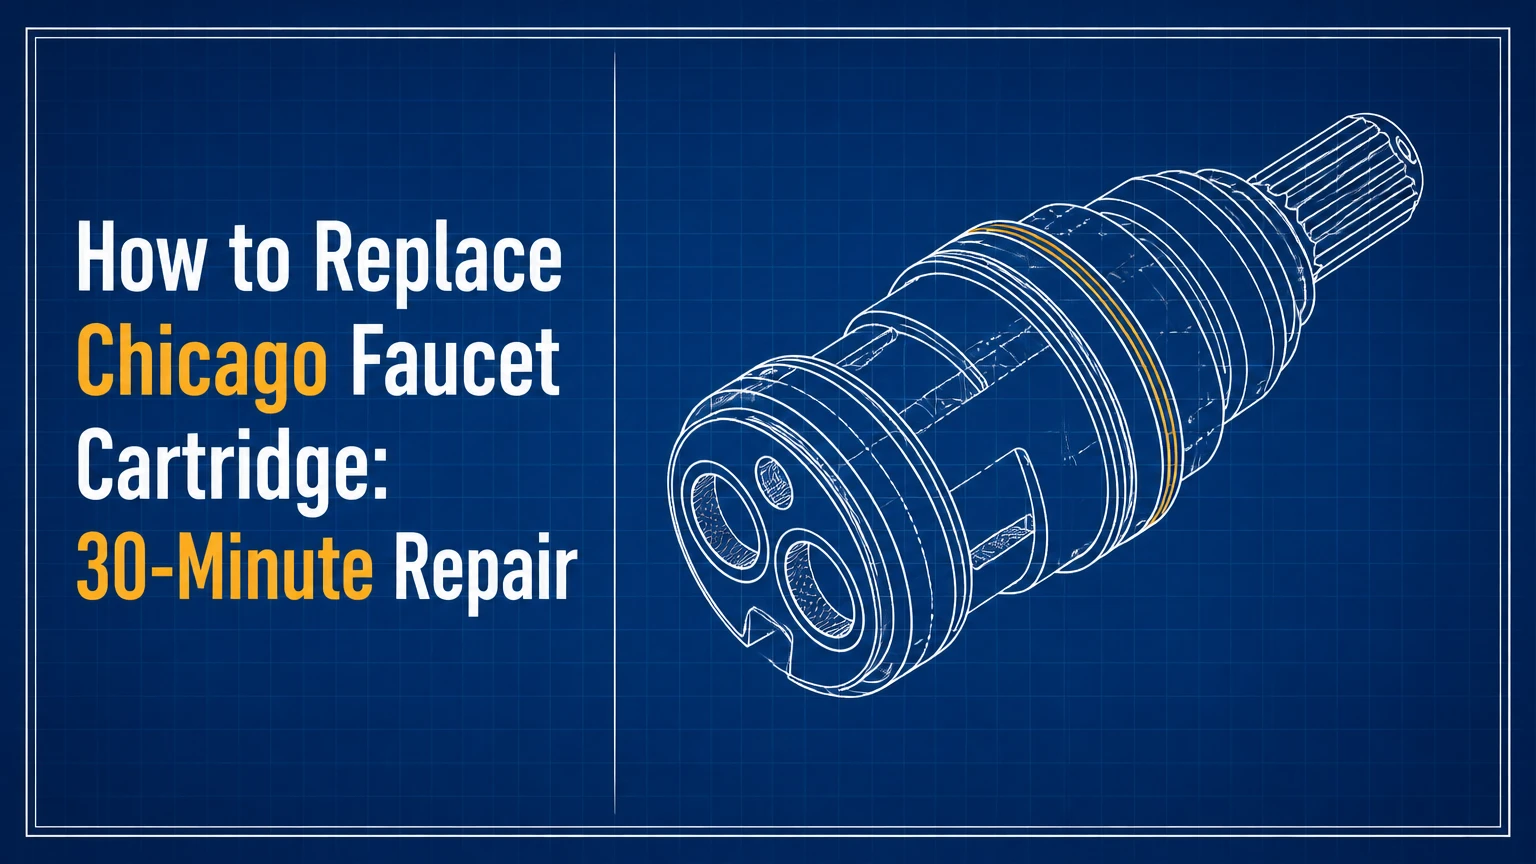
Replacing a Chicago Faucets cartridge usually takes 10-30 minutes once the correct cartridge, handedness, and stem length are confirmed. Shut off the fixture supplies, remove the handle and cap nut, extract the old cartridge, clean the valve cavity, install the matching replacement with silicone grease, then flush and test the faucet.
Key Facts at a Glance
Chicago Faucets Quaturn cartridges use a quarter-turn compression mechanism and can often be rebuilt instead of discarded.
Chicago Faucets ceramic-disc cartridges are quarter-turn units, but the complete cartridge is normally replaced when the ceramic faces are damaged.
Hot and cold cartridges may use opposite handedness, so an LH or RH mismatch can reverse handle operation.
A new cartridge cannot seal reliably against scale, grit, or a damaged valve-body seat.
Typical DIY replacement time is 10-15 minutes for an accessible faucet and 20-30 minutes when cleaning or extraction is required.
Manufacturer instructions for the exact faucet and cartridge should control orientation, tightening, and adjustment details.
Before You Start the Cartridge Replacement
A Chicago Faucets cartridge replacement needs a correct replacement part, basic hand tools, and a way to isolate water. The most important prerequisite is identifying the faucet and cartridge family before disassembly, because a Quaturn compression unit, ceramic-disc unit, and MVP metering cartridge use different internal mechanisms and are not universal substitutes.
Tools and materials
| Item | Typical quantity or size | Purpose |
|---|---|---|
| Adjustable wrench | 1, 6- or 8-inch | Removing the cartridge cap nut |
| Hex key | 1, 1/8-inch or 3/32-inch | Removing many handle set screws |
| Thin flat screwdriver | 1, 3-4 mm blade | Lifting an index button |
| Silicone plumbing grease | 1 small tube | Lubricating compatible O-rings |
| Nylon or soft brass brush | 1 | Cleaning scale from the cavity |
| Flashlight and towel | 1 each | Inspecting and protecting the work area |
| Replacement cartridge or rebuild kit | 1 per leaking side | Restoring the valve mechanism |
A cartridge puller is useful when the stem will not release by hand. Avoid using a large pipe wrench on the valve body. The body can twist in the sink deck or wall connection before the cartridge breaks free.
Safety and access checks
Locate the hot and cold stop valves beneath the sink. In commercial installations, the stops may be inside a service panel, behind an access door, or upstream on a fixture group. If no local isolation exists, plan to shut down the branch or building supply before removing the cap nut.
Do not begin with water pressure in the valve. A pressurized cap nut can release suddenly, and water can enter the wall or cabinet before the leak is visible.
Which Chicago Cartridge Do You Have?
Chicago Faucets cartridges fall into three practical groups: Quaturn compression, ceramic disc, and MVP metering. The faucet model, cartridge markings, stem shape, and internal parts provide better identification than handle style alone, because the same external handle can appear on more than one faucet configuration.
| Cartridge family | Operating action | Typical repair method | Main service concern |
|---|---|---|---|
| Quaturn compression | 90-degree rotation | Replace washer, seat, O-rings, or cartridge | Worn rubber parts and mineral buildup |
| Ceramic disc | 90-degree rotation | Replace complete cartridge | Grit scratching ceramic discs |
| MVP metering | Push and timed return | Rebuild or replace internal assembly | Incorrect timing, screens, or piston wear |
| Older specialty unit | Model-specific action | Follow exact parts sheet | Nonstandard stem, cap, or body geometry |
Chicago Faucets product literature, including documents such as T297 and TAG-390, should be checked against the faucet model before ordering. Product listings often shorten a part description, while the manufacturer’s parts diagram identifies the complete assembly, orientation, and compatible body.
How do LH and RH cartridges differ?
LH and RH cartridges close in opposite directions because the hot and cold valves mirror each other. Many Chicago Faucets configurations use an RH cartridge on the cold side and an LH cartridge on the hot side, but the faucet’s parts diagram and the removed cartridge remain the final verification sources.
A wrong-hand cartridge may fit physically while producing backward operation. The handle can point in an unexpected direction, close when turned the wrong way, or fail to align with the index button.
How do you confirm stem length?
Short-stem cartridges commonly suit faucets with exposed cap nuts and limited trim depth. Long-stem cartridges are used in deeper bodies or installations with sleeves and concealed decorative hardware.
Measure the old cartridge from its sealing shoulder to the end of the stem. Do not measure only the visible splines after removal. Compare the stem profile, O-ring locations, cap-nut interface, and body diameter with the replacement part.
How to Replace a Chicago Faucet Cartridge
The following seven-step process covers a typical two-handle Chicago Faucets sink or lavatory faucet. A single-side replacement normally takes 10-15 minutes; mineral deposits, a stuck stem, or a concealed commercial installation can extend the job to 30 minutes or longer.
Step 1: Shut off the water and relieve pressure
Close both local stop valves by turning each handle clockwise until it stops without forcing it. Open the faucet handles fully, then wait until water stops flowing. Keep the faucet open while you begin the repair so residual pressure can escape.
Place a towel across the drain and basin. Remove or secure loose items from the cabinet, and position a small container beneath the valve to catch trapped water.
You will know it worked when: opening the faucet produces no sustained flow and the cap nut area remains dry.
Common mistake: closing only the suspected leaking side. A cross-connection or wrong-side diagnosis can leave pressure in the valve you are opening.
Step 2: Remove the handle
Lift the hot or cold index button with a thin flat screwdriver if the handle has a center cap. Remove the handle set screw with the correct hex key, usually 1/8 inch or 3/32 inch on many installations, then pull the handle straight up from the splined stem.
A lever handle may need to be rotated to expose its set screw. A knob may pull off after the central screw is removed. Wrap finished trim with a cloth before applying tool pressure.
You will know it worked when: the cartridge stem and cap nut are fully visible, with no handle pressure on the stem.
Common mistake: prying against plated trim. Use the handle’s removal gap or a plastic trim tool instead of levering against the faucet body.
Step 3: Remove the cap nut
Fit an adjustable wrench squarely onto the flats of the brass cap nut. Turn the nut counterclockwise while holding the faucet body or trim so the supply connections do not rotate.
If the nut is stuck, apply a small amount of penetrating oil to the exposed threads and wait 10-15 minutes. Protect nearby rubber and finished surfaces from excess oil. Do not heat a faucet connected to plastic supply tubing.
You will know it worked when: the cap nut turns without rotating the valve body and can be unthreaded by hand after the initial break.
Common mistake: using excessive force against a loose sink faucet. Stabilize the faucet from below before increasing wrench pressure.
Step 4: Extract the old cartridge
Grip the cartridge stem and pull straight upward. Rock the stem gently from side to side while maintaining upward force. Twisting the stem aggressively can damage the cartridge interface or distort the valve body.
Use a cartridge puller if the old unit is seized by scale. A puller applies axial force, which is safer than levering against the brass body. If the stem breaks, stop and obtain a model-compatible extraction tool rather than driving a screwdriver into the valve cavity.
You will know it worked when: the complete cartridge, including its sealing rings or lower components, comes out and the body cavity is visible.
Common mistake: leaving the old washer, screen, or O-ring inside the body. Compare the cavity with the replacement and remove every loose part before installation.
Step 5: Inspect and clean the valve cavity
Shine a flashlight into the empty valve body. Remove loose grit, mineral scale, and fragments of rubber with a cloth, cotton swab, or soft nylon brush. A small amount of white vinegar can soften calcium deposits, but keep liquid away from open wall cavities and rinse the area afterward.
Some Chicago Faucets bodies include a screen or strainer that protects internal components. Remove it only if the parts diagram shows that it is serviceable. Do not pry at a fixed seat or machine surface that is part of the valve body.
Cleaning is not cosmetic. A new O-ring installed over scale can leak around the cap nut, while grit entering a ceramic cartridge can damage its sealing faces immediately.
You will know it worked when: the sealing bore feels smooth, the cavity is free of loose debris, and the screen is correctly positioned.
Common mistake: using a steel pick or aggressive wire brush on the sealing bore. Scratches in the bore can create a permanent bypass path.
Step 6: Install the matching replacement
Confirm the cartridge family, LH or RH orientation, stem length, and O-ring position against the old part and the manufacturer’s diagram. Apply a thin film of waterproof silicone plumbing grease to rubber O-rings. Do not use petroleum grease, which can swell or degrade some elastomers.
Lower the cartridge straight into the body. Align its locating tab, notch, or flat with the matching feature in the valve cavity, then press it fully onto the internal shoulder. Reinstall the cap nut and tighten it according to the model instructions.
A universal torque figure should not be assumed for every Chicago Faucets body. Some manuals specify a torque range, while other service instructions rely on controlled wrench tightening. Excessive force can make the handle stiff and deform seals.
You will know it worked when: the cartridge sits flush, the cap nut starts by hand, and the stem rotates smoothly before the handle is installed.
Common mistake: forcing a cartridge that does not drop into place. Remove it, check orientation and debris, and never use the cap nut to pull a misaligned cartridge into the body.
Step 7: Flush, reinstall, and test
Leave the handle off initially. Remove the aerator or outlet screen where practical so installation debris does not clog it. Open each supply stop slowly, then operate the cartridge briefly to flush air and loose particles.
Run the faucet for approximately 30-60 seconds, reinstall the aerator, and check the cap-nut area, stem area, supply connections, and spout for leaks. Refit the handle on the splines, tighten the set screw, and reinstall the index button.
Test the closing direction and handle alignment. On an MVP metering faucet, press the button and verify that the water shuts off at the expected interval.
You will know it worked when: the spout stops dripping, the handle moves smoothly, the hot and cold directions are correct, and no water appears around the cap nut.
Common mistake: testing only the spout. A damaged O-ring or loose cap nut may leak at the handle base even when the spout is dry.
Which Cartridge Type Should You Use?
Quaturn cartridges are usually the practical choice for harsh water and maintainable commercial fixtures, while ceramic discs suit clean water and users who prefer a smooth hard stop. MVP cartridges fit timed public-use applications, not ordinary two-handle faucet conversions.
| Decision factor | Quaturn compression | Ceramic disc | MVP metering |
|---|---|---|---|
| Action | Quarter-turn | Quarter-turn | Push and timed return |
| Replaceable internal wear parts | Yes, commonly | Usually no | Yes, model-dependent |
| Typical cartridge price | $25-$45 | $40-$60 | $90-$120 or more |
| Sediment tolerance | High relative tolerance | Low tolerance | Moderate with clean screens |
| Typical best location | Older commercial sink | Clean lavatory or kitchen | School, restroom, public facility |
| Main failure symptom | Spout drip | Drip or rough action | Wrong cycle or failure to shut off |
When is rebuilding better than replacement?
Rebuilding a Quaturn cartridge can cost approximately $5-$10 for washers, seats, and O-rings, compared with roughly $25-$45 for a complete unit. A rebuild is sensible when the brass cartridge body and stem are sound and the correct repair kit is available.
Replace the complete Quaturn cartridge when the stem is bent, threads are damaged, the body is badly corroded, or repeated washer replacement does not stop the leak. A rebuild kit cannot repair a damaged valve body.
Ceramic cartridges generally require complete replacement when ceramic discs are cracked or scratched. Wiping away loose grit may solve a newly installed leak, but it cannot restore a damaged disc surface.
What Does a Chicago Faucet Cartridge Replacement Cost?
A typical DIY repair costs $5-$60 for parts, depending on whether the faucet needs a Quaturn rebuild kit or a complete ceramic cartridge. MVP replacements commonly cost $90-$120 or more, while professional labor varies with access, location, and whether the supply must be isolated upstream.
| Repair situation | Parts cost, typical | DIY time | Professional complexity |
|---|---|---|---|
| Quaturn rebuild | $5-$10 | 15-30 minutes | Low if stops work |
| Quaturn replacement | $25-$45 | 10-20 minutes | Low to moderate |
| Ceramic cartridge replacement | $40-$60 | 10-25 minutes | Moderate if seized |
| MVP cartridge service | $90-$120+ | 20-45 minutes | Moderate to high |
| Stuck cartridge with damaged trim | $20-$100 additional tools | 45-120 minutes | High |
Prices vary by supplier, model, finish, and region. Labor may exceed the part cost when a commercial fixture requires panel access, branch shutdown, wall-opening, or replacement of failed stop valves.
Common Problems After Installation
A Chicago Faucets cartridge that still leaks after replacement usually has a wrong part, incorrect orientation, debris in the sealing area, damaged O-rings, or a valve body problem. The leak location narrows the diagnosis faster than repeated tightening.
| Symptom | Likely cause | Corrective action |
|---|---|---|
| Drip from spout, Quaturn | Washer or seat not seated | Remove and inspect washer, seat, and cartridge bottom |
| Drip from spout, ceramic | Debris or scratched discs | Flush, inspect, then replace damaged cartridge |
| Leak around cap nut | Pinched O-ring or scaled bore | Remove cartridge, clean bore, replace O-ring |
| Hard handle movement | Misalignment or over-tightened nut | Recheck locating tab and model tightening instructions |
| Handle closes backward | Wrong LH or RH part | Match cartridge handedness to faucet side |
| No or weak flow | Blocked screen or supply stop | Clean serviceable screen and verify both stops |
| MVP will not shut off | Timing or piston issue | Follow the MVP service procedure for that model |
Why is the handle hard to move?
A hard Chicago Faucets handle usually indicates cartridge misalignment, a dry or damaged O-ring, mineral deposits, or excessive cap-nut compression. Remove the handle and test the stem before changing the supply pressure or forcing the handle.
If the stem turns freely before the cap nut is tightened but becomes stiff afterward, the cartridge is not seated correctly or the cap nut is too tight. If the stem remains stiff with the cartridge removed, the faucet body or handle interface may be damaged.
Do not use handle force to overcome resistance. Excessive force can snap the stem and leave the faucet stuck open or closed.
Why does water leak around the handle?
Water around the handle usually comes from the cartridge’s upper O-ring, stem packing, cap-nut threads, or a cracked valve body. Spout leakage and handle-area leakage are different failure paths, so replacing a washer may not fix an external seal failure.
Remove the handle, dry the area completely, and briefly pressurize the faucet while observing the first point where water appears. Depressurize the valve again before removing the cap nut.
Variations for Different Chicago Faucets
MVP metering faucets
MVP faucets use a timed mechanical cycle rather than a conventional continuously operated two-handle cartridge. Shut off and relieve pressure before service, identify the exact MVP assembly, and record the timing adjustment before disassembly.
Do not substitute a Quaturn or ceramic cartridge for an MVP mechanism. Check the piston, sleeve, screens, timing components, and return action according to the model-specific service sheet.
Concealed or deep-set installations
Deep-set faucets may use long stems and decorative sleeves that must be removed before the cap nut becomes accessible. Photograph the trim stack before disassembly and place each washer, sleeve, and retaining piece in order.
A short cartridge can appear to fit while leaving inadequate stem engagement. The handle may wobble, fail to align, or apply side load to the cartridge.
No local shutoff valves
If the faucet has no working local stops, isolate the fixture branch or building supply. Open a lower-level fixture afterward to confirm pressure has fallen before loosening the cap nut.
Call a plumber when the isolation valve will not close, the fixture is in a healthcare or commercial setting with backflow controls, or shutting down the branch would affect critical equipment.
When Should You Stop and Call a Plumber?
Stop the DIY repair when the faucet body rotates in the deck or wall, the cartridge stem breaks below the cap nut, the supply stop will not isolate water, or the valve body shows cracks and damaged threads. These conditions can turn a small cartridge repair into an uncontrolled leak.
Professional service is also appropriate when the faucet is concealed behind finished construction, installed in a high-use public facility, or connected to a building system that requires documented shutdown and disinfection procedures. A plumber can isolate the branch, extract a seized cartridge, repair connections, and verify the fixture without damaging surrounding finishes.
A replacement cartridge cannot correct a cracked body, failed supply stop, or damaged internal sealing surface. Recognizing that limit prevents unnecessary part changes.
FAQ
Can I replace only the leaking side?
Yes. Replace only the hot or cold side when the opposite cartridge operates correctly and the faucet body remains sound. Match the replacement to the leaking side’s handedness and stem length. If both sides are old and one has failed from age, replacing both may provide more consistent handle feel, but it is not always necessary.
How do I identify a Chicago Faucets model without paperwork?
Look for a model or part number on the faucet body, escutcheon, underside, cartridge, or original installation documents. Record the handle style, spout configuration, cap-nut size, stem length, spline pattern, and cartridge markings. A clear photograph of the removed cartridge is more useful than a generic faucet description.
Can vinegar damage the faucet?
Diluted vinegar can help loosen calcium deposits on removable, accessible parts, but prolonged contact can affect finishes and some metals. Use a small amount, keep it out of wall cavities, rinse thoroughly, and avoid soaking rubber seals. A soft brush and clean water are safer for routine cavity cleaning.
Why does the new cartridge leak immediately?
Immediate leakage usually results from debris, a pinched O-ring, wrong orientation, incomplete seating, or a mismatched cartridge. Shut off the supplies, remove the cartridge, inspect every seal and locating feature, and clean the cavity. Do not keep tightening the cap nut to compensate for a misaligned part.
Should both hot and cold cartridges be replaced together?
Replace both cartridges together when both handles are stiff, both sides have similar service age, or the faucet is difficult to access. Replace one side alone when the other operates smoothly and passes a leak test. Always order each side by the correct LH or RH specification rather than assuming two identical units are required.
The Bottom Line
To replace a Chicago faucet cartridge, isolate water, relieve pressure, remove the handle and cap nut, extract the old cartridge, clean the valve cavity, install the matching LH or RH replacement, flush the lines, and test every seal. Quaturn cartridges may be rebuildable, ceramic cartridges usually need complete replacement, and MVP units require model-specific timing service. Correct identification matters more than force.