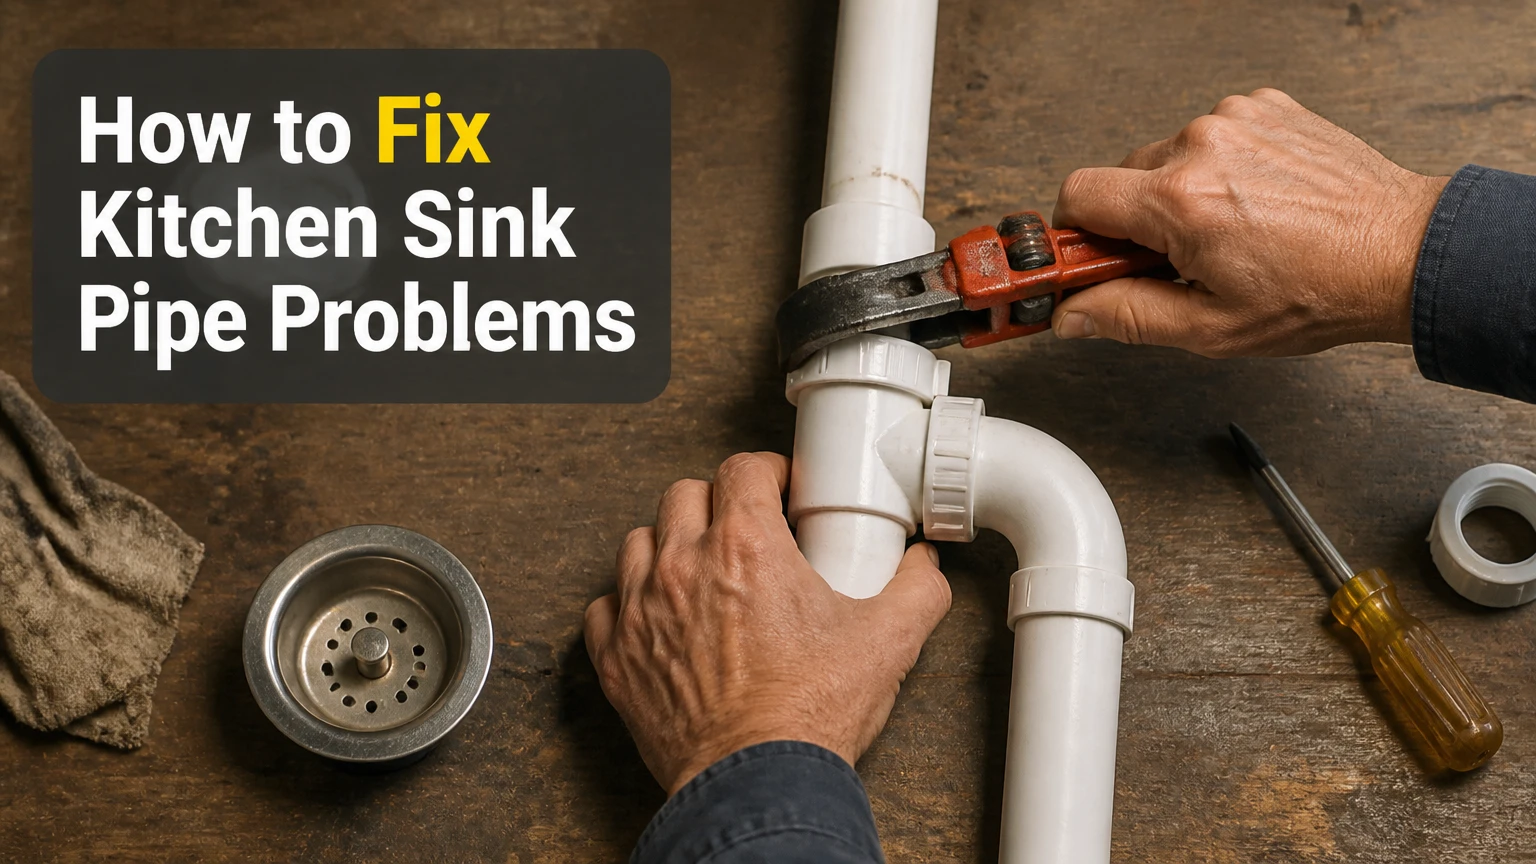
To fix a kitchen sink pipe, first dry the plumbing and identify whether the problem is a loose joint, damaged washer, clogged P-trap, leaking basket strainer, cracked pipe, or downstream blockage. Most exposed plastic drain repairs take 30-90 minutes and require reseating a washer, cleaning the trap, or replacing a 1-1/2-inch tubular drain component.
Key Facts at a Glance
- Most kitchen sink drain assemblies use 1-1/2-inch piping.
- A leak at a slip joint usually comes from misalignment, a damaged washer, or improper tightening.
- Plastic slip-joint nuts should normally be tightened by hand, followed only by a slight tool-assisted turn when the manufacturer permits it.
- A cracked P-trap should be replaced, not wrapped with tape as a permanent repair.
- Standing water after the trap is cleaned usually indicates a clog farther inside the wall drain.
- A properly repaired drain should remain dry during a full-flow test and a filled-basin release test.
Before You Start
A standard under-sink drain repair is usually beginner-friendly because most tubular plastic components connect with removable slip-joint nuts. The difficulty rises when the pipe is glued, corroded, inaccessible inside the wall, or attached to a disposal and dishwasher.
| Repair factor | Typical requirement | Practical range |
| Difficulty | Basic DIY plumbing | 2-4 out of 10 |
| Working time | Diagnosis and repair | 30-90 minutes |
| DIY parts cost | Washers, trap, tailpiece, or arm | $3-$60 |
| Professional service | Basic exposed drain repair | Commonly $150-$400 |
| Standard kitchen trap size | Nominal drain diameter | 1-1/2 inches |
| Leak-testing time | Running and stored water tests | 5-10 minutes |
The 2024 International Residential Code lists a 1-1/2-inch minimum trap size for kitchen sinks, including configurations with a dishwasher or food-waste disposer. Local amendments can differ, so permitted remodeling work should follow the code adopted in your jurisdiction.
Tools and materials
Gather a bucket, towels, flashlight, adjustable pliers, slip-joint pliers, screwdriver, tape measure, marker, and a fine-tooth saw or plastic tubing cutter. Depending on the diagnosis, you may also need a replacement P-trap kit, tailpiece, waste arm, slip nuts, beveled washers, basket-strainer putty, or a disposal gasket.
Do not automatically buy a complete kit. Diagnose first.
What Part of the Kitchen Sink Pipe Is Failing?
The location of the water usually identifies the failed component. Dry every surface, run the faucet briefly, and inspect the highest wet point rather than the place where water finally drips onto the cabinet floor.
| Where water appears | Most likely cause | Correct repair |
| Directly below sink drain opening | Loose or failed basket strainer | Remove and reseal the strainer |
| Around a threaded plastic nut | Misaligned joint or damaged washer | Disassemble, align, and replace washer |
| Along the body of a curved pipe | Cracked P-trap | Replace the trap |
| At disposal outlet | Loose flange, gasket, or elbow | Replace gasket or reconnect elbow |
| At dishwasher branch | Loose clamp or split hose | Reposition or replace hose and clamp |
| From wall opening | Loose adapter, clog, or concealed damage | Inspect wall arm and consider a plumber |
| Sink backs up without visible leakage | Trap or branch-line clog | Clean trap, then snake the wall line |
A P-trap holds a small amount of water that blocks sewer gas while allowing wastewater to pass into the wall drain. Its removable tubular design also makes it a common collection point for food debris and a practical access point for cleaning.
Step 1: Stop Using the Sink and Prepare the Cabinet
Stop running the faucet, dishwasher, and garbage disposal. Remove stored items from the cabinet and place a bucket directly below the trap.
You generally do not need to close the faucet shutoff valves for a drain-only repair because those valves control pressurized supply lines, not wastewater piping. Close them when you will disturb the faucet, supply hoses, disposal plumbing, or any component that could accidentally release water.
Wipe the entire drain assembly dry. A dry starting surface is necessary because water often travels along a pipe before dripping from a lower joint.
Success checkpoint: Every pipe and connection is dry before testing begins.
Common mistake: Assuming the lowest drip marks the failed joint.
Step 2: Locate the Exact Leak or Restriction
Run a thin stream of water for 15-20 seconds while using a flashlight to inspect the basket strainer, tailpiece, disposal outlet, dishwasher branch, P-trap, and wall arm. Increase the flow only if no leak appears.
Next, close the sink stopper, fill the basin with several inches of water, and release it. This stored-water test creates a heavier drainage load and can reveal a loose connection that does not leak under a small faucet stream.
Wrap dry paper towel strips around suspected joints. Even a small seep will create a visible wet mark.
Success checkpoint: You can identify one highest point where moisture first appears.
Common mistake: Tightening every nut without confirming which connection failed.
Step 3: Tighten a Loose Slip-Joint Connection
A loose slip joint can often be fixed without replacing the pipe. Hold the adjoining tubes in proper alignment and tighten the plastic nut clockwise by hand.
The pipe should enter the fitting straight rather than at an angle. A nut cannot reliably pull badly misaligned pipes together. Forcing it may cross-thread the nut, distort the washer, or place constant sideways stress on the joint.
Oatey’s current P-trap instructions specify hand-tightening followed by approximately one-quarter turn with pliers at the wall-tube connection, while warning against overtightening. Follow the instructions supplied with your particular kit because tubular fittings and washer materials vary.
Success checkpoint: The nut turns smoothly, the pipes remain centered, and the joint does not move when lightly touched.
Common mistake: Using excessive wrench force on a plastic nut.
Step 4: Replace or Reposition the Slip-Joint Washer
If tightening does not stop the leak, loosen the nut and separate the joint. Inspect the washer for splitting, flattening, hardening, twisting, or an incorrect orientation.
Install the nut on the pipe first. Install the tapered washer next, with its narrow or beveled side facing the receiving fitting. The tapered edge compresses into the fitting to form the seal.
Oatey’s installation guidance places the nut before the washer and directs the beveled side toward the fitting. It also recommends reseating the washer rather than continuing to tighten a leaking joint.
Do not apply plumber’s tape to ordinary tubular slip-joint threads. The washer makes the seal. The nut only compresses it.
Success checkpoint: The washer sits evenly, the pipe enters far enough to remain stable, and the nut threads on without resistance.
Common mistake: Trying to seal slip-joint threads with tape or paste while leaving a damaged washer in place.
Step 5: Remove and Clean the P-Trap
Remove the P-trap when the sink drains slowly, smells bad, contains a dropped object, or backs up after grease and food enter the drain. Keep the bucket underneath because the bend contains standing water.
Loosen the nuts on both sides of the curved section. Support the trap with one hand, lower it carefully, and empty the contents into the bucket. Remove debris manually and wash the trap in another sink or outdoors.
Inspect the trap against a bright light. Replace it if you see a split, puncture, severe deformation, brittle plastic, or metal corrosion.
Success checkpoint: Water flows freely through the removed trap and its walls show no structural damage.
Common mistake: Pouring trap contents into the same disconnected sink.
Step 6: Replace a Cracked or Damaged P-Trap
Replace a cracked trap with a component of the same nominal size and compatible configuration. Most kitchen sinks use a 1-1/2-inch tubular P-trap, but measure the existing pipe rather than relying only on appearance.
Dry-fit the new J-bend and wall arm before tightening anything. The tailpiece should enter the trap vertically, while the wall arm should reach the trap adapter without being stretched, twisted, or pulled sideways.
Tubular polypropylene and PVC-style kits are usually easier for homeowners to cut and assemble. Chrome-plated brass is useful where appearance or impact resistance matters, but corroded metal joints may require more careful disassembly.
| Material | Typical benefit | Main limitation | Best application |
| Polypropylene tubular plastic | Easy slip-joint installation | Can deform if forced or overtightened | Standard exposed cabinet plumbing |
| PVC Schedule 40 | Rigid and durable | Usually requires primer and cement | Permanent branch piping |
| Chrome-plated brass | Strong and visually finished | Higher price and corrosion risk | Visible or premium installations |
| Flexible corrugated tubing | Accommodates poor alignment | Ridges collect debris and restrict cleaning | Avoid as a routine permanent solution |
Oatey manufactures 1-1/2-inch polypropylene tubular waste fittings for double-bowl kitchen sinks and 1-1/2-inch trap adapters that transition tubular assemblies to Schedule 40 drain piping.
Success checkpoint: Every pipe meets the next fitting naturally before the nuts are tightened.
Common mistake: Using flexible accordion tubing to compensate for a badly planned layout.
Step 7: Measure and Cut the Waste Arm Correctly
A replacement wall arm or tailpiece often needs trimming. Hold the components in their final position, mark the required length, and allow enough insertion depth for the washer to grip the pipe securely.
Cut plastic tubing squarely with a fine-tooth saw or tubing cutter. Remove burrs because a rough edge can damage the washer or prevent full insertion.
Do not cut the pipe so short that the trap must be pulled sideways to reach it. Do not leave it so long that the trap sits under compression or slopes backward.
Manufacturer instructions commonly note that cutting is necessary because standard waste-arm lengths rarely match every cabinet layout.
Success checkpoint: The dry-fitted assembly remains in place without hand pressure.
Common mistake: Measuring only the visible gap and forgetting the portion that inserts into the fitting.
Step 8: Repair a Leaking Basket Strainer
A leak directly beneath the sink opening often comes from the basket strainer rather than the drain pipe. Water may appear around the large retaining nut, rubber gasket, or threaded tailpiece connection.
Disconnect the tailpiece, remove the strainer retaining hardware, and lift the strainer from the sink. Clean away old putty and residue from both surfaces.
Apply a fresh continuous ring of plumber’s putty beneath the strainer flange unless the sink or strainer manufacturer requires a different sealant. Reinstall the strainer, tighten it evenly, and remove squeezed-out putty.
Avoid plumber’s putty on materials for which the manufacturer prohibits it, such as certain porous stone, plastic, or composite sinks. Use the specified non-staining sealant instead.
Success checkpoint: The strainer does not rotate, and no moisture forms beneath the sink during the filled-basin test.
Common mistake: Replacing the P-trap when the water actually begins at the sink flange.
Step 9: Check Dishwasher and Disposal Connections
A kitchen sink with a dishwasher or garbage disposal has additional failure points. Inspect the disposal discharge elbow, rubber gasket, mounting flange, dishwasher hose, branch tailpiece, and hose clamp.
The dishwasher hose should rise high beneath the countertop before connecting to the disposal or branch tailpiece. The International Residential Code requires the dishwasher discharge tubing to rise to the underside of the counter before connecting to the disposer or sink tailpiece. This arrangement reduces unwanted backflow.
A leaking dishwasher branch may require a new hose clamp or branch tailpiece. A disposal outlet leak usually requires realigning the elbow and replacing its gasket rather than adding sealant around the outside.
Success checkpoint: No water appears while the dishwasher drains or while the disposal operates with running water.
Common mistake: Testing only the faucet and never running the connected appliance.
Step 10: Reassemble and Test the Repair
Assemble all parts loosely first. Align the system, seat each washer, and then tighten the nuts progressively.
Perform three tests:
- Run a low faucet stream for 30 seconds.
- Run full flow for 1-2 minutes.
- Fill the sink several inches and release the water at once.
Oatey recommends placing a tray below the assembly and running water for one or two minutes while checking every joint. When a connection leaks, the recommended response is to tighten modestly or remove the joint and reseat the washer, not overtighten it.
Dry every joint between tests. Check again after 10 minutes because slow seepage may not appear immediately.
Success checkpoint: All joints remain dry during and after every test.
Why Is the Sink Still Leaking?
A leak that remains after replacing a washer usually indicates misalignment, pipe damage, a cracked nut, incorrect component sizing, or a problem above the repaired joint.
| Remaining symptom | Probable reason | Next action |
| Drip at nut despite tightening | Washer twisted or pipe angled | Disassemble and realign |
| Nut will not tighten evenly | Cross-threaded or cracked nut | Replace nut and inspect fitting |
| New trap separates later | Pipe cut too short or under tension | Install a longer arm or extension |
| Water appears at sink base | Basket strainer or faucet leak | Test upper fixtures separately |
| Water returns into sink | Downstream clog | Snake wall drain |
| Cabinet stays damp | Hidden supply or wall leak | Stop use and call a plumber |
If cleaning the trap does not restore drainage, the obstruction may be inside the wall branch. This Old House recommends cleaning the P-trap first, then using a drain snake for a clog farther down the line. Persistent backups warrant professional diagnosis.
Common Mistakes and How to Fix Them
Overtightening plastic fittings
Overtightening can crack a nut, flatten a washer, deform a pipe, or strip the threads. Loosen the joint, inspect every part, replace damaged pieces, and reconnect with moderate pressure.
Installing the washer backward
A reversed tapered washer cannot seat correctly. Place its narrow edge toward the fitting and its wider side toward the nut.
Forcing pipes into alignment
A joint under sideways tension may leak immediately or separate later. Correct the length and geometry with a proper tailpiece, extension, offset component, or waste arm.
Mixing incompatible sizes
A 1-1/4-inch bathroom component should not be forced into a standard 1-1/2-inch kitchen assembly without a listed reducing washer or adapter. Use fittings designed for the transition.
Treating tape as a permanent crack repair
Waterproof tape or epoxy may briefly slow an emergency leak, but a cracked exposed trap or tailpiece should be replaced. Temporary wrapping can conceal continuing moisture and cabinet damage.
Ignoring the wall connection
A perfectly assembled trap cannot solve a loose trap adapter, damaged wall stub-out, poor venting, or downstream obstruction. Diagnose beyond the visible assembly when symptoms continue.
How Much Does Kitchen Sink Pipe Repair Cost?
A simple DIY repair commonly costs less than replacing the entire assembly. Professional pricing rises when the plumber must remove a disposal, rebuild a double-sink layout, open the wall, replace corroded metal, or clear a deeper clog.
| Repair | Typical DIY parts | Typical working time |
| Replace one washer or nut | $3-$10 | 10-20 minutes |
| Clean and reinstall P-trap | $0-$10 | 20-40 minutes |
| Replace tubular P-trap | $10-$35 | 30-60 minutes |
| Replace tailpiece or waste arm | $8-$30 | 30-75 minutes |
| Reseal basket strainer | $8-$35 | 45-90 minutes |
| Rebuild double-sink drain | $25-$80 | 1-3 hours |
| Replace disposal elbow or gasket | $8-$30 | 30-90 minutes |
Published consumer cost estimates vary substantially by location and scope. For example, a recently updated This Old House project guide lists approximately $275 for a professionally replumbed kitchen drain-trap project and an estimated two to three hours for the featured configuration, which is more extensive than replacing a single washer or trap.
When Should You Call a Plumber?
Call a licensed plumber when the leak originates inside the wall, the drain pipe is severely corroded, sewage backs up through multiple fixtures, the cabinet or floor has structural water damage, or repeated repairs fail.
Professional help is also appropriate when:
- Glued piping must be cut and rebuilt.
- The wall adapter spins or pulls out.
- The sink lacks a proper P-trap or vent arrangement.
- A disposal mounting flange leaks from the sink opening.
- A clog returns soon after snaking.
- Water appears when no sink fixture is running.
- Mold, swollen cabinetry, or damaged flooring is present.
A plumber should also inspect improvised layouts involving multiple traps, sharp uphill sections, or extensive corrugated tubing. These conditions can create recurring drainage and odor problems even when the joints are temporarily watertight.
Expert Rules for a Reliable Repair
Alignment matters more than tightening force. A properly cut and centered drain assembly can often be sealed with modest nut pressure. A badly aligned assembly will continue leaking regardless of how tightly the nuts are forced.
The washer seals the slip joint, not the threads. Adding thread tape to a tubular nut rarely compensates for a reversed, damaged, or poorly seated washer.
Test stored water, not only faucet flow. Releasing a partially filled sink places a much heavier load on the drain and exposes marginal connections that remain dry under a thin stream.
Frequently Asked Questions
Can I fix a kitchen sink pipe without turning off the water?
You can normally repair an exposed drain pipe without closing the faucet shutoff valves because the drain is not pressurized. Stop using the faucet and connected appliances while the pipe is disconnected. Close the shutoff valves when the work involves the faucet, supply tubes, disposal installation, or any component that could accidentally release water.
Should I use plumber’s tape on kitchen sink drain pipes?
Do not use plumber’s tape on ordinary tubular slip-joint connections because the tapered washer creates the watertight seal. Tape may be appropriate on certain tapered threaded pipe connections when the fitting manufacturer permits it. It does not repair a cracked nut, misaligned tube, damaged washer, or leaking basket-strainer flange.
Can I patch a cracked P-trap?
A patch should be treated only as a very short emergency measure. Replace a cracked P-trap because it holds standing water and experiences repeated drainage loads, temperature changes, cleaning chemicals, and movement from stored cabinet items. A new tubular plastic trap is inexpensive and provides a more dependable repair than tape or surface epoxy.
Why does my new kitchen sink pipe keep coming apart?
A new drain assembly usually separates because one pipe is too short, the components are misaligned, the washer is reversed, or the nut is cross-threaded. Dry-fit the entire system without pulling any part into position. Replace undersized sections and confirm that each tube enters its receiving fitting deeply enough to remain stable.
Why does the sink still back up after cleaning the P-trap?
If the P-trap is clear and correctly installed, the clog is probably farther inside the wall branch or main drain. Insert an appropriate drain snake through the wall adapter after removing the trap. Stop and call a plumber if several fixtures back up, sewage appears, or the cable cannot pass the obstruction.
Is PVC or metal better under a kitchen sink?
Tubular plastic is usually better for an enclosed residential cabinet because it is inexpensive, corrosion-resistant, easy to cut, and simple to disassemble. Chrome-plated brass can be stronger and more attractive in exposed installations, but it costs more and may corrode. Correct sizing, support, alignment, and washer placement matter more than appearance.
The Bottom Line
The safest way to learn how to fix kitchen sink pipe problems is to diagnose the highest wet point before replacing parts. Tighten or reseat loose joints, replace damaged washers, clean the P-trap, replace cracked tubing, correct misalignment, and test the repair with both continuous flow and a filled-basin release.
A properly repaired kitchen drain should align naturally, use compatible 1-1/2-inch components where required, remain dry under maximum discharge, and drain without gurgling or backup. When damage continues into the wall or affects multiple fixtures, stop the DIY repair and arrange professional service.