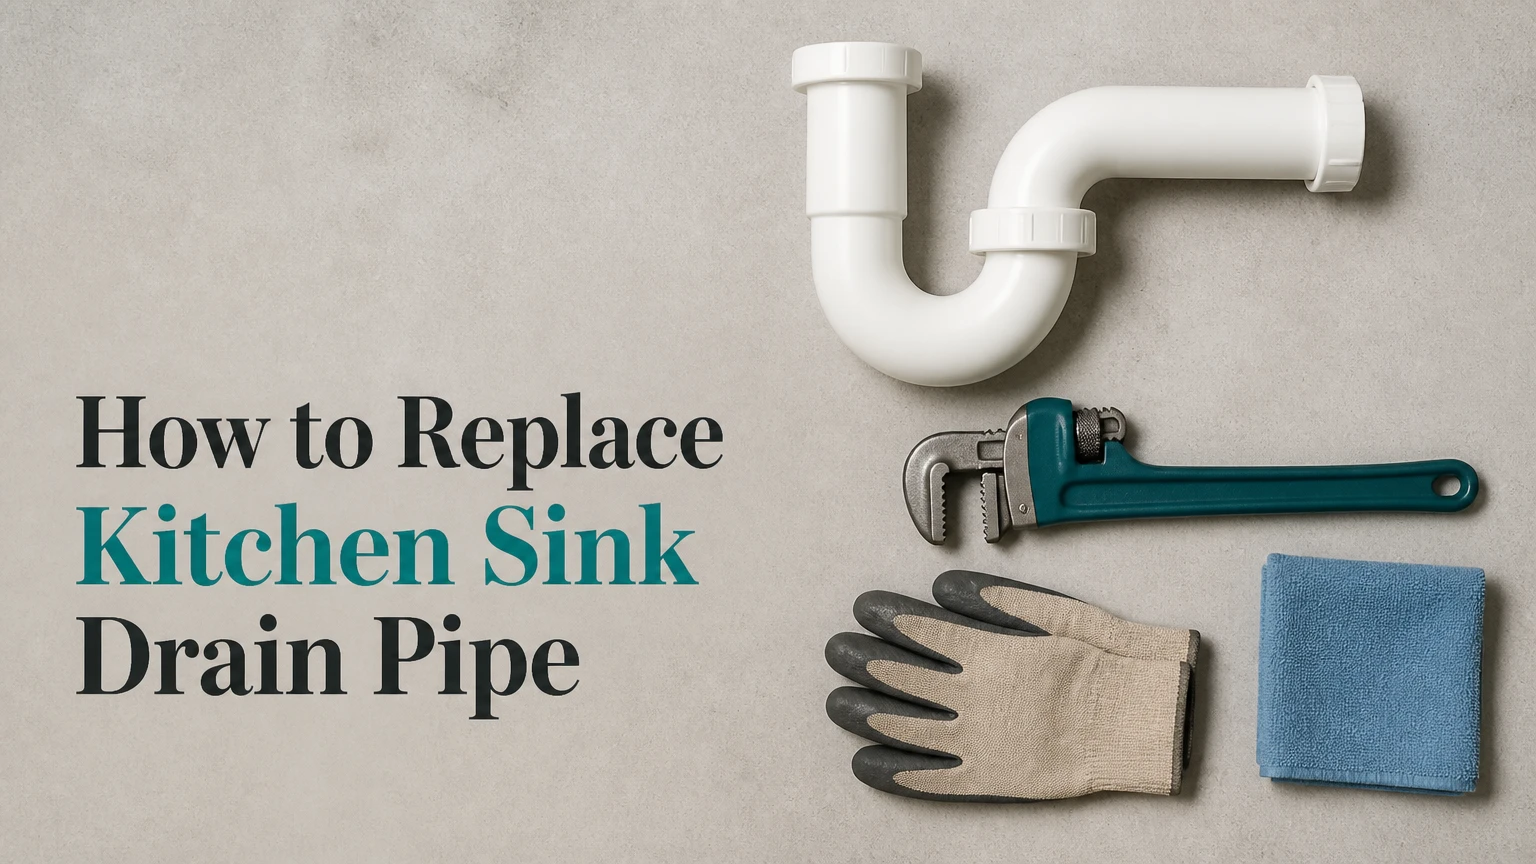
To replace a kitchen sink drain pipe, remove the existing tailpiece, P-trap, and trap arm, then dry-fit matching 1½-inch replacement parts between the sink outlet and wall drain. Cut only after confirming alignment, install each slip-joint washer in the correct direction, tighten the nuts without distorting them, and perform a full-basin leak test.
Key Facts at a Glance
- Most residential kitchen sinks require a minimum 1½-inch trap.
- A basic slip-joint drain replacement usually takes 45-90 minutes.
- Typical DIY materials cost approximately $20-$70.
- Slip-joint washers seal through compression, not plumber’s tape.
- The horizontal trap arm must slope downward toward the wall drain.
- A P-trap should not be replaced with an accordion tube or an unvented S-trap.
Before You Start
A standard under-sink drain replacement is a manageable DIY repair when the removable pipes are exposed, the wall connection is sound, and the new parts can align without forcing them. The job becomes more difficult when the drain is glued, heavily corroded, connected to a garbage disposal, or positioned too high or low relative to the wall outlet.
| Project factor | Typical requirement | Important condition |
| Working time | 45-90 minutes | Allow 2-3 hours for corrosion or a double sink |
| Difficulty | Beginner to intermediate | Advanced if glued pipe must be rebuilt |
| Materials cost | $20-$70 | Decorative metal systems cost more |
| Standard trap size | 1½ inches | Confirm the sink, disposer, and wall connection |
| Required slope | ¼ inch per foot | Trap arm slopes toward the wall |
| Shutdown needed | Usually none | Do not use the sink during work |
The 2024 International Residential Code lists a 1½-inch minimum trap size for a kitchen sink, including configurations with a dishwasher or food-waste disposer. Local codes can differ, so verify adopted requirements before changing permanent drainage or venting.
Tools and Materials
Gather the complete set of parts before disassembling the old drain:
- 1½-inch kitchen P-trap kit
- Tailpiece or tailpiece extension
- Trap adapter, if the wall connection needs replacement
- Slip-joint nuts and tapered washers
- Bucket and absorbent towels
- Tongue-and-groove pliers
- Tape measure and permanent marker
- Fine-tooth hacksaw or plastic tubing cutter
- Utility knife, file, or deburring tool
- Flashlight and disposable gloves
- Small level or slope-measuring app
- Disposer discharge tube or double-sink waste kit, when applicable
Buy replacement washers even if the old ones appear usable. A hardened, flattened, split, or twisted washer often leaks after being disturbed.
Which Kitchen Sink Drain Parts Need Replacement?
The removable drain assembly usually includes the tailpiece, waste tee or disposer discharge tube, P-trap bend, trap arm, slip-joint nuts, washers, and wall trap adapter. You do not need to replace every component when only one tube or seal has failed, but replacing an aged assembly as a matched set often prevents repeated leaks.
| Component | Location | Replace it when |
| Tailpiece | Vertical tube below strainer | Cracked, too short, corroded, or leaking |
| Waste tee | Joins double-basin outlets | Split, misaligned, or internally restricted |
| Disposer tube | Runs from disposer to trap | Cracked or positioned incorrectly |
| P-trap bend | Curved water-seal section | Corroded, deformed, leaking, or clogged |
| Trap arm | Runs from trap to wall | Too short, split, badly cut, or back-pitched |
| Trap adapter | Joins tubular pipe to wall drain | Threads damaged or fitting loose |
| Nuts and washers | Seal removable joints | Cross-threaded, cracked, hardened, or missing |
The P-trap retains water to block sewer gases. Replacing it with a straight pipe removes that seal, while installing two traps in series can interfere with drainage. The International Residential Code generally prohibits double trapping.
Which Drain Pipe Material Should You Use?
White or black polypropylene tubular pipe is usually the simplest material for an accessible under-sink replacement. Schedule 40 PVC or ABS is stronger but requires correctly matched fittings and solvent-welded joints, while chrome-plated brass is primarily selected for visible plumbing or to match an existing metal assembly.
| Material | Joint type | Typical cost | Best application | Main limitation |
| Polypropylene tubular pipe | Slip-joint nuts | $15-$40 | Standard cabinet installation | Easier to deform by overtightening |
| Schedule 40 PVC | Solvent cement | $25-$70 | Permanent rigid assembly | Difficult to alter after gluing |
| ABS | ABS cement | $25-$70 | Rigid systems where locally permitted | Cannot be mixed casually with PVC |
| Chrome-plated brass | Threaded or slip joint | $50-$150+ | Exposed decorative plumbing | Can corrode and is harder to cut |
| Flexible accordion pipe | Compression connection | $10-$25 | Temporary emergency use only | Ridges collect grease and debris |
Avoid using an accordion-style flexible drain as the permanent trap arm. Its internal ridges retain food particles and grease, and the flexible body makes it easy to create a sag, excessive bend, or improper trap.
Step 1: Identify the Existing Drain Configuration
Inspect the entire drain path before buying or cutting anything. Determine whether you have a single sink, double sink, garbage disposal, dishwasher connection, tubular slip-joint assembly, or glued Schedule 40 piping.
Photograph the assembly from the front and side. Measure the pipe diameter, the vertical distance from the sink outlet to the wall drain, and the horizontal distance from the trap to the wall.
You will know the configuration is documented correctly when you can identify every component and explain how wastewater reaches the wall outlet. A common mistake is buying a basic single-basin trap kit for a double sink or disposer arrangement.
Check the Wall Drain Height
The P-trap outlet must align with the wall drain without turning upward. If the wall opening is higher than the disposer outlet or sink tailpiece connection, a standard trap kit may not fit correctly.
Do not create a deep loop, accordion bend, or uphill trap arm to compensate. A low disposer outlet combined with a high wall drain may require changing the sink, disposer position, wall plumbing, or cabinet arrangement.
Step 2: Place a Bucket Under the P-Trap
Clear the cabinet and position a wide bucket directly beneath the curved trap. Spread towels around the bucket because a P-trap can hold greasy water, food particles, and cleaning residue even when the sink appears empty.
Do not pour chemical drain cleaner into the sink before disassembly. Residual corrosive liquid can spill onto your hands, face, cabinet, or flooring when the trap opens.
The preparation is complete when the cabinet is empty, the work area is illuminated, and the bucket can catch water from every joint you plan to disconnect.
Step 3: Remove the Old P-Trap and Trap Arm
Loosen the slip-joint nut at the sink tailpiece, support the trap with one hand, and loosen the nut connecting the trap bend to the trap arm. Rotate the trap gently and lower it into the bucket.
Next, loosen the wall-side nut and pull the trap arm straight out of the trap adapter. Avoid aggressive side-to-side movement because an old adapter or pipe inside the wall can crack.
If a plastic nut will not move by hand, use pliers for controlled pressure. If a corroded metal nut is seized, cutting the exposed removable tube is often safer than twisting the concealed wall pipe.
You will know the removal is successful when the wall opening and sink outlet are accessible without damaged threads or broken in-wall piping. The most common mistake is applying excessive torque to a brittle trap adapter.
Step 4: Inspect and Clean the Connections
Clean the sink tailpiece, disposer outlet, and wall trap adapter with a cloth. Remove grease, mineral deposits, old washer fragments, and burrs that could prevent a new washer from seating evenly.
Inspect the wall opening with a flashlight. Standing sludge near the entrance can be removed carefully, but a blockage deeper inside the wall should be cleared with an appropriate drain auger before installing the new trap.
Check for cracks around the adapter and confirm that its threads are complete. A new P-trap cannot seal reliably against a damaged wall fitting.
The connections are ready when the sealing surfaces feel smooth, the wall drain is open, and no old washer remains stuck inside a nut or fitting.
Step 5: Measure the New Tailpiece
Hold the new tailpiece below the sink strainer or disposer discharge connection. The lower end must enter the P-trap far enough to seal but must not bottom out or force the trap below the wall connection.
Mark the cut while the trap is approximately level with the wall outlet. Allow sufficient insertion into the P-trap rather than cutting exactly at the top edge of the fitting.
For a double sink, assemble the basket tailpieces, continuous waste tee, and shared outlet before measuring the final drop into the P-trap. The shared horizontal waste tube should drain toward the tee rather than away from it.
The measurement is correct when the P-trap can sit naturally beneath the outlet and face the wall without stretching, twisting, or leaning.
Step 6: Cut and Deburr the Pipe
Cut tubular plastic squarely with a fine-tooth hacksaw or tubing cutter. A crooked cut reduces washer contact and can cause the tube to enter the fitting at an angle.
Remove internal and external burrs with a utility knife, file, or fine sandpaper. Wipe away plastic fragments before assembly because loose debris can enter the trap or become trapped beneath a washer.
Do not shorten several components at once. Cut one piece, dry-fit the assembly, and then decide whether another adjustment is necessary.
You will know the cut is usable when the end is square, smooth, and free from sharp ridges.
Step 7: Install the Nuts and Washers Correctly
Slide the slip-joint nut onto the tube first, with its threads facing the joint. Install the tapered washer next, with its narrow side pointing toward the receiving fitting.
Oatey’s installation guidance states that the washer should be installed with “the tapered side of the washer facing the fitting.” Oatey also recommends hand-tightening followed by approximately a quarter-turn with pliers rather than excessive force.
Slip-joint threads pull the washer into a sealing surface. The threads themselves do not create the water seal, which is why plumber’s tape is normally unnecessary on standard plastic slip-joint nuts.
The joint is assembled correctly when the washer sits flat, the tube enters straight, and the nut turns several full rotations by hand. Cross-threading or using a backward washer almost guarantees a leak.
Step 8: Dry-Fit the Complete Drain Assembly
Connect the tailpiece, P-trap bend, trap arm, and wall adapter without fully tightening the nuts. Rotate the trap until every component aligns naturally.
The trap arm should enter the wall adapter far enough to remain stable while preserving adjustment room. Do not pull a pipe outward until only a small edge remains inside the fitting.
Check that the trap arm slopes toward the wall. The 2024 International Residential Code requires horizontal drainage piping 2½ inches and smaller to have a uniform minimum slope of ¼ inch per foot.
For a 12-inch trap arm, the wall end should therefore sit about ¼ inch lower than the trap end. Excessive slope can also create venting problems, so the objective is a modest, consistent fall.
The dry fit is successful when the pipes remain aligned without hand pressure and no section runs uphill.
Step 9: Tighten Each Connection
Begin at the sink outlet and work toward the wall. Hold each pipe in its final position while tightening the nut by hand until snug.
Use pliers only when necessary, and limit additional tightening to a small fraction of a turn. Plastic nuts can crack, skip threads, or distort washers when overtightened.
Tighten a double-sink assembly while checking that the waste tee remains vertical and that neither basket connection is being pulled sideways. On a disposal system, make sure the discharge tube is not supporting the disposer’s weight.
The assembly is secure when each joint is stable but the plastic has not visibly bowed or whitened from stress.
Step 10: Test the New Kitchen Sink Drain Pipe
Run a small stream of water for 30 seconds and inspect every joint. Wipe each connection dry, then press a clean tissue around the nut to reveal small droplets that fingers may miss.
Increase the flow and run both basins when applicable. Fill the sink several inches, remove the stopper, and allow the water to discharge rapidly. This high-volume test exposes weak seals and poor alignment better than a slow faucet stream.
Operate the garbage disposal briefly with running water if one is installed. Also inspect the disposer flange, dishwasher connection, waste tee, P-trap, and wall adapter.
The installation passes when all surfaces remain dry during the test and again after 10-15 minutes. Recheck the cabinet the next day because a slow compression-joint leak may not appear immediately.
Common Mistakes and How to Fix Them
| Symptom | Likely cause | Corrective action |
| Leak appears around a slip nut | Backward, twisted, or damaged washer | Disassemble, replace washer, and realign |
| Nut drips after heavy tightening | Washer distorted by overtightening | Loosen, reseat, and hand-tighten |
| Sink drains slowly | Trap arm runs uphill or wall line is clogged | Correct slope or snake the wall drain |
| Trap disconnects easily | Insufficient pipe insertion | Replace with a longer arm or extension |
| Pipe cannot align with wall | Incorrect cut or wall outlet height | Re-measure and rebuild without forcing |
| Gurgling follows replacement | Venting problem or downstream restriction | Check for blockage and evaluate venting |
| Odor enters the cabinet | Loose joint, missing trap seal, or cracked pipe | Refill trap and repair the leaking joint |
| Double sink backs into other basin | Waste tee orientation or branch slope is wrong | Reposition tee and correct branch drainage |
Why Does a Slip-Joint Connection Still Leak?
A slip-joint connection usually leaks because the tube enters at an angle, the washer is reversed or damaged, or the nut was overtightened. Plumber’s tape rarely corrects these mechanical defects.
Loosen the nut completely and inspect the washer. Replace any washer that is hard, split, flattened, or deformed. Reinsert the pipe straight, hold the alignment, and tighten the nut by hand before applying a slight additional turn.
Why Is the Sink Draining Slowly After Replacement?
A sink that becomes slow immediately after pipe replacement usually has an uphill trap arm, an excessively long tube inserted into a fitting, or a pre-existing blockage inside the wall drain. The replacement process may also dislodge grease that moves farther downstream.
The International Residential Code pairs a 1½-inch trap arm with a ¼-inch-per-foot slope and limits the developed distance to the vent under its prescribed conditions. Local code and layout still control the final installation.
Can You Use Plumber’s Tape on Drain Connections?
Plumber’s tape is not normally required on tubular slip-joint drain connections because the tapered washer creates the seal. Tape wrapped around those threads may interfere with proper tightening without addressing a misaligned or damaged washer.
Thread sealant may be appropriate on specific threaded pipe joints that rely on their threads for sealing. Follow the fitting manufacturer’s instructions rather than applying tape to every connection automatically.
Variations for Different Kitchen Sink Layouts
Replacing a Double-Sink Drain
A double-basin sink normally uses two basket tailpieces connected by a continuous waste assembly before entering one P-trap. The branch tubes should direct water toward the central or end-outlet tee without creating low spots.
Measure both basins before cutting. New sinks may have drains at different heights or distances, which makes an old continuous-waste kit unsuitable even when the cabinet opening has not changed.
Replacing a Drain With a Garbage Disposal
A disposal system replaces one standard basket tailpiece with a disposer discharge outlet and elbow. The discharge tube must reach the P-trap or waste tee without running uphill.
Disconnect electrical power before working around the disposer. You do not normally need to remove the disposer solely to replace the downstream drain pipe, but its outlet height controls the rest of the layout.
A dishwasher hose connected to the disposer should remain secure and properly routed. Do not mistake the dishwasher hose for part of the gravity drain assembly.
Replacing Glued PVC or ABS Pipe
Glued Schedule 40 drainage requires cutting, dry-fitting, priming when required, and solvent-cementing material-compatible fittings. Unlike slip-joint tubing, a glued joint cannot be repositioned after the cement sets.
Use PVC cement only with compatible PVC components and ABS cement only with compatible ABS components unless an approved transition method is specified. Permanent drain and vent alterations may require a permit or licensed plumber under local rules.
How Much Does Kitchen Sink Drain Pipe Replacement Cost?
A basic DIY trap, tailpiece, and trap-arm replacement typically costs $20-$70 in materials. A decorative metal assembly, disposer-specific rebuild, damaged wall adapter, or glued-pipe alteration can raise the total substantially.
| Repair scope | Typical DIY materials | Typical professional total |
| Replace washers only | $5-$15 | $100-$200 |
| Replace basic P-trap | $15-$40 | $150-$300 |
| Replace full tubular assembly | $25-$70 | $175-$350 |
| Rebuild double-sink waste | $35-$100 | $225-$450 |
| Modify disposer drain | $30-$120 | $250-$500 |
| Repair pipe inside wall | $50-$250+ | $350-$1,000+ |
These are typical planning ranges rather than fixed quotes. Labor rates, cabinet access, local permit rules, corrosion, wall damage, and after-hours service can change the final price.
When Should You Call a Plumber?
Call a licensed plumber when the wall pipe moves, cracks, leaks inside the cabinet wall, or appears severely corroded. Professional evaluation is also appropriate when the replacement requires relocating the wall outlet, rebuilding a vent, correcting an S-trap, or modifying permanent glued drainage.
Stop using the sink when wastewater appears from another fixture, sewage backs up, or water leaks into the wall or floor. Those symptoms indicate a problem beyond a removable under-sink trap kit.
A plumber is also the safer choice when chemical drain cleaner remains in the system, the disposer wiring is damaged, or the cabinet provides too little access for controlled cutting and assembly.
Expert Installation Insights
Alignment matters more than tightness. A correctly aligned slip-joint washer seals with moderate compression. Tightening a crooked connection harder usually damages the washer or nut instead of stopping the leak.
Measure from fixed points. The sink outlet and wall adapter cannot move easily, so position the P-trap between those fixed points before shortening the tailpiece or trap arm.
Do not use the trap as a structural support. The P-trap should carry wastewater, not support a garbage disposal, waste tee, or badly positioned pipe. A stressed assembly may remain dry during testing and begin leaking after repeated vibration or temperature changes.
Frequently Asked Questions
Can I replace only the leaking section?
Yes. A single cracked tailpiece, trap arm, washer, or P-trap can be replaced when the remaining parts are correctly sized and in good condition. Replace the full removable assembly when several pieces are brittle, corroded, mismatched, or heavily coated with grease because disturbing one old joint often exposes another failure.
Do I need to turn off the water supply?
You normally do not need to shut off the faucet supply valves when replacing only the drain pipe. However, nobody should operate the faucet during disassembly. Shut off the water when the workspace is crowded, children may use the sink, or the repair also involves the faucet, disposer, or supply lines.
How tight should plastic drain nuts be?
Tighten a plastic slip-joint nut firmly by hand, then apply only a small additional turn with pliers when required. Overtightening can crack the nut, damage its threads, or squeeze the washer out of position. If a hand-tightened joint leaks, inspect its alignment and washer before applying more force.
Can I connect a 1¼-inch pipe to a 1½-inch drain?
A properly sized reducing washer or adapter can connect certain 1¼-inch tubular components to a 1½-inch fitting. However, a kitchen sink trap generally requires a minimum 1½-inch size under the International Residential Code. Do not reduce the kitchen trap merely because a smaller tube is easier to align.
Why does the P-trap keep coming loose?
A P-trap usually comes loose because the pipes overlap too little, the tubes are being pulled out of alignment, or another component is placing weight on the trap. Replace short sections with longer tubes or extensions, align the assembly without tension, and tighten undamaged washers and nuts correctly.
How long should I monitor the new drain for leaks?
Inspect the drain during a low-flow test, a full-flow test, and a rapid full-basin discharge. Check it again after 10-15 minutes and the following day. Place a dry paper towel beneath the assembly overnight because even a very slow leak leaves a visible mark.
Conclusion
Learning how to replace kitchen sink drain pipe components is primarily an exercise in correct measurement, natural alignment, washer orientation, and controlled tightening. Use matching 1½-inch components where required, maintain a downward trap-arm slope, avoid flexible accordion piping, and test the assembly with a full sink discharge before returning the cabinet to normal use.