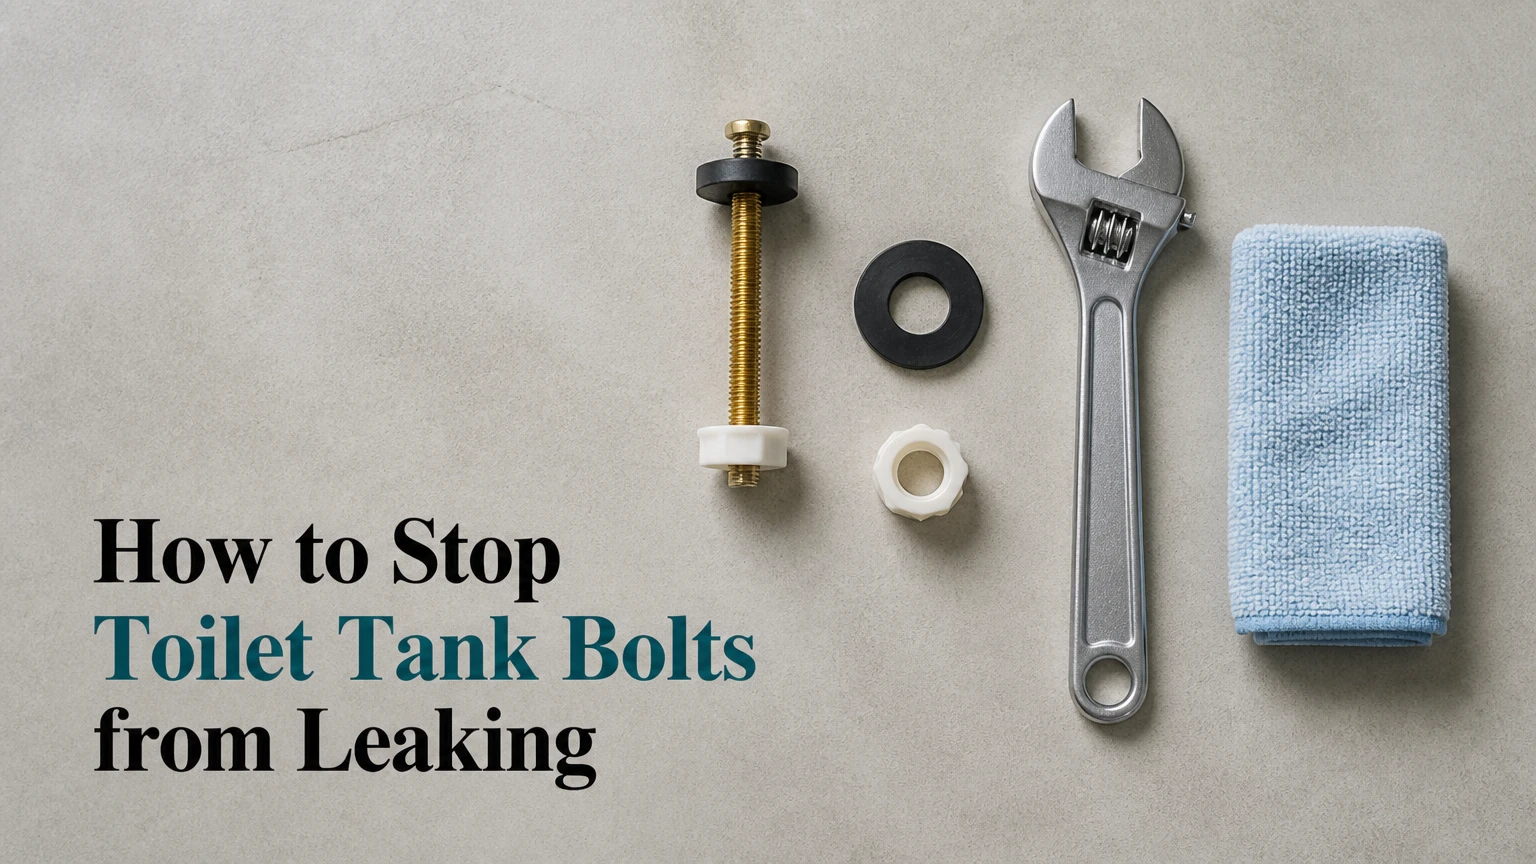
Stopping a leaking toilet tank bolt requires draining the system, disassembling the tank from the bowl, replacing deteriorated rubber washers and corroded fasteners, and tightening the hardware in a balanced sequence to establish a watertight compression seal. Accomplishing this takes 6 precise steps over 35 to 45 minutes at a beginner skill level, provided you maintain even torque distribution to protect fragile porcelain.
Before You Start
- Time Required: 35 to 45 minutes
- Difficulty Level: Beginner to Intermediate
- Typical Cost: $5 to $15 USD for a complete brass tank-to-bowl bolt and gasket kit
- Tools & Materials Checklist:
- Toilet tank bolt repair kit containing 2 solid brass bolts, 4 rubber conical washers, 4 metal flat washers, and 4 hex nuts
- Replacement large sponge tank-to-bowl gasket (recommended replacement while the tank is off)
- 1 adjustable wrench (8-inch or 10-inch)
- 1 large flathead screwdriver (6-inch shaft)
- 1 open-end wrench or deep socket wrench (1/2-inch or 7/16-inch depending on nut size)
- 1 cellulose sponge and 1 small bucket (3-quart or larger)
- 1 can of penetrating oil (such as PB Blaster or Liquid Wrench) for rusted hardware
- 2 clean cotton bath towels and 1 roll of paper towels
- Prerequisite Conditions: Working water supply shut-off valve behind the toilet. If your shut-off valve is stuck or fails to close entirely, you must turn off the main water supply to your home before proceeding.
Step 1: Preparation and Draining
Turn off the water supply valve clockwise until it stops completely, then flush the toilet to empty the reservoir.
Turn the oval or multi-turn valve handle clockwise until it is fully closed. Flush the toilet and hold the trip lever down for 3 to 5 seconds to expel as much water as possible through the flush valve. Disconnect the flexible supply line hose from the threaded inlet shank at the bottom of the tank, placing your small bucket underneath to catch 2 to 4 ounces of trapped residual water. Use your cellulose sponge to soak up the remaining standing water at the bottom of the tank, squeezing it out into the bucket until the floor of the porcelain tank is completely dry.
- You’ll know it worked when: The tank interior is completely empty, the supply line is disconnected without continuous dripping, and no water remains around the bolt heads inside the tank floor.
- Common Mistake: Leaving the supply line connected while draining allows stagnant water to backflow into your bucket or onto the floor when you unbolt the tank. Always detach the hose immediately after the initial flush.
Step 2: Old Bolt Removal
Unscrew the old mounting nuts from beneath the toilet bowl ledge while holding the internal bolt heads stationary with a screwdriver.
Insert the large flathead screwdriver into the slot of the brass or steel bolt head inside the bottom of the tank. While holding the screwdriver firmly to prevent the bolt from spinning, place your open-end wrench or adjustable wrench onto the rusted hex nut underneath the toilet bowl ledge. Turn the wrench counter-clockwise to loosen and remove both hex nuts, metal washers, and old rubber washers. Once both nuts are removed, carefully lift the porcelain tank straight up off the bowl, ensuring you do not strike the rim against walls or tiles, and set the tank down gently on a soft bath towel laid across a flat floor.
- You’ll know id worked when: The tank is completely separated from the toilet bowl, and both old bolts and hardware pieces are fully removed from the tank floor holes.
- Common Mistake: Trying to loosen the bottom nut without immobilizing the top bolt head causes the entire fastener to spin in place, stripping old rust flakes and potentially scratching the porcelain floor of the tank.
Step 3: Tank Cleaning
Scrape away all mineral buildup, old rubber residue, and debris from around the porcelain bolt holes and the central flush outlet.
Take your flathead screwdriver or a plastic putty knife and carefully scrape away calcified hard water deposits, rust stains, and degraded gummy rubber fragments surrounding the two mounting holes inside the tank floor. Wipe down the entire exterior underside of the tank and the flat mating surfaces using a damp sponge and a mild non-abrasive cleaner. Dry the porcelain completely with a clean towel, paying special attention to the recessed rings where the new washers will seat.
- You’ll know it worked when: The porcelain around both mounting holes is smooth, clean, white, and completely free of grit, old rubber flakes, or mineral crust.
- Common Mistake: Leaving microscopic bits of old, deformed rubber or calcium scale on the porcelain prevents the new rubber washers from making flush, 360-degree contact, leading to persistent slow leaks.
Step 4: New Bolt Assembly
Insert the new brass bolts pre-assembled with internal rubber and metal washers downward through the interior tank floor holes.
Take one solid brass bolt and slide a metal flat washer onto it, followed by a rubber washer with the conical or flat sealing face oriented downward against the tank floor. Push this assembled bolt downward through one of the mounting holes inside the tank floor. From underneath the exterior bottom of the tank, slide the second rubber washer onto the protruding bolt shaft, push a metal flat washer up against that rubber washer, and thread a hex nut onto the end. Tighten the hex nut finger-tight, then use your wrench to turn it exactly one additional half-turn clockwise to compress the internal rubber seal against the porcelain. Repeat this exact process for the second bolt.
- You’ll know it worked when: The rubber washer inside the tank is slightly compressed, filling the hole perimeter completely, and the bolt stands rigidly upright without wobbling or sliding.
- Common Mistake: Reversing the washer order or placing metal washers directly against the interior porcelain floor. The rubber washer must always touch the porcelain to create a waterproof barrier; metal washers go between the nut and the rubber.
Step 5: Reattaching the Tank
Lower the tank back onto the toilet bowl, align the protruding bolts through the bowl mounting holes, and secure them with washers and nuts from underneath.
Inspect the large central foam sponge gasket (spud gasket) underneath the center outlet of the tank; replace it with a new one if it is compressed or brittle. Carefully lift the tank and lower it straight down so that the two protruding brass bolts pass cleanly through the matching mounting holes on the rear ledge of the toilet bowl, and the center sponge gasket rests evenly inside the bowl’s water inlet opening. Slide a metal flat washer onto each protruding bolt from underneath the bowl ledge, and thread the final two hex nuts onto the bolt ends. Tighten the left nut two full turns, then switch to the right nut and tighten it two full turns, alternating back and forth to keep the tank level and parallel to the wall.
- You’ll know it worked when: The tank is level, does not rock or tilt to either side, and rests firmly and evenly against the rubber support cushions on the back of the bowl.
- Common Mistake: Fully tightening one bolt before touching the other causes the tank to tilt at an angle, warping the central sponge gasket and creating an uneven compression force that cracks the porcelain tank base.
Step 6: Testing and Fine-Tuning
Reconnect the water supply line, turn on the shut-off valve, let the tank fill completely, and inspect for leaks with dry paper towels.
Screw your flexible water supply line back onto the threaded inlet shank at the bottom of the tank and tighten it securely by hand, plus a quarter-turn with your wrench. Slowly turn the water supply valve counter-clockwise to open it and allow the tank to fill with water until the fill valve shuts off automatically at the water line mark. Take a dry sheet of paper towel and firmly wipe the underside of the tank, around both bolt heads, underneath the bowl ledge, and around the center seam between the tank and bowl. Observe the paper towel for any dampness or water droplets over a 15-minute observation window.
- You’ll know it worked when: The paper towels remain completely bone-dry after 15 minutes of continuous observation, and the water level inside the tank holds steady without dropping.
- Common Mistake: Skipping the paper towel test or rushing the observation. Slow capillary leaks can take up to 10 minutes to form a visible droplet on the underside of a bolt nut.
Common Mistakes and How to Fix Them
- Overtightening the mounting nuts: Turning the wrench too aggressively past the half-turn threshold places extreme radial stress on the porcelain tank floor. Fix: If the porcelain cracks, the entire tank must be replaced. To prevent this, always tighten until firm resistance is felt, plus a maximum of one half-turn.
- Using silicone sealant or plumber’s putty: Applying chemical sealants to rubber washers causes them to degrade, slip out of position, or split over time. Fix: Rely solely on clean porcelain surfaces and proper mechanical compression of the rubber washers provided in your repair kit.
- Reusing rusted or bent iron bolts: Old steel bolts corrode, pit, and thin out over time, leading to micro-fractures in the seal. Fix: Always purchase a fresh solid brass bolt and rubber washer kit; brass resists water corrosion indefinitely.
- Ignoring the central sponge gasket condition: Changing the bolts without inspecting or replacing the large center spud gasket often results in water leaking between the tank and bowl while leaving the bolt areas dry. Fix: Always replace the large central foam gasket whenever you lift the toilet tank off the bowl.
Variations: Handling Non-Standard Toilet Setups
Working with One-Piece Toilets
If your toilet is a one-piece model where the tank and bowl are manufactured as a single integrated porcelain casting, you do not have tank-to-bowl bolts. Instead, these models use a flush valve seal ring located entirely inside the interior tank base. To stop leaks on a one-piece toilet, you must drain the tank, unthread the large plastic locking nut holding the flush valve assembly from the bottom exterior of the tank, pull the flush valve out, and replace the large rubber tank-to-bowl flush seal gasket.
Dealing with Severely Rusted and Seized Bolts
In older bathrooms, steel tank bolts often rust solidly into the nuts, making them impossible to turn with a standard wrench. Fix: Spray liberal amounts of penetrating oil directly onto the rusted threads from underneath. Let the oil penetrate the corrosion for 15 to 20 minutes. If the bolt head continues to spin inside the tank, grip the top of the bolt head firmly with locking pliers (Vise-Grips) while an assistant turns the bottom nut with a socket wrench, or use a mini hacksaw blade to cut through the brass or steel shaft directly between the tank bottom and the bowl ledge.
Frequently Asked Questions
Can I fix a toilet tank bolt leak without removing the entire tank?
No, you cannot permanently fix a leaking toilet tank bolt without lifting the tank off the bowl. The rubber washer that creates the watertight seal is positioned underneath the interior floor of the tank. To replace that washer, the bolt must be extracted upward, which requires separating the tank from the bowl.
Why do toilet tank bolts start leaking over time?
Toilet tank bolts leak because standard rubber washers dry out, harden, flatten, and lose their elasticity due to constant water exposure and normal bathroom temperature fluctuations. Additionally, micro-vibrations from daily flushing gradually loosen the metal hex nuts on the underside of the toilet over several years.
How tight should toilet tank bolts be screwed down?
Tighten the bottom hex nuts until they are finger-tight, then use your wrench to turn them exactly one additional half-turn. The goal is to compress the rubber washer enough that it expands outward to seal the hole completely without placing excessive pressure on the brittle porcelain tank floor.
Should I use metal washers directly against the porcelain tank?
Never place metal washers in direct contact with the interior or exterior porcelain surfaces of the toilet tank. Metal does not compress or absorb vibrations, and tightening metal against porcelain will chip or crack the fixture. Always ensure a rubber washer sits directly against the porcelain surface as a protective cushion.