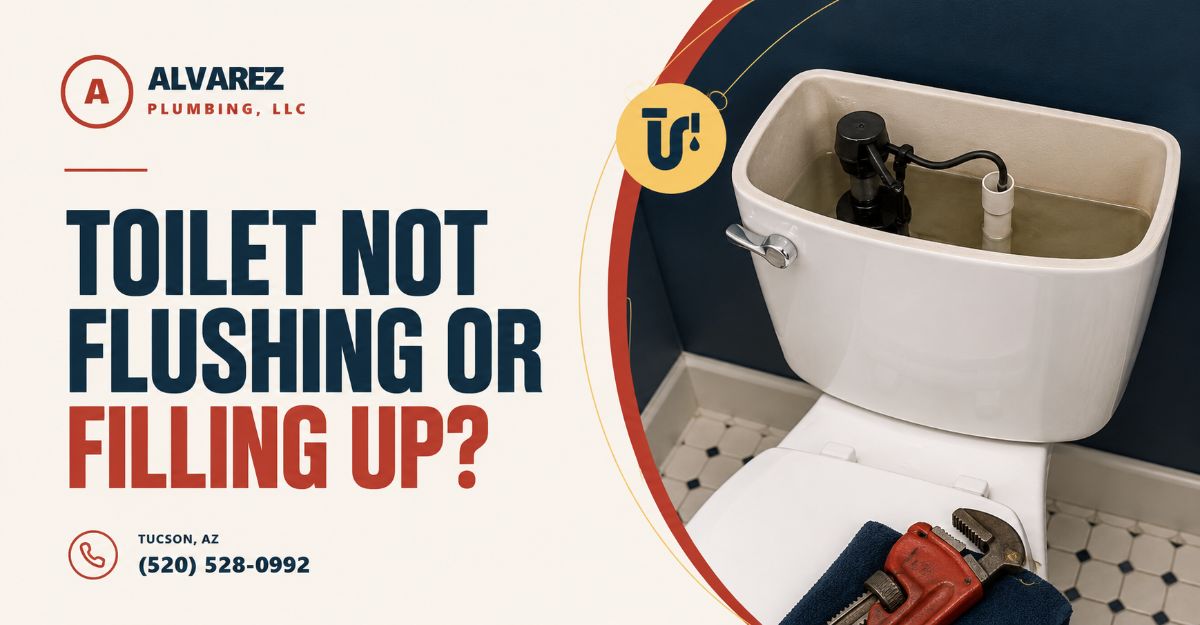
A toilet not flushing or filling up indicates a broken plumbing loop caused by a severed flush linkage, an empty tank, or a clogged fill valve. To fix this double failure, you must restore the incoming water supply, reconnect the handle chain, and clear debris from the internal float mechanism.
Key Facts / At a Glance
- A completely dry tank prevents the gravity-fed siphon effect required for flushing.
- Lift chain slack must measure exactly 0.5 inches to open the flapper completely.
- Chemical bleach tablets placed in the tank destroy rubber flappers in under six months.
- Professional plumbers charge between $150 and $300 to diagnose and repair this issue.
- A universal fill valve costs between $15 and $30 and takes 15 minutes to install.
Before You Start: Repair Specifications
- Outcome: A toilet that automatically refills and triggers a complete flush cycle.
- Total Steps: 4 diagnostic and repair steps.
- Total Time: 10 to 20 minutes for troubleshooting; 30 to 45 minutes for component replacement.
- Difficulty: Beginner. No advanced plumbing knowledge is required.
- Total Cost: $0 for adjustments; $5 to $45 for replacement parts.
- Tools Required: Adjustable wrench, channel lock pliers, bucket, and a large sponge.
- Key Success Factor: Accurately identifying whether the failure originates from the water supply or the internal mechanical linkage.
How Does the Toilet Flush and Fill Cycle Work?
To understand a toilet not flushing or filling up, you must know how the gravity-fed plumbing loop operates. The system relies on a sequence of mechanical actions triggered by water volume. When any link in this chain breaks, the entire cycle halts.
The standard gravity-flush cycle operates in five sequential phases. First, the water supply valve feeds household water through the fill valve into the tank. Second, the float cup or float ball rises with the water level until it mechanically triggers the fill valve to shut off at the designated fill line. Third, pressing the exterior flush handle rotates a lever that pulls the internal lift chain, raising the rubber flapper at the bottom of the tank. Fourth, gravity immediately forces the stored tank water down into the toilet bowl, creating a powerful siphon effect that pulls waste into the drainage trap. Finally, the empty tank causes the flapper to drop back down, sealing the drain opening so the fill cycle can repeat.
If your toilet experiences a “no flush, no fill” failure, the process has stopped at either step one (no water entering) or step three (the handle cannot lift the flapper).
Step-by-Step Diagnostic and Repair Process
Follow this logical sequence to pinpoint and fix the exact root cause of your empty toilet tank and severed flush mechanism. Start outside the tank before disassembling internal components.
Step 1: Verify the External Water Supply Valve
To verify the external water supply valve, locate the football-shaped knob on the wall behind the toilet and turn it counterclockwise to ensure water flows. A closed or restricted supply valve prevents the tank from filling, which subsequently prevents the toilet from flushing.
Turn the valve completely to the left until it stops. If the valve is already open but no water enters the tank, check other faucets in the bathroom to rule out a main line interruption or a neighborhood water outage.
- Expert Tip: Older homes often feature galvanized or cheap plastic shut-off valves that seize over time. If the valve resists turning, do not force it with pliers. Forcing a brittle valve can snap the stem, causing a catastrophic indoor flood. Instead, turn off the main house water supply and replace the seized valve entirely.
- Success Checkpoint: You will know this step worked if you hear a loud hissing sound as pressurized water immediately begins spraying into the toilet tank.
Step 2: Inspect and Adjust the Lift Chain
To inspect the lift chain, remove the porcelain tank lid and verify the metal chain is physically connected to both the handle lever and the rubber flapper. A disconnected chain means pressing the handle does absolutely nothing, preventing the flush cycle even if the tank is full of water.
If the chain is detached, simply clip it back onto the handle lever arm. If the chain is attached but the toilet still will not flush, evaluate the chain tension. You must leave exactly 0.5 inches of slack in the chain.
- Common Mistake: Leaving too much slack prevents the lever from pulling the flapper high enough to break the suction seal. Conversely, leaving too little slack holds the flapper slightly open, causing water to constantly leak into the bowl so the tank never achieves a full fill.
- Success Checkpoint: You will know the chain is properly adjusted when pressing the handle lifts the flapper to a vertical 90-degree angle without requiring excessive force.
Step 3: Evaluate and Replace the Flapper
To evaluate the flapper seal, inspect the rubber cap at the bottom of the tank for warping, bubbling, or physical degradation. A warped or stuck-open flapper allows incoming water to drain straight into the toilet bowl, preventing the tank from ever accumulating enough volume to initiate a flush.
Turn off the water supply and drain the tank by pressing the handle and sponging out the remaining water. Unhook the old flapper from the overflow tube pegs. Wipe your finger across the underside of the rubber. If your finger comes away covered in black residue, the rubber has degraded and cannot hold a watertight seal. Install a replacement flapper (costing $5 to $12) by clipping the new ears onto the overflow tube pegs and reattaching the lift chain.
- Expert Tip: Flappers come in 2-inch and 3-inch diameters. Measure the drain hole before visiting the hardware store. Most modern high-efficiency toilets built after 2005 require a 3-inch flapper.
- Success Checkpoint: You will know the new flapper works when the tank fills completely to the water line and the fill valve shuts off entirely with absolutely no water rippling in the bowl below.
Step 4: Clear Debris From the Fill Valve
To clear debris from the fill valve, remove the valve cap and flush out the internal diaphragm with pressurized water. Mineral scale, rust, or sediment from old pipes can clog the narrow inlet of a fill valve, tricking it into remaining closed even when the float is resting at the bottom of an empty tank.
First, check if the float cup is physically jammed in the “up” position. If it is stuck, push it down manually to see if water begins flowing. If the float moves freely but water still will not flow, turn off the supply valve. Reach into the tank, press down on the plastic cap of the fill valve, and twist it a quarter-turn counterclockwise to remove it. Hold a plastic cup upside down over the exposed valve opening. Slowly open the wall supply valve for three seconds to blast trapped sediment out of the valve body and into the cup. Replace the cap and turn the water fully on.
- Common Mistake: Failing to hold a cup over the open valve will result in a geyser of pressurized water shooting straight up, hitting the ceiling, and flooding the bathroom floor.
- Success Checkpoint: You will know the valve is cleared when a strong, steady stream of water exits the refill tube and fills the tank in under 60 seconds.
Which Replacement Valve Should You Choose?
Different toilet models utilize distinct fill and flush configurations, dictating which replacement parts you must purchase. If your components are beyond adjustment, use this comparison to select the correct replacement hardware.
| Valve Type | Core Mechanics | Pros | Cons | Verdict |
|---|---|---|---|---|
| Float Cup Fill Valve | Modern vertical cylinder; the float slides directly up the valve body. | Compact, highly adjustable, extremely reliable. | Internal diaphragm seals can clog with hard water sediment. | Best Overall. The industry standard for easy replacement and consistent water levels. |
| Float Ball Fill Valve | Legacy system; uses a brass or plastic rod attached to a floating bulb. | Simple visual troubleshooting; easy to understand. | Bulky, prone to rod bending, takes up excessive tank space. | Skip It. Outdated technology that frequently requires manual bending to adjust water height. |
| Flapper Flush Valve | Traditional rubber cap pivoting on side pegs. | Inexpensive and incredibly easy to replace in under five minutes. | Degrades rapidly from chemical tank-cleaner tablets. | Best for Standard Toilets. The most common and cheapest flush mechanism available. |
| Tower / Canister Valve | Vertical plastic cylinder that lifts straight up for a 360-degree flush. | High flow rate, maximizes flush power, eliminates rubber warping. | Replacement silicone seals are highly brand-specific and harder to find. | Best for High-Efficiency Toilets. Found in modern Kohler and American Standard models. |
Which Should You Choose?
- Choose a Universal Float Cup Valve if: You want a cheap, reliable, and fast fix. Kits like the Fluidmaster 400A fit 95% of residential toilets and cost under $15.
- Choose a Canister Seal Replacement if: You own a modern tower-flush toilet. You cannot replace a canister with a flapper; you must buy the exact silicone gasket designed for your specific brand.
What Are the Common Toilet Repair Mistakes?
Repairing a toilet tank is straightforward, but minor installation errors often lead to catastrophic property damage. Avoid these frequent pitfalls when repairing a toilet not flushing or filling up.
- Using Chemical Tank Tablets: Do not drop bleach or chlorine tablets directly into the toilet tank. These highly concentrated chemicals eat away at rubber flappers and plastic valve components, causing complete system failure within a few months. Toilet manufacturers will void your warranty if they find evidence of chemical tablets in the tank.
- Over-Tightening Plastic Nuts: Hand-tighten plastic supply line nuts, then apply a maximum of one additional quarter-turn with pliers. Over-tightening crushes the rubber gasket, strips the plastic threads, and cracks the 7/8-inch coupling nut. This causes a slow, silent leak that destroys subflooring over time.
- Using Metal Tools on Porcelain: Never rest steel wrenches or pliers on the edge of the tank. Porcelain is incredibly brittle. A single slip with a heavy tool will crack the tank, requiring you to replace the entire toilet fixture. Always place a thick towel on the bathroom floor to hold your tools.
How Should Different Users Approach This Fix?
Your financial situation and housing status should dictate how you handle a failed plumbing fixture. Determine your persona below before attempting repairs.
- For Renters: Do not replace major valves or disconnect external supply lines yourself due to severe liability risks. Check for a loose chain, a stuck float cup, or a closed wall valve. If the issue requires removing large nuts or replacing the fill valve, document the failure with a photo and contact your landlord immediately. If you cause a leak while replacing a valve, you are financially liable for the resulting water damage.
- For Budget-Conscious DIYers: Rebuild your existing setup using universal replacement parts. Purchase a highly-rated universal kit, such as the Fluidmaster 400AK Complete Repair Kit. This allows you to completely refresh the entire tank interior (fill valve, flapper, and handle) for under $30, ensuring all components age at the same rate.
- For Homeowners Seeking Longevity: Upgrade to premium, debris-tolerant hardware to prevent future maintenance. Install a canister-style flush valve and a brass-shank fill valve. Brass shanks resist cross-threading and cracking, ensuring maximum lifespan and minimizing the risk of leaks in high-end bathroom installations.
Frequently Asked Questions
Can a clogged toilet cause it to not flush or fill?
A clogged bowl prevents waste from draining, but it does not stop the tank from filling or the handle from lifting the flapper. If the tank itself is empty or the handle does nothing, the problem exists entirely inside the upper tank mechanics, not in the lower drainage trap.
How do you manually flush a toilet without a working tank?
You can manually flush a toilet by pouring a large bucket of water directly into the toilet bowl from waist height. Pouring one to two gallons of water rapidly into the bowl artificially recreates the gravity siphon effect, forcing waste down the drain even if the tank is completely broken.
Why is my toilet tank bone dry?
A bone dry toilet tank means water is either blocked from entering by a clogged fill valve or a closed wall supply valve. Alternatively, it means a severely warped flapper is allowing water to drain into the bowl at the exact same rate it enters the tank, preventing accumulation.
How long does a toilet fill valve usually last?
A standard plastic toilet fill valve lasts between five and seven years under normal municipal water conditions. Homes with highly chlorinated municipal water, heavy mineral scale, or well water may see fill valves fail in as little as three years due to degraded internal rubber seals.
Does a running toilet use a lot of water?
A toilet running constantly due to a stuck flapper or a broken fill valve wastes an astonishing amount of water. A moderate leak wastes over 200 gallons of water per day, which can add hundreds of dollars to your monthly utility bill if left unrepaired for a full billing cycle.
The Bottom Line: A toilet not flushing or filling up is rarely a reason to call an expensive professional plumber. By methodically checking the wall supply valve, adjusting the internal lift chain, and inspecting the rubber flapper, any homeowner can diagnose and resolve this double-failure using basic tools and parts that cost less than a takeout dinner.